REN ZHENG
- CG Environments & VAD
- Narrative Cinema
- Color Grading
Ren Zheng
Work
CG Environments / VAD01 / 05WIP
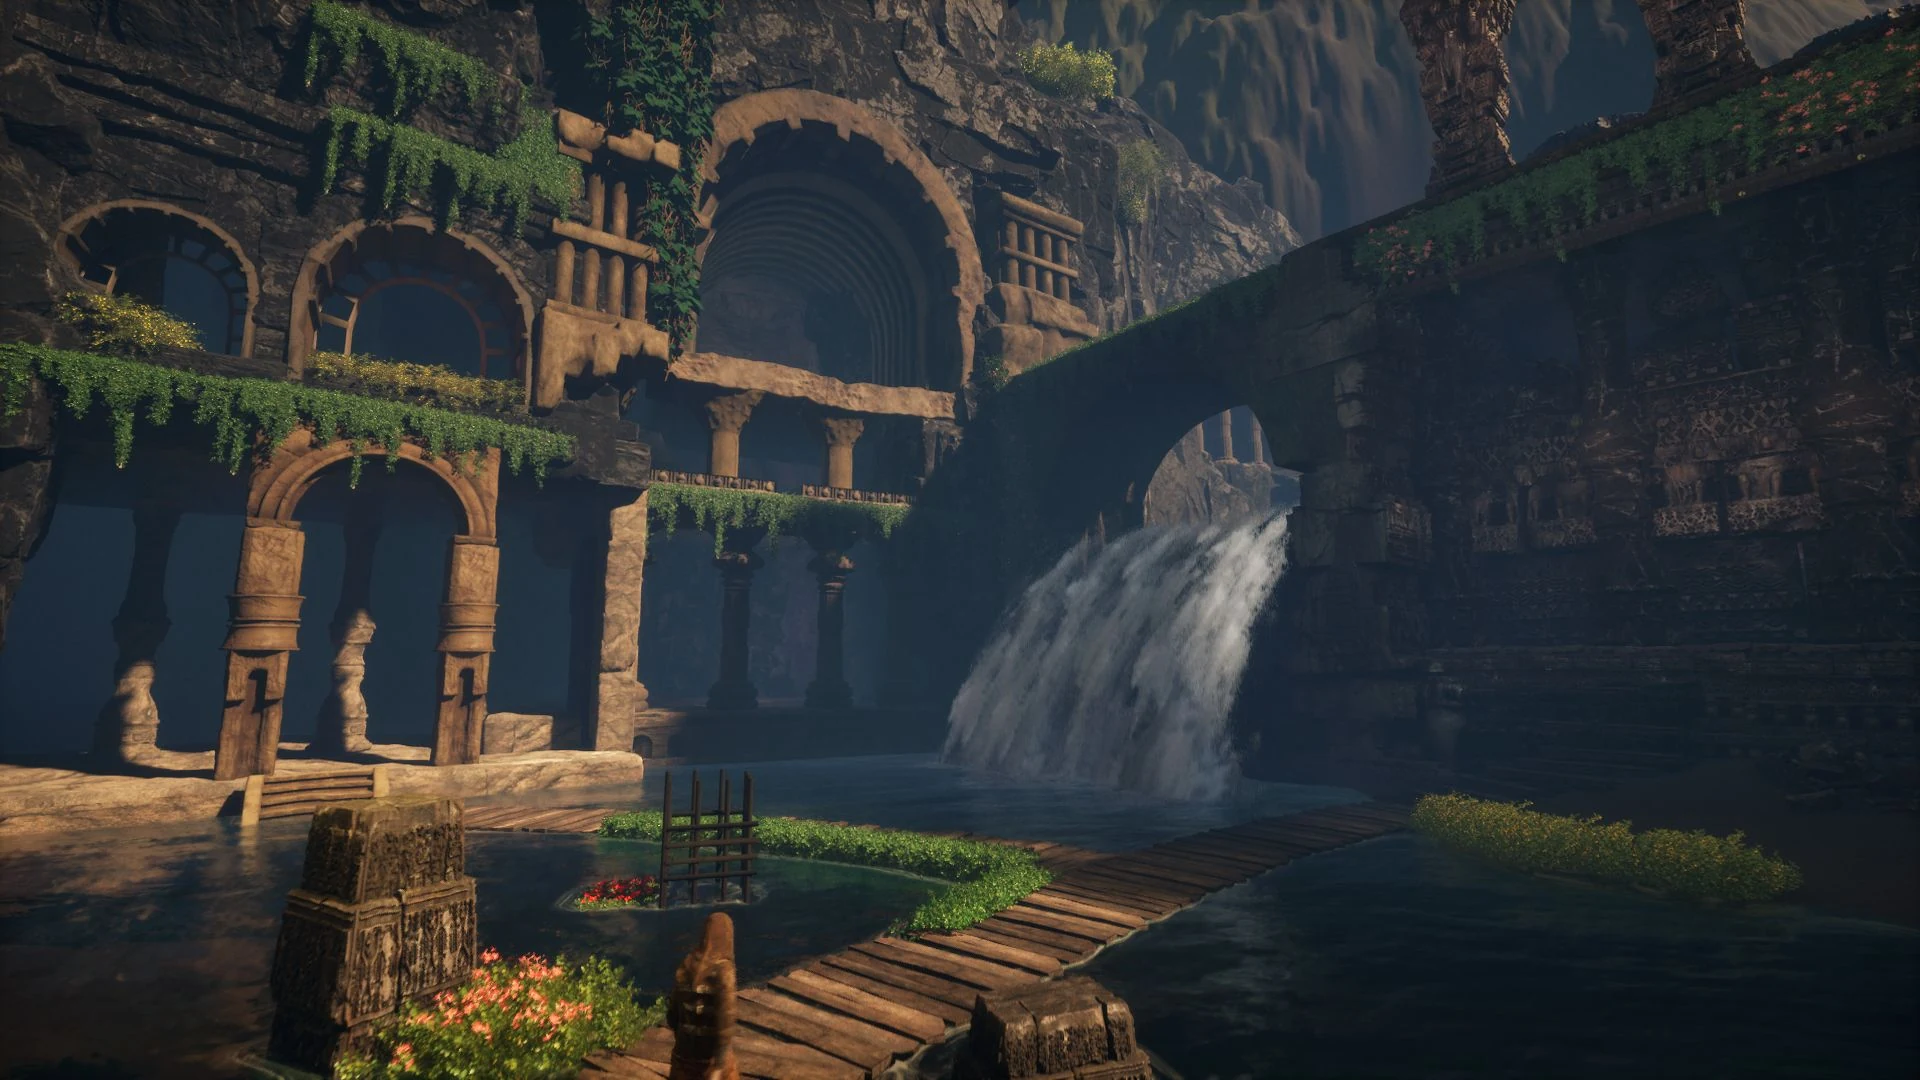
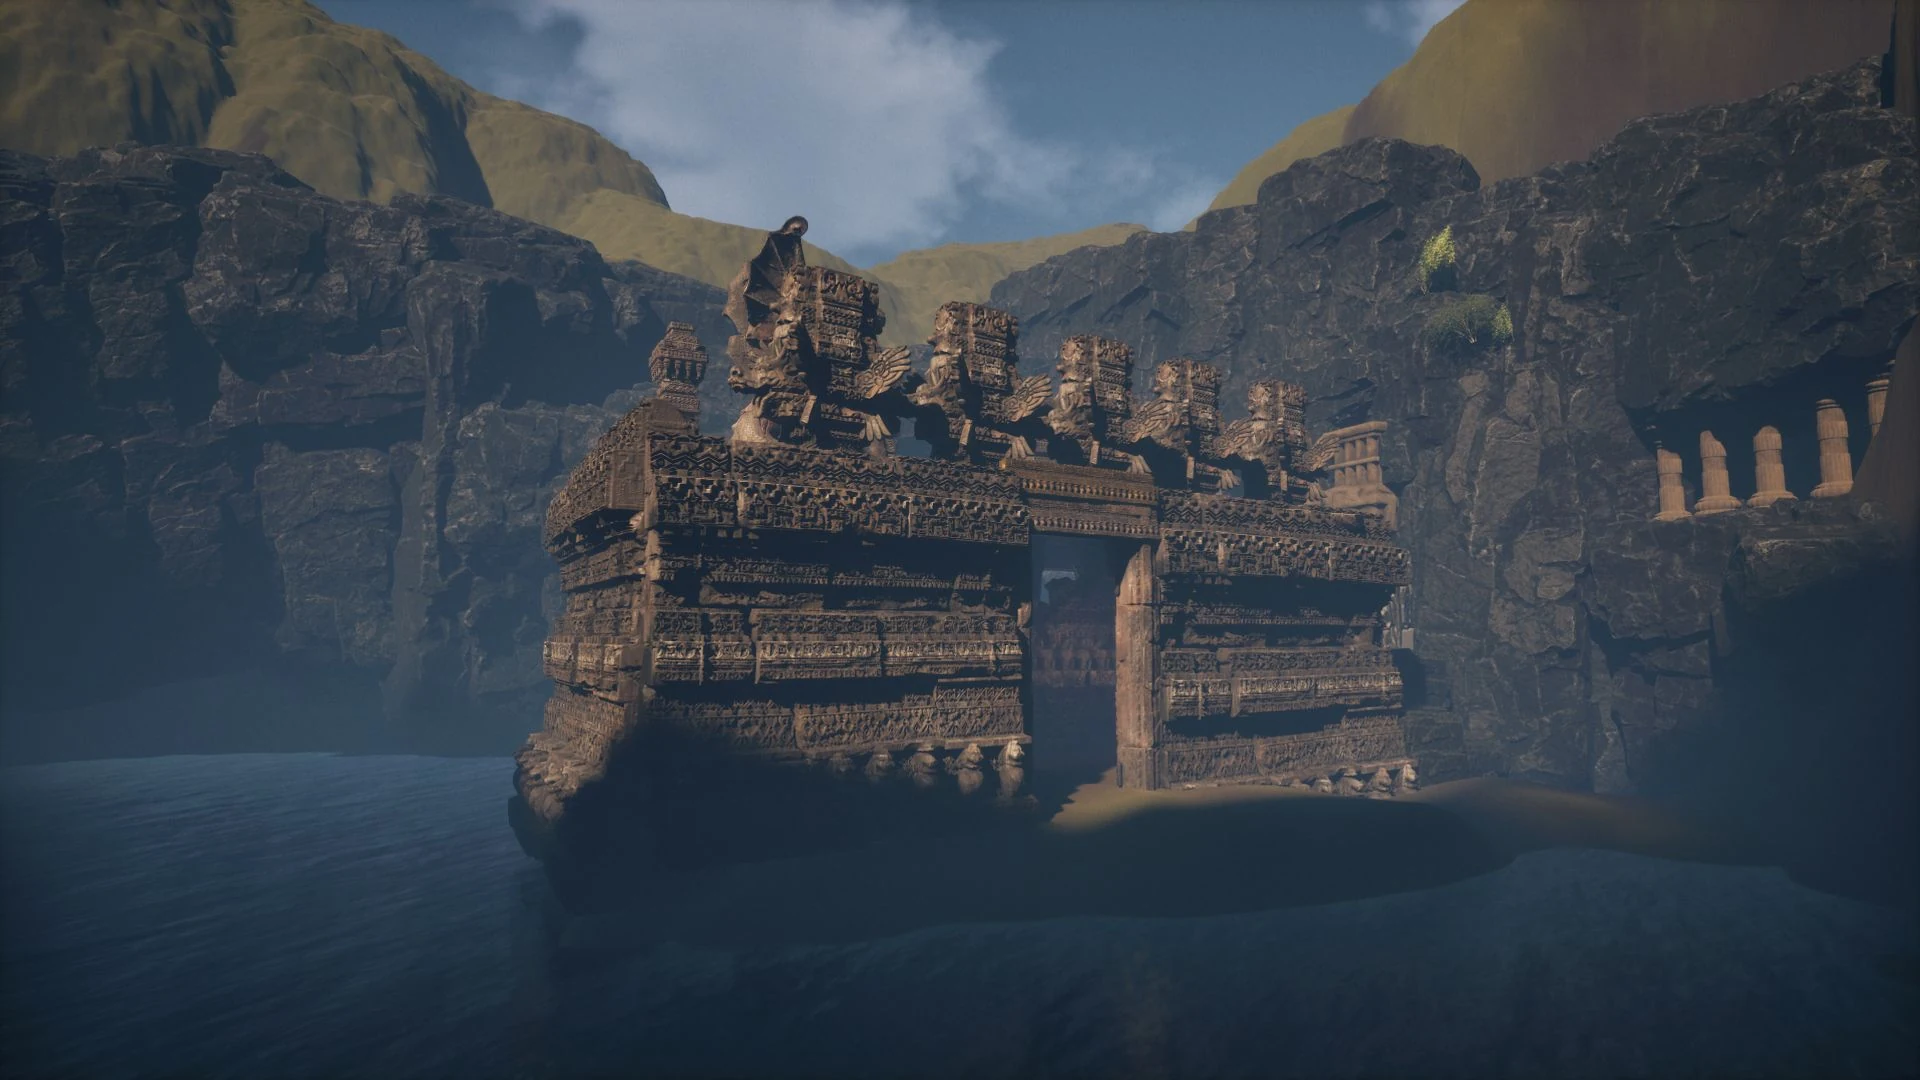
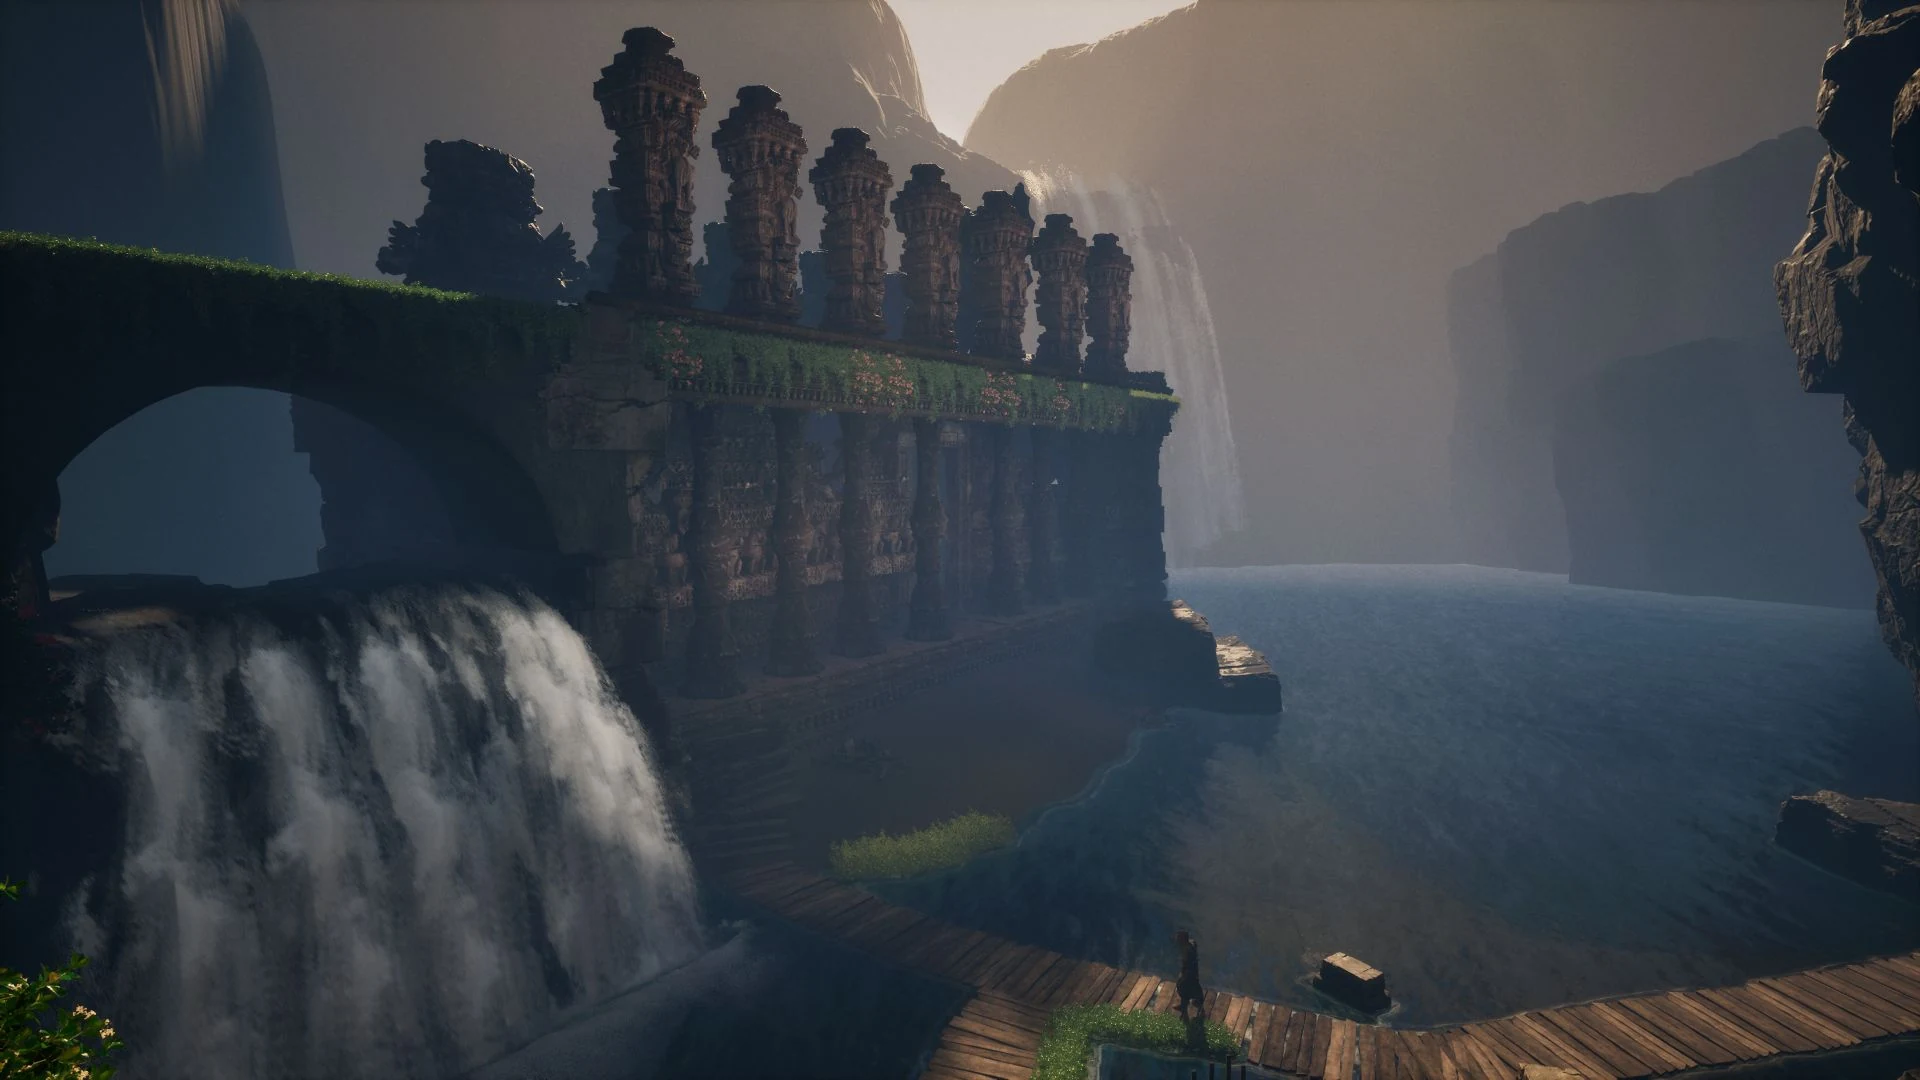
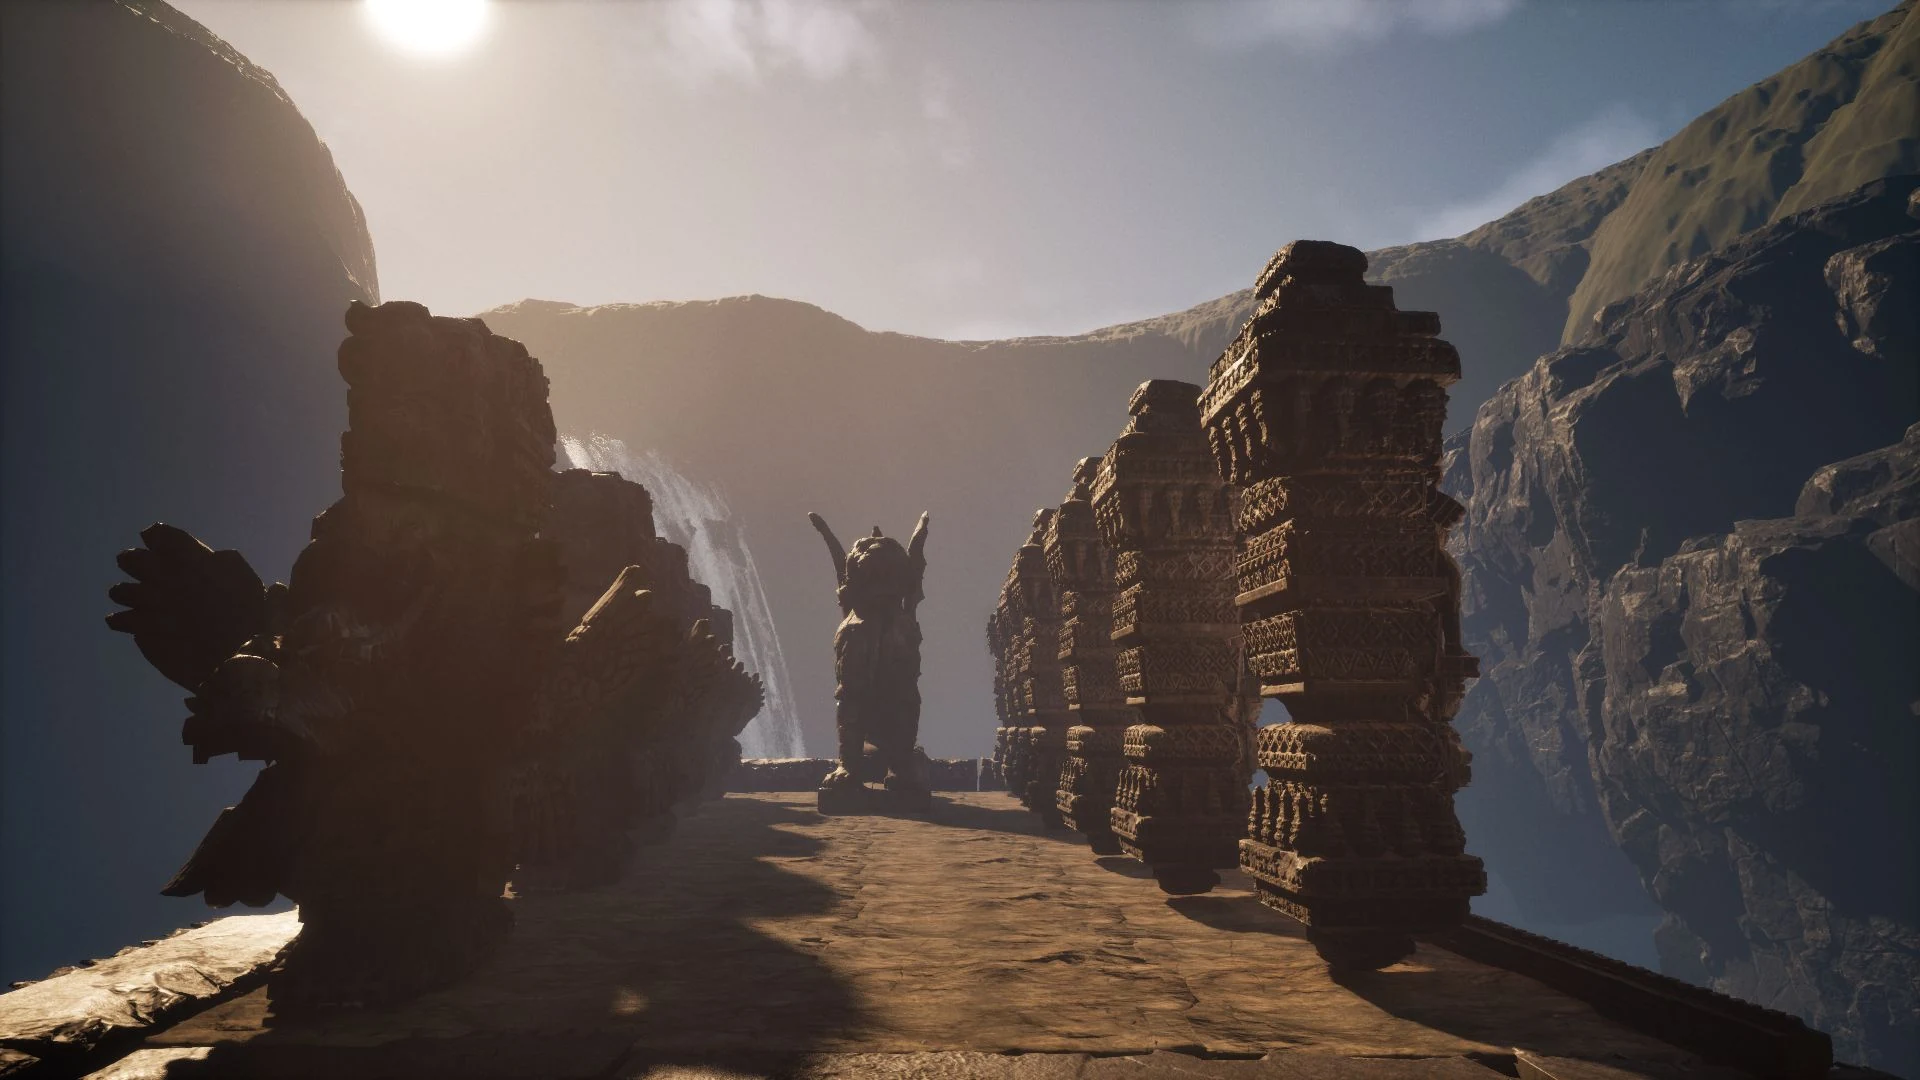
Cave Temple
- Type
- Unreal Engine 5 Scene
- Year
- 2026
- Role
- Environment Artist
- Software
- Unreal Engine 5, Substance 3D Painter, 3ds Max, RizomUV, World Creator, ZBrush
Overview
Project overview to be added.
Breakdown
How the scene was built, from the first blockout to the modular assets and the terrain.
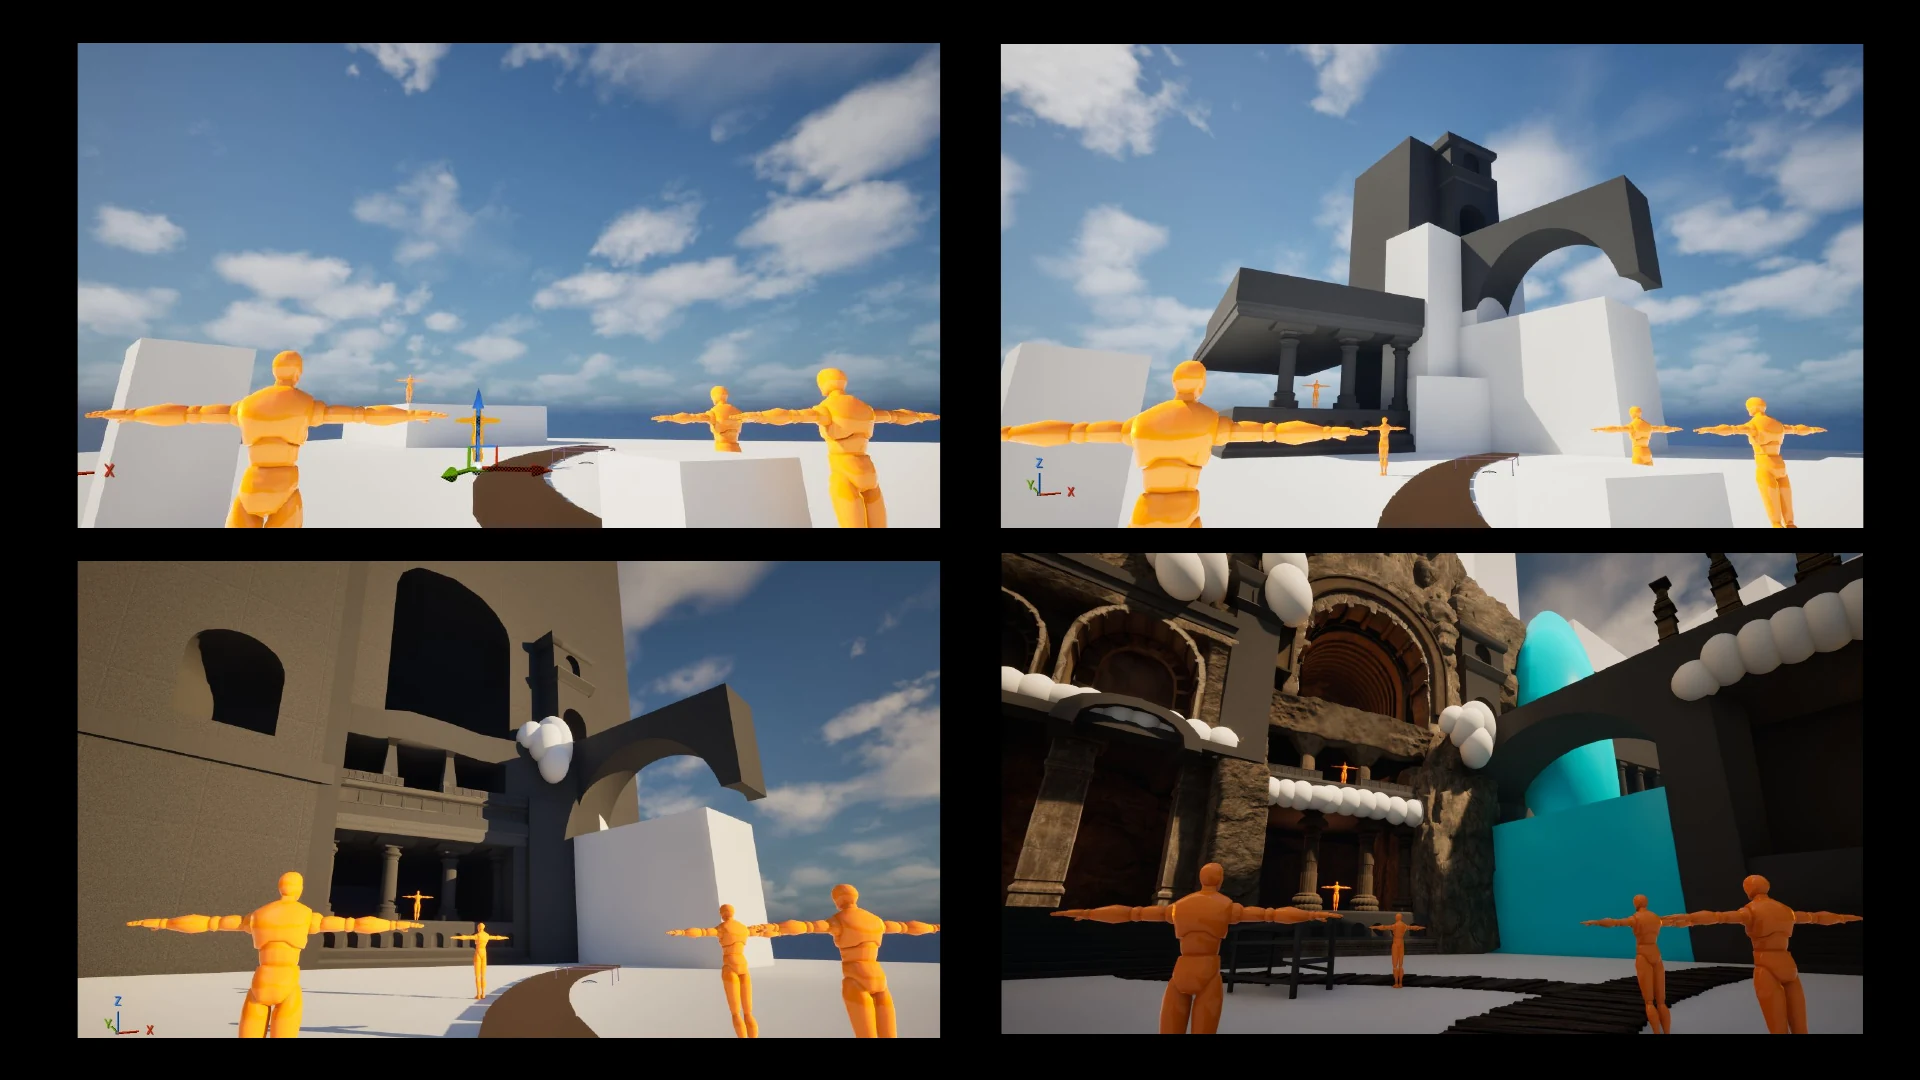
Blockout
Gray-box shapes and mannequins set the layout and scale. The main structures go in next, then the first textured assets.
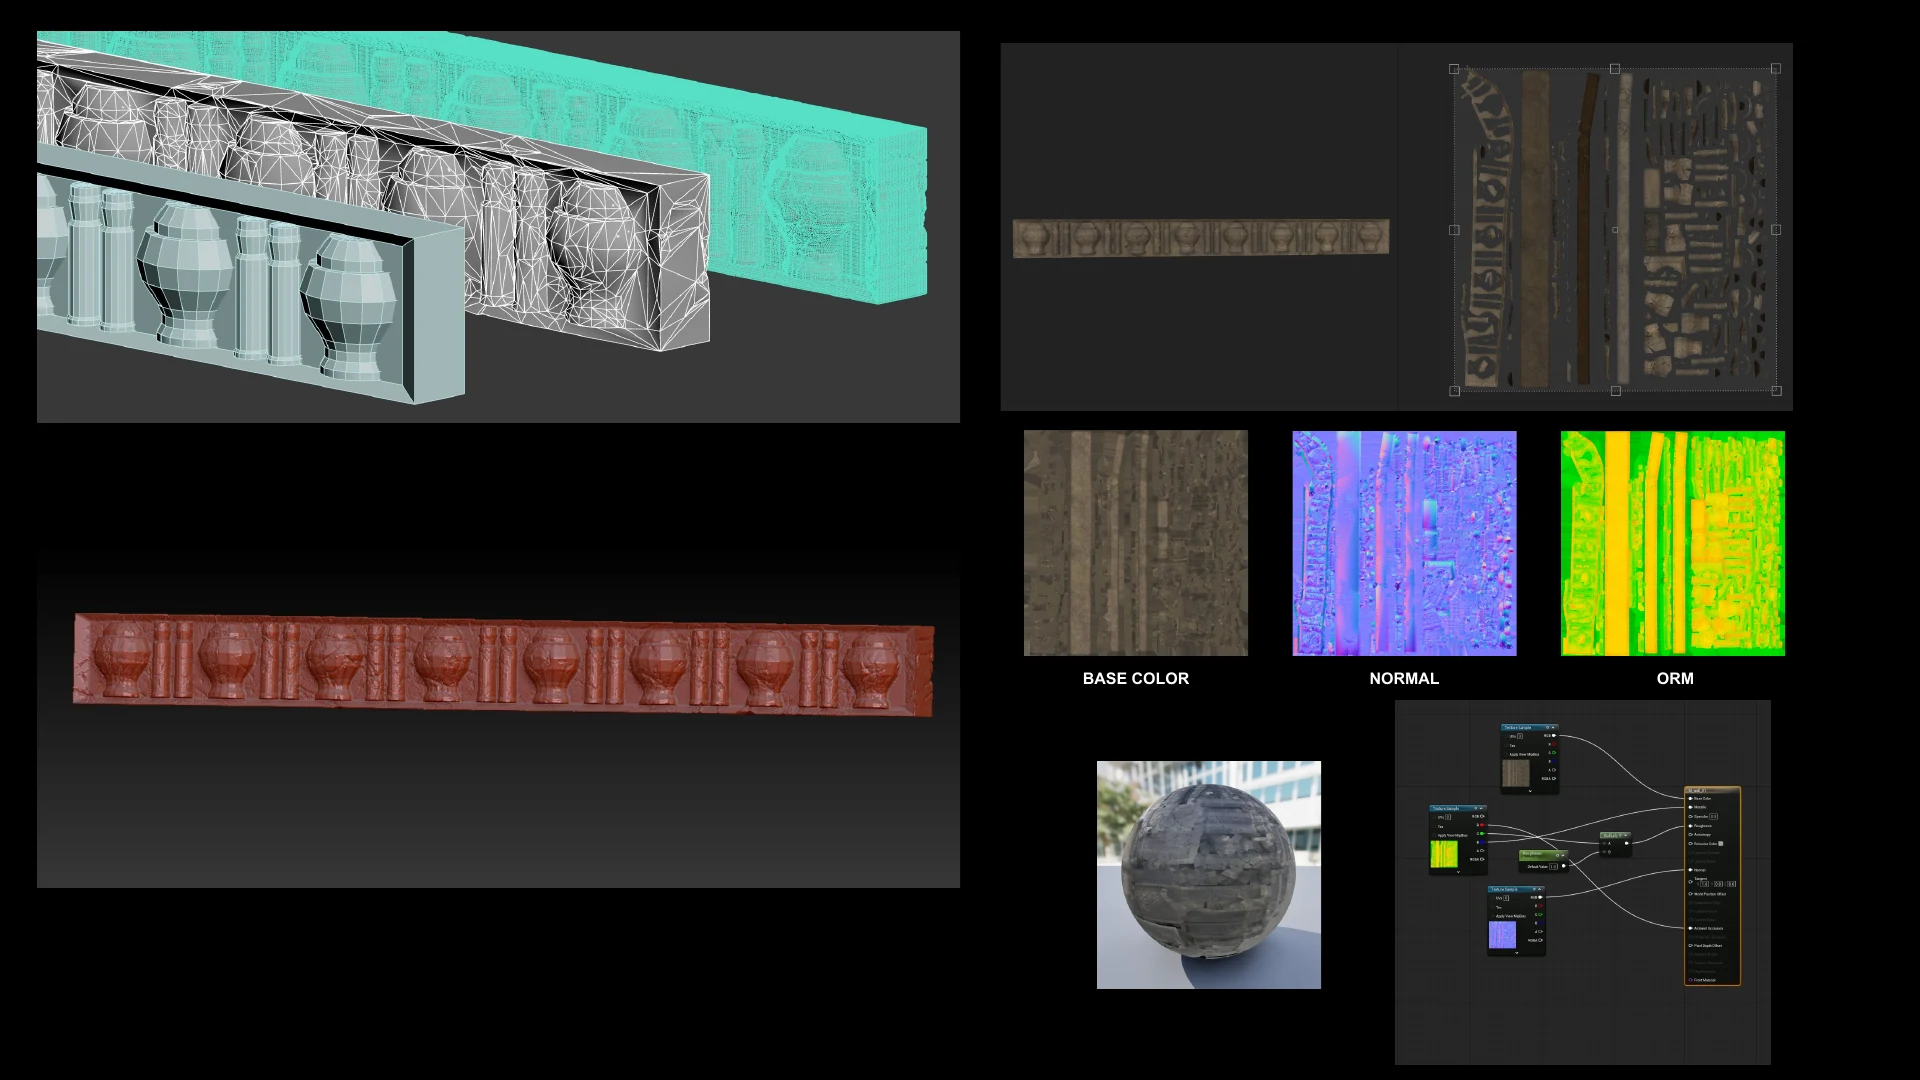
Trim Sheet
A carved trim, modeled in 3ds Max and sculpted in ZBrush, then baked into a trim sheet with Base Color, Normal and ORM maps and set up as a material in Unreal Engine.
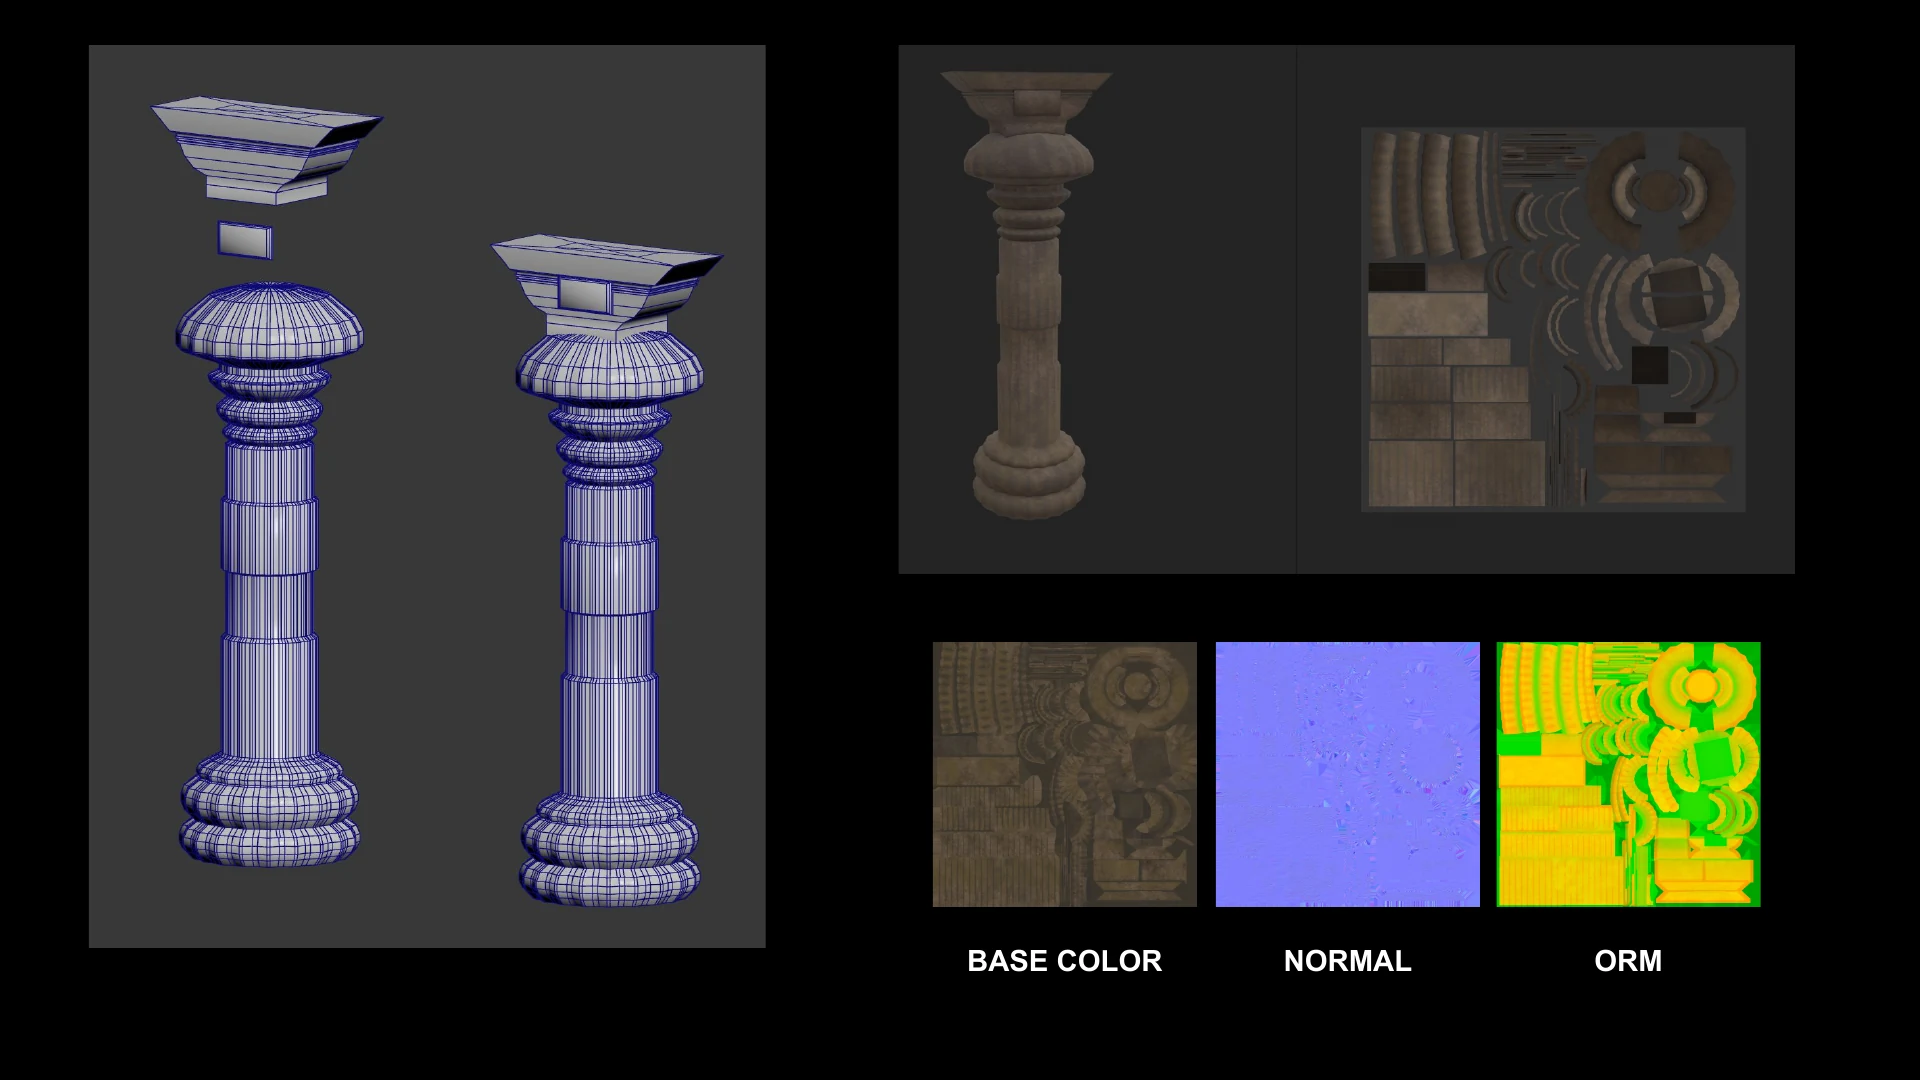
Column
Modeled in 3ds Max and textured in Substance 3D Painter, with Base Color, Normal and ORM maps.
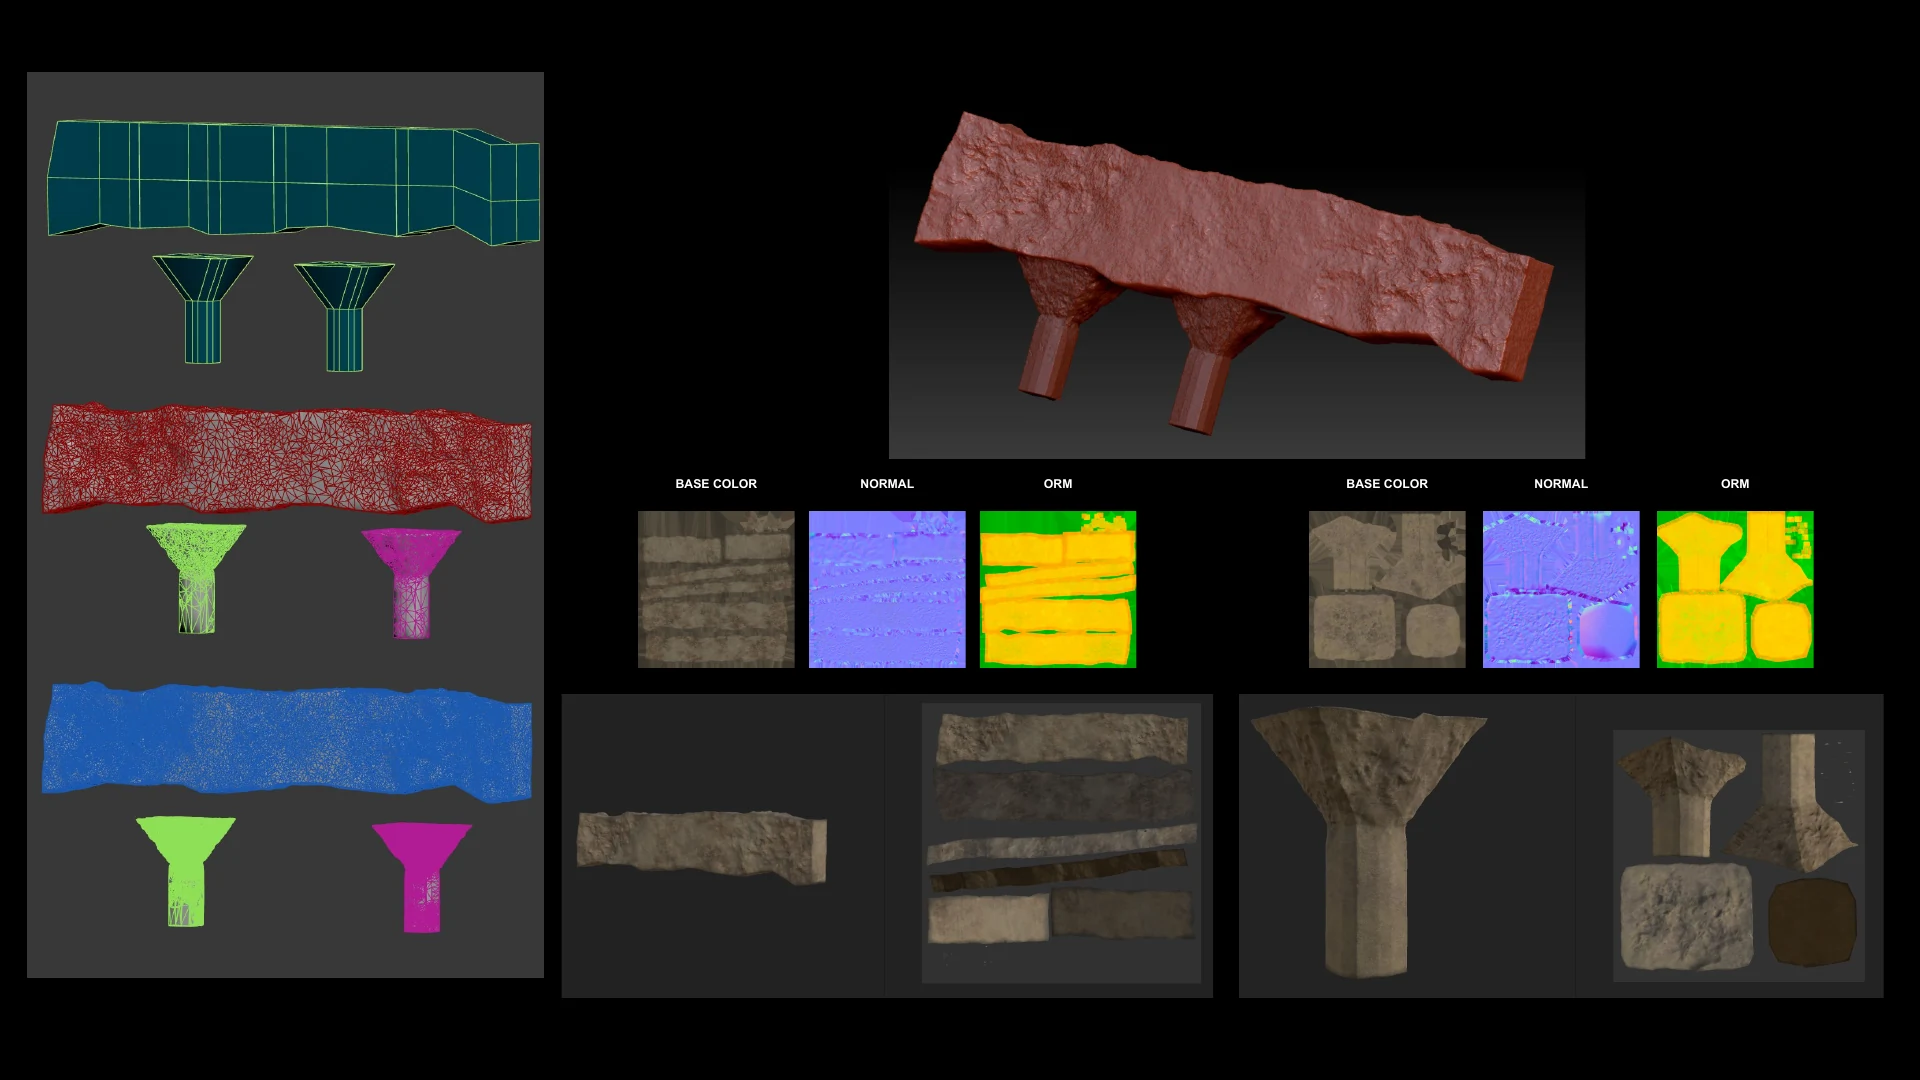
Stone Slab and Supports
Low poly, high poly and a ZBrush sculpt, then two texture sets in Substance 3D Painter, one for the slab and one for the supports.
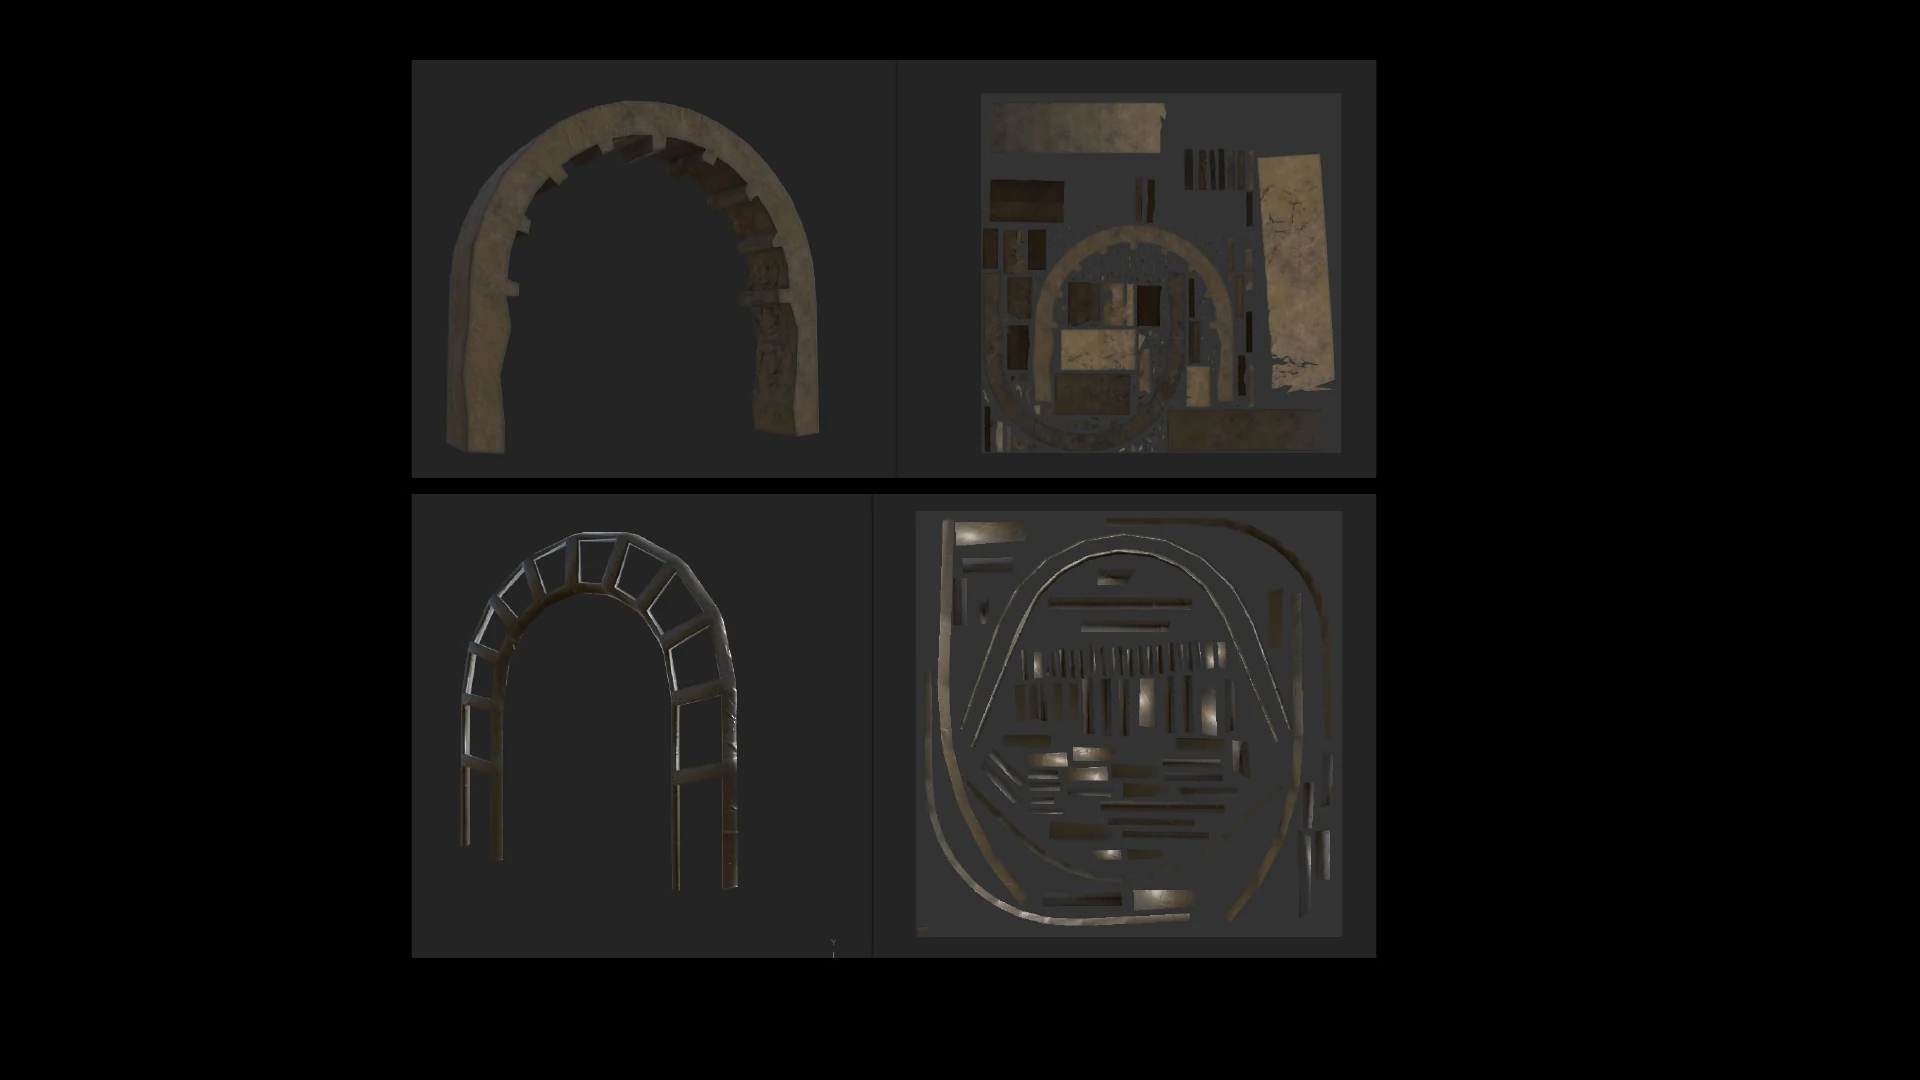
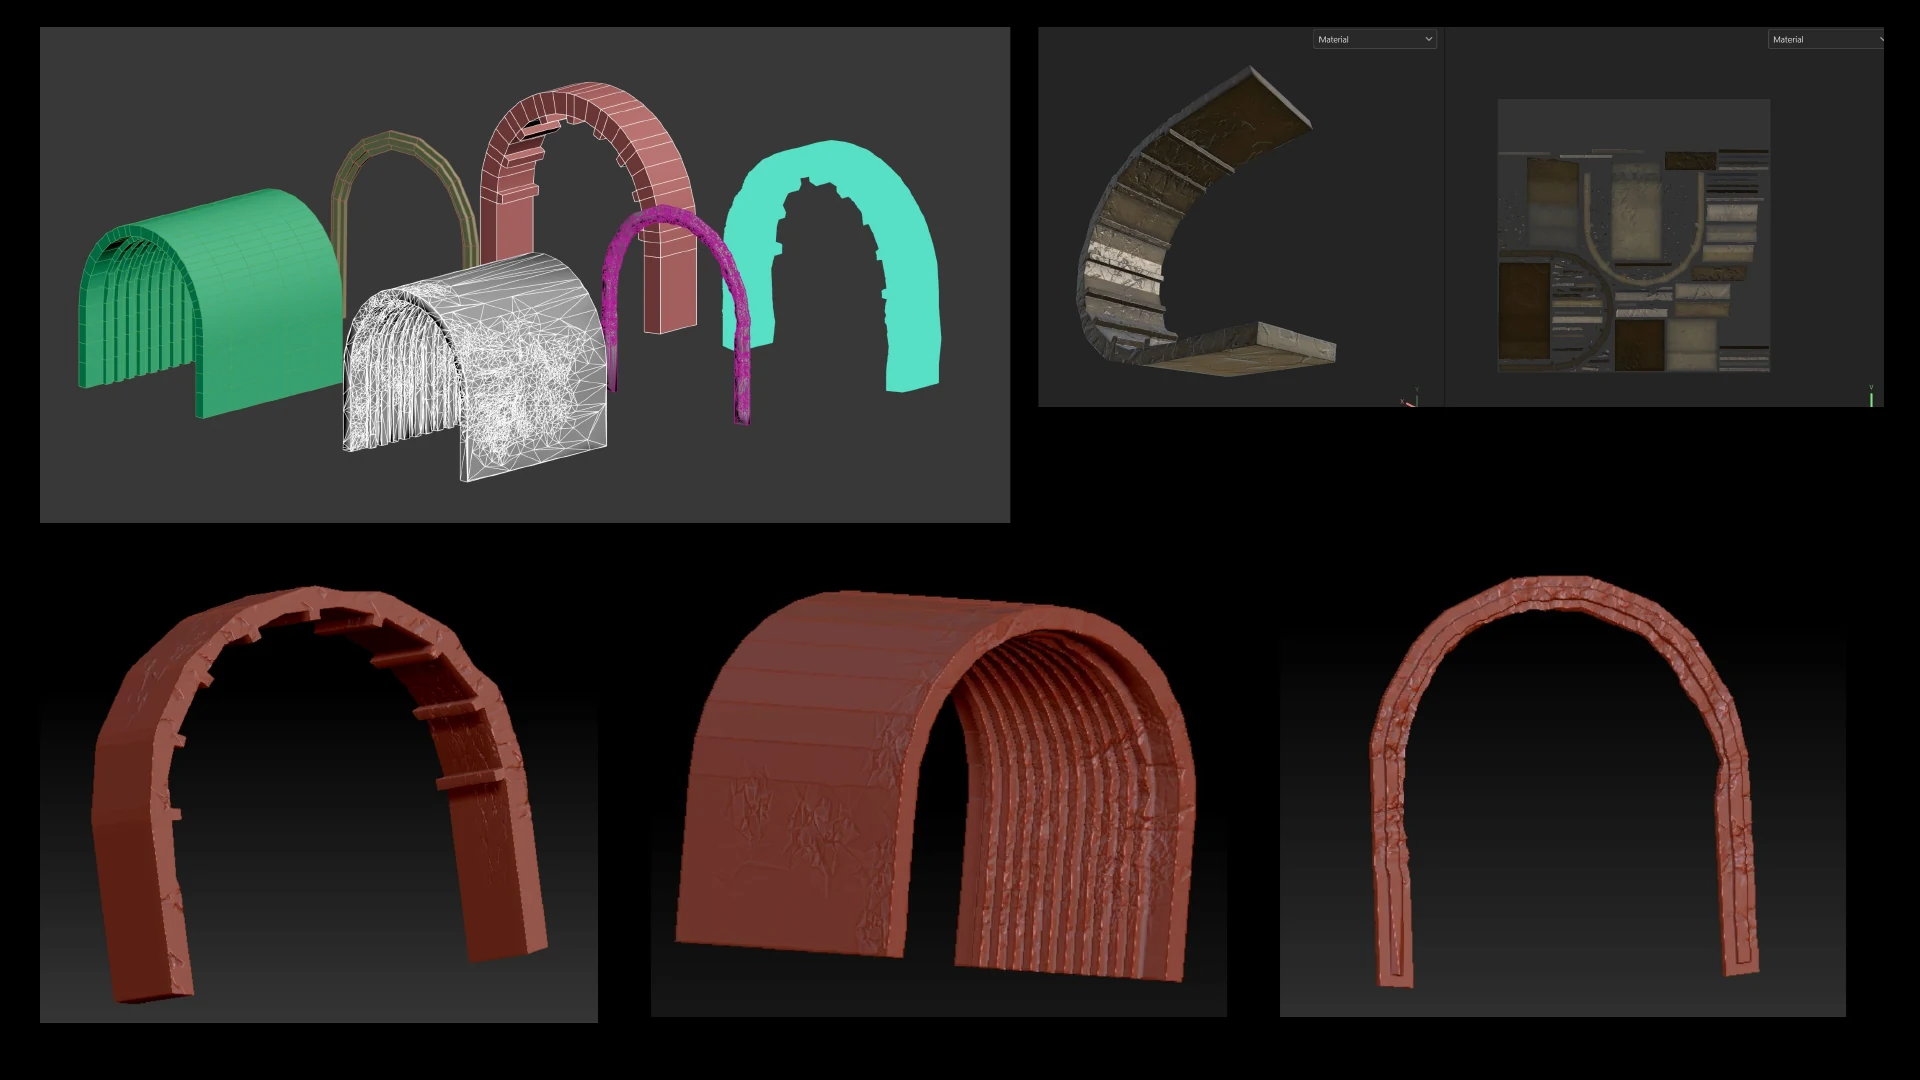
Arches
Arch and vault pieces, modeled in 3ds Max, sculpted in ZBrush and textured in Substance 3D Painter.
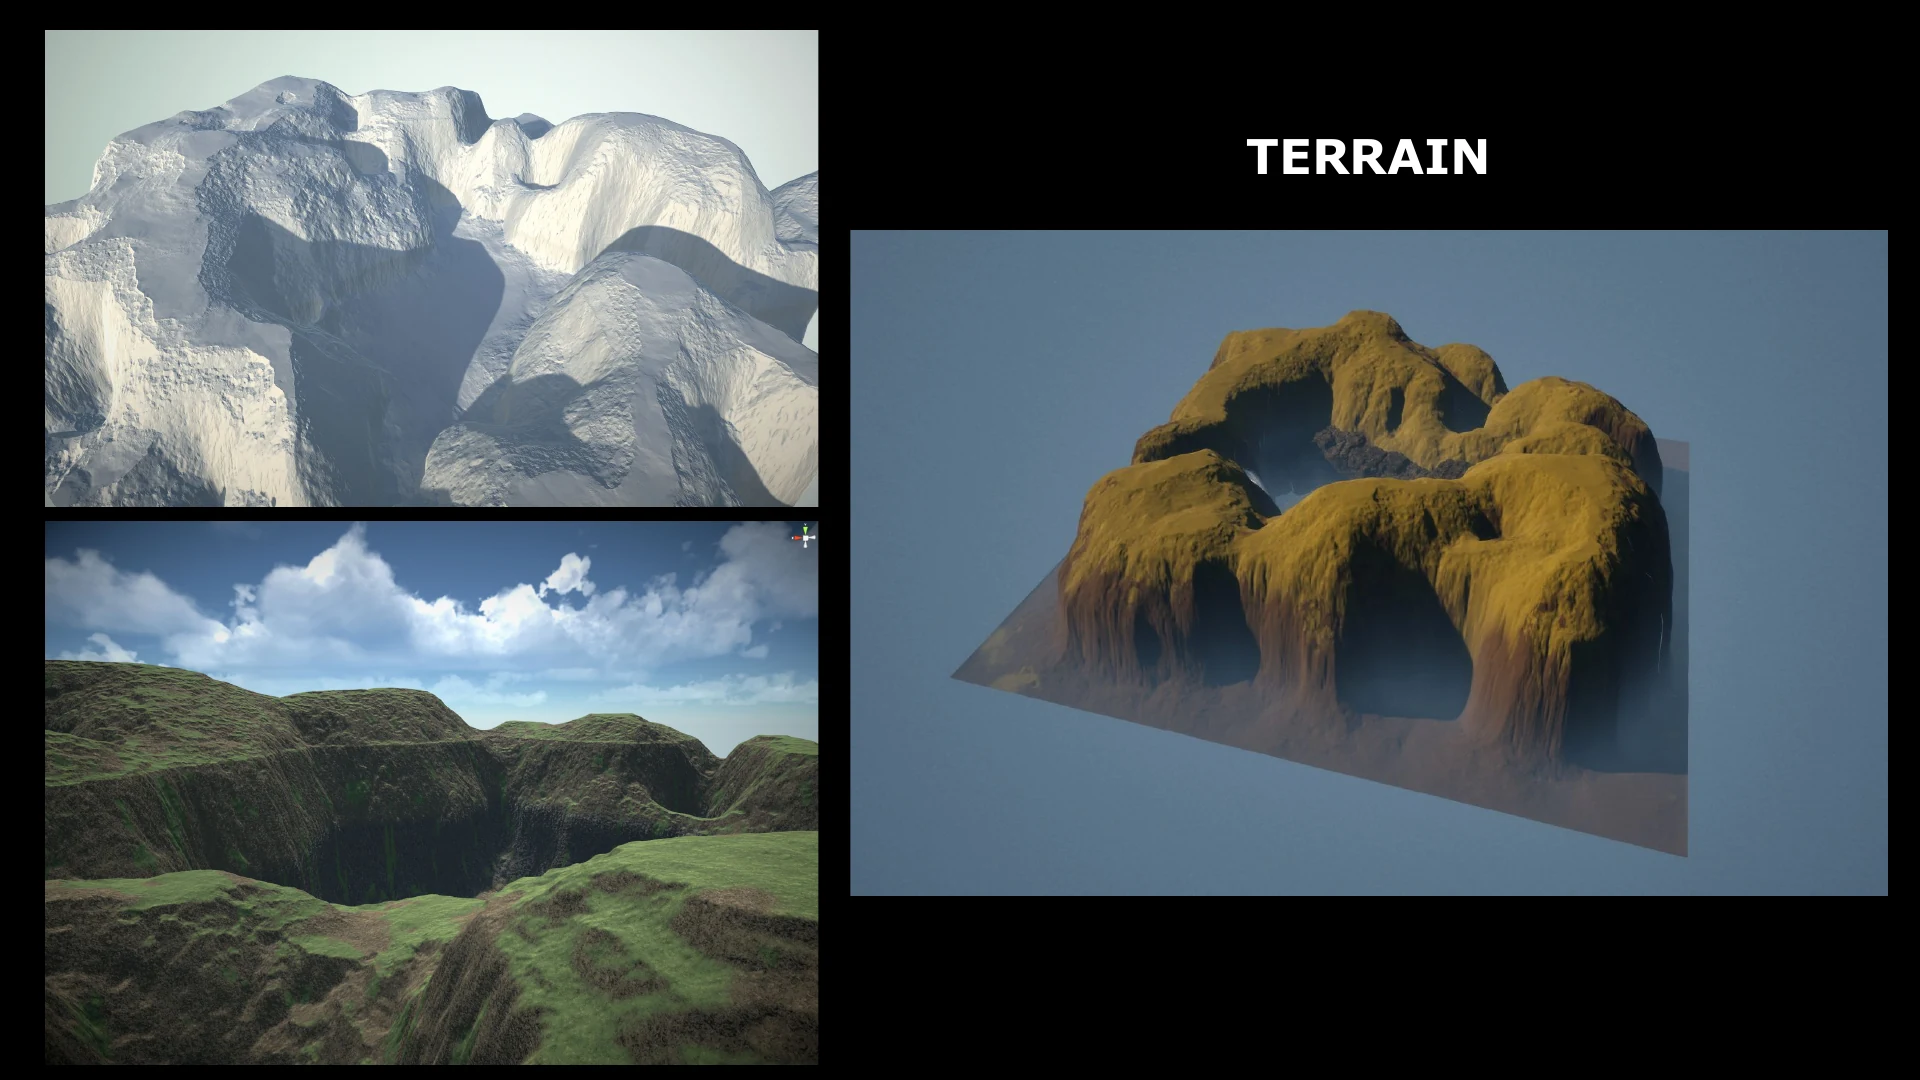
Terrain
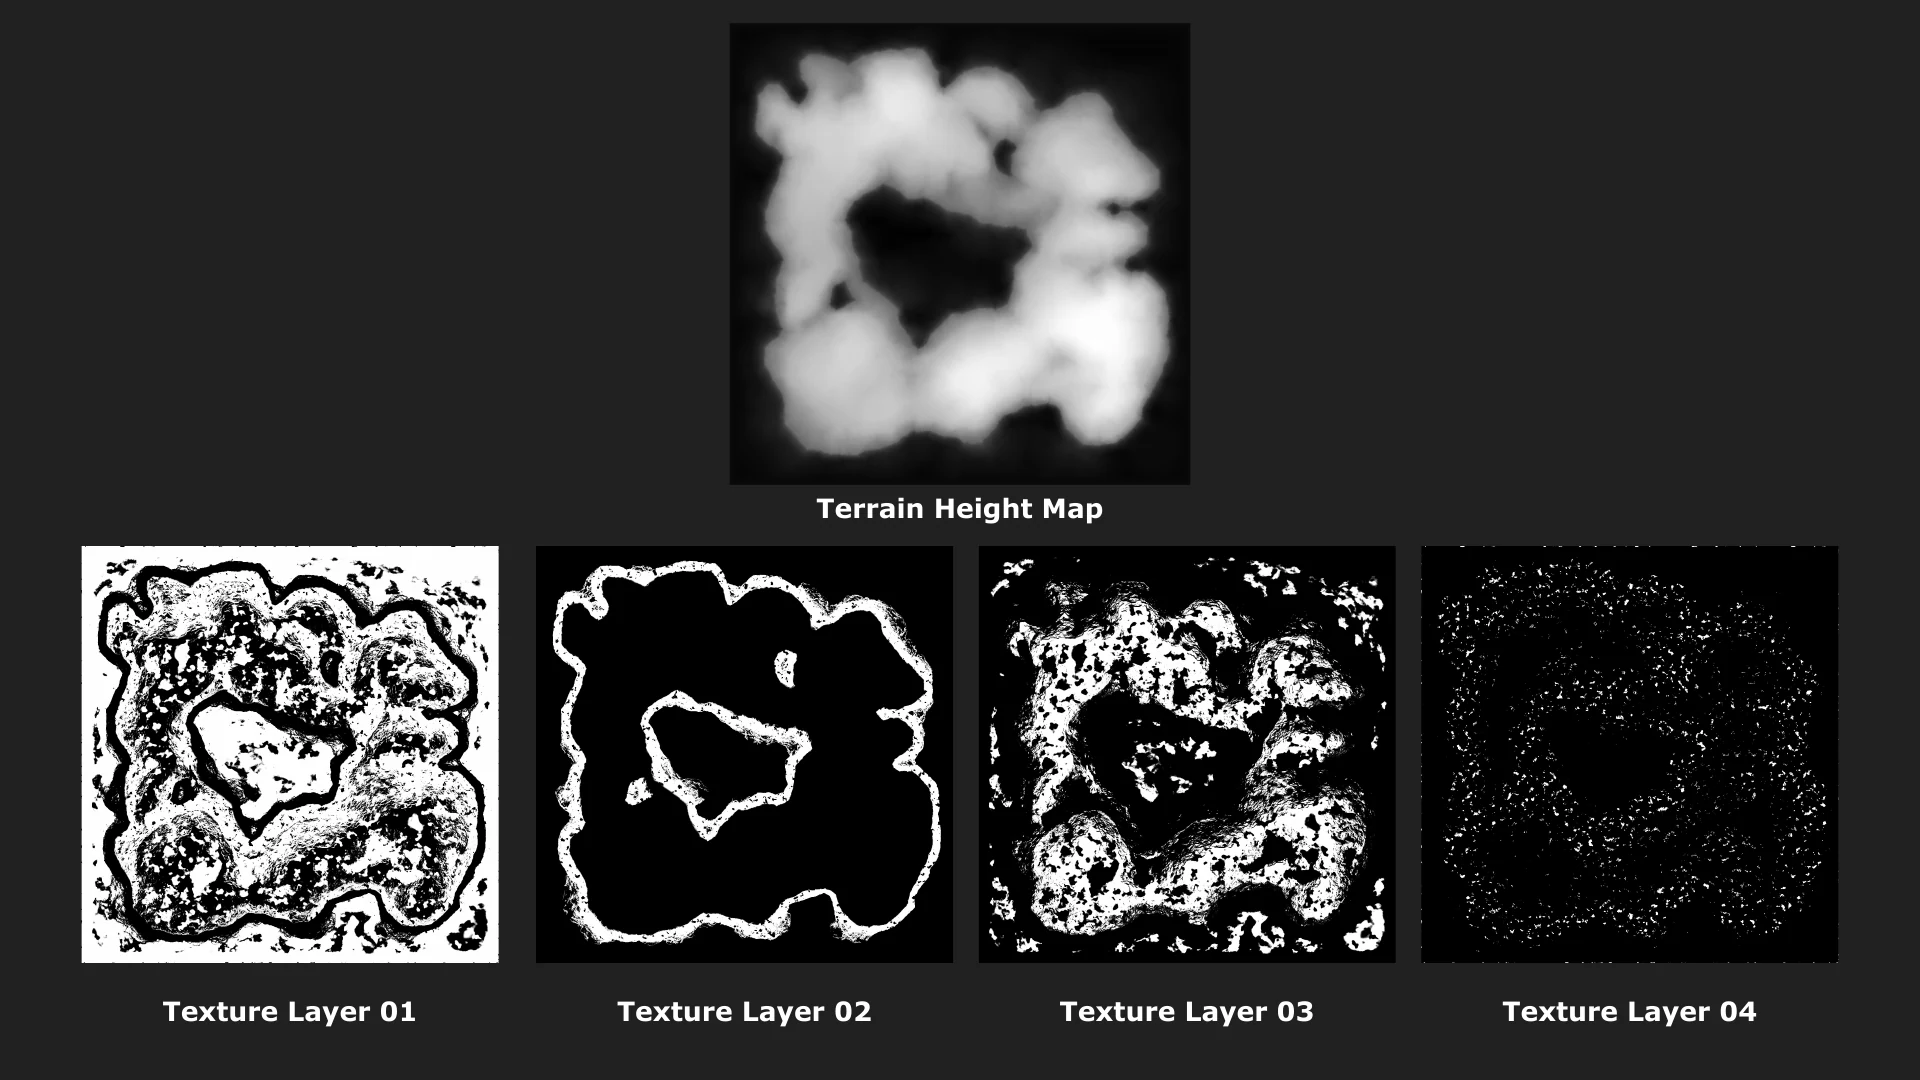
The terrain comes from World Creator, shown here with its height map and four texture-layer masks.
05 studies
Lab
Technical exploration, experiments, and ongoing studies.
Icicle Material
Oct 2026, Unreal Engine
A study of an icicle and ice-surface material for mid- to far-distance snow and ice scenes, built step by step in the Unreal Engine Material Editor and tuned through a material instance. Screenshots follow the order of the original notes.
- Engine
- Unreal Engine
- Focus
- SSS, Fresnel, refraction, WPO
- Use
- Mid- to far-distance ice and snow
Base Material
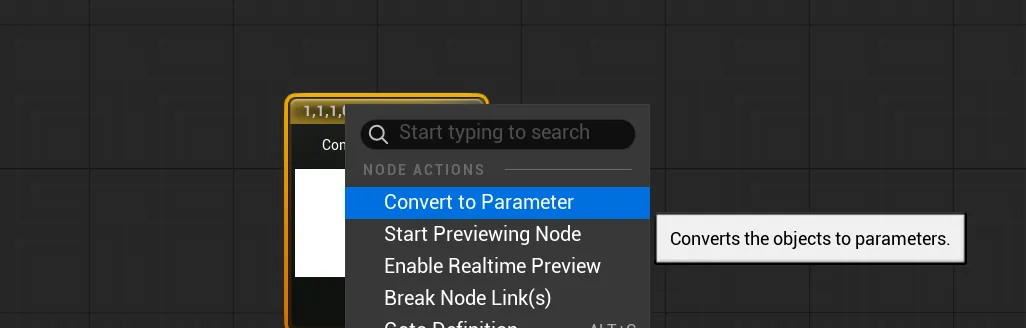
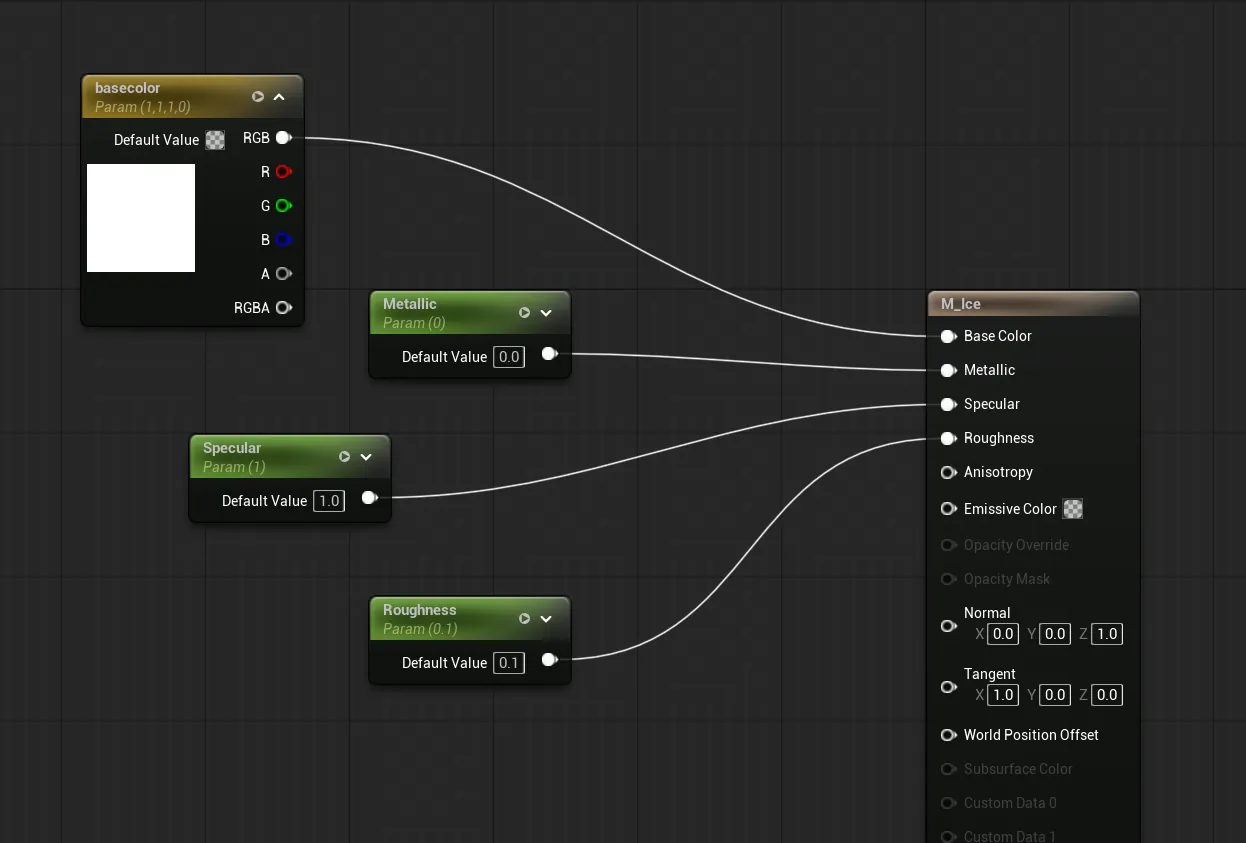
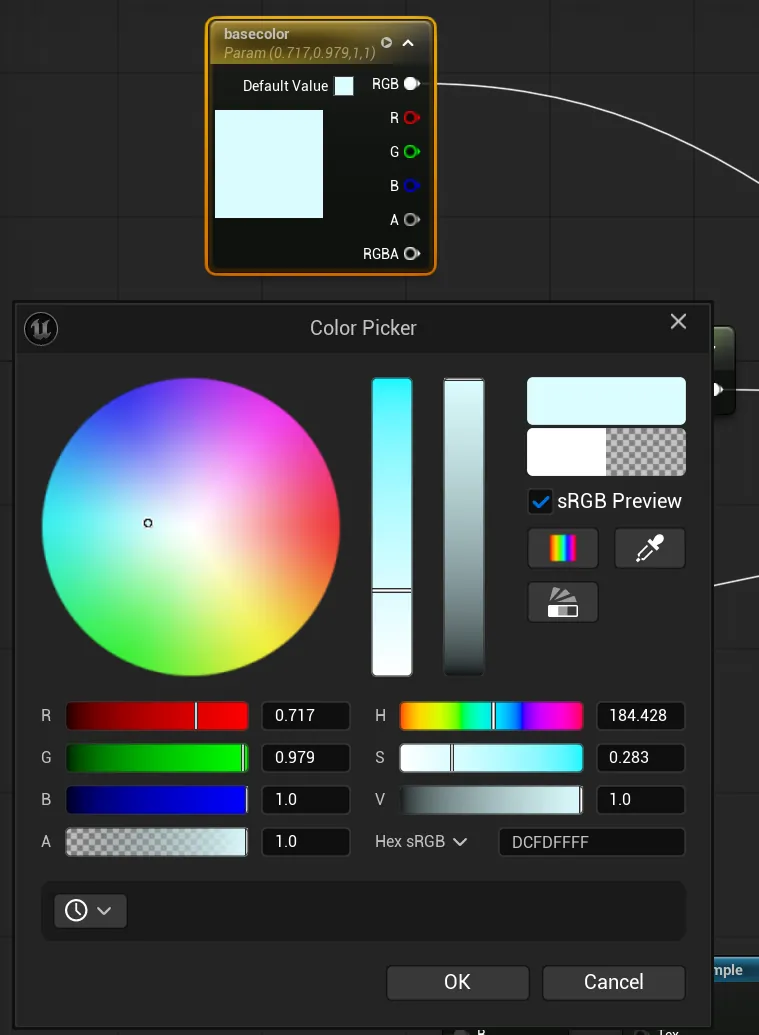
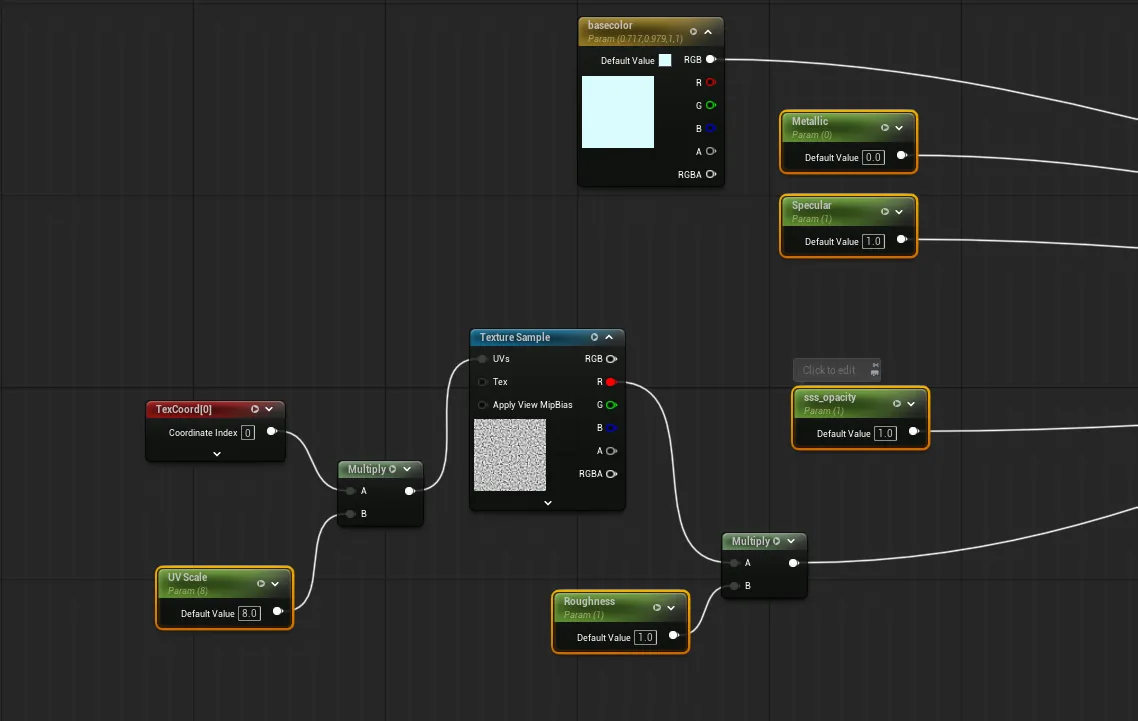
A four-vector parameter drives Base Color, white to start and later a pale blue. Specular is set to 1.0, Roughness to 0.1 and Metallic to 0.0 for now, so the surface can first be shaped to read as snow-dusted ice.
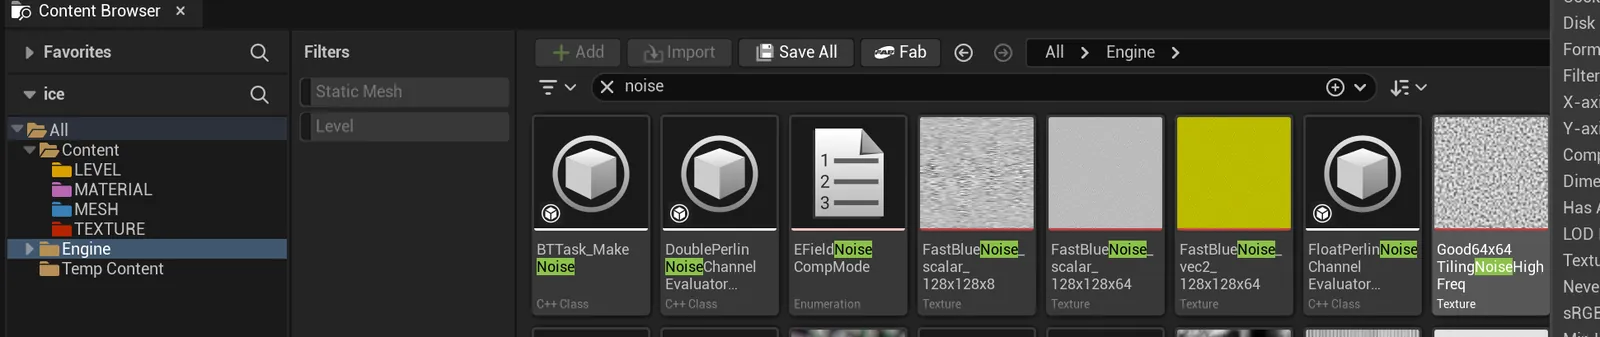
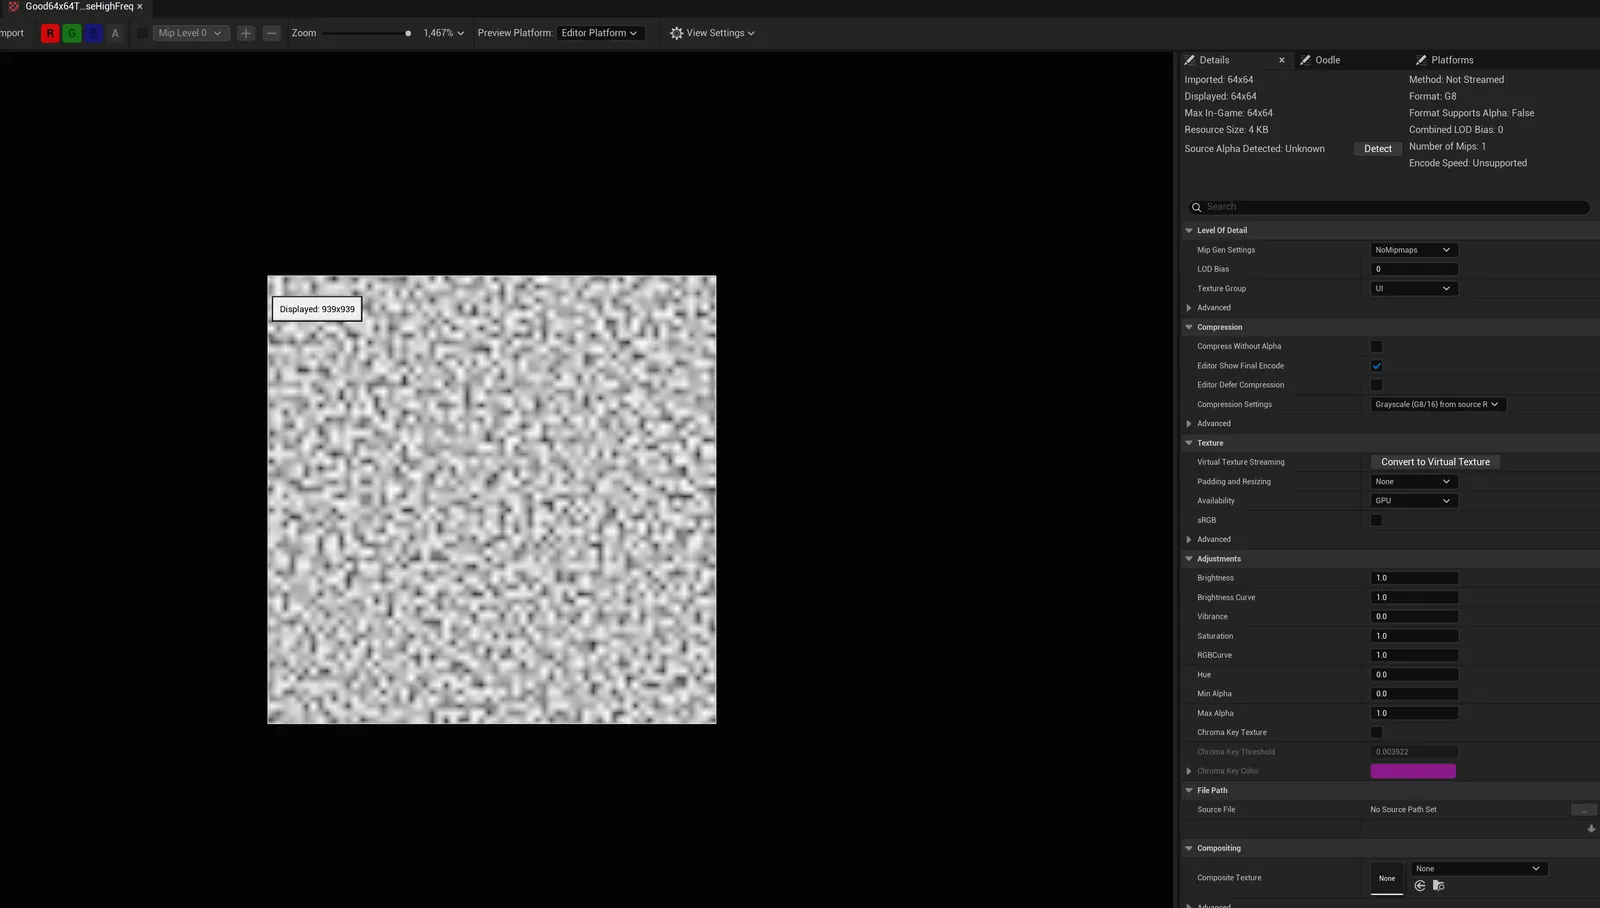
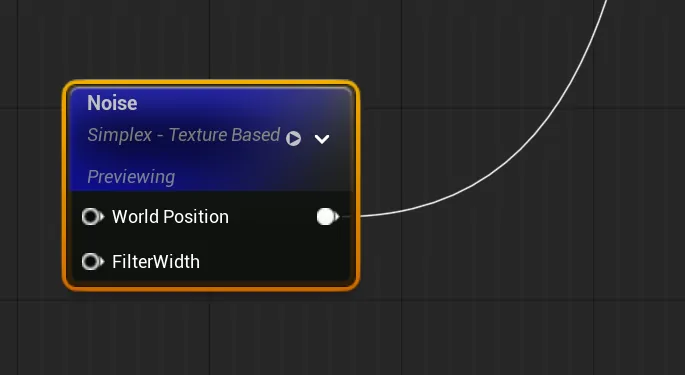
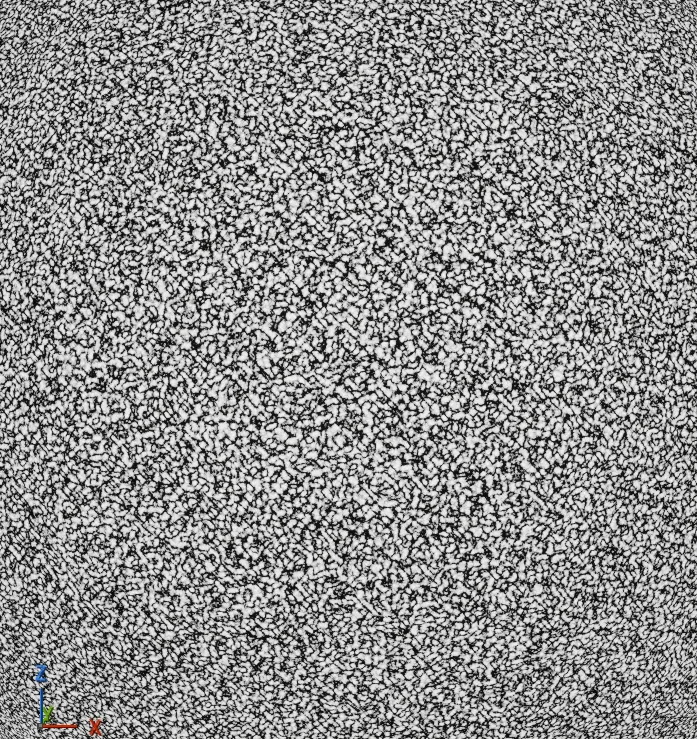
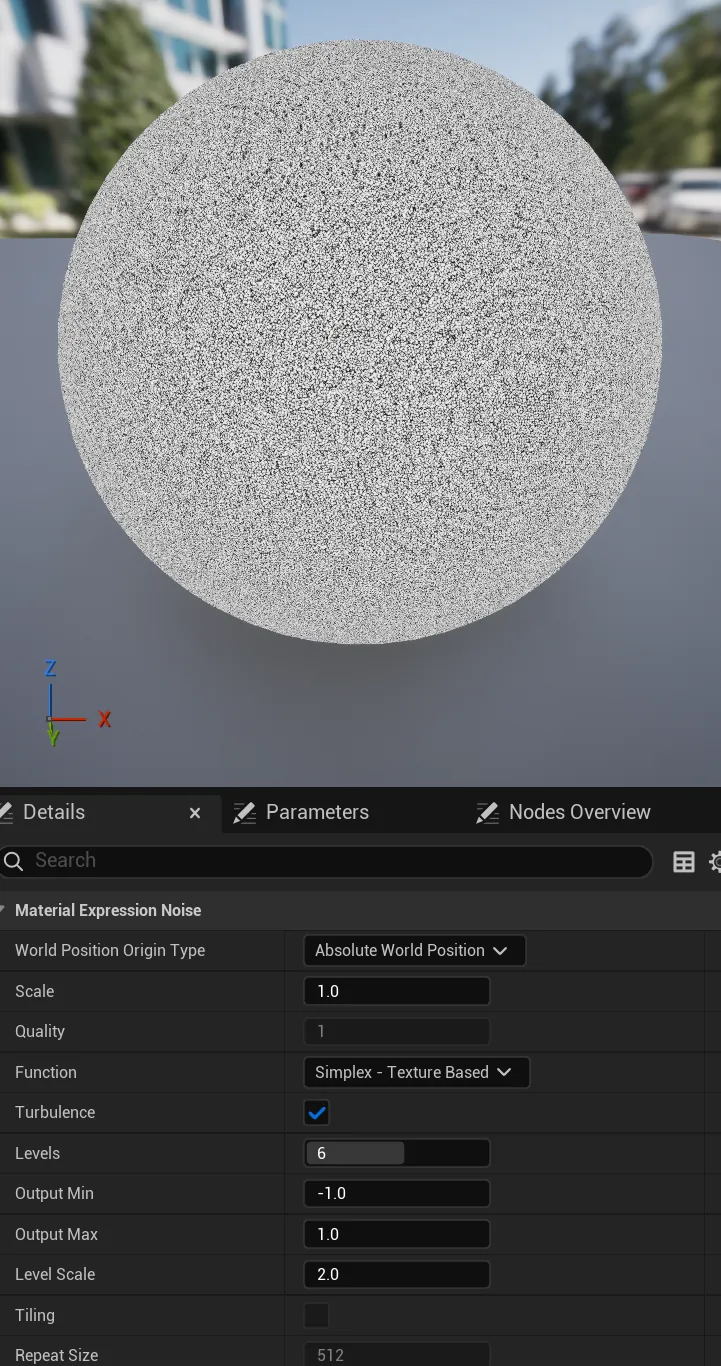
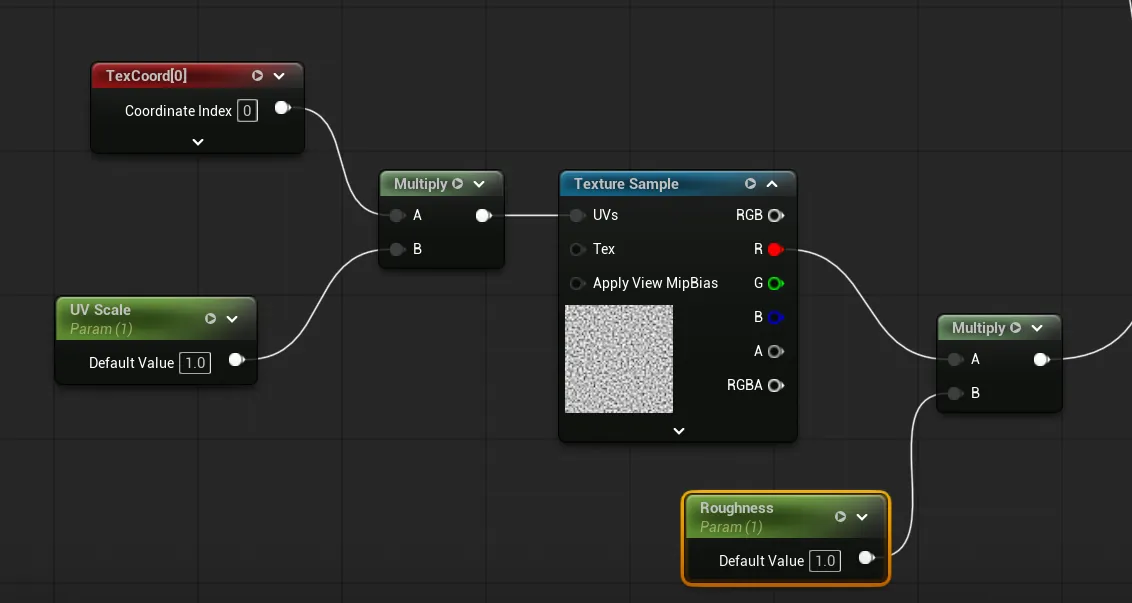
Roughness comes from the engine’s high-frequency noise texture. Only its red channel carries data, so R alone feeds Roughness (white is rough, black is smooth), multiplied by a Roughness scalar for overall control.
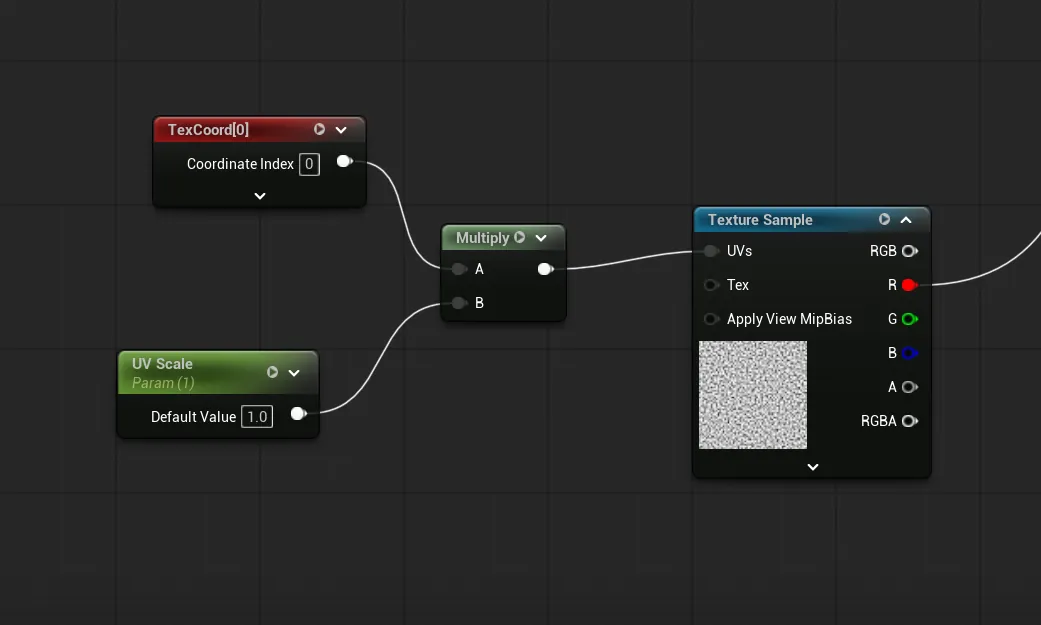
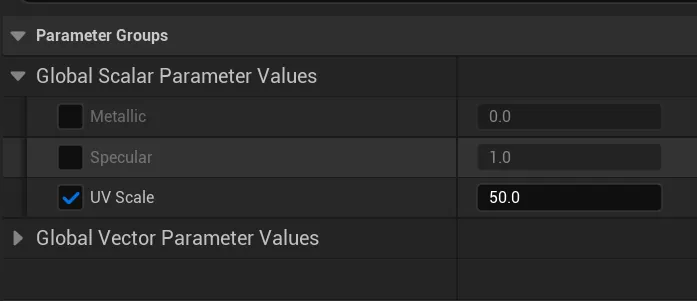
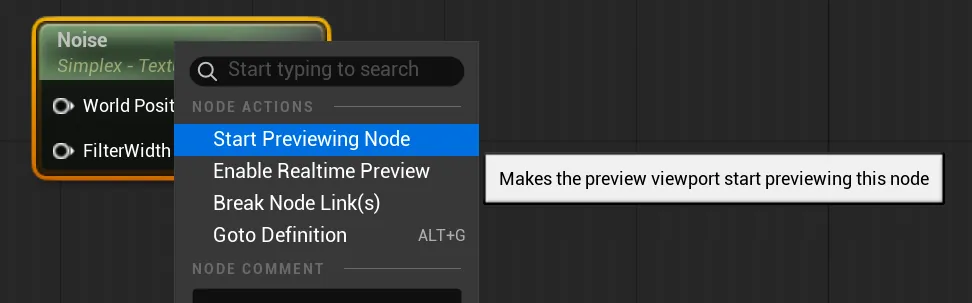
TexCoord × UV Scale feeds the texture’s UVs: a higher scale tiles more and makes the pattern smaller. At a UV Scale of 50 in the material instance, the texture becomes a barely-there surface detail. A texture is also cheaper than a procedural noise node, which is a long chain of instructions.
Subsurface Scattering
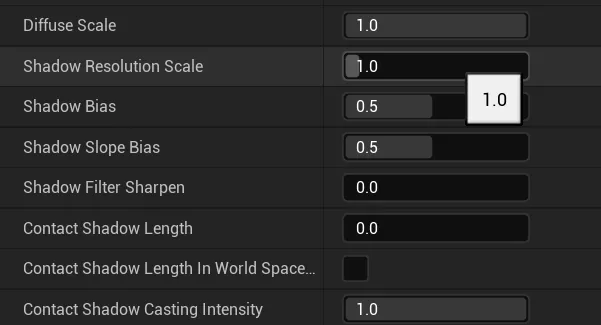
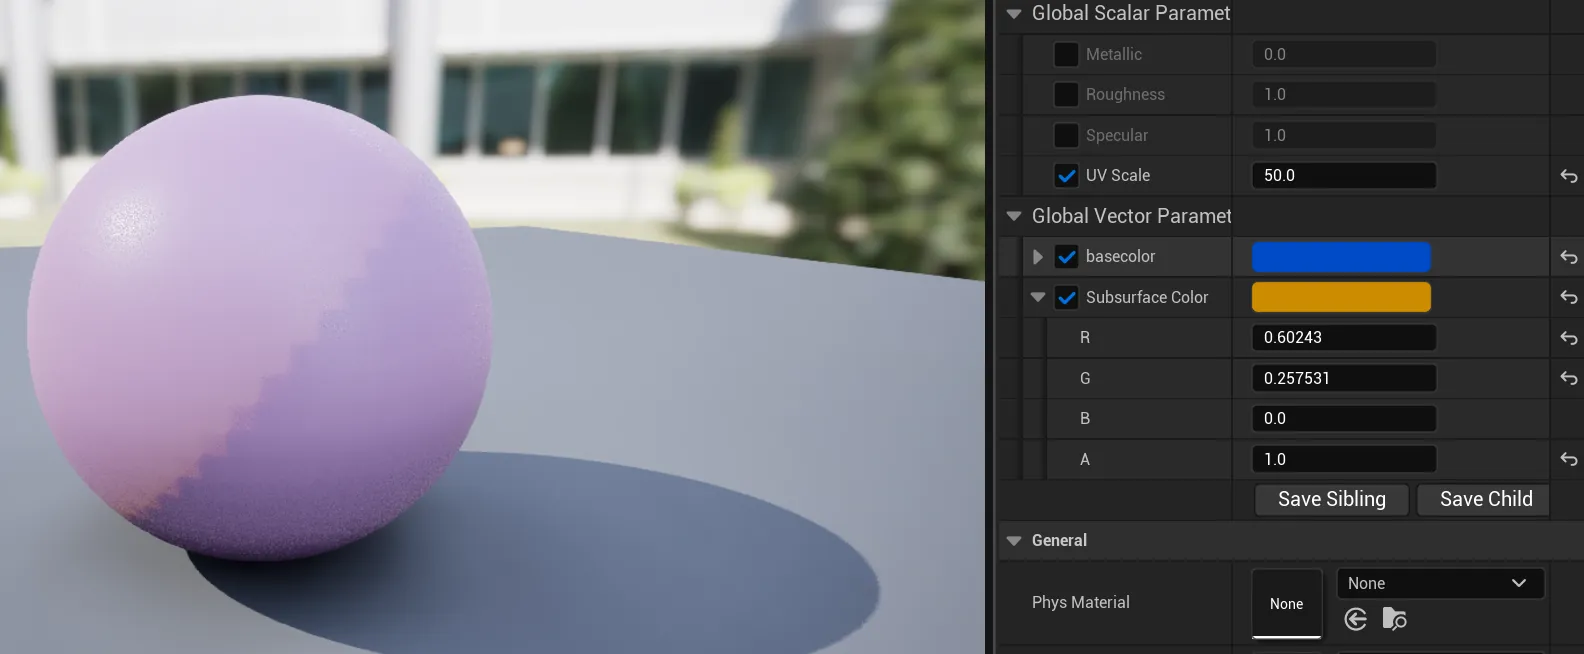
To track down jagged shadows, the first test is raising the directional light’s Shadow Resolution Scale. If that helps, the shadow map is the cause; if not, check polygon count, silhouette, normals, topology and shadow bias.
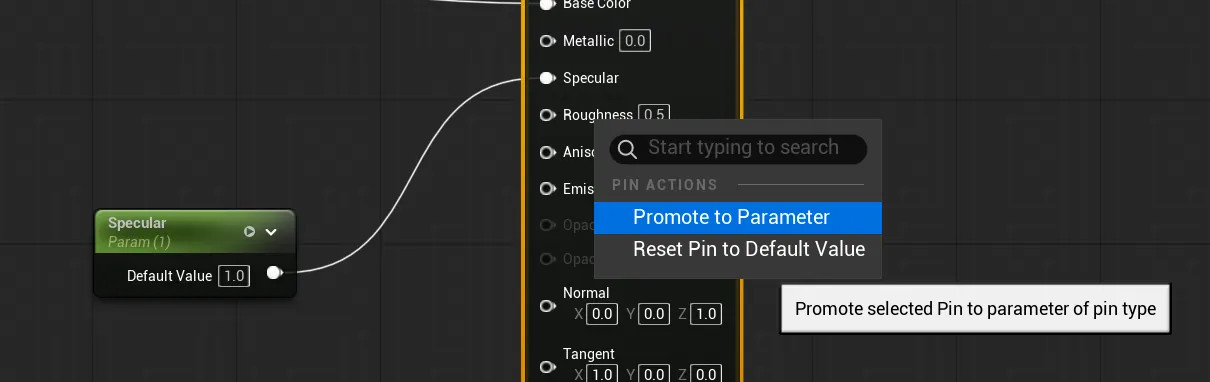
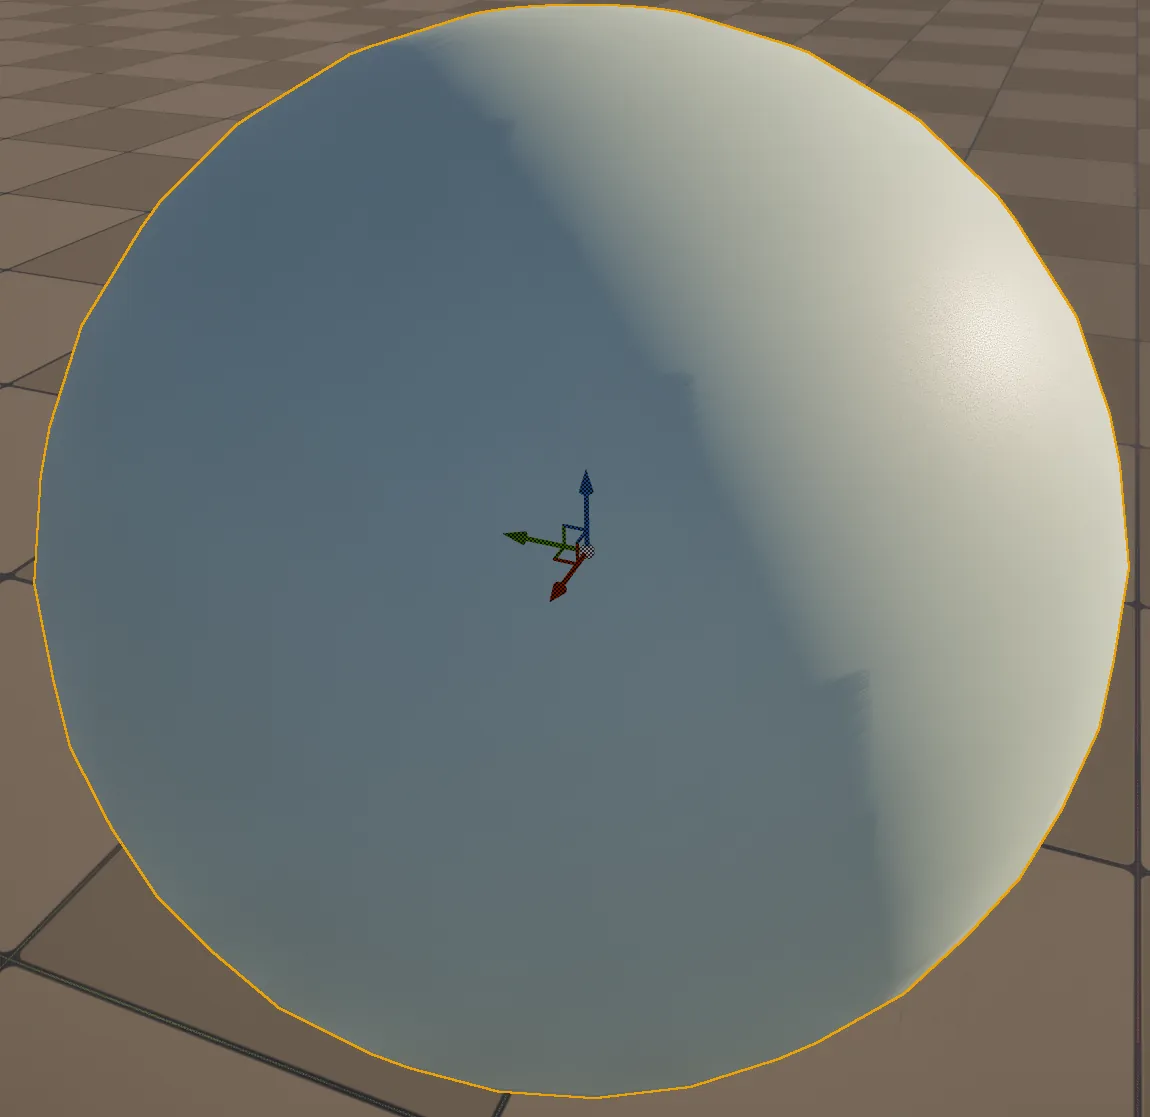
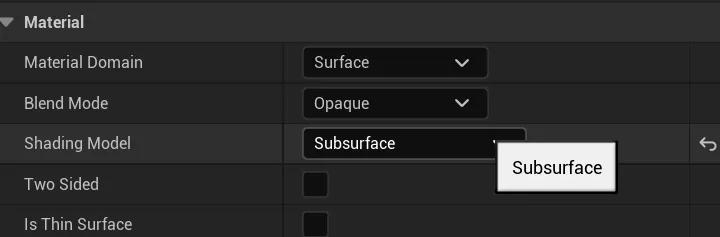
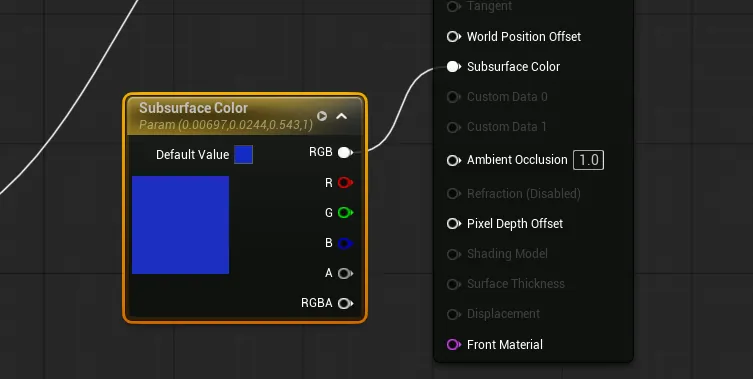
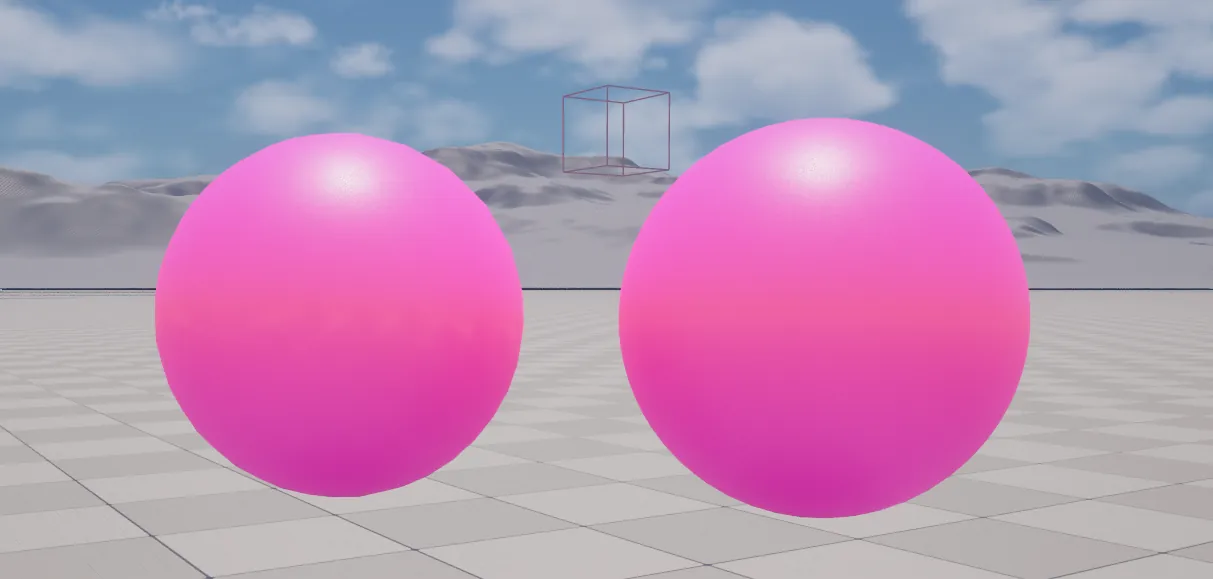
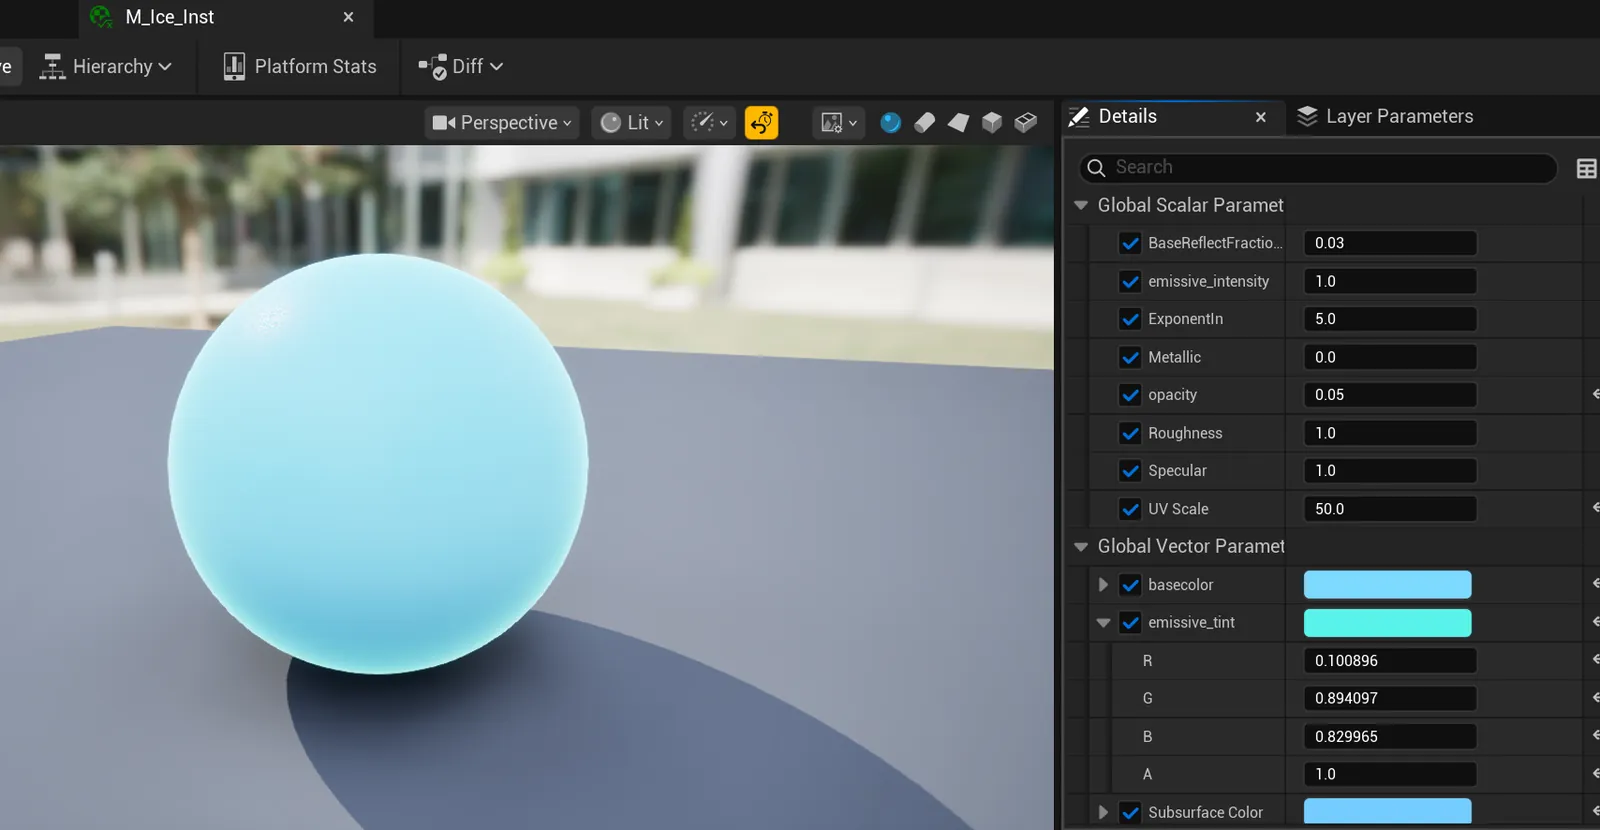
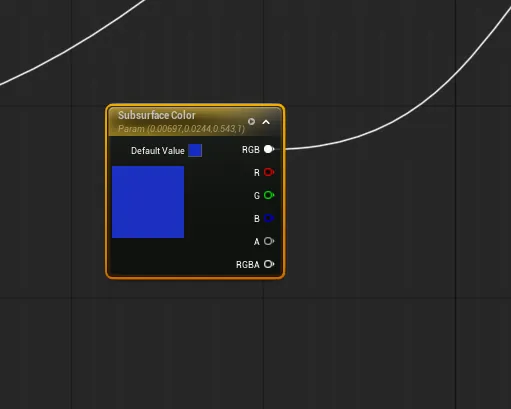
Shading Model is set to Subsurface, and Subsurface Color is promoted to a parameter with a brighter blue. Strongly contrasting Base and Subsurface colors in the instance make the lit and shadowed areas easy to read.
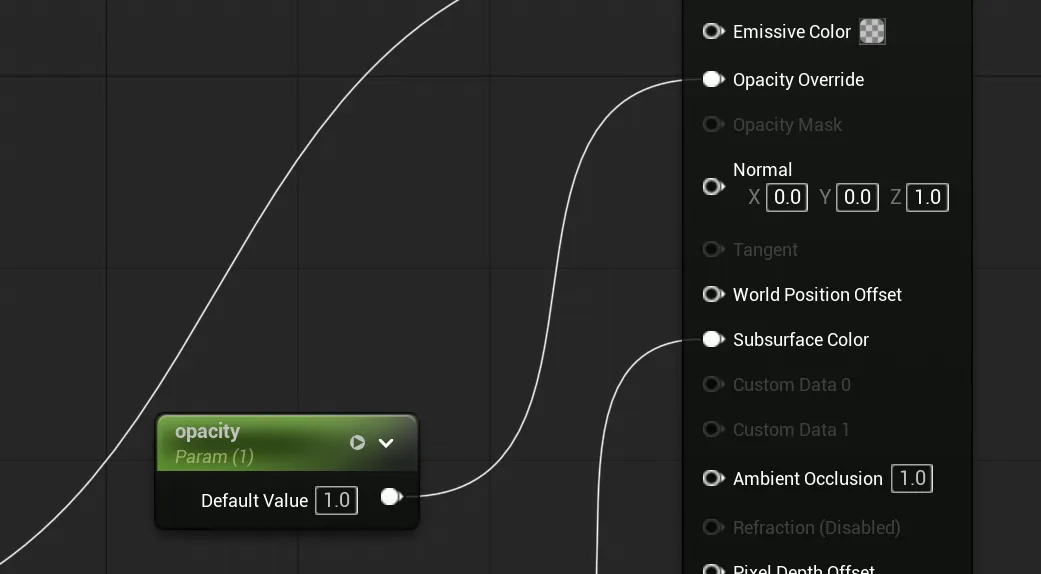
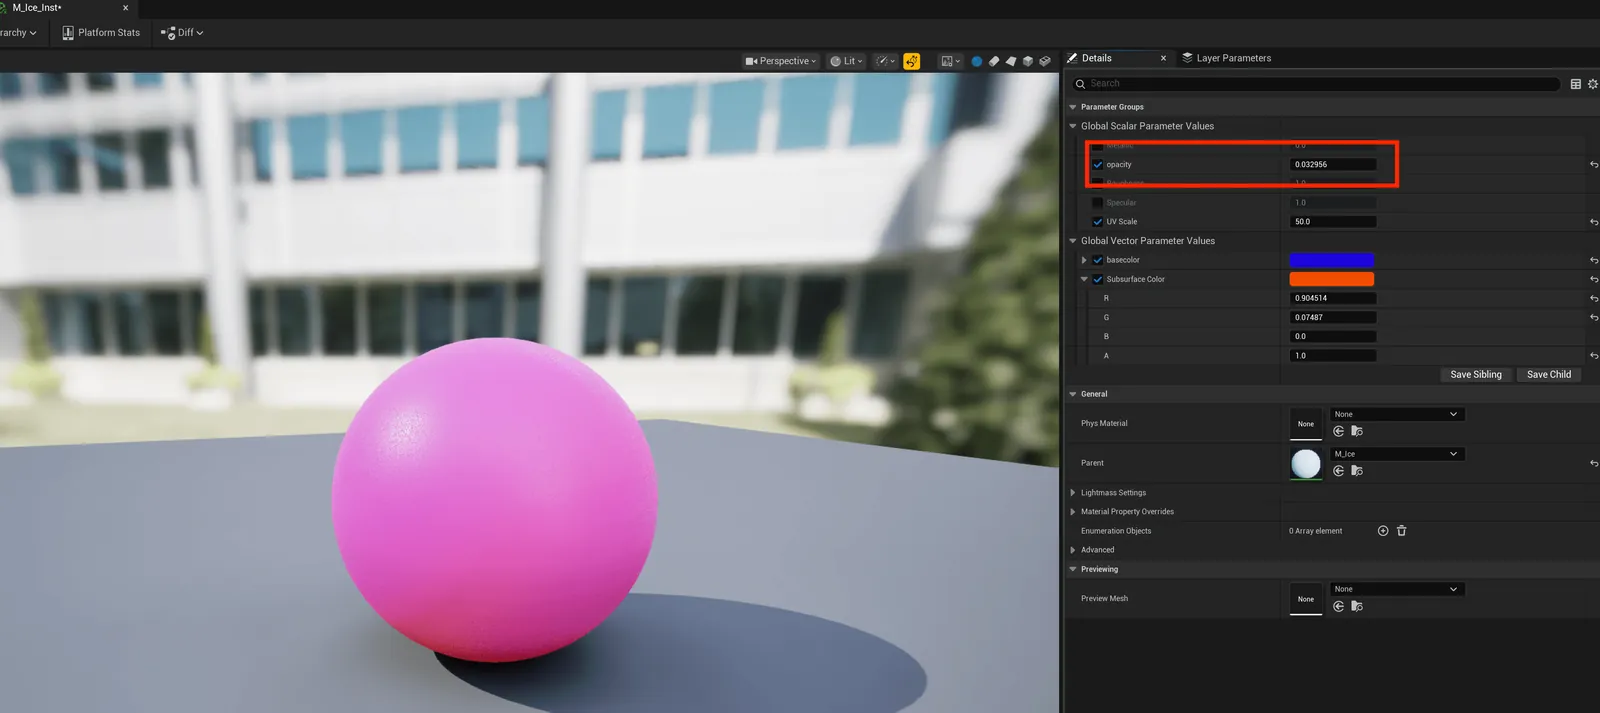
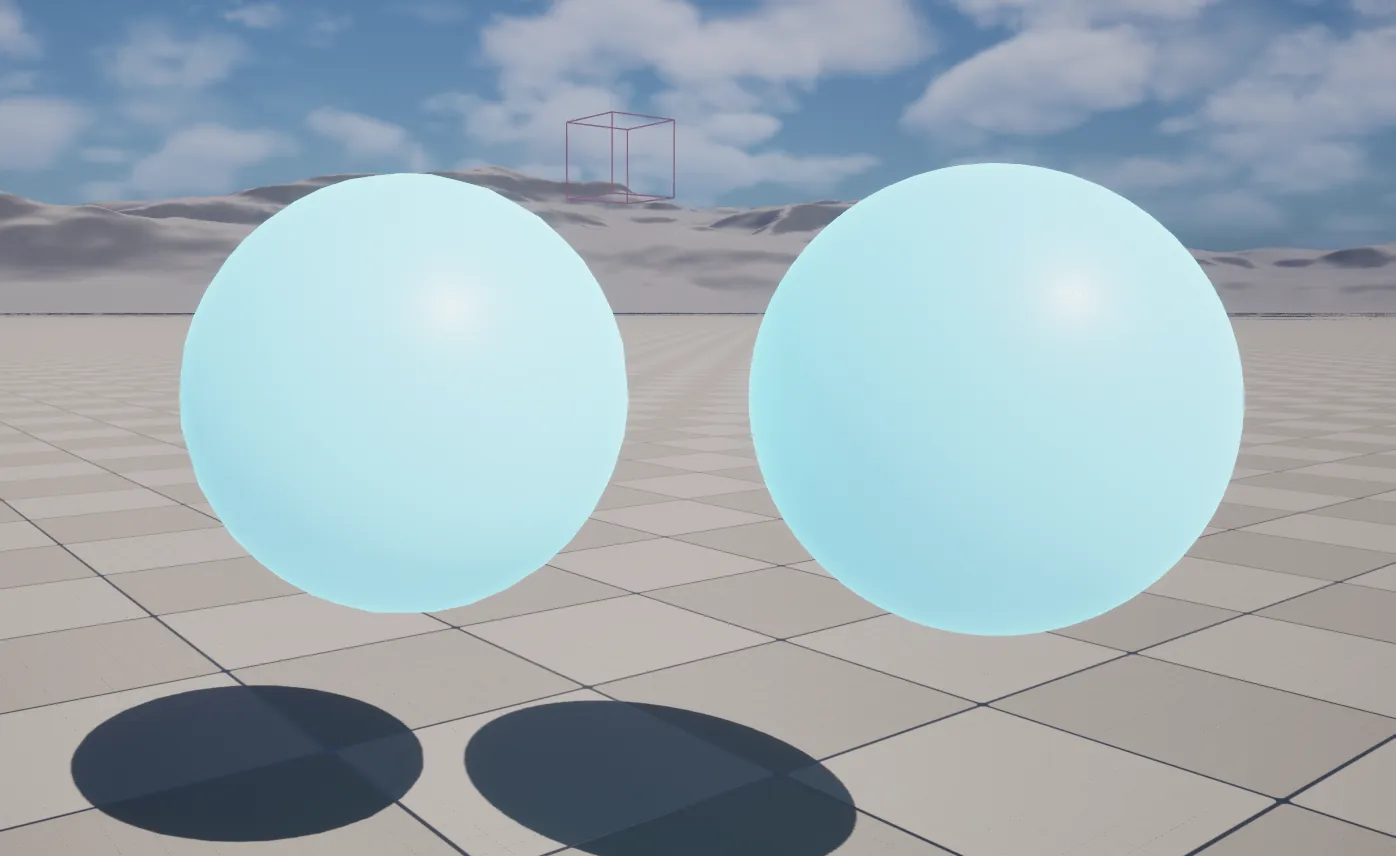
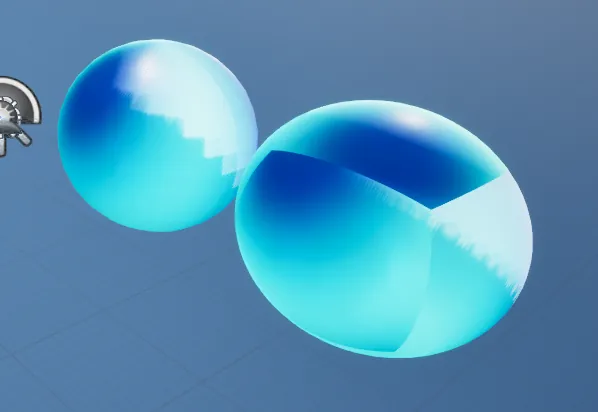
The jagged shading was fixed with the SSS opacity (Opacity Override, promoted to a parameter, set to 1 and then lowered). The sphere on the right uses denser geometry from Modeling Mode, so it shades more smoothly under the light.

Fresnel Edge
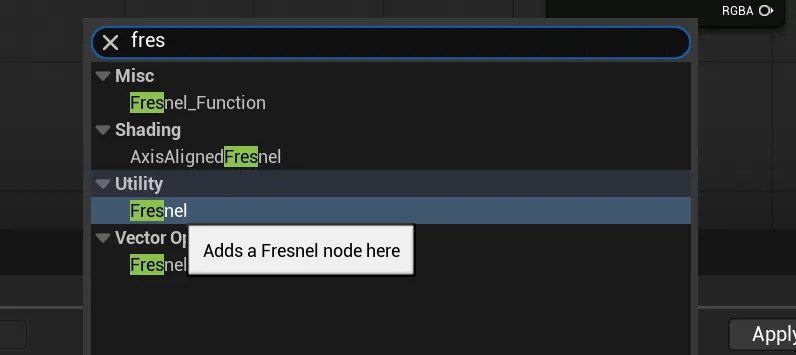
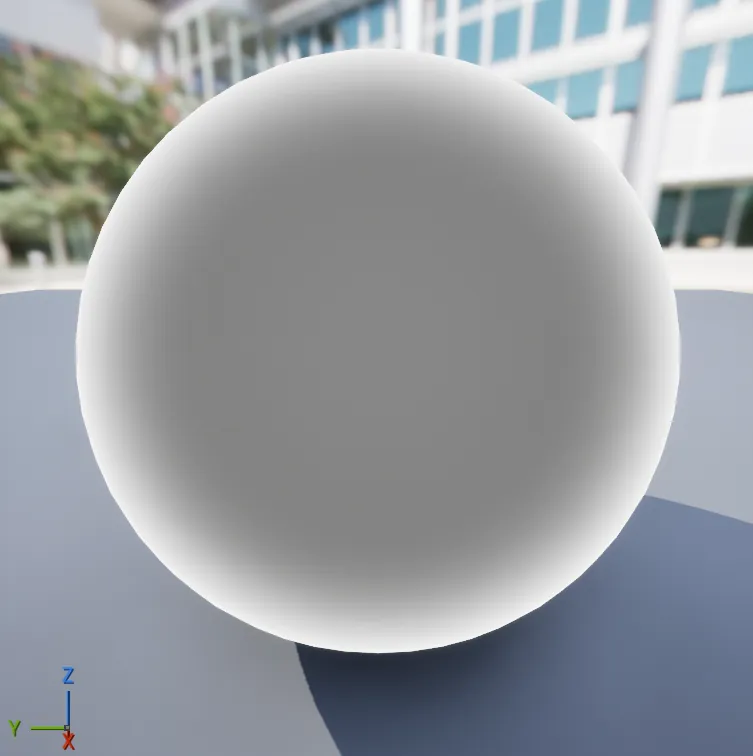
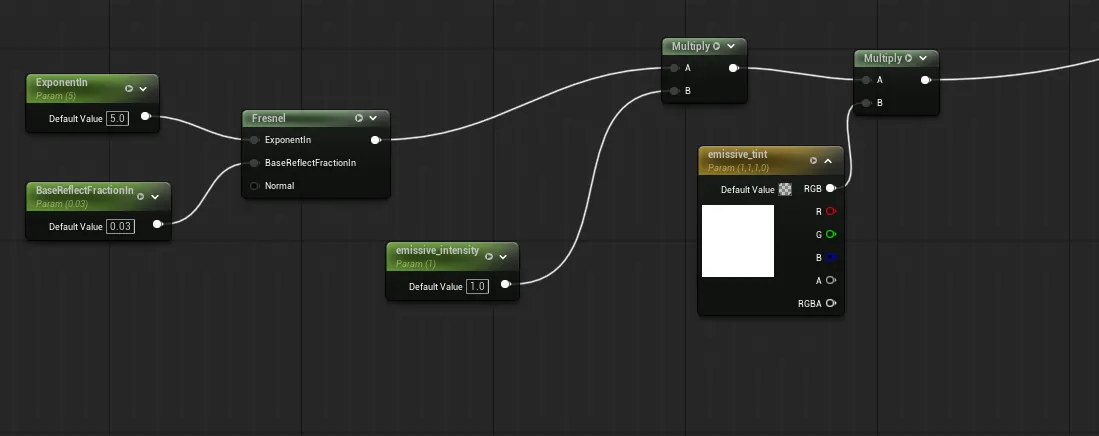
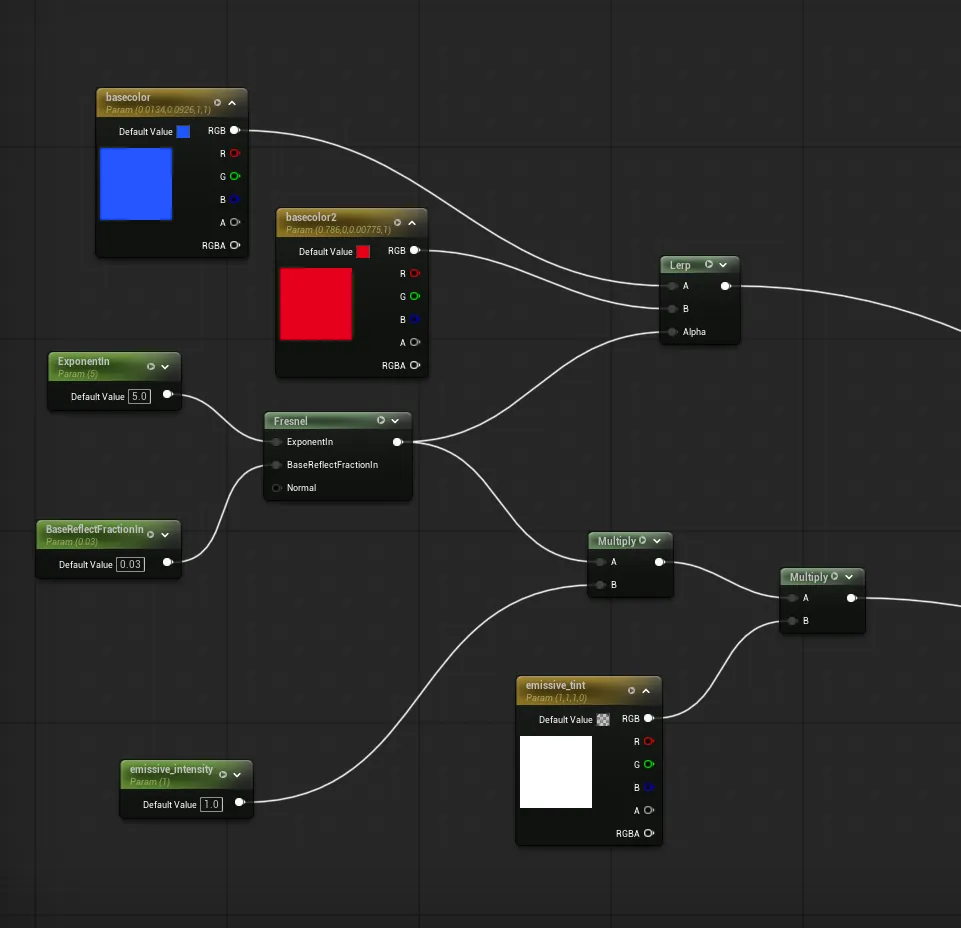
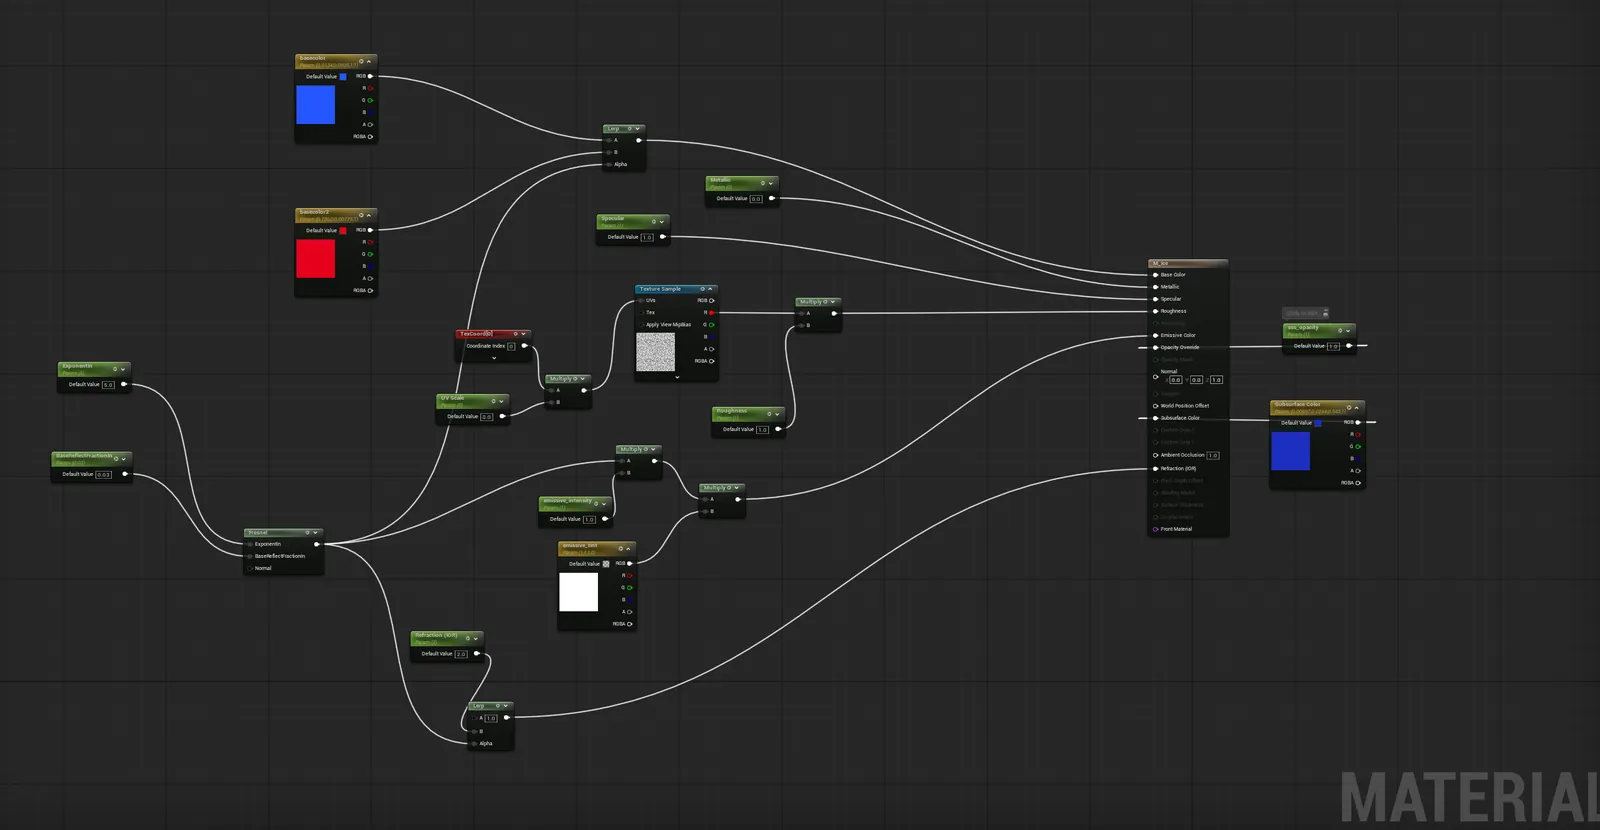
Fresnel builds a mask from the angle between the camera’s view direction and the surface normal: low where the surface faces the camera, high at grazing angles along the edges.
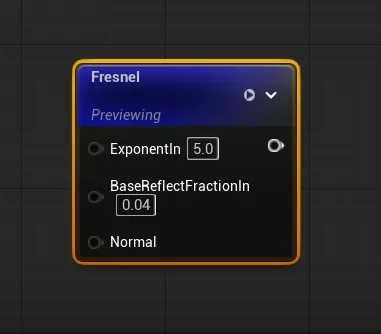
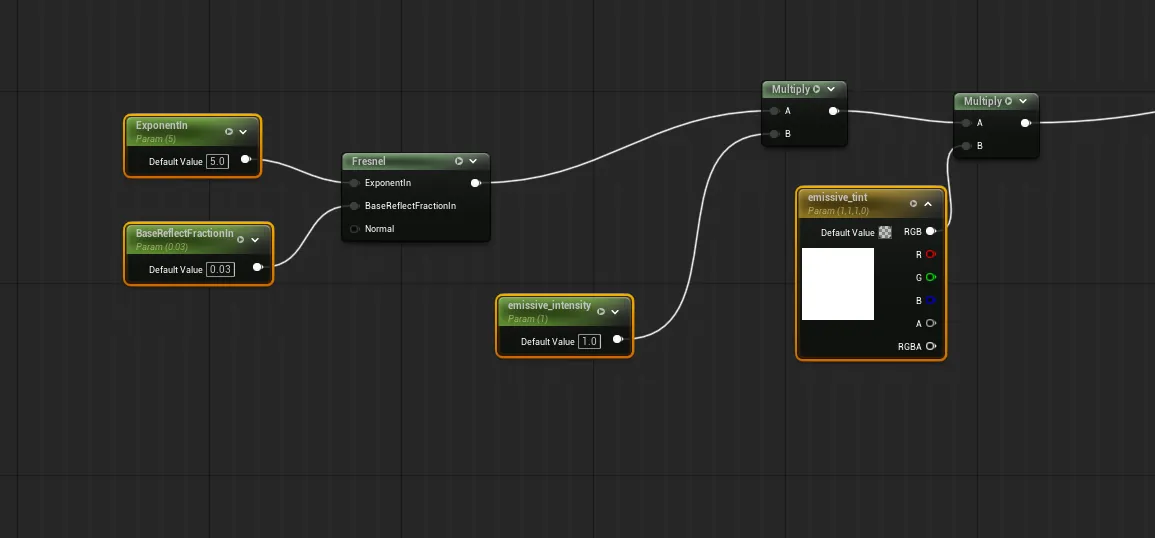
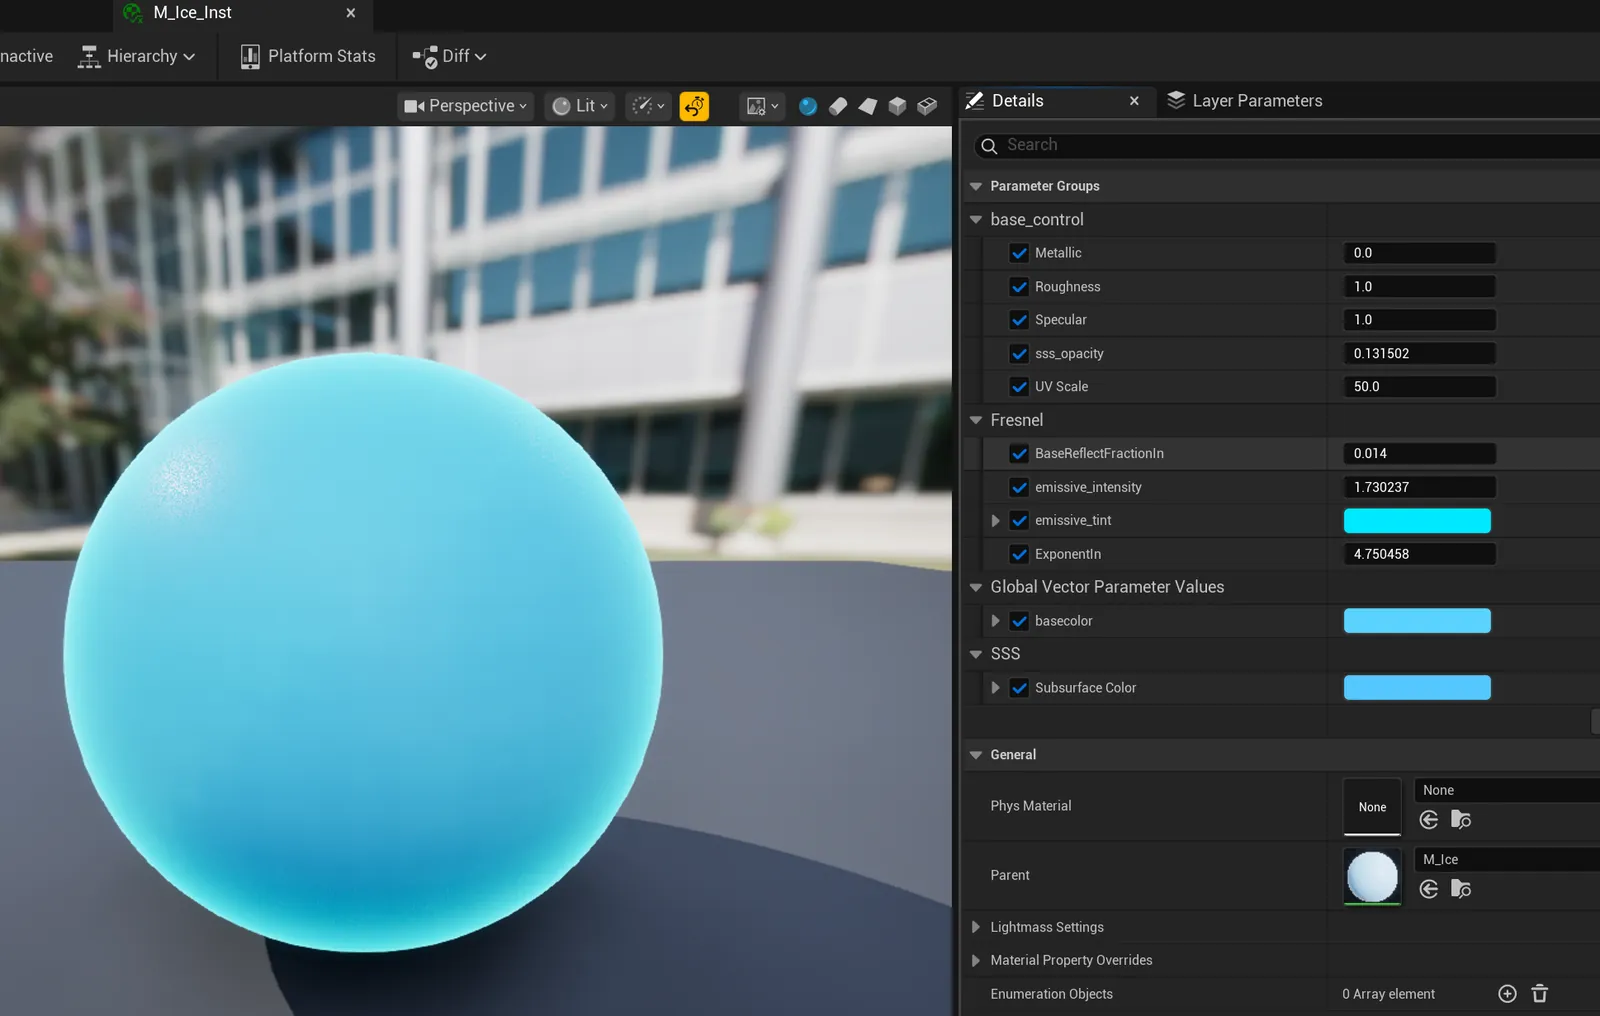
ExponentIn sets the falloff (higher gives a thinner, sharper edge; 5.0 here), and BaseReflectFractionIn how much remains facing the camera (about 0.03–0.04). Fresnel × emissive_intensity × emissive_tint drives Emissive Color for an adjustable edge glow, all exposed in the material instance.
Parameter Groups
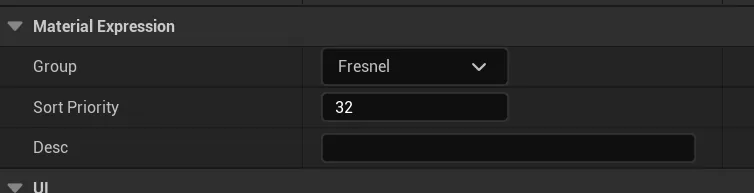
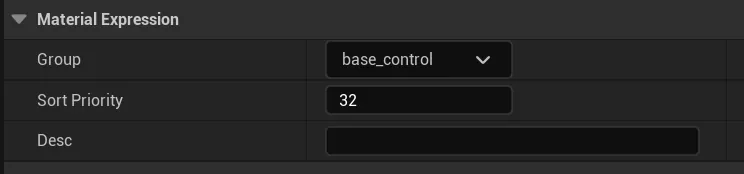
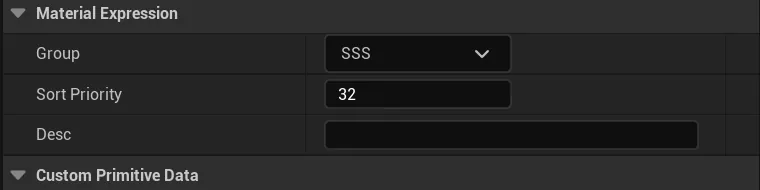
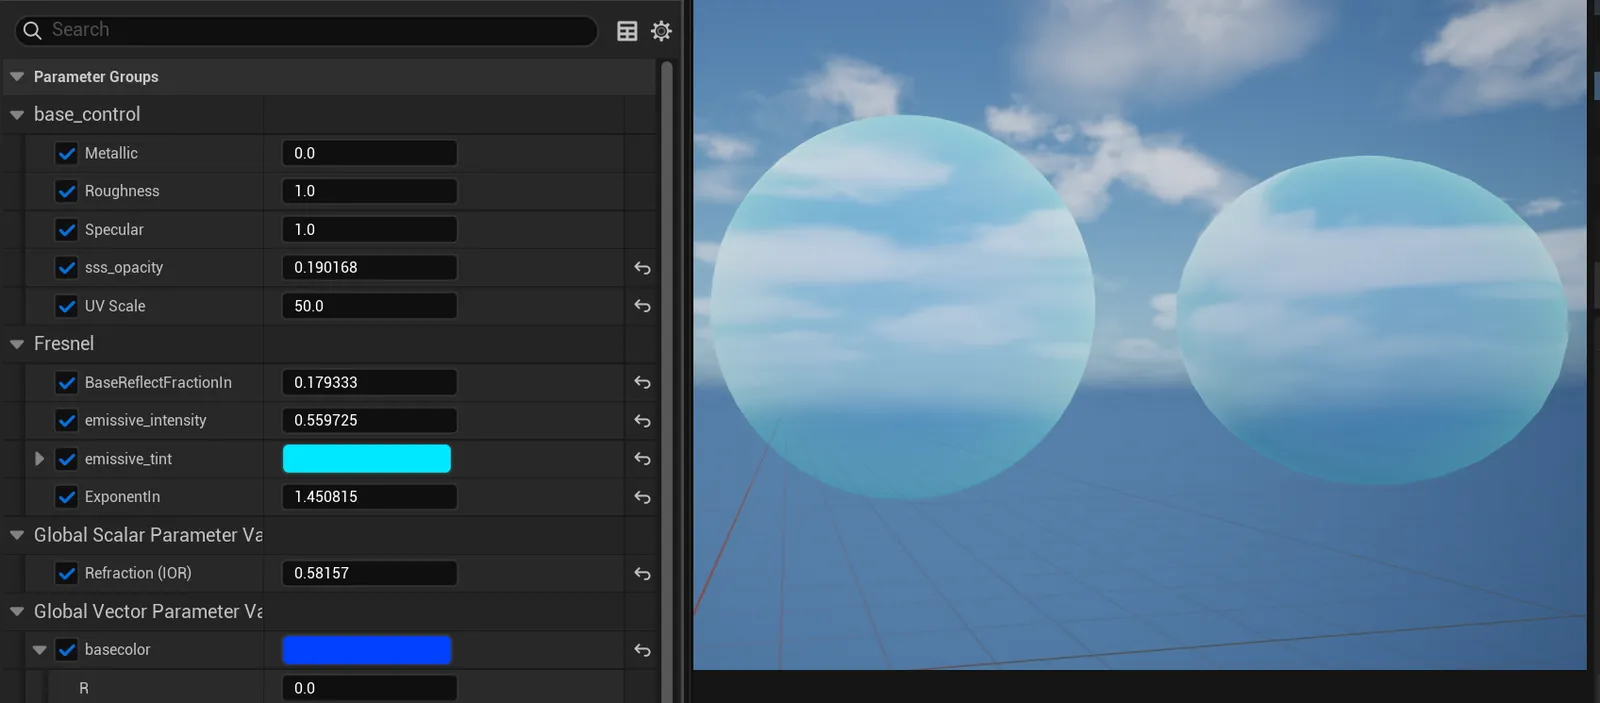
Parameters are grouped for the material instance: base_control (metallic, specular, SSS opacity, UV scale, roughness), sss (subsurface color) and Fresnel (ExponentIn, BaseReflectFractionIn, emissive_intensity, emissive_tint), then tuned until the surface shows clear shadow, mid-tone and highlight separation.
Color Blend with Lerp
The same Fresnel mask also drives a Lerp between basecolor and basecolor2, pushed toward cyan in the instance, so the color shifts smoothly from face to edge. One Fresnel, two branches: base color blending and emissive edge glow.
Refraction
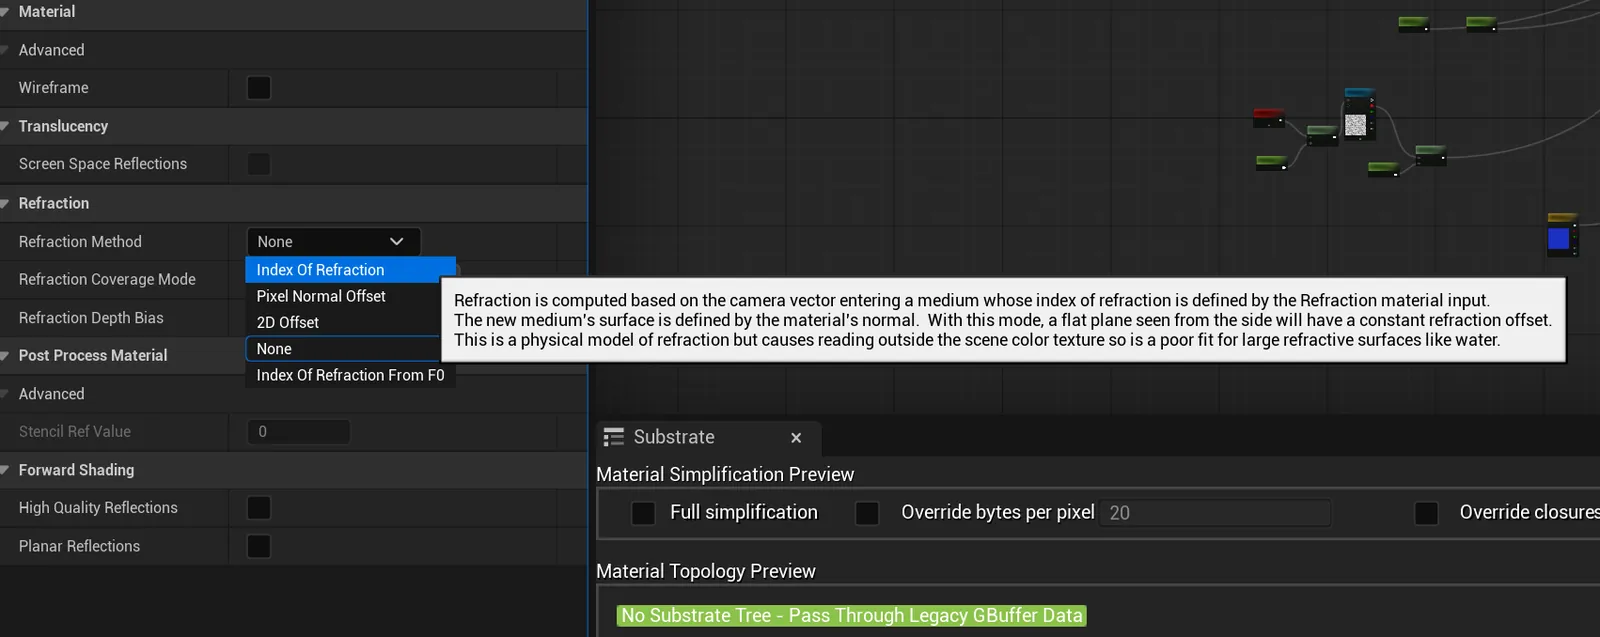
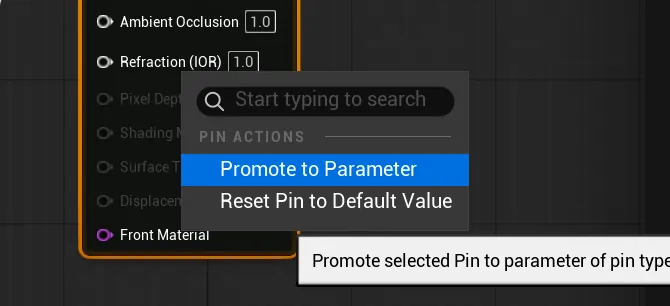
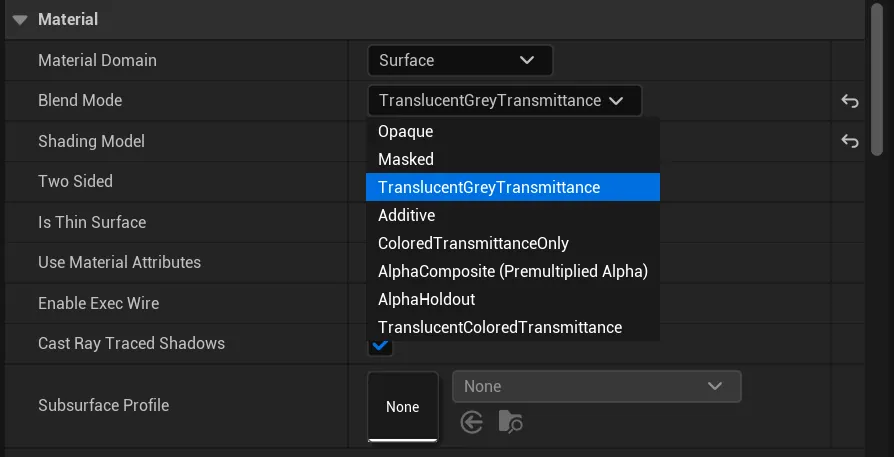
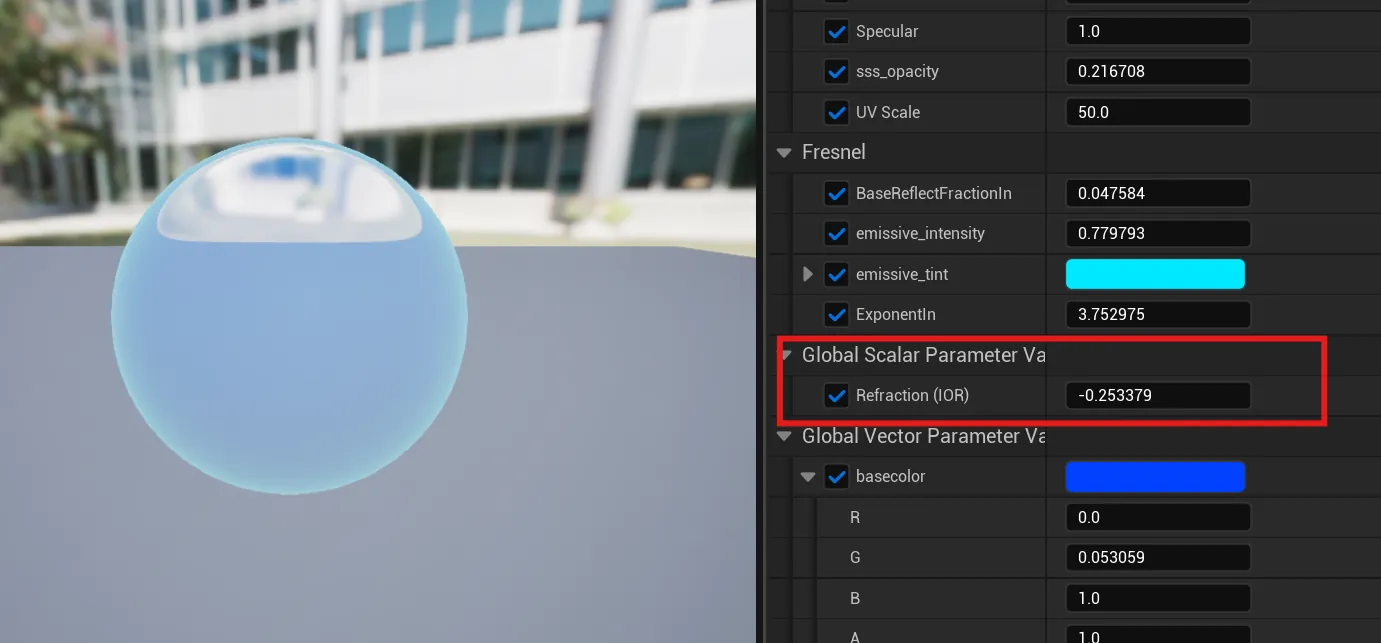
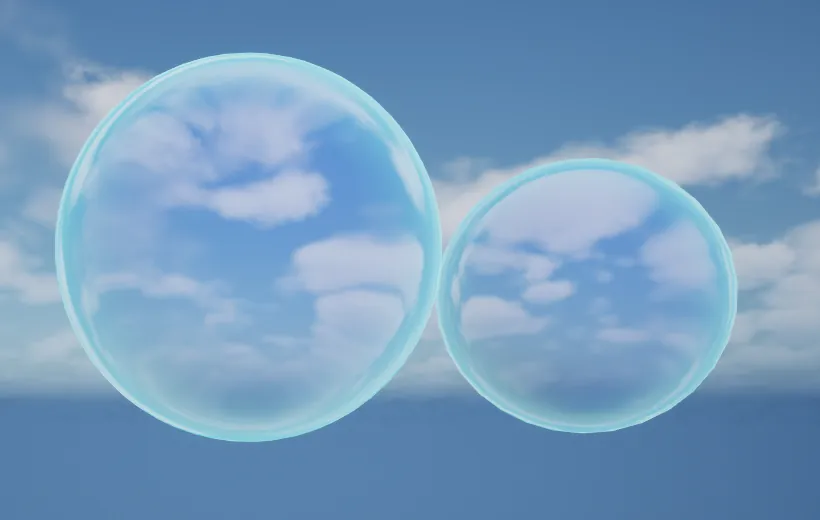
Blend Mode changes from Opaque to TranslucentGreyTransmittance so light can pass through, and Refraction Method is set to Index of Refraction so it bends. Translucency decides whether light gets through; IOR decides how it bends. Lighting Mode is Surface TranslucencyVolume.
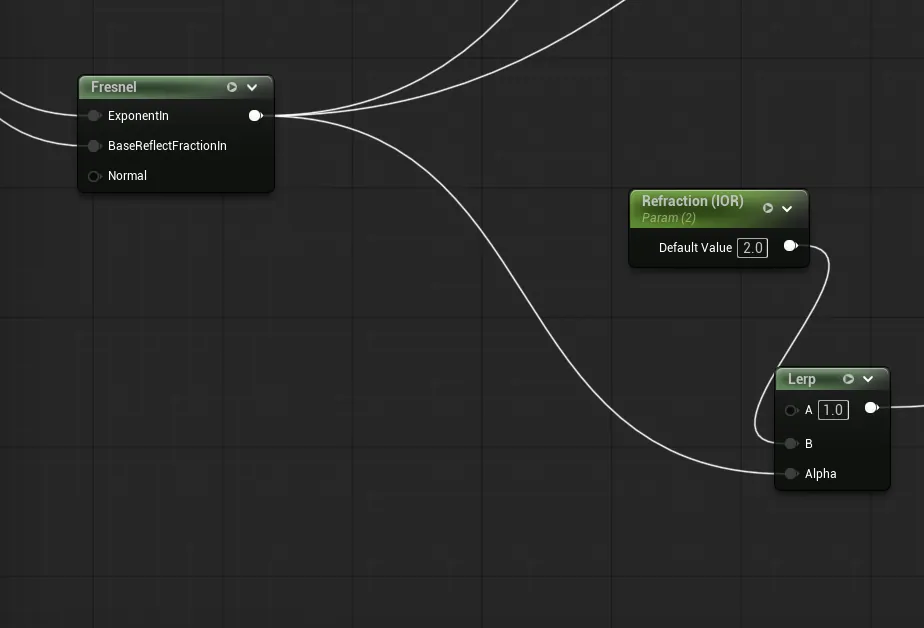
Fresnel masks the IOR through a Lerp (IOR 2 on the B input), which gives the look of a solid glass sphere.
Translucency costs more than Fresnel because of extra blending, sorting, lighting and overdraw. Where true transparency isn’t needed, Fresnel can fake glass-like edges more cheaply; the two complement each other rather than replace each other.
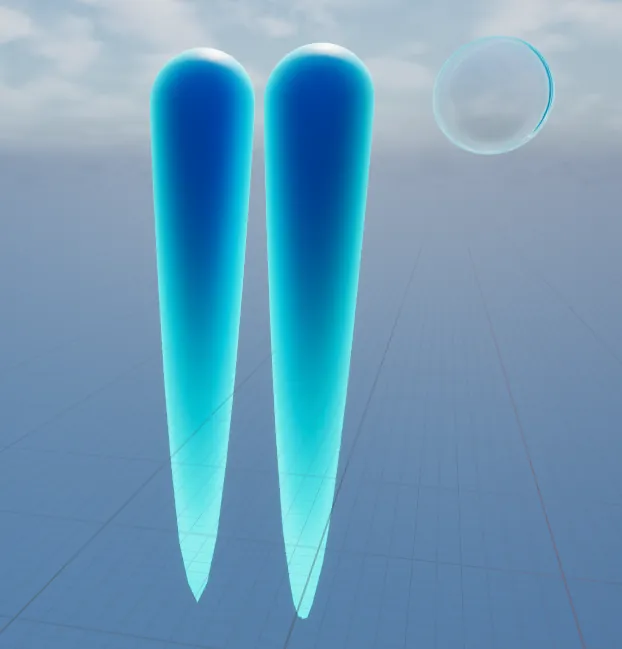
Icicle Displacement (WPO)
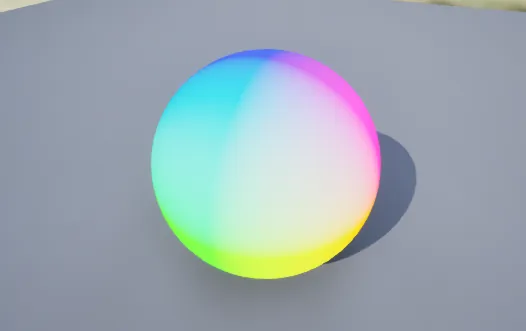
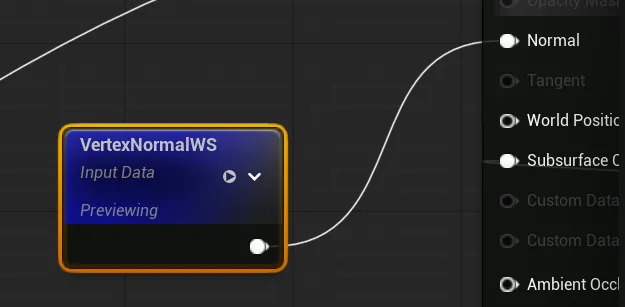
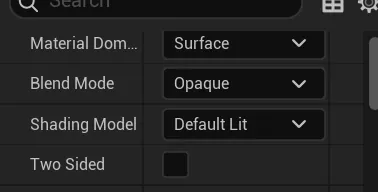
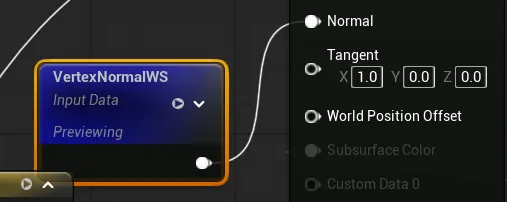
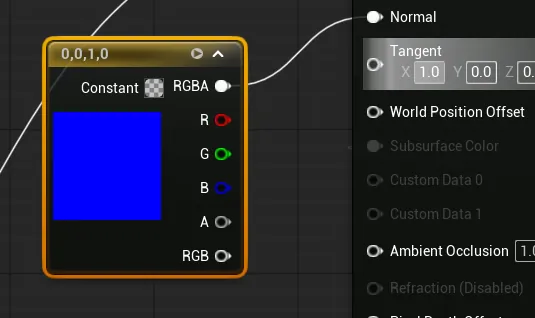
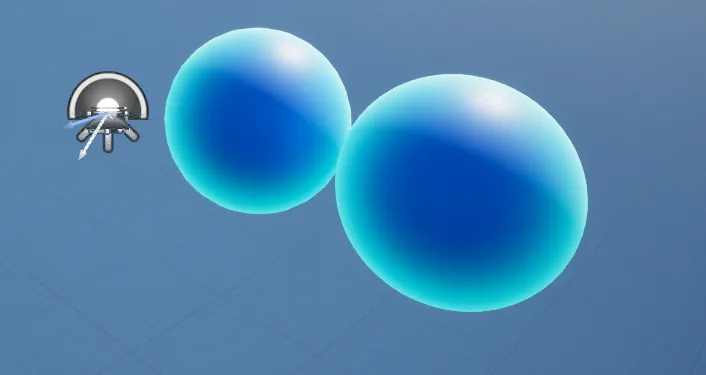
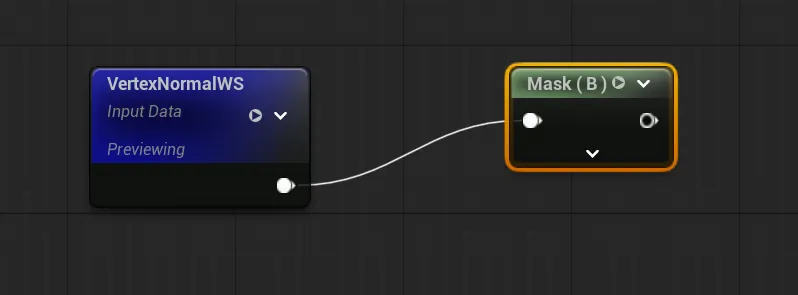
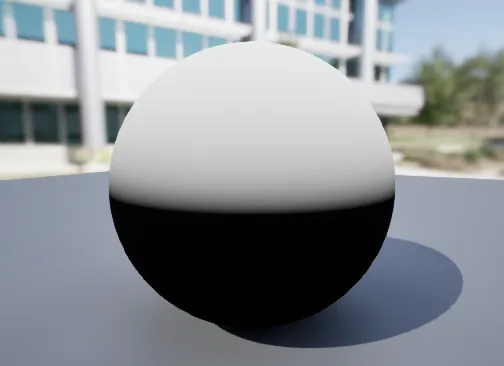
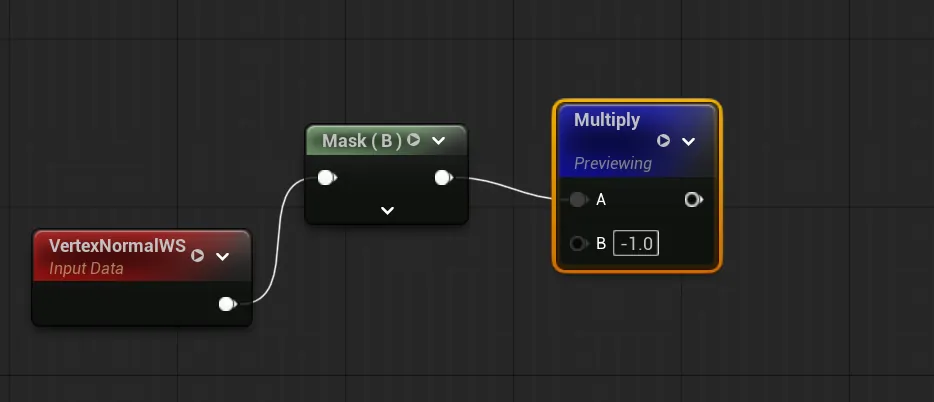
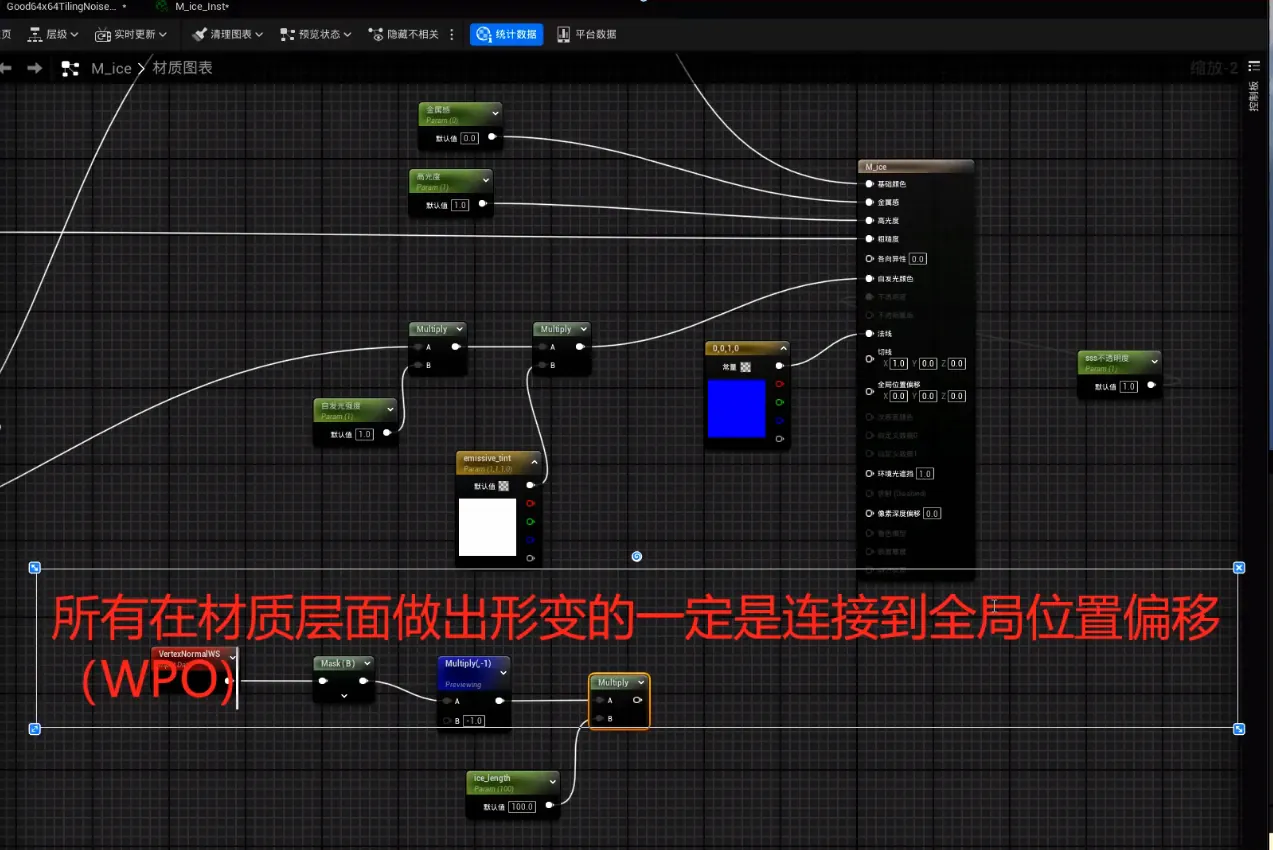
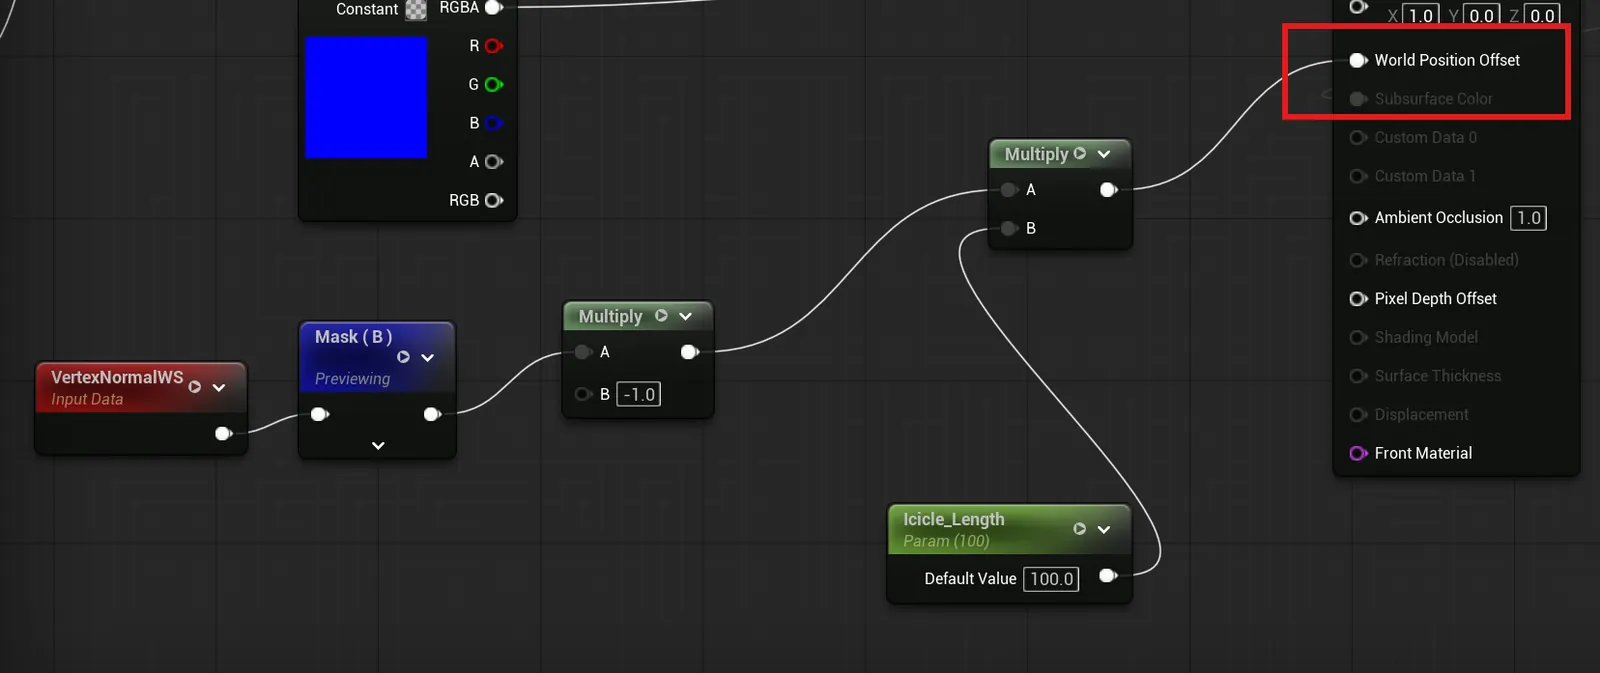
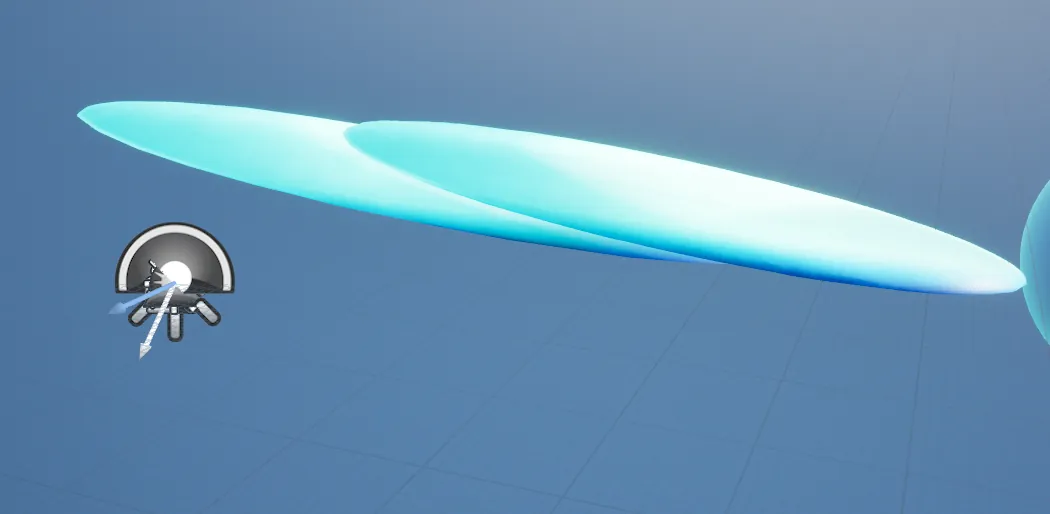
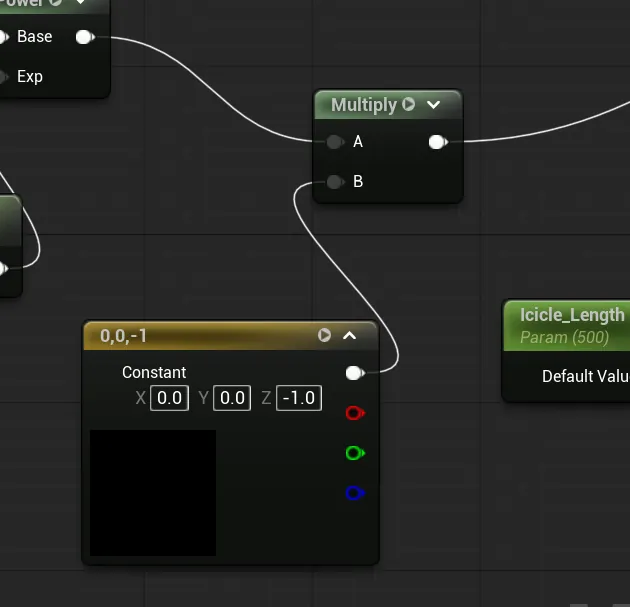
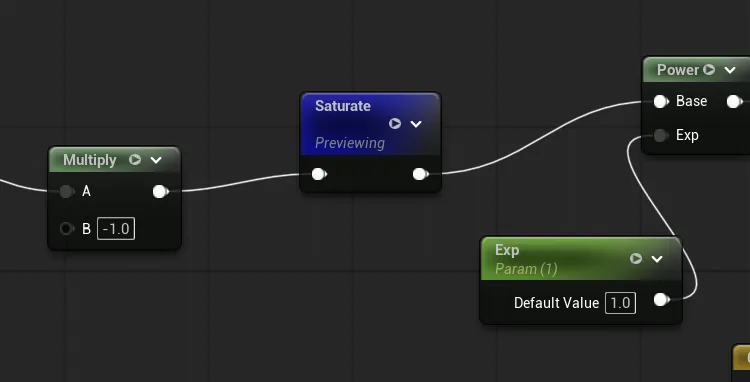
World Position Offset moves the mesh’s vertices in world space from inside the material. With Blend Mode back on Opaque and Shading Model on Default Lit, VertexNormalWS gives each part of the surface its own direction.
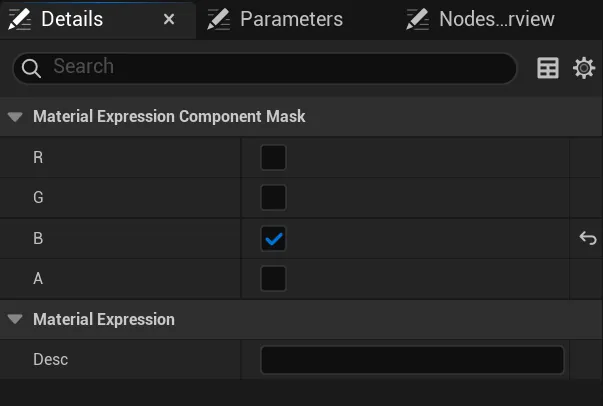
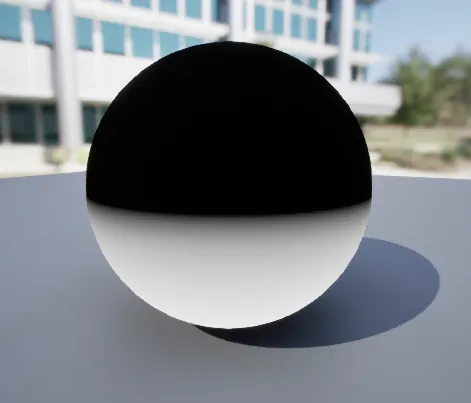
Used directly it reads every normal on the sphere and looks noisy. A MaskComponent node keeps only the B channel (up and down), and multiplying by −1 flips it, giving a clean top/bottom mask that pushes the vertices into icicle shapes.
Fresnel, On Set and In Shaders
The name comes from the physicist Augustin-Jean Fresnel. On set, a Fresnel lens shapes a light between spot and flood; in CG, the Fresnel effect is how reflection grows at grazing angles. The same optics, two applications.
Unreal MCP × Codex CLI
Sep 2026, Unreal Engine
A first test of directing Unreal Engine from a terminal AI agent: OpenAI’s Codex CLI working in the editor through Epic’s experimental Unreal MCP plugin. It covers installing Codex and setting up the plugin’s server, then read-only checks and two small test edits, then a chess scene with a marble board and a full set of pieces. Screenshots follow the order of the session.
- Agent
- Codex CLI 0.155.1
- Bridge
- Unreal MCP plugin (experimental)
- Engine
- Unreal Engine
Installing Codex CLI
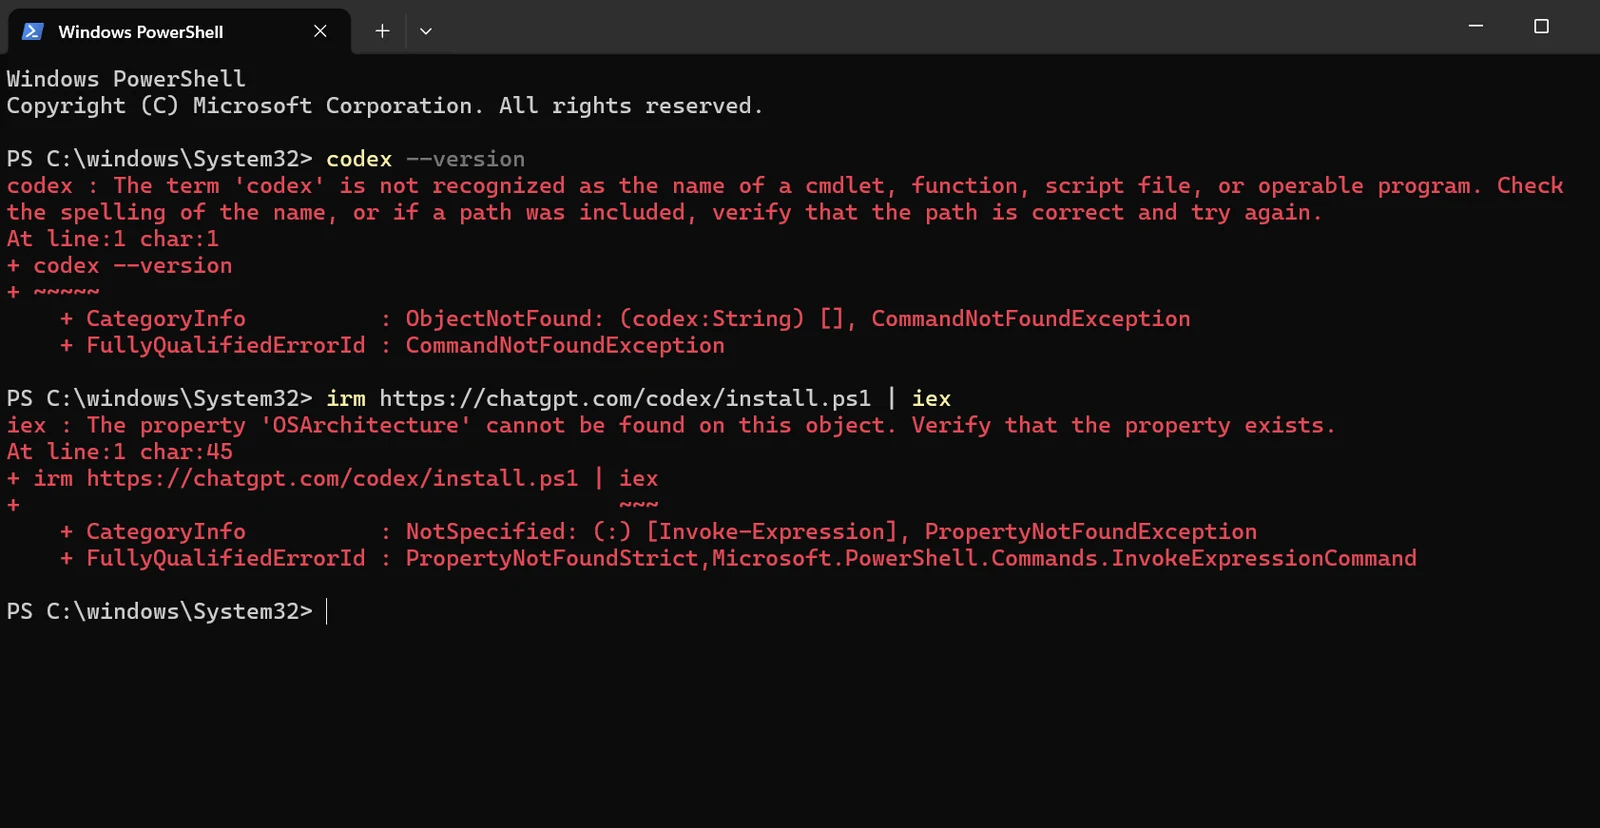
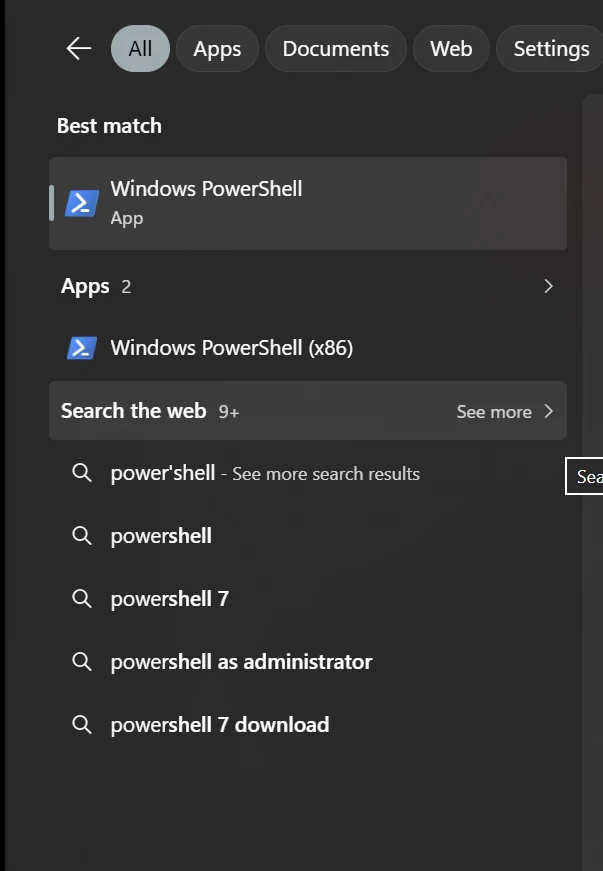
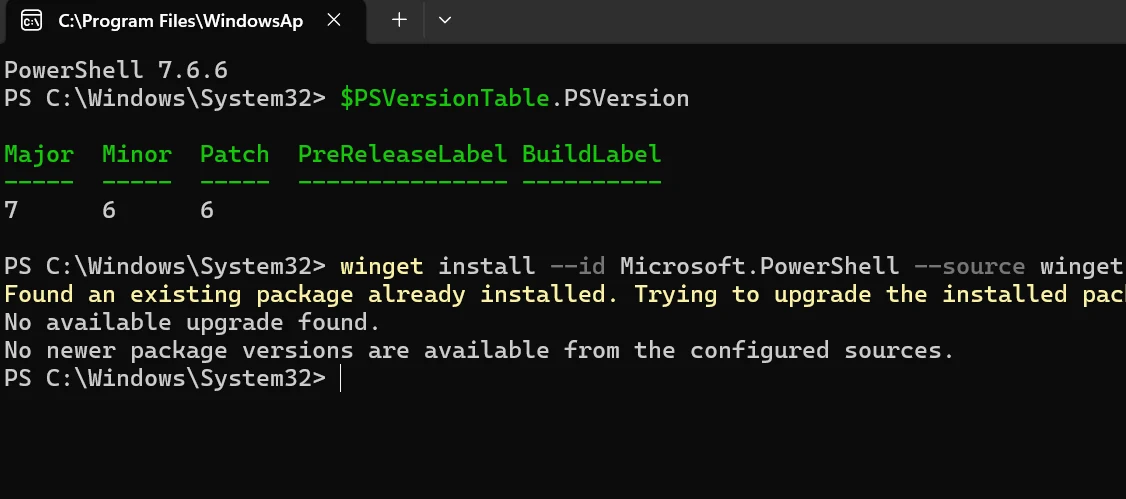
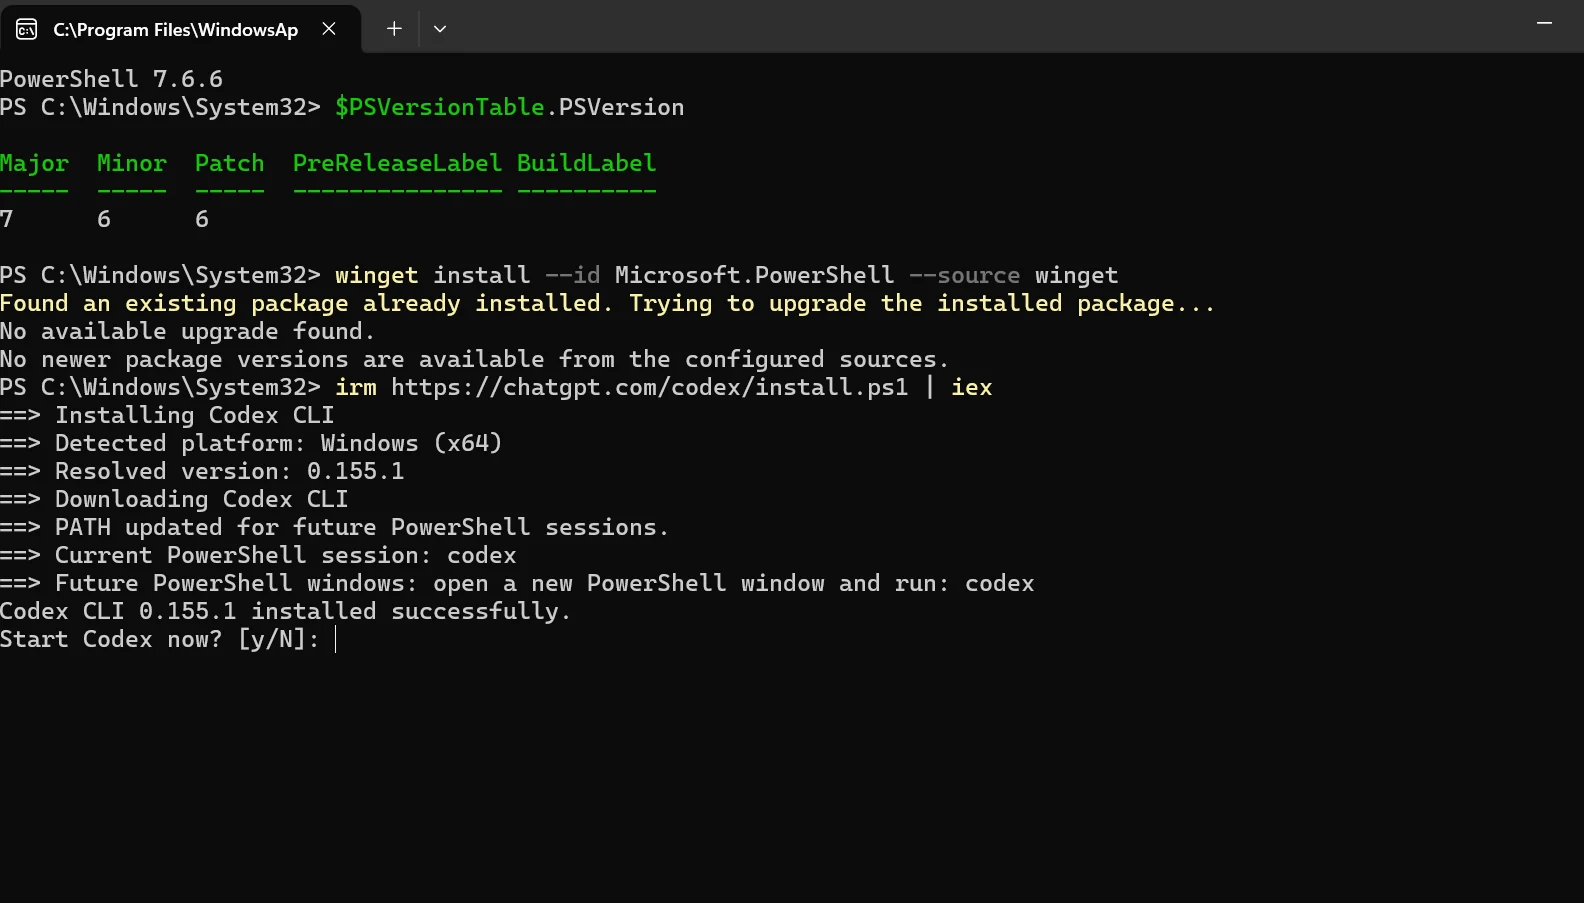
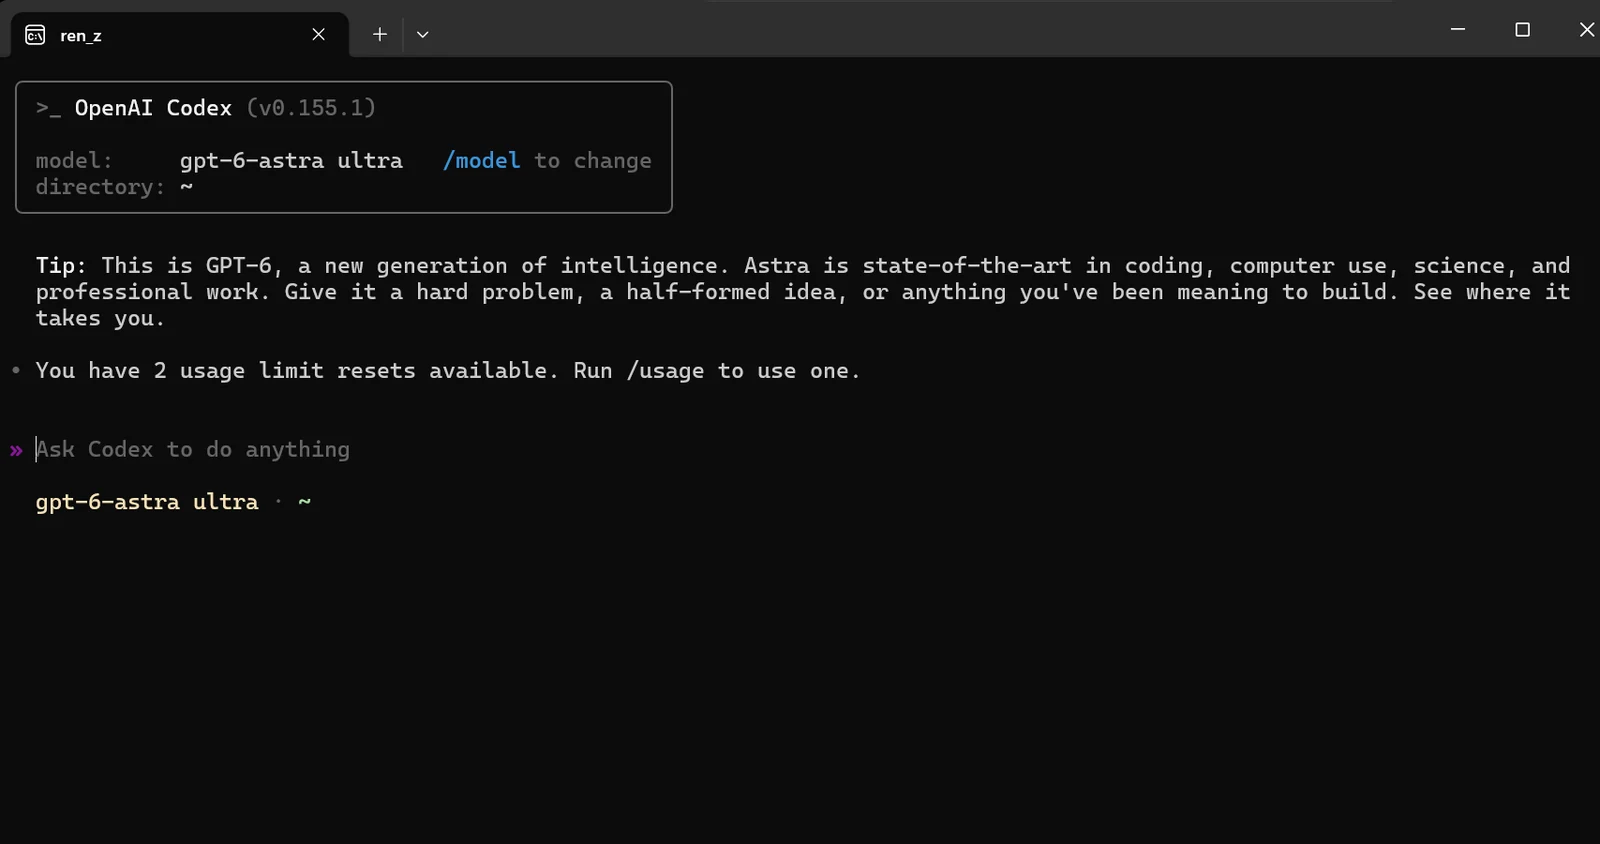
It starts at the Codex download page. In Windows PowerShell, codex isn’t recognized yet, and the install script stops with an error. PowerShell 7 (7.6.6, which winget shows is already installed) runs the same script cleanly: Codex CLI 0.155.1 installs and opens in the terminal.

Setting Up Unreal MCP
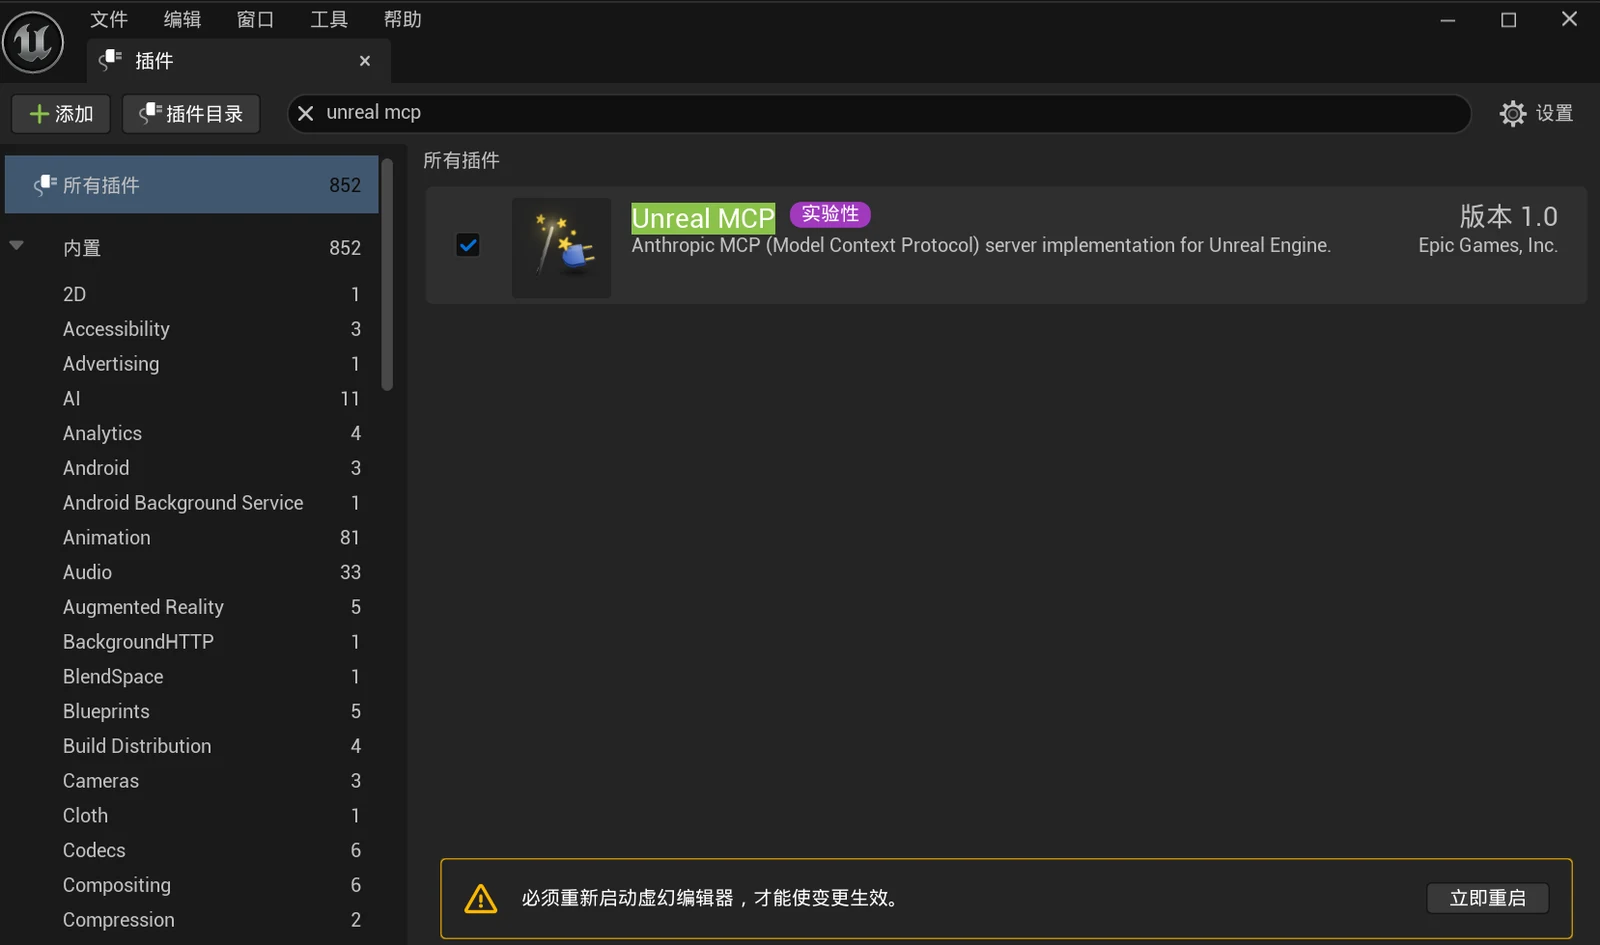
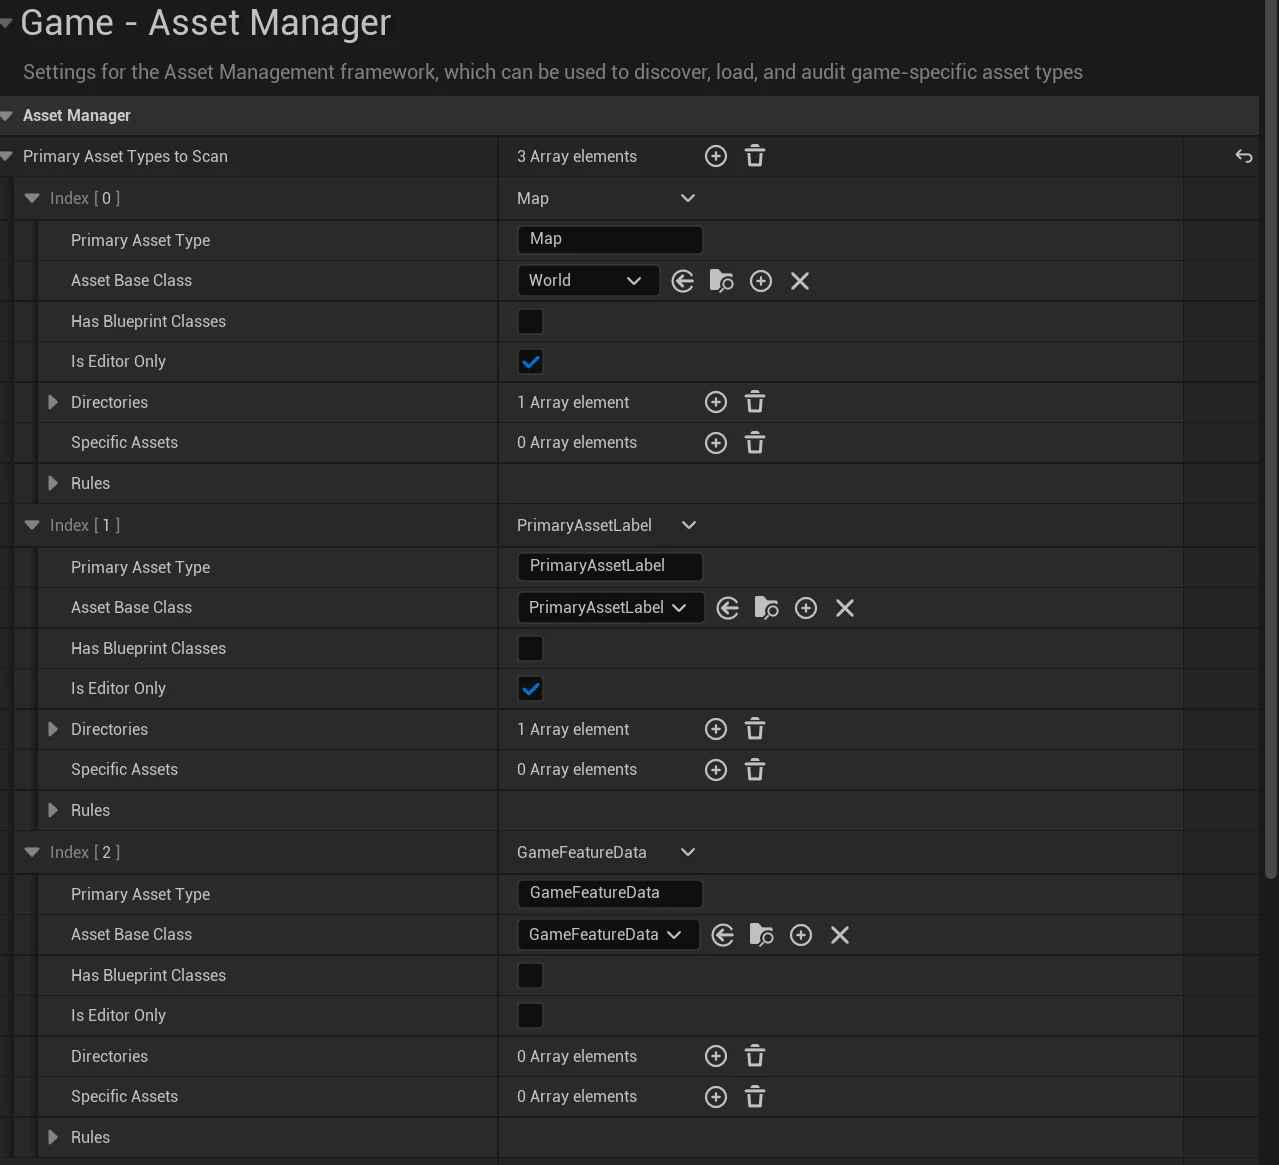
In the editor, the Unreal MCP plugin (Epic Games, marked experimental) is switched on, which needs a restart. Afterwards the editor warns that the Asset Manager has no entry for GameFeatureData assets, which game feature plugins need, so that entry is added to Primary Asset Types to Scan.
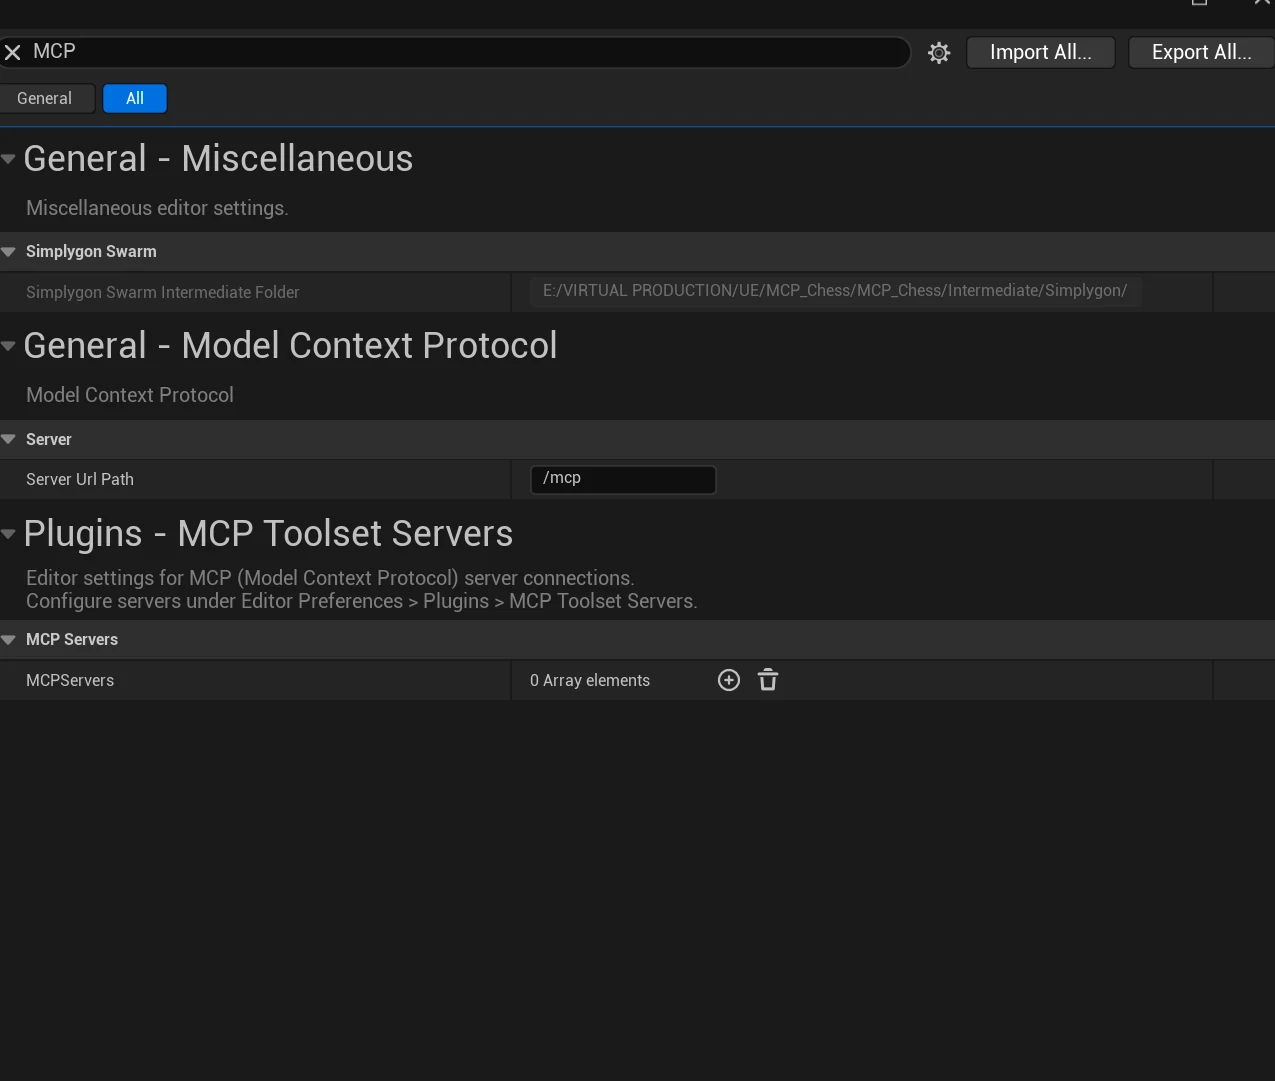
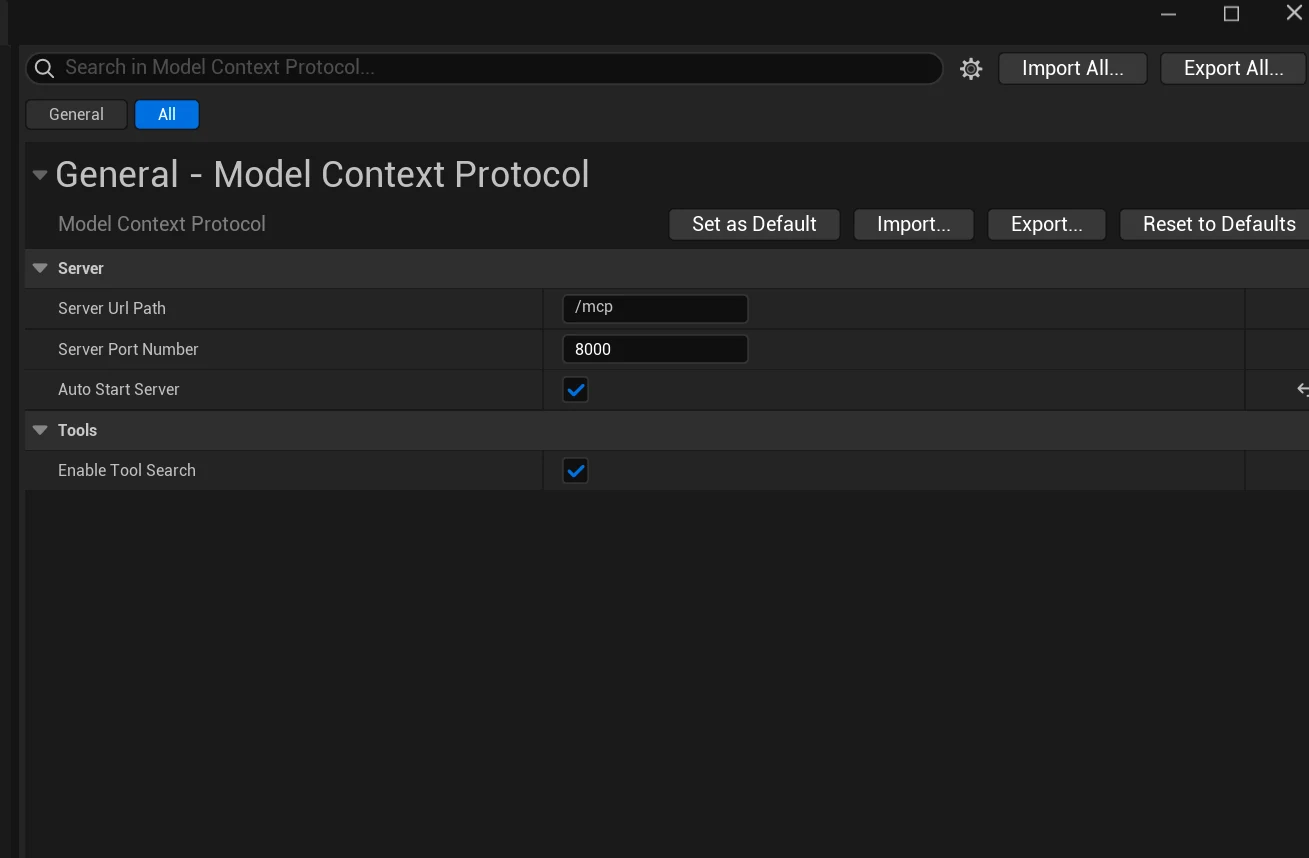
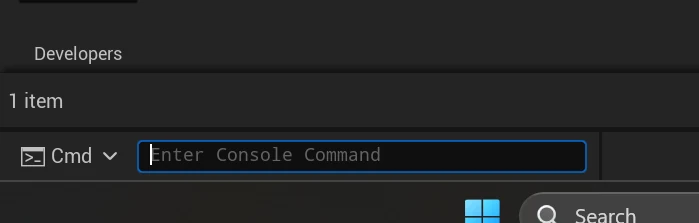
In the Model Context Protocol settings the server sits at /mcp on port 8000, set to start automatically, with tool search on. From the editor console, ModelContextProtocol.StartServer 8000 starts the server and ModelContextProtocol.GenerateClientConfig Codex writes a Codex config file into the project folder.



Connect, and Look Without Touching
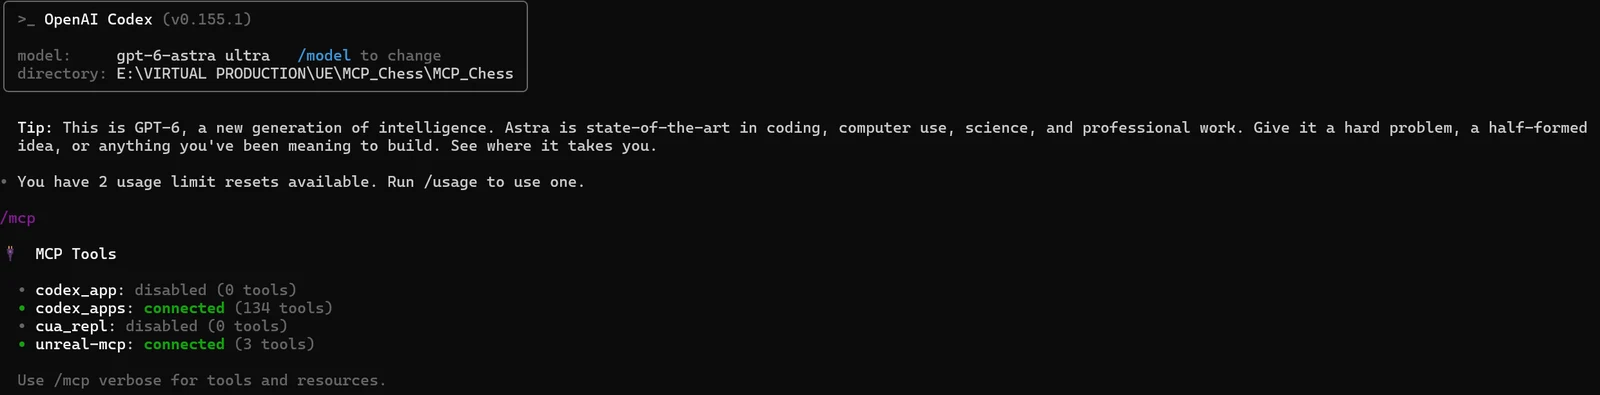
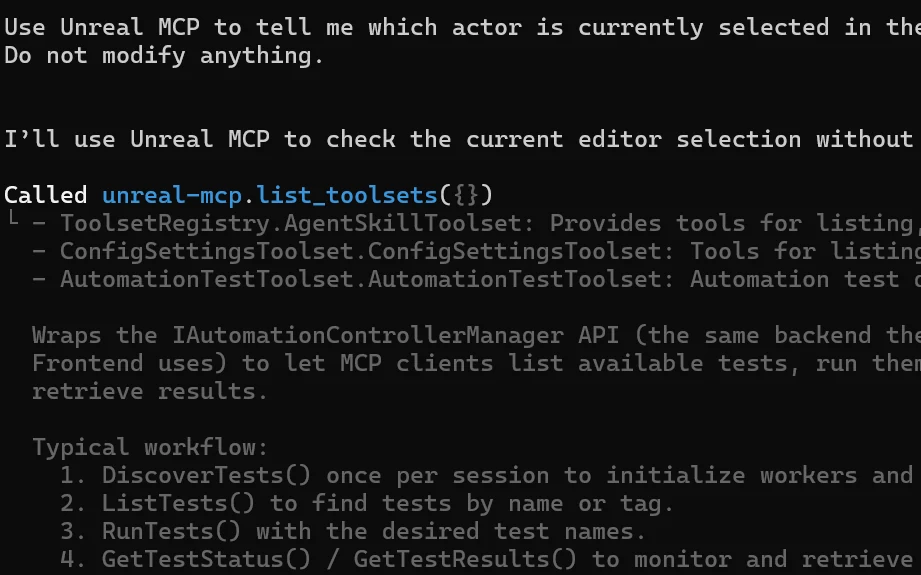
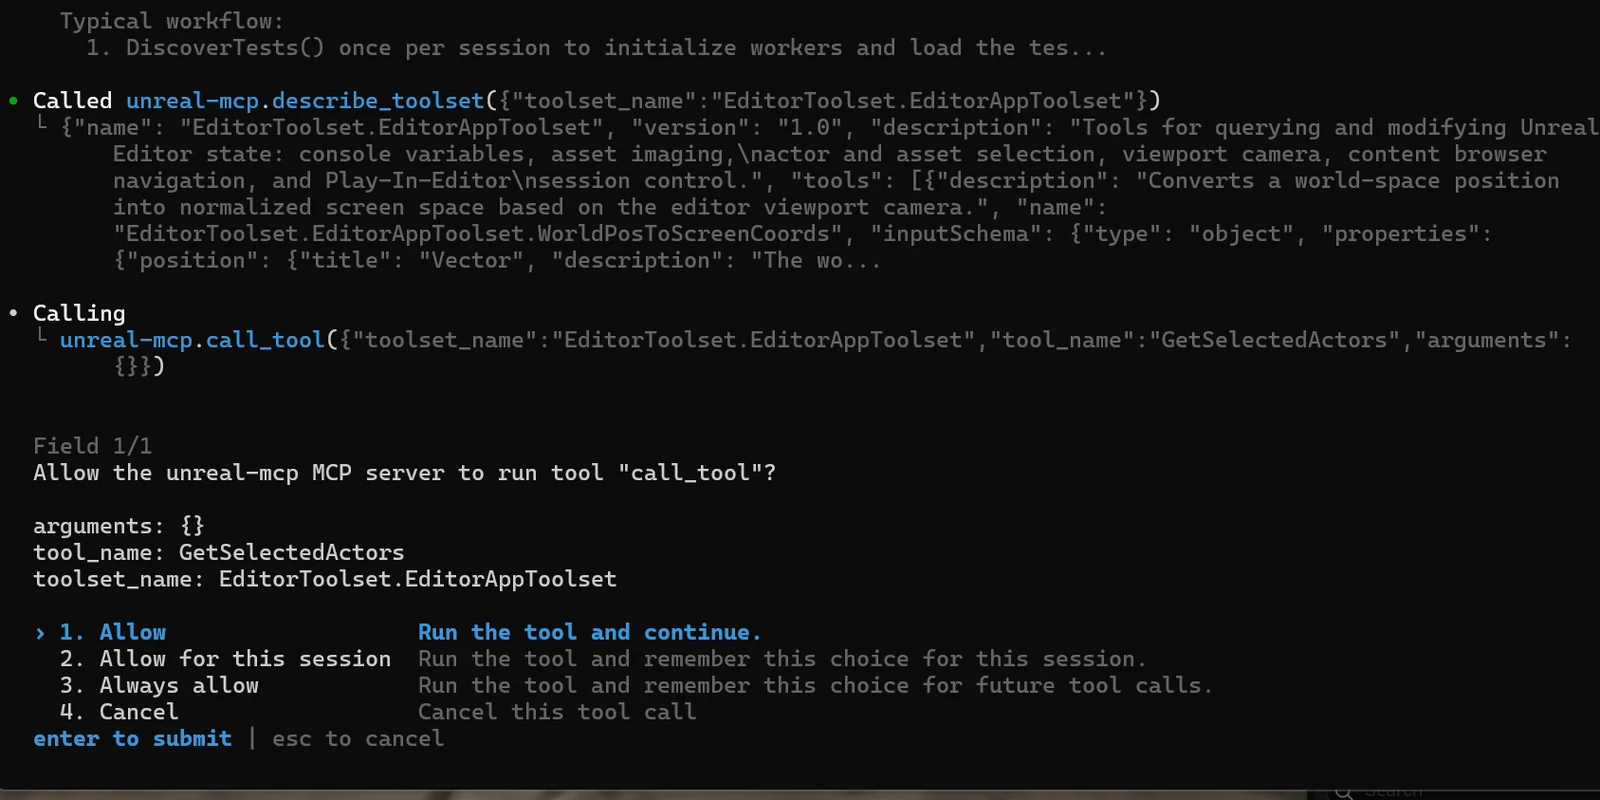
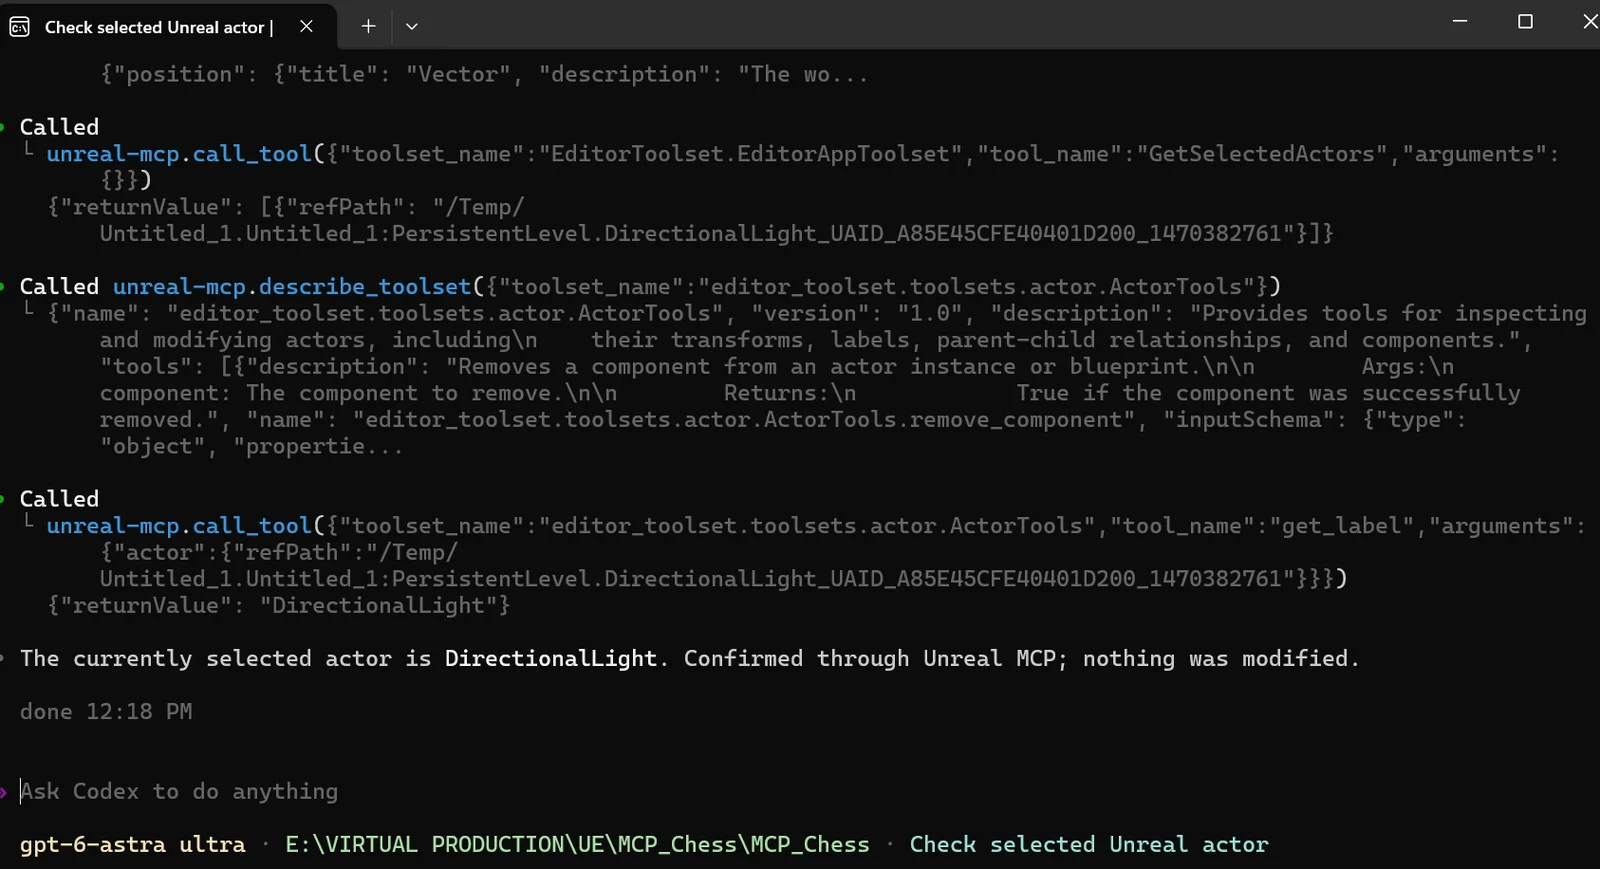
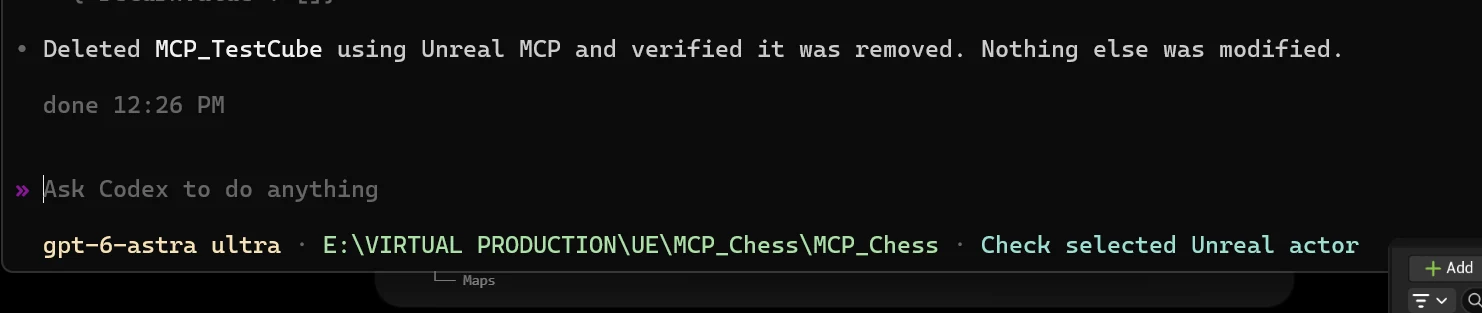
Started in the project folder, /mcp shows unreal-mcp as connected with 3 tools. The first prompt is read-only: which actor is selected, without modifying anything. Codex asks for approval before each tool call, then calls GetSelectedActors and get_label and answers DirectionalLight.
Test Edits
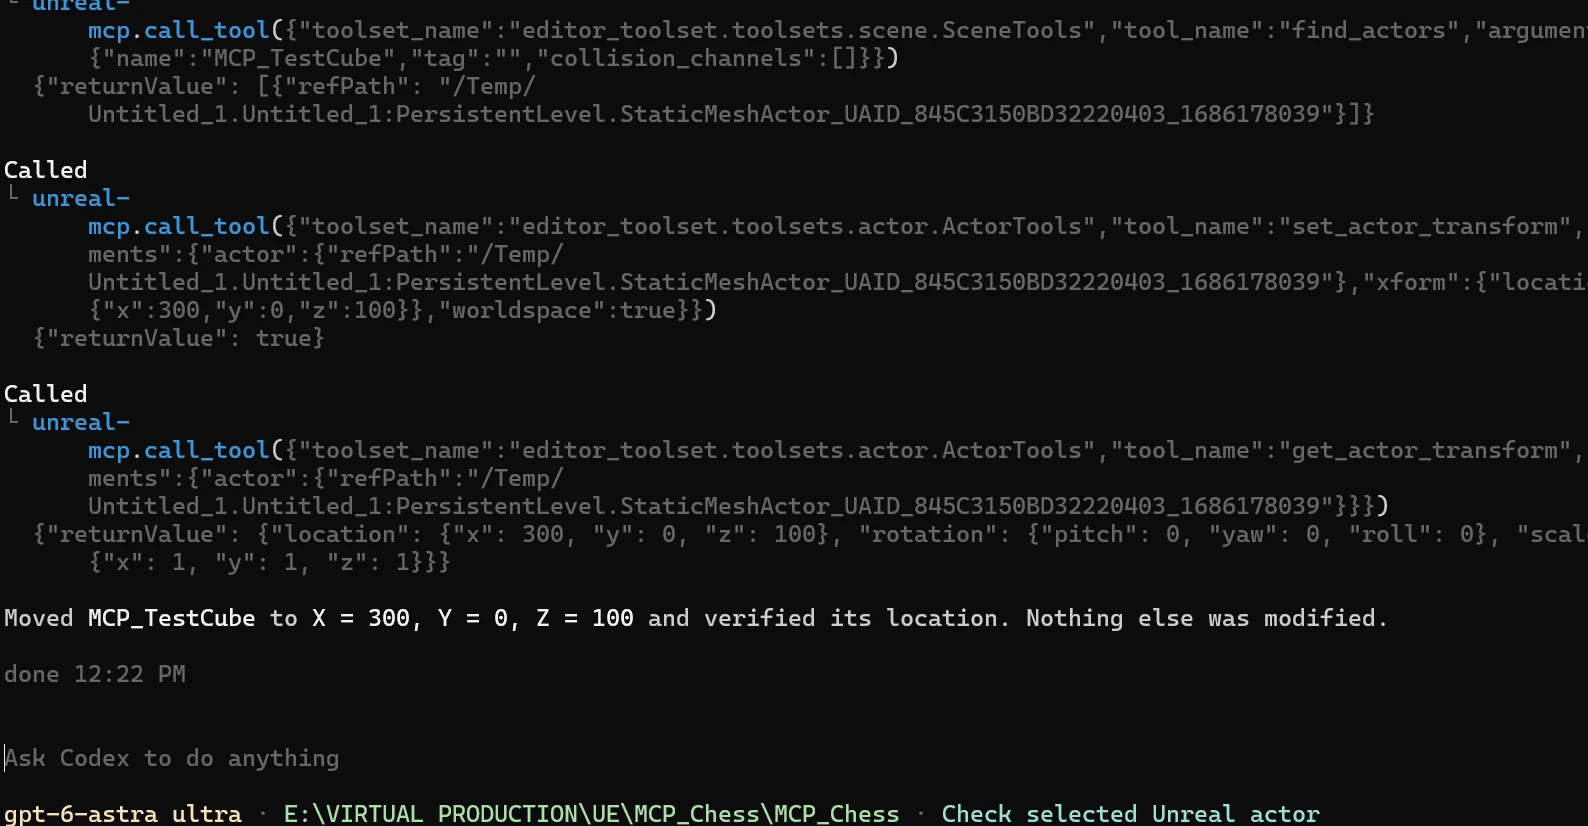
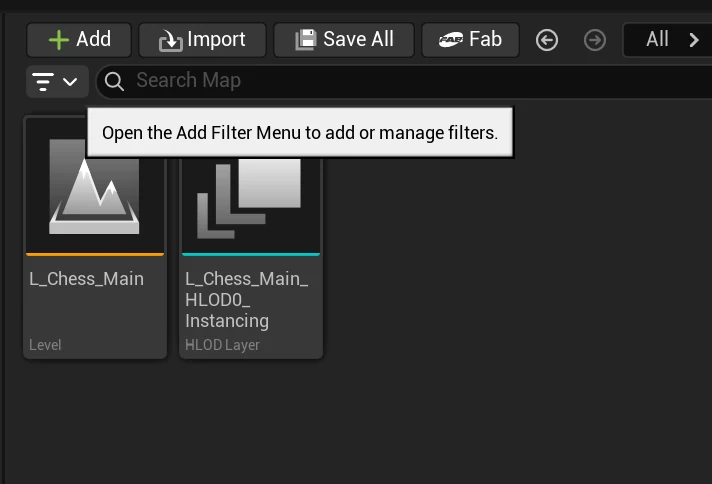
Two small changes that are easy to check: move MCP_TestCube to X 300, Y 0, Z 100 and read the transform back, then delete the cube and confirm it’s gone. The scene has its own level, L_Chess_Main.
The Board
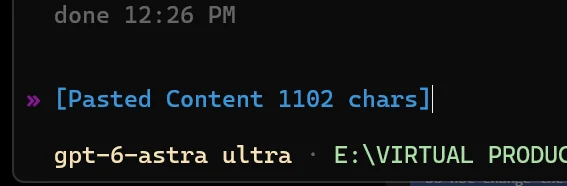
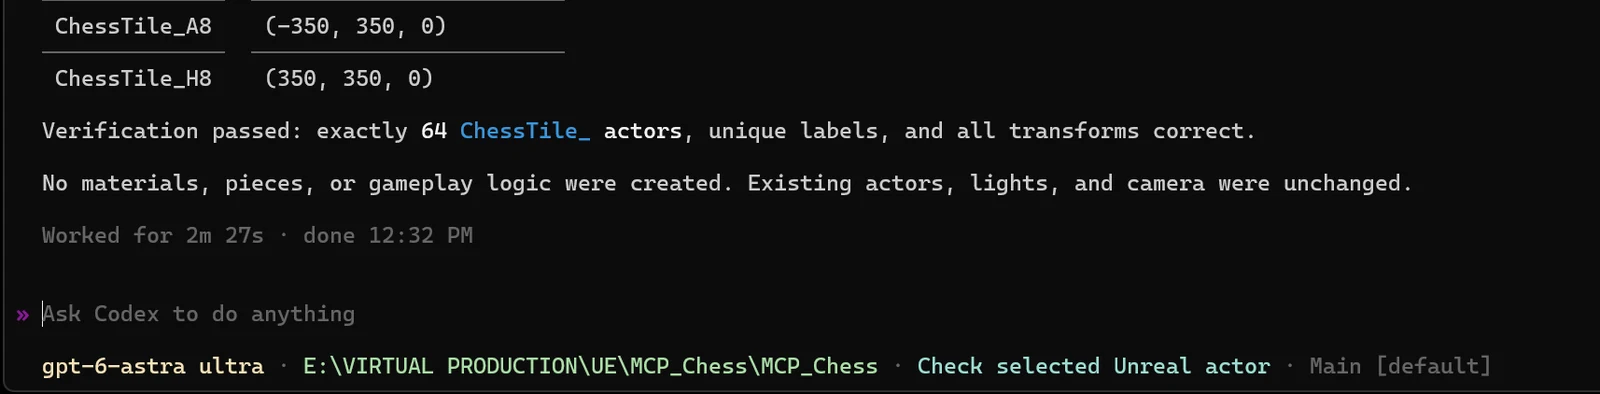
Longer instructions, including explicit rules about what not to change, are written ahead of time and pasted in as one prompt. The first builds the board: 64 ChessTile actors labeled A1 to H8 on a 100 cm grid, checked for count, unique labels and transforms, with no materials, pieces or gameplay yet (2 min 27 s).
Materials
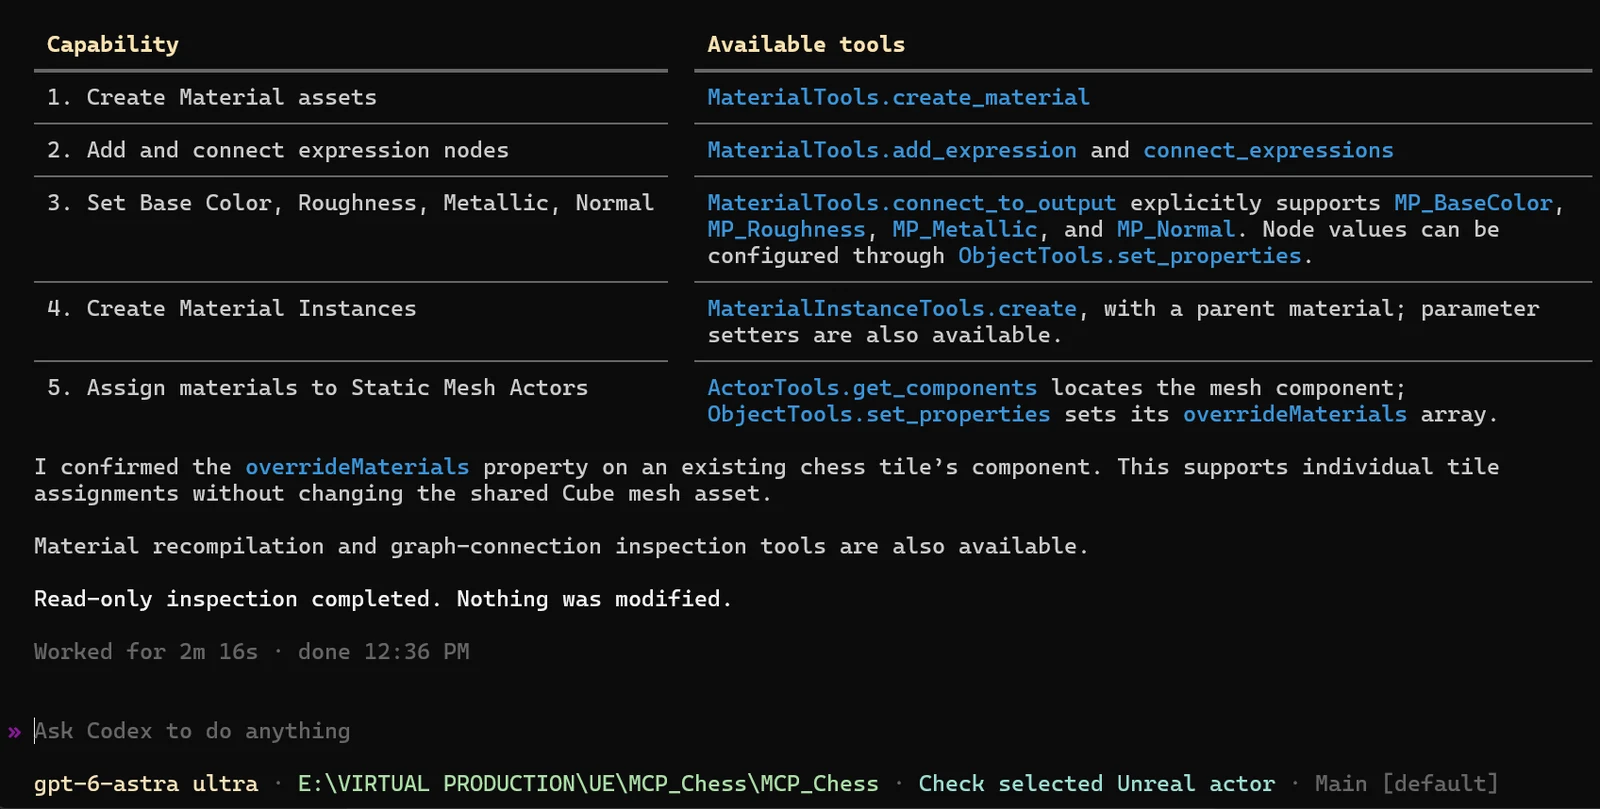
Before making any materials, a read-only pass maps what the material tools can do: create materials, add and connect nodes, set Base Color, Roughness, Metallic and Normal, make material instances, and assign them through a mesh’s overrideMaterials.
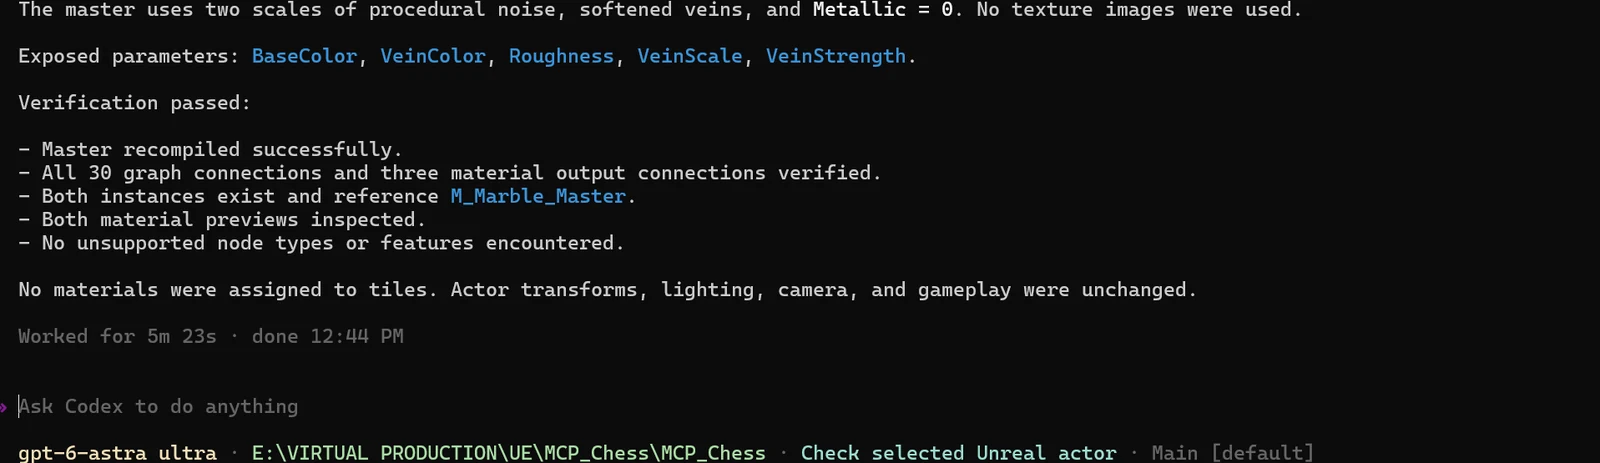
Next comes M_Marble_Master, built from two scales of procedural noise with softened veins and no texture images, exposing BaseColor, VeinColor, Roughness, VeinScale and VeinStrength, plus two instances of it. Codex recompiles the master and checks its 30 graph connections before anything touches the tiles (5 min 23 s).
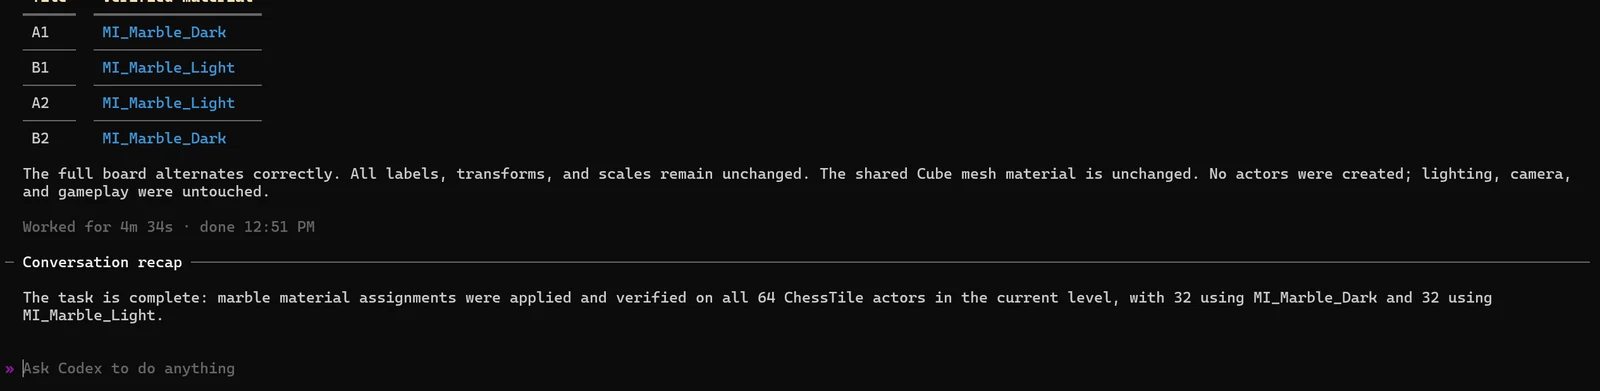
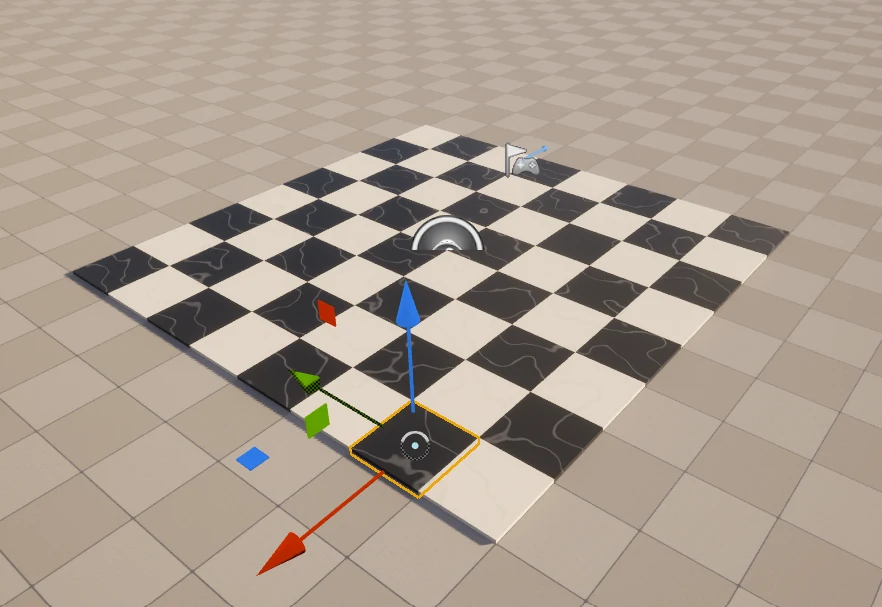
Then MI_Marble_Dark and MI_Marble_Light go onto all 64 tiles, 32 of each, alternating like a real board and verified tile by tile (4 min 34 s).
Pieces
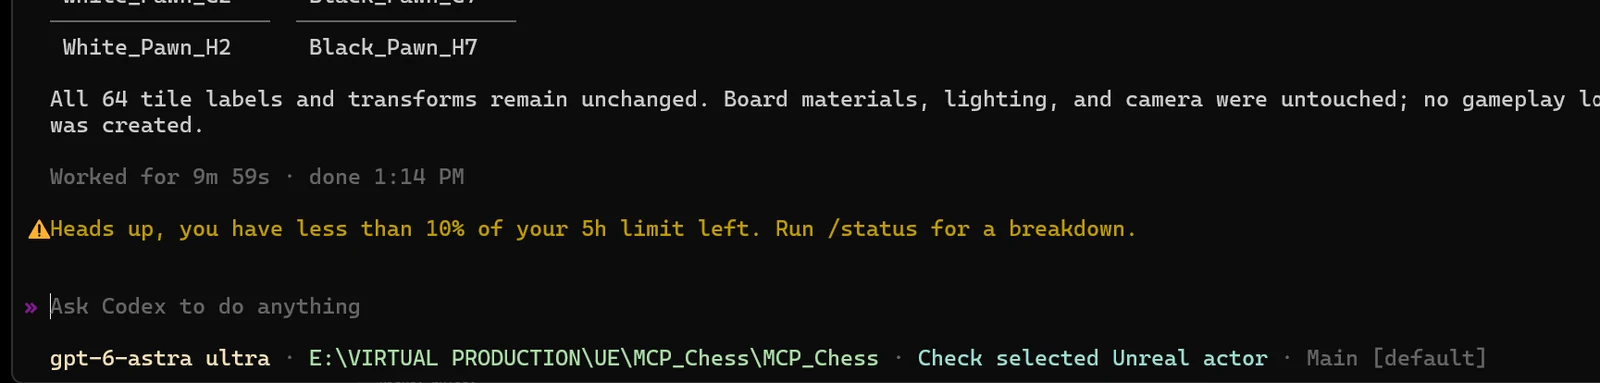
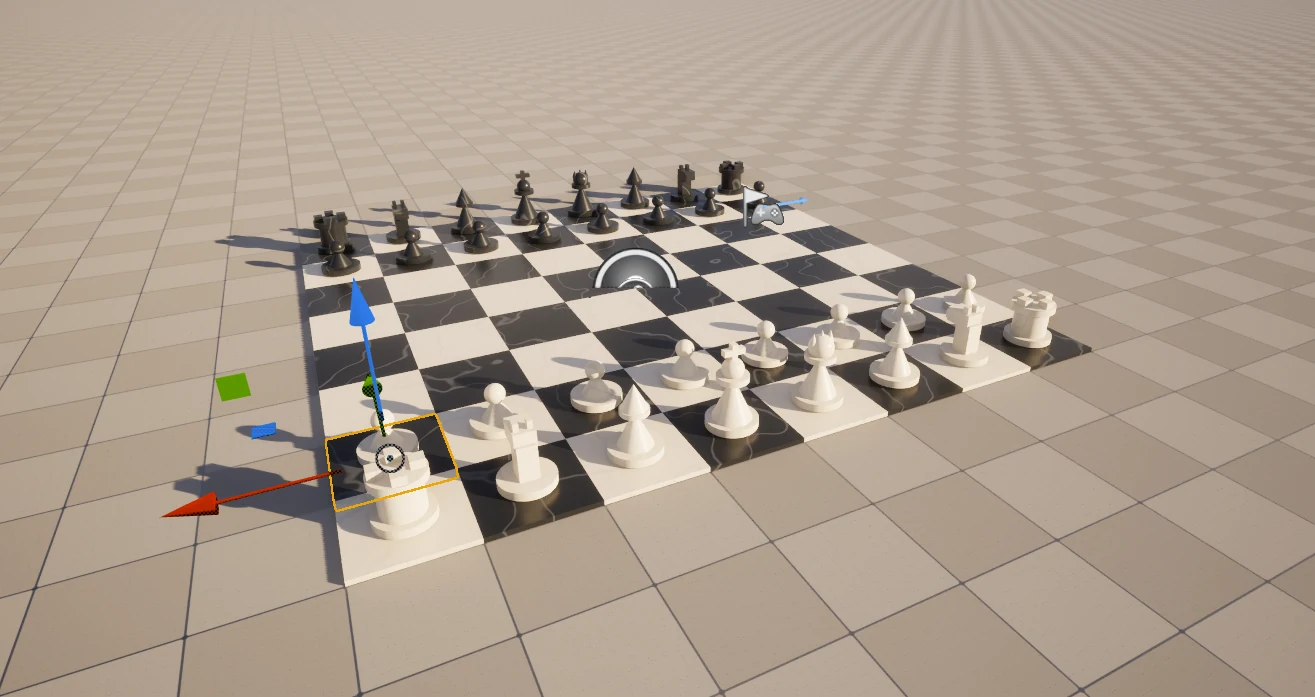
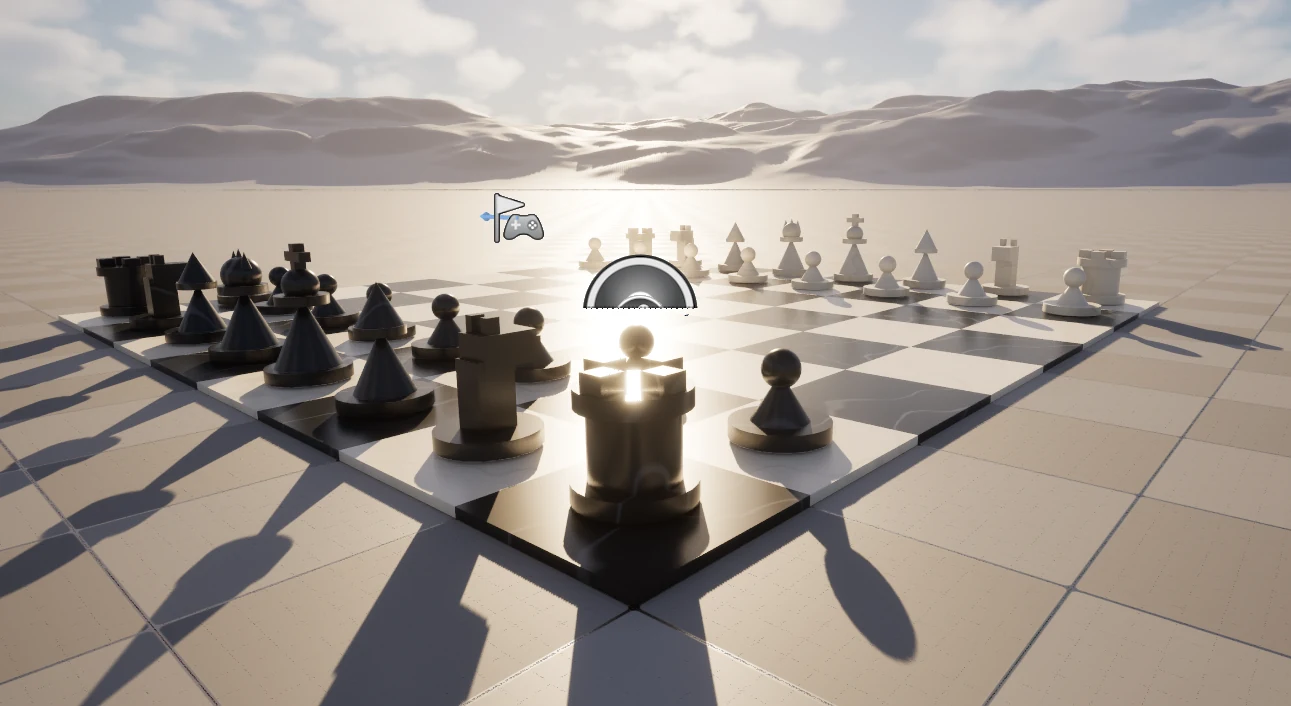
The pieces are placed and named by color, type and square, such as White_Pawn_H2 and Black_Pawn_H7, with the tiles, board materials, lighting and camera left as they were (9 min 59 s).
Usage
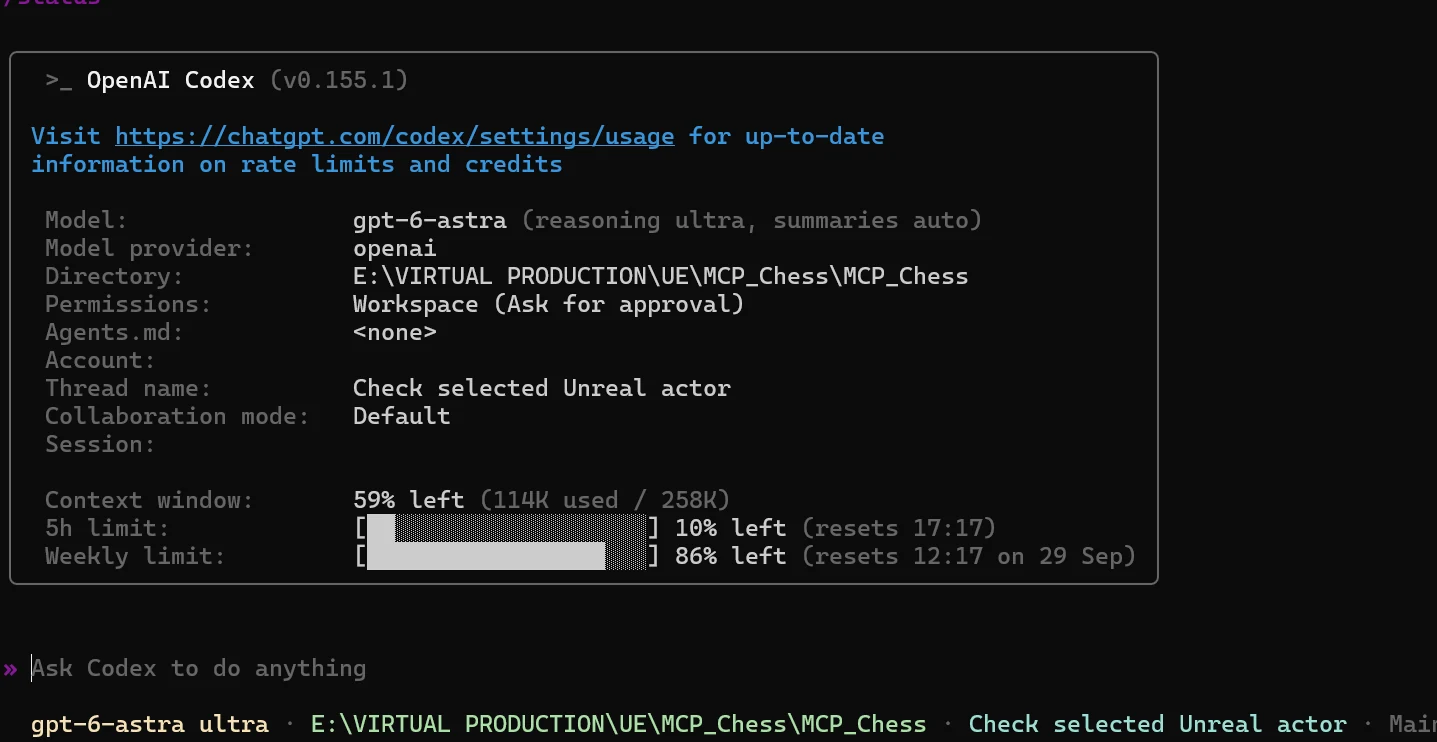
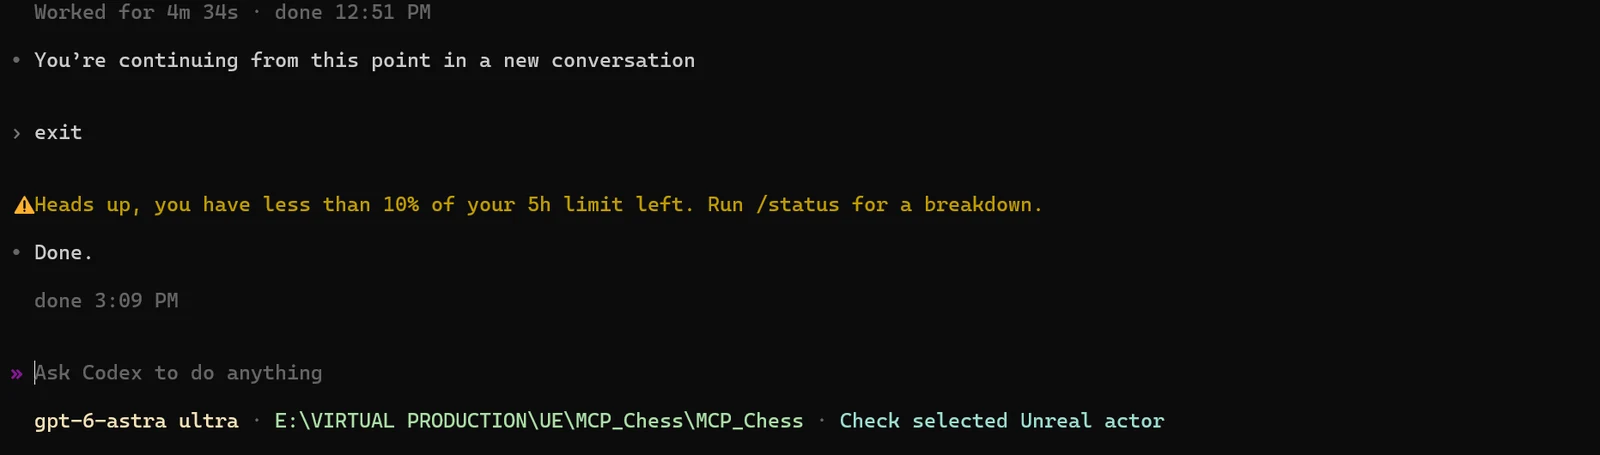
/status after the pieces: about 10% of the five-hour limit left. The session then ends with exit.
Light Function & Gobo Texture
Aug 2026, Substance Designer, Unreal Engine
A Light Function uses a black-and-white texture as a mask on a light, controlling where it is bright and where it is dark. White lets light through, black blocks it, and gray lets part of it through. Common uses include light through blinds, fence shadows, gobo lights, cloud shadows and striped light effects. Here, a striped mask made in Substance Designer is projected through a Spot Light in Unreal Engine.
- Mask
- Substance Designer
- Engine
- Unreal Engine 5.8
- Light
- Spot Light
Texture in Substance Designer
The node chain is Stripe + Disc → Blend → Blur HQ Grayscale. Stripe generates the stripes, Disc sets the round area, Blend combines the two, and Blur HQ Grayscale softens the edges.
The result is exported as a PNG.

Material in Unreal Engine
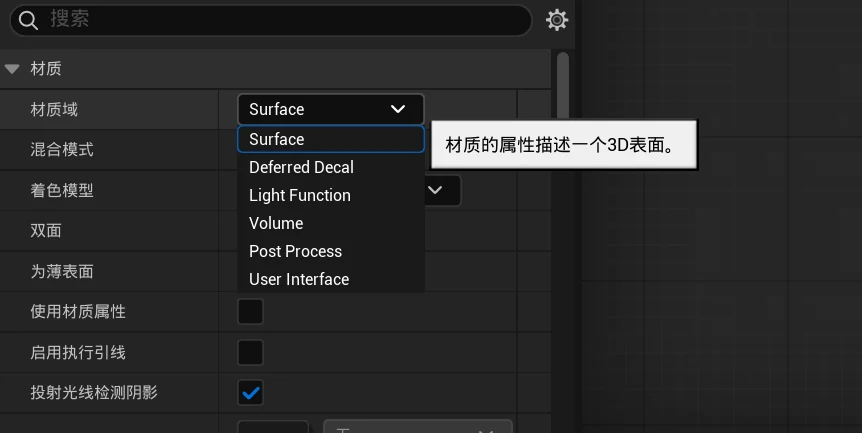
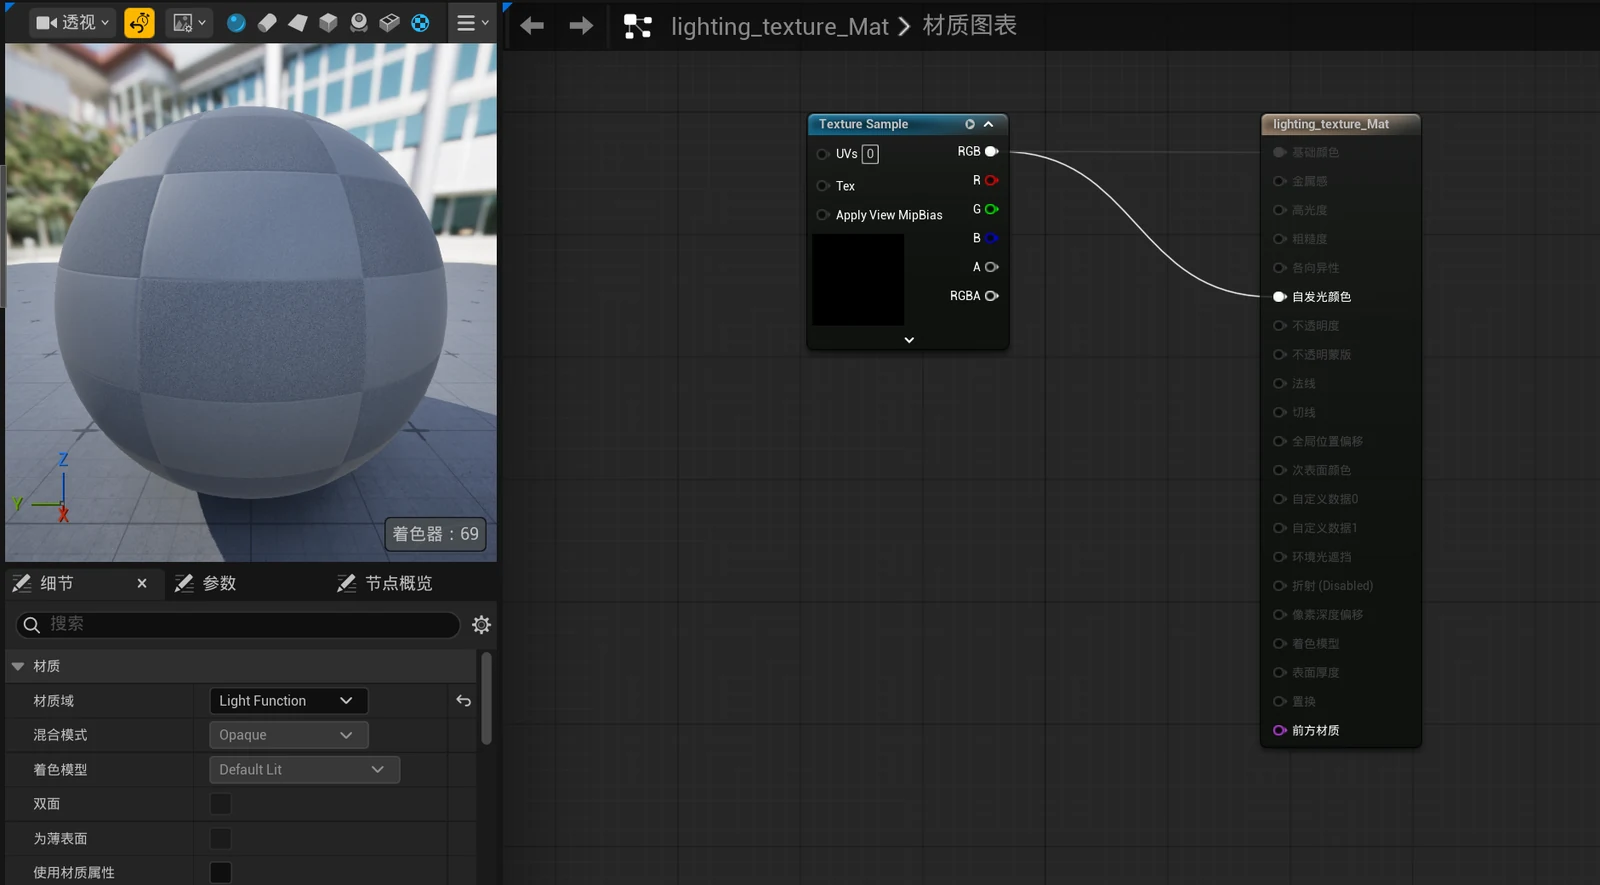
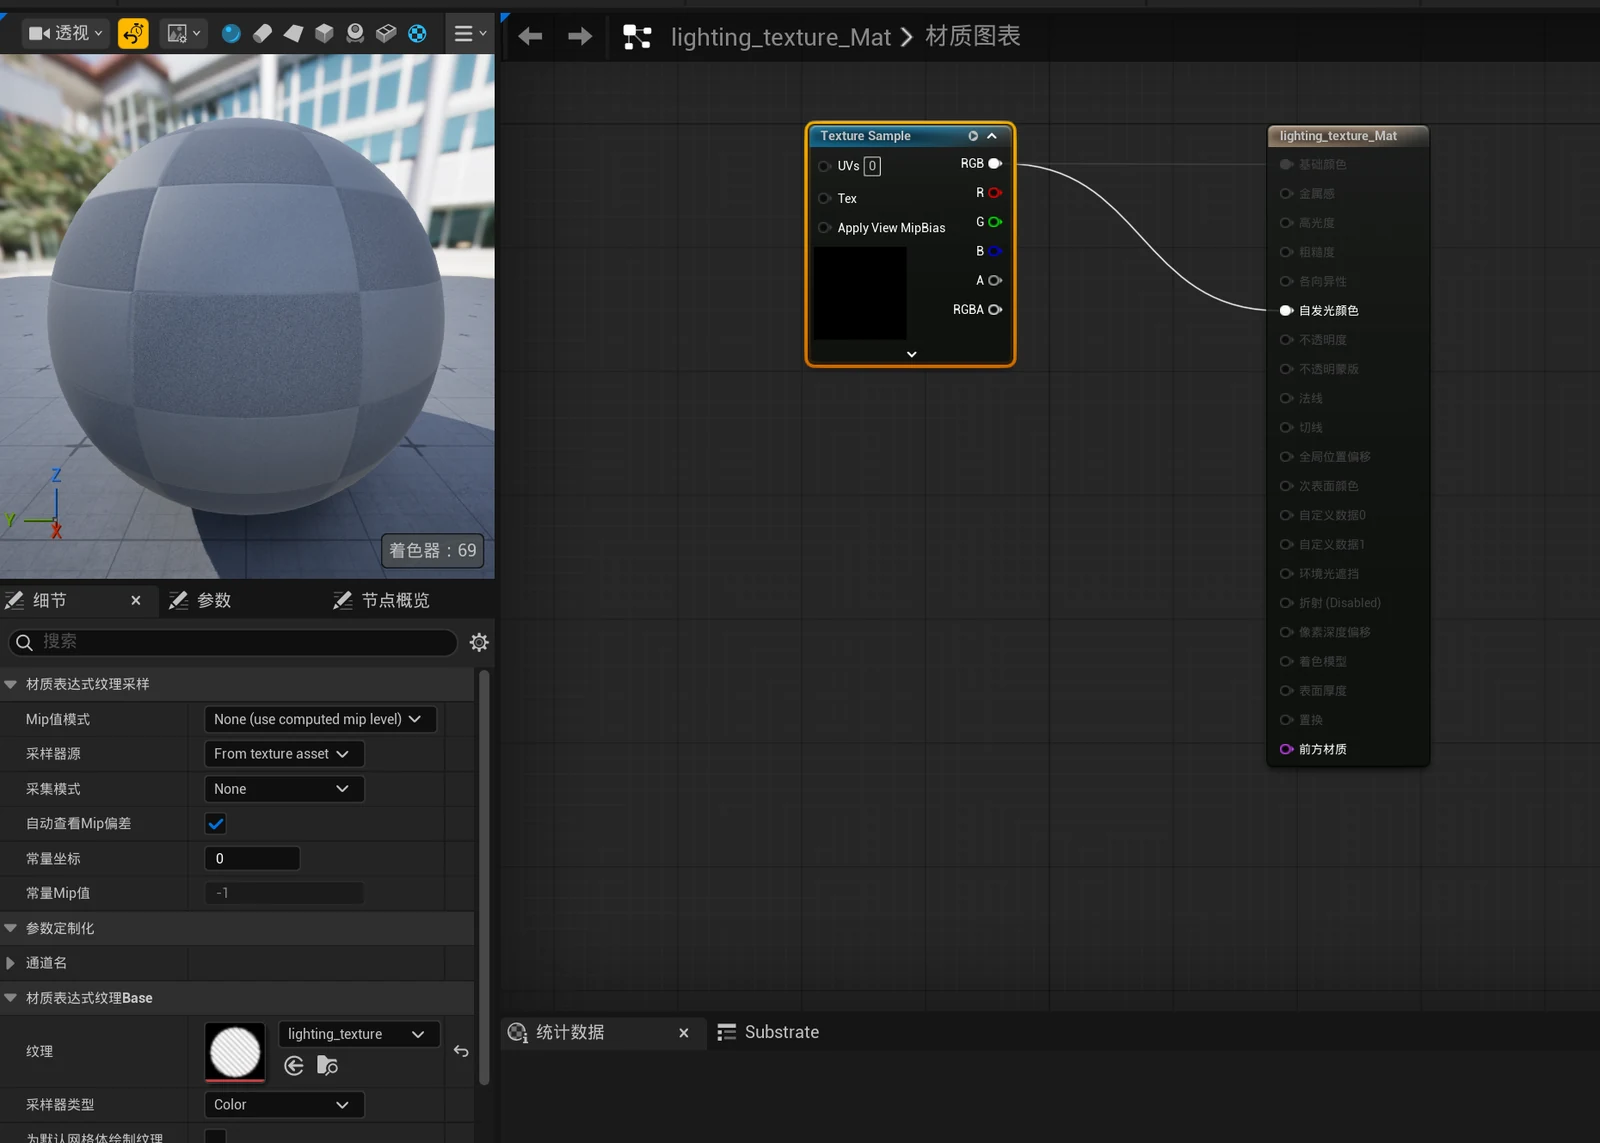
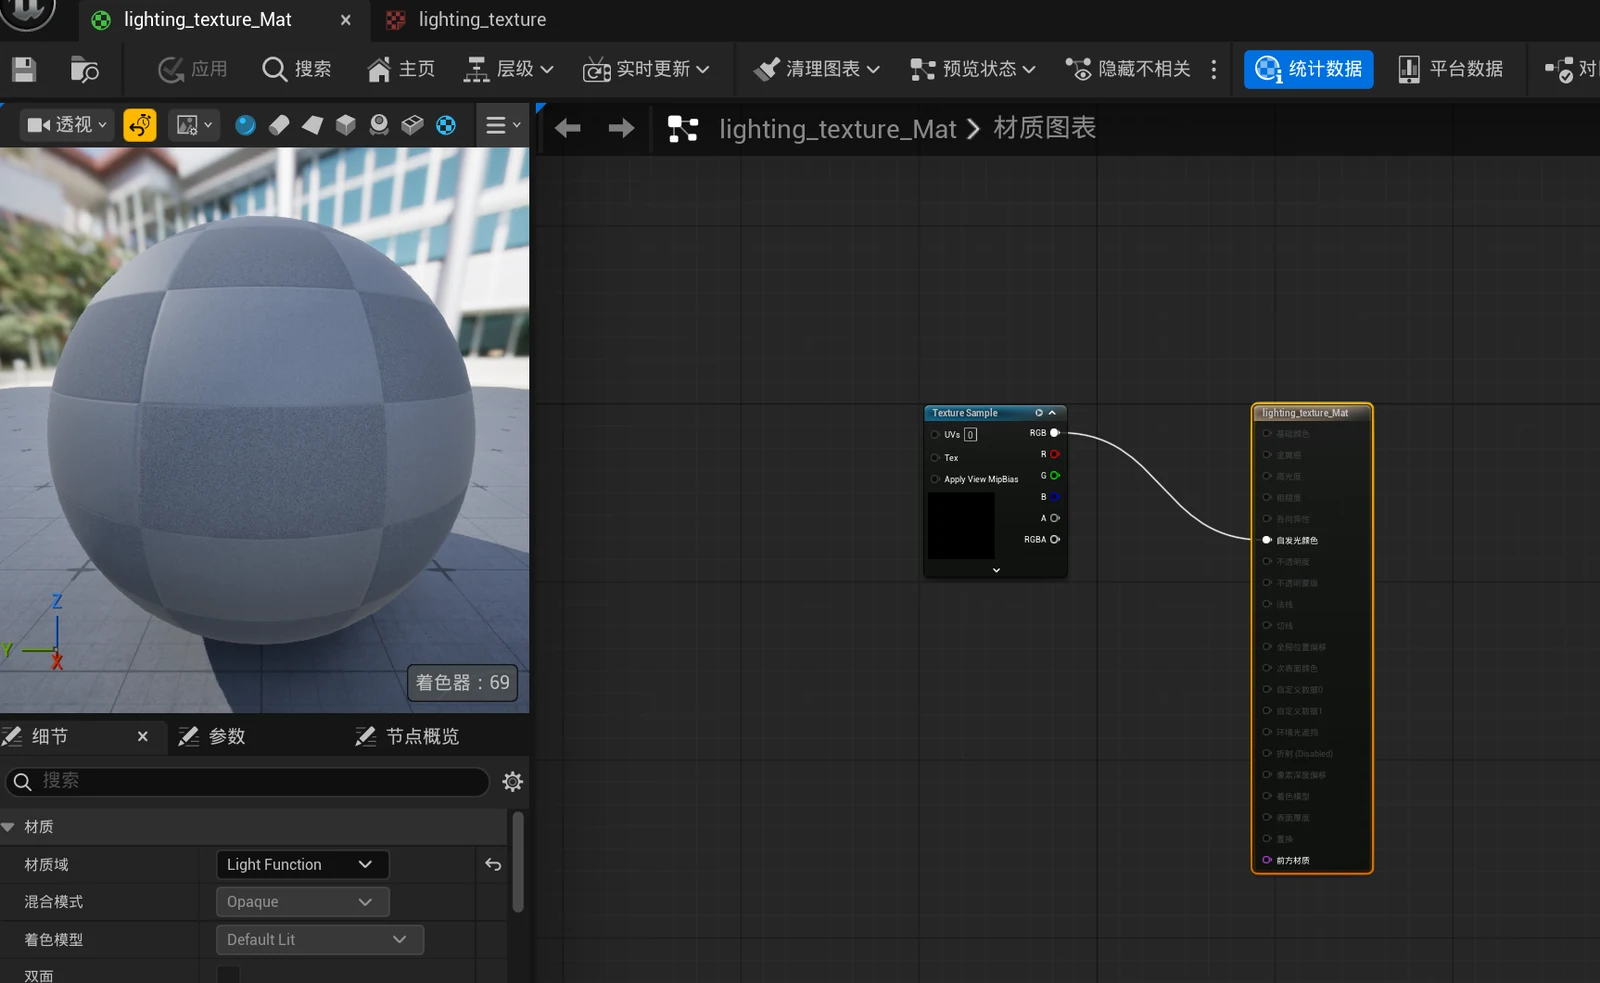
The PNG is imported into Unreal Engine and a new material is created. Its Material Domain is switched from Surface to Light Function, the texture goes into a Texture Sample node, and Texture Sample RGB connects to Emissive Color. Then the material is saved.
Spot Light
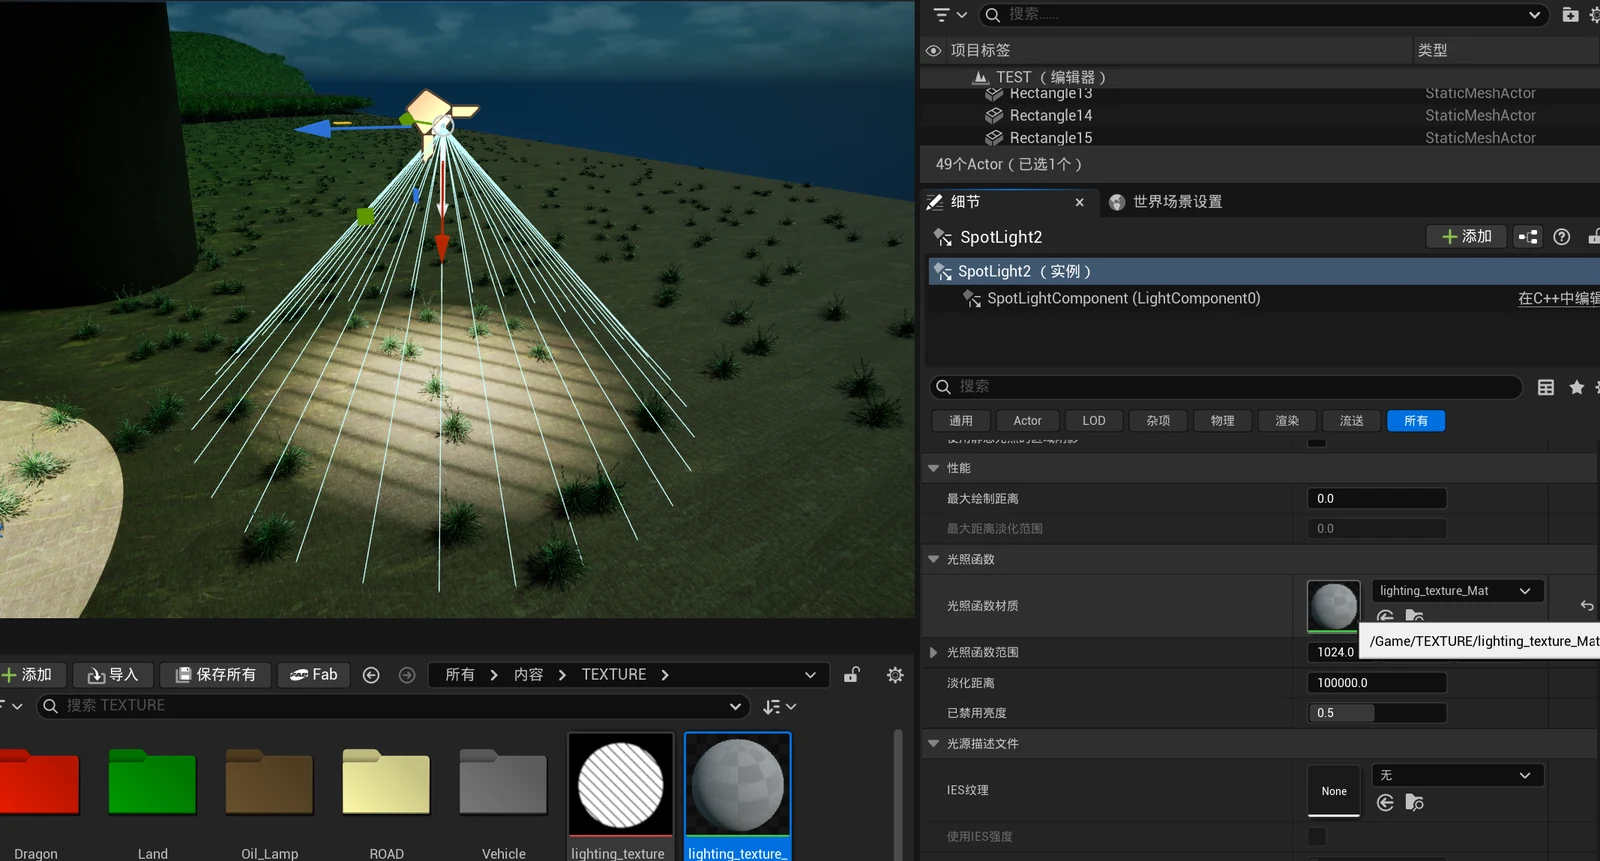
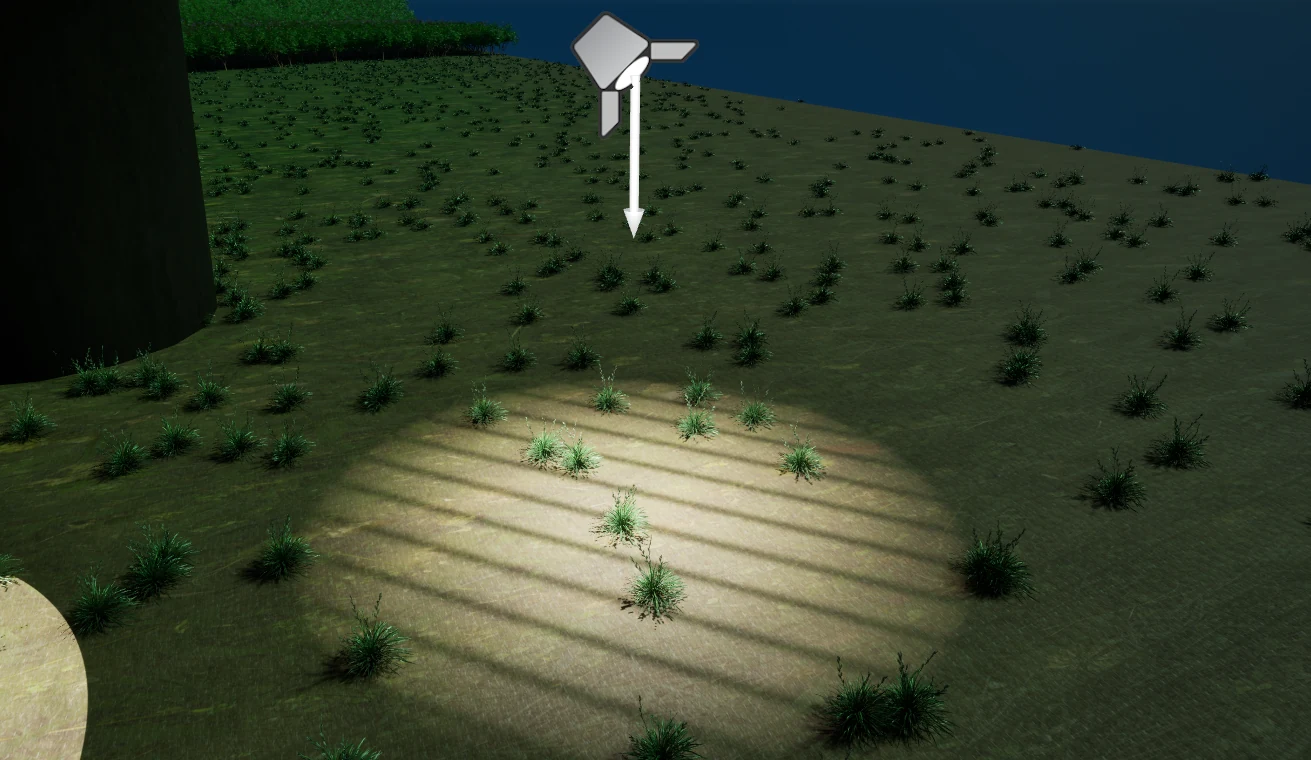
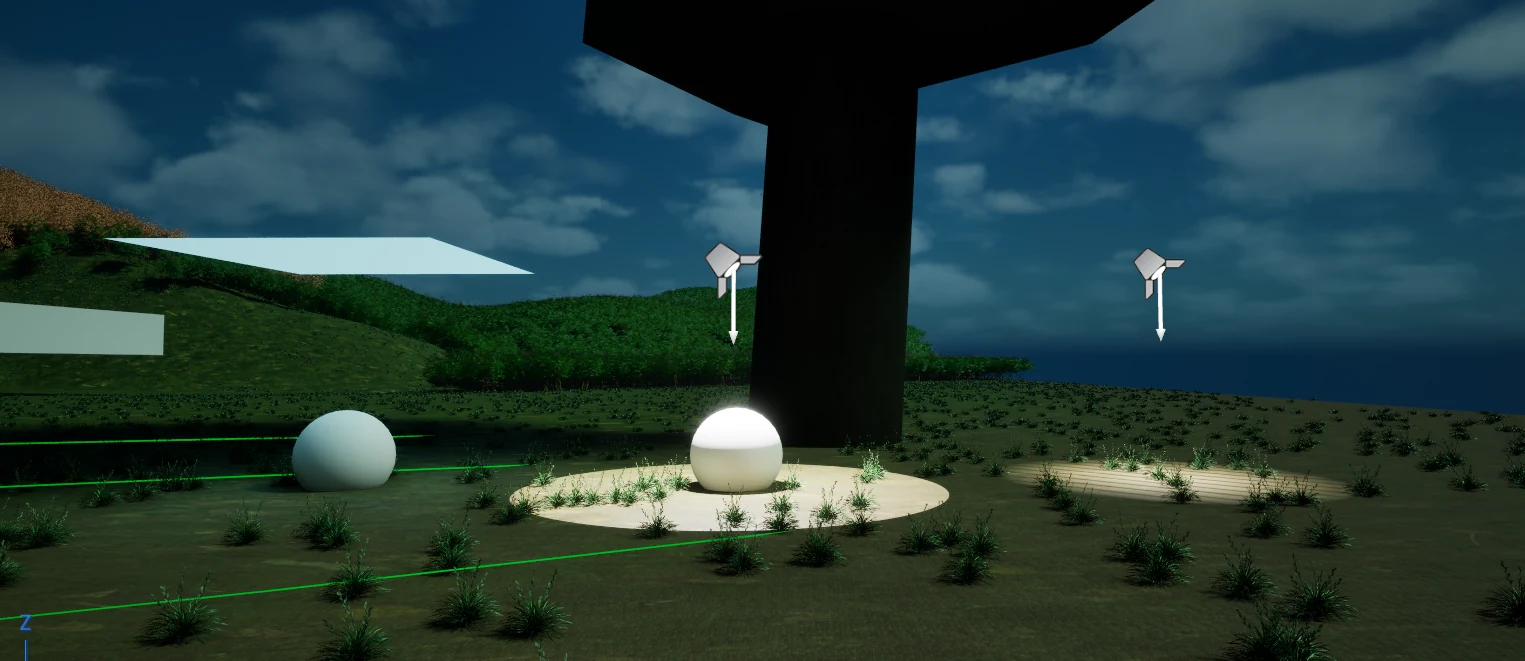
Back in the level, a Spot Light is added and the new material is picked as its Light Function Material. The black-and-white mask is projected through the light and controls the bright and dark areas inside it, for a striped projection like light through blinds, a fence or a gobo.
A Note on UE 5.8
A Light Function material may not preview correctly: the pattern can be missing from both the material preview sphere and the Texture Sample node. This doesn’t affect the actual light.
Process
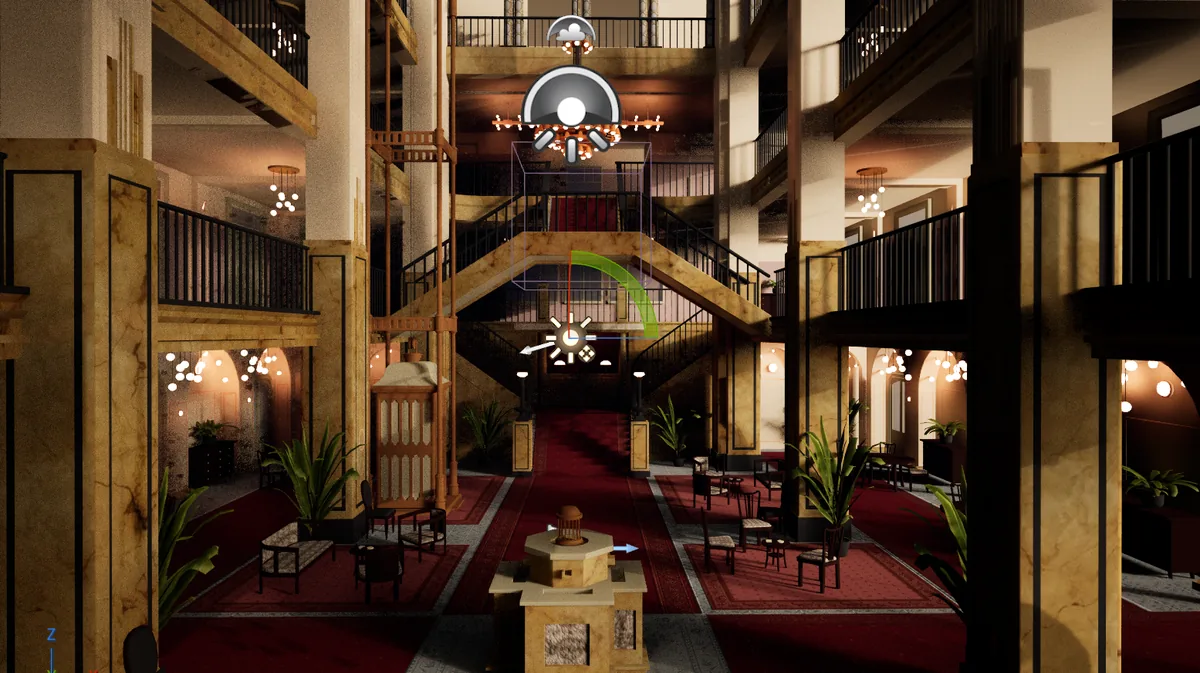
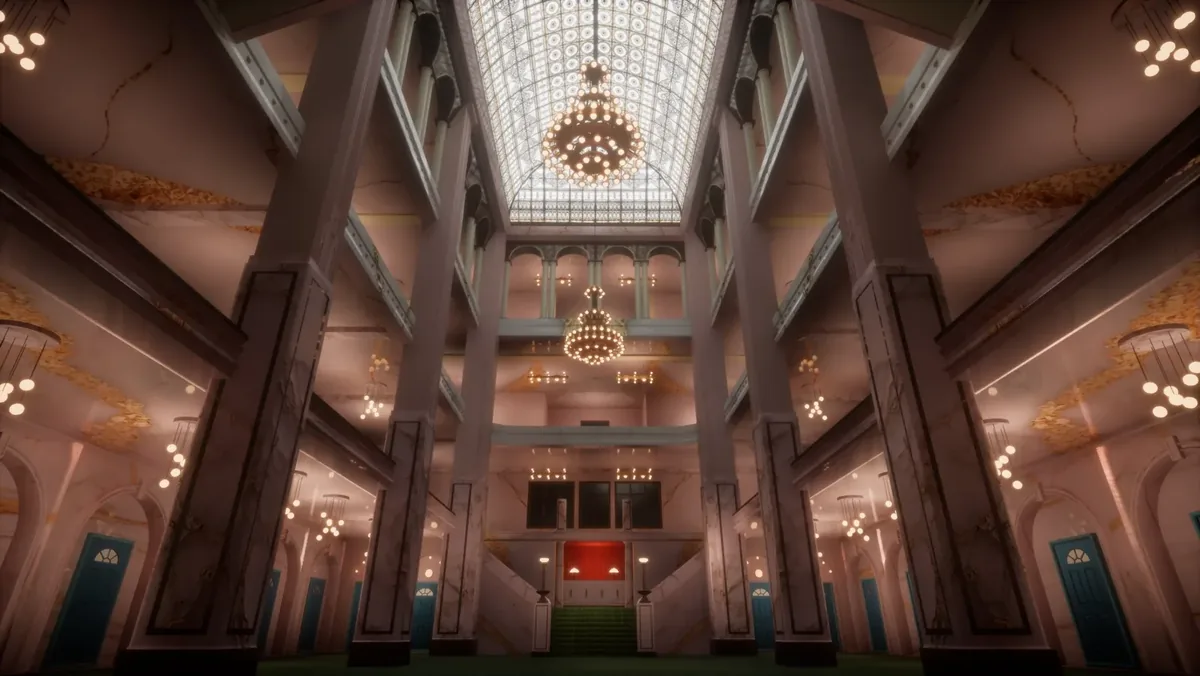
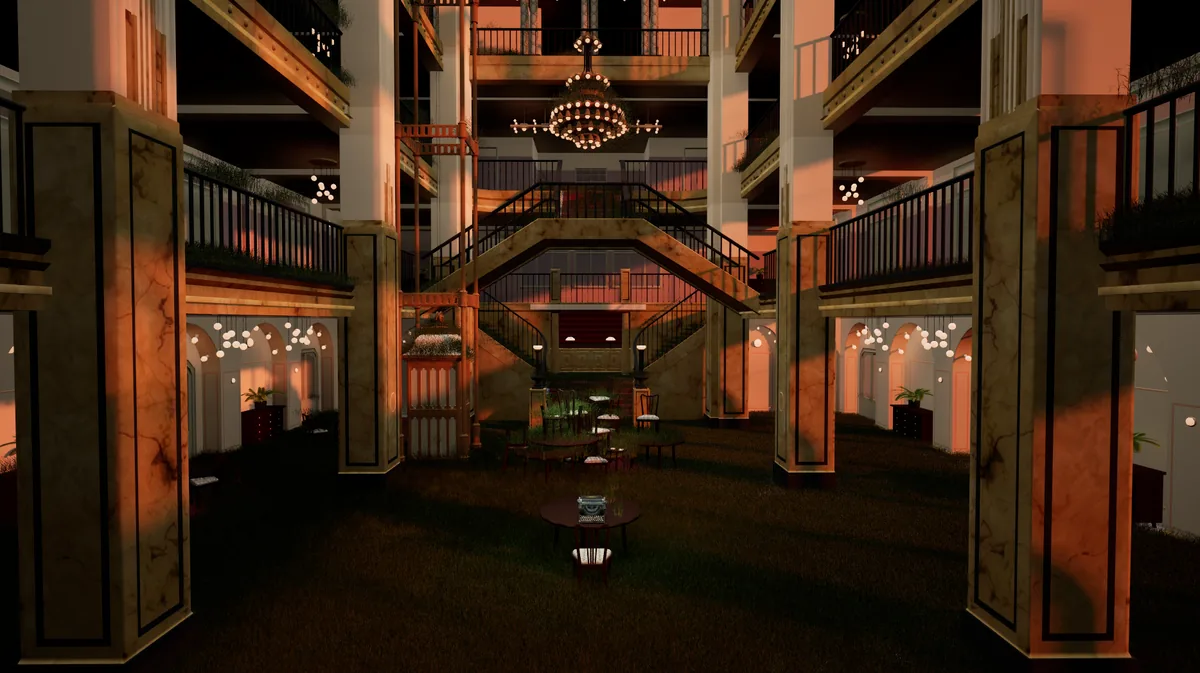
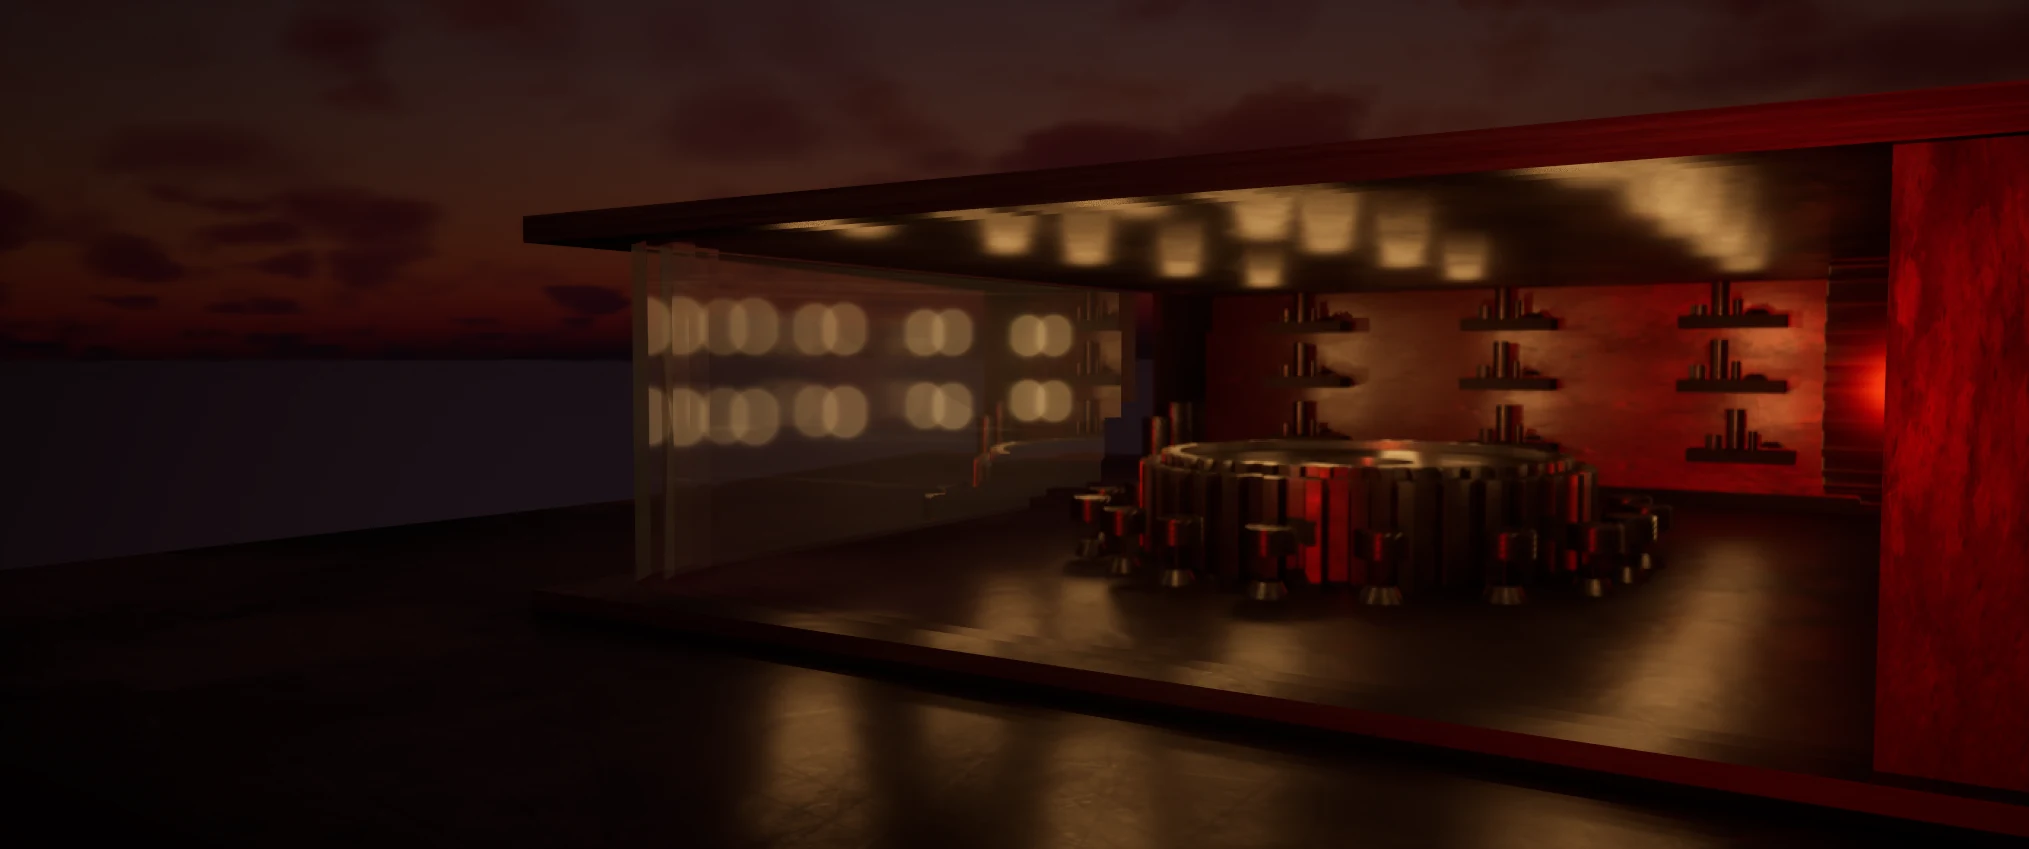
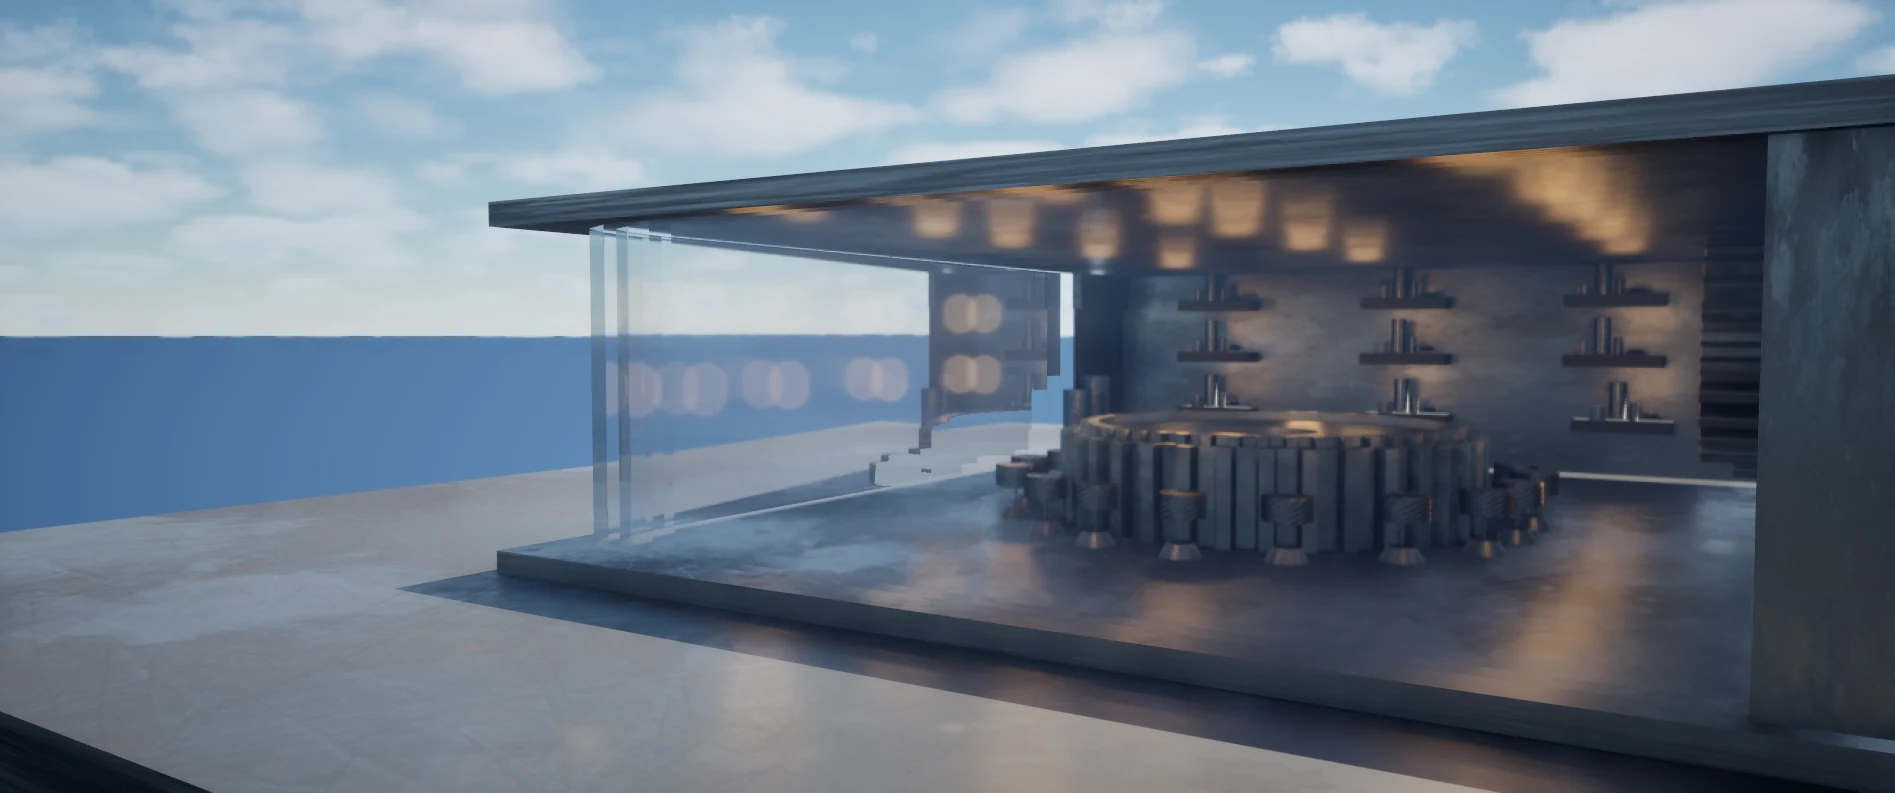
The original model was brought into Unreal Engine and lit only with the built-in Environment Light Mixer for basic environment lighting, with no further adjustments to the lights, materials or scene assets.
Adjustments
Starting from the original scene, the work covered four areas:
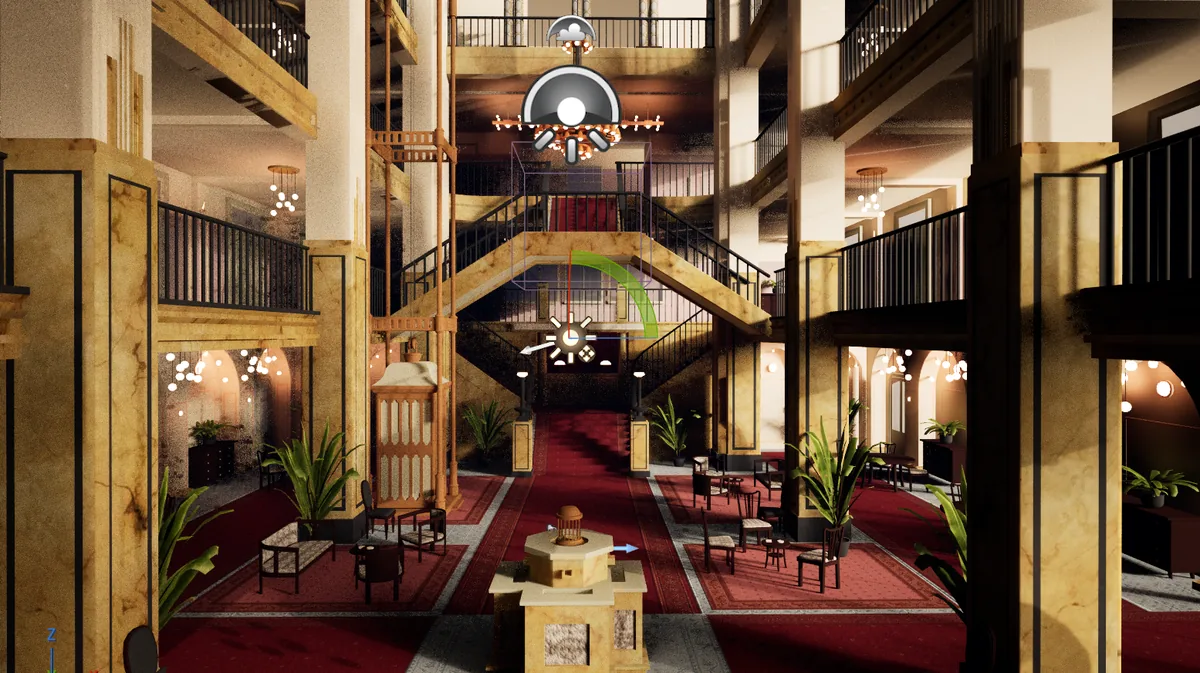
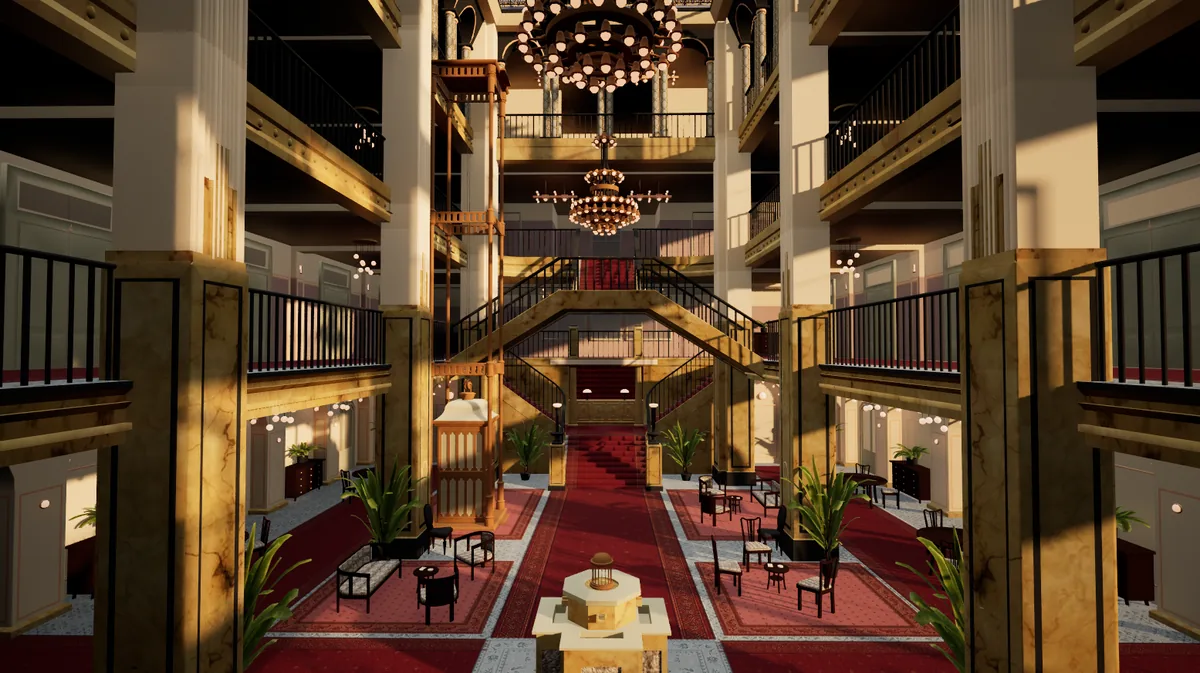
- Lighting tuning. Adjusting the intensity, position, color and direction of the lights to fix the flat, even lighting and lack of contrast in the original, so the space reads with clearer layers of light and shadow.
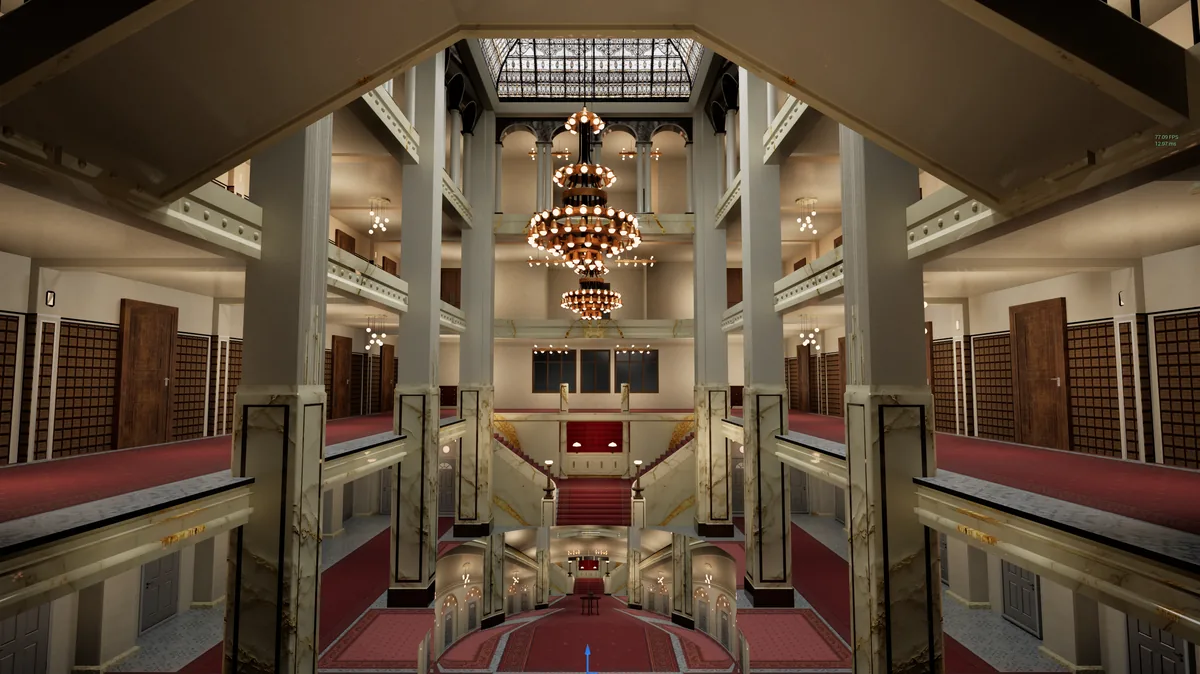
- Asset replacement. Replacing some of the original models and assets, and adjusting their position, scale and arrangement to the overall layout, so the details and the look of the scene sit together more coherently.
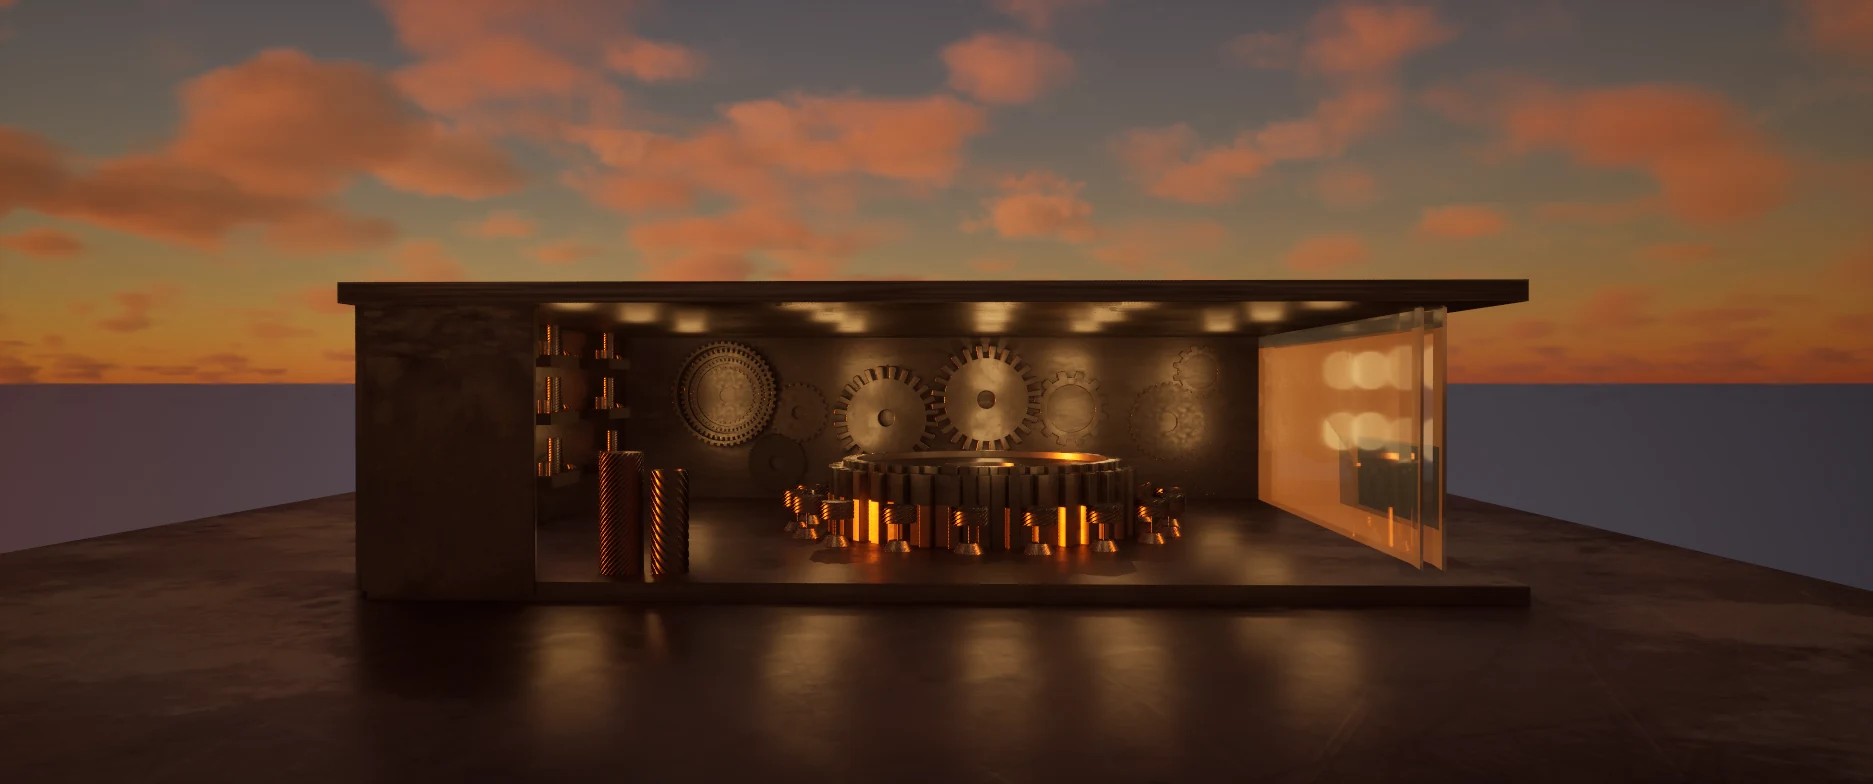
- Relighting. Re-planning the lighting layout on top of the base environment light, balancing the key and fill lights, strengthening the lighting in the focal areas, and using the play of light and shadow to bring out the structure of the space and its visual focus.
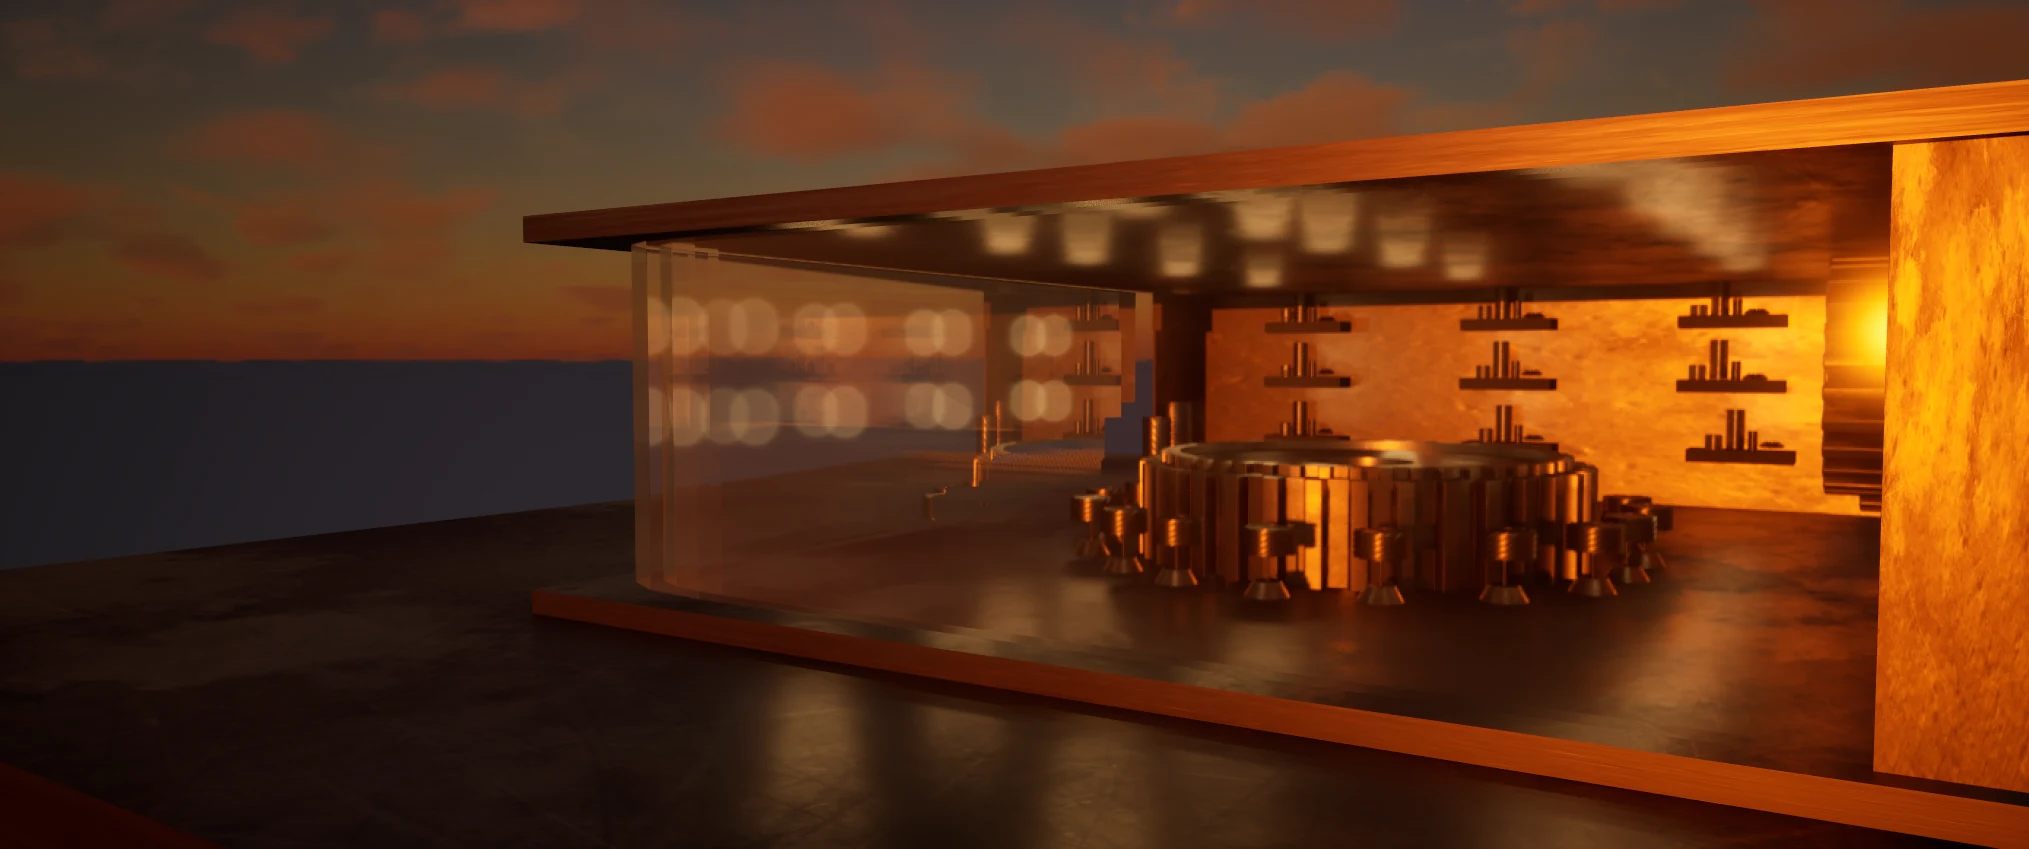
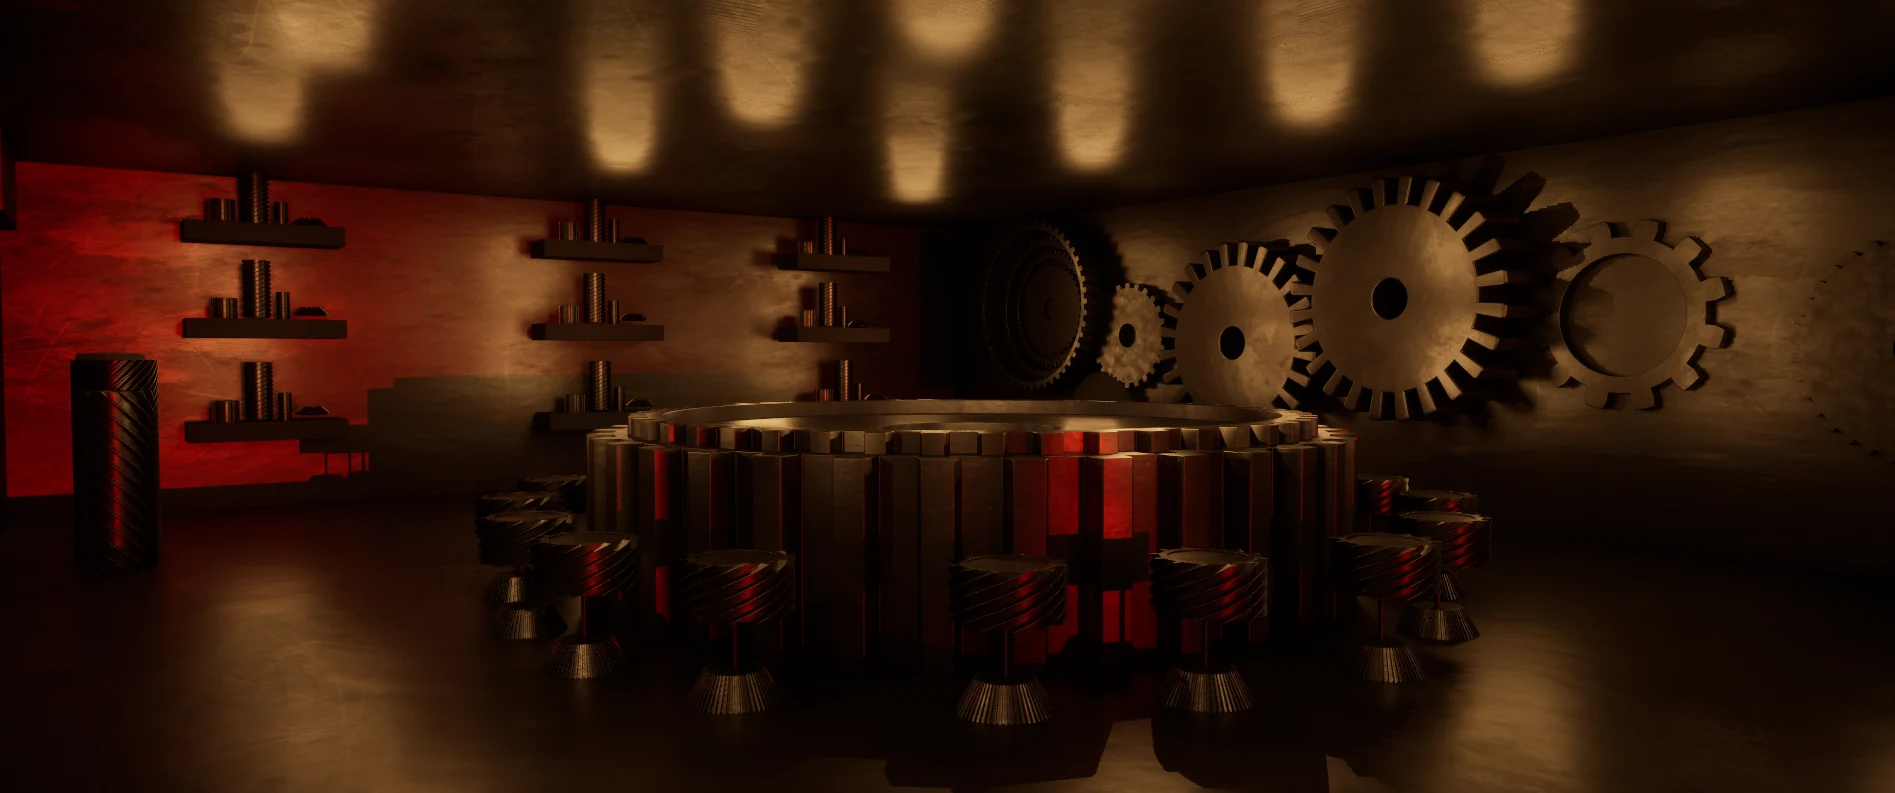
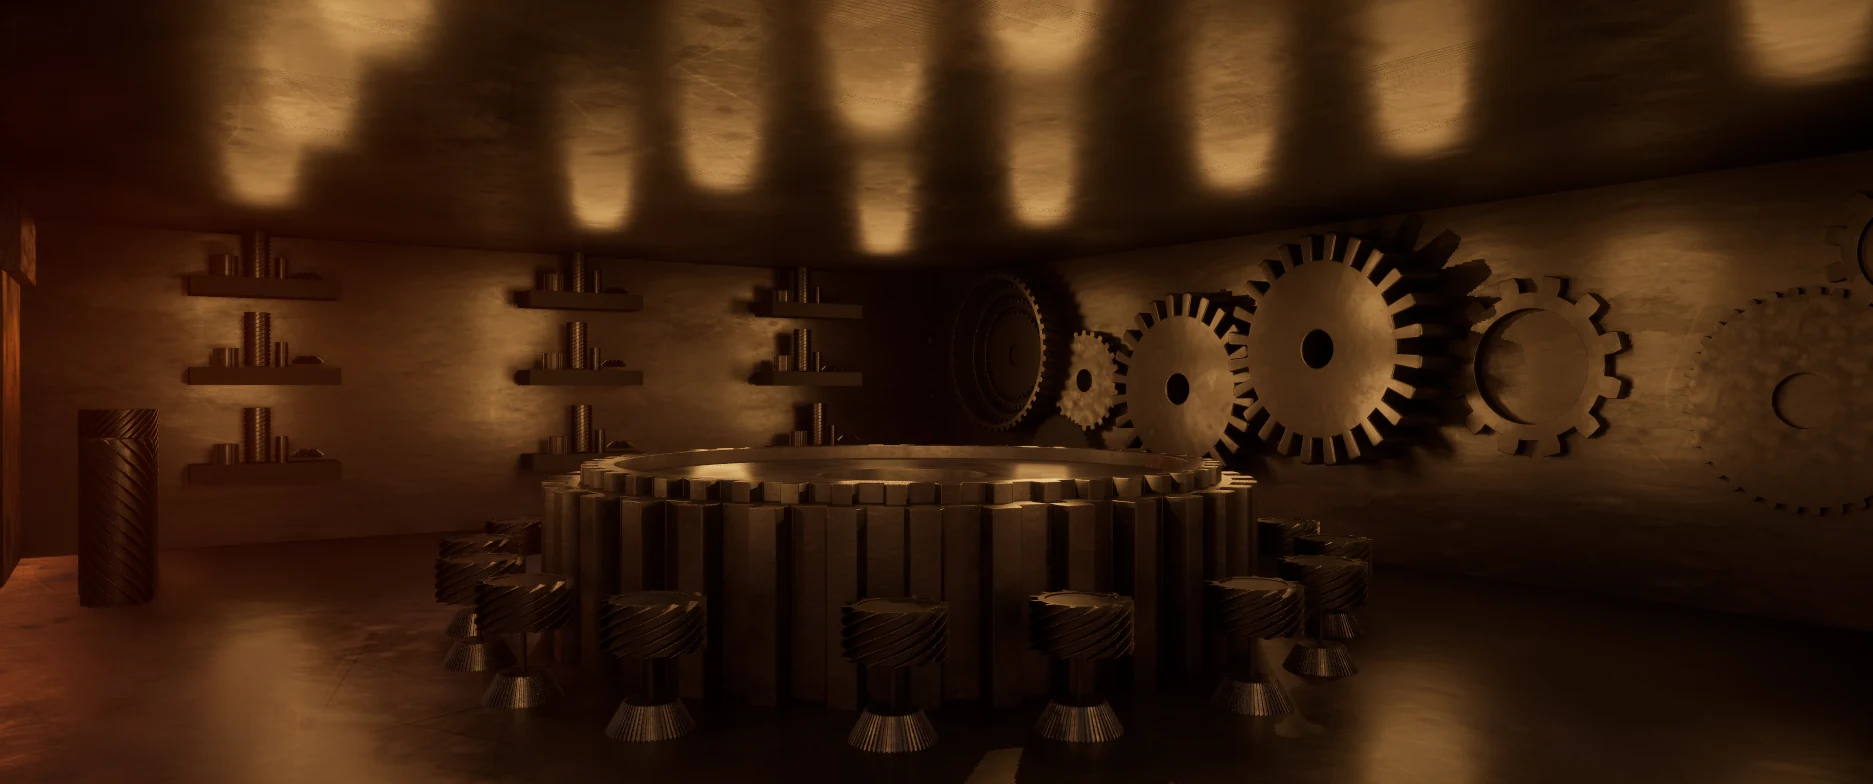
- Material adjustment and replacement. Replacing and refining the original materials on some objects, adjusting color, roughness, metallic and texture, so each surface reads as intended and looks right under the new lighting.
Process Record
The screenshots below follow the order of the work: an initial lighting test, the asset replacement, the relighting, and the final material adjustments.
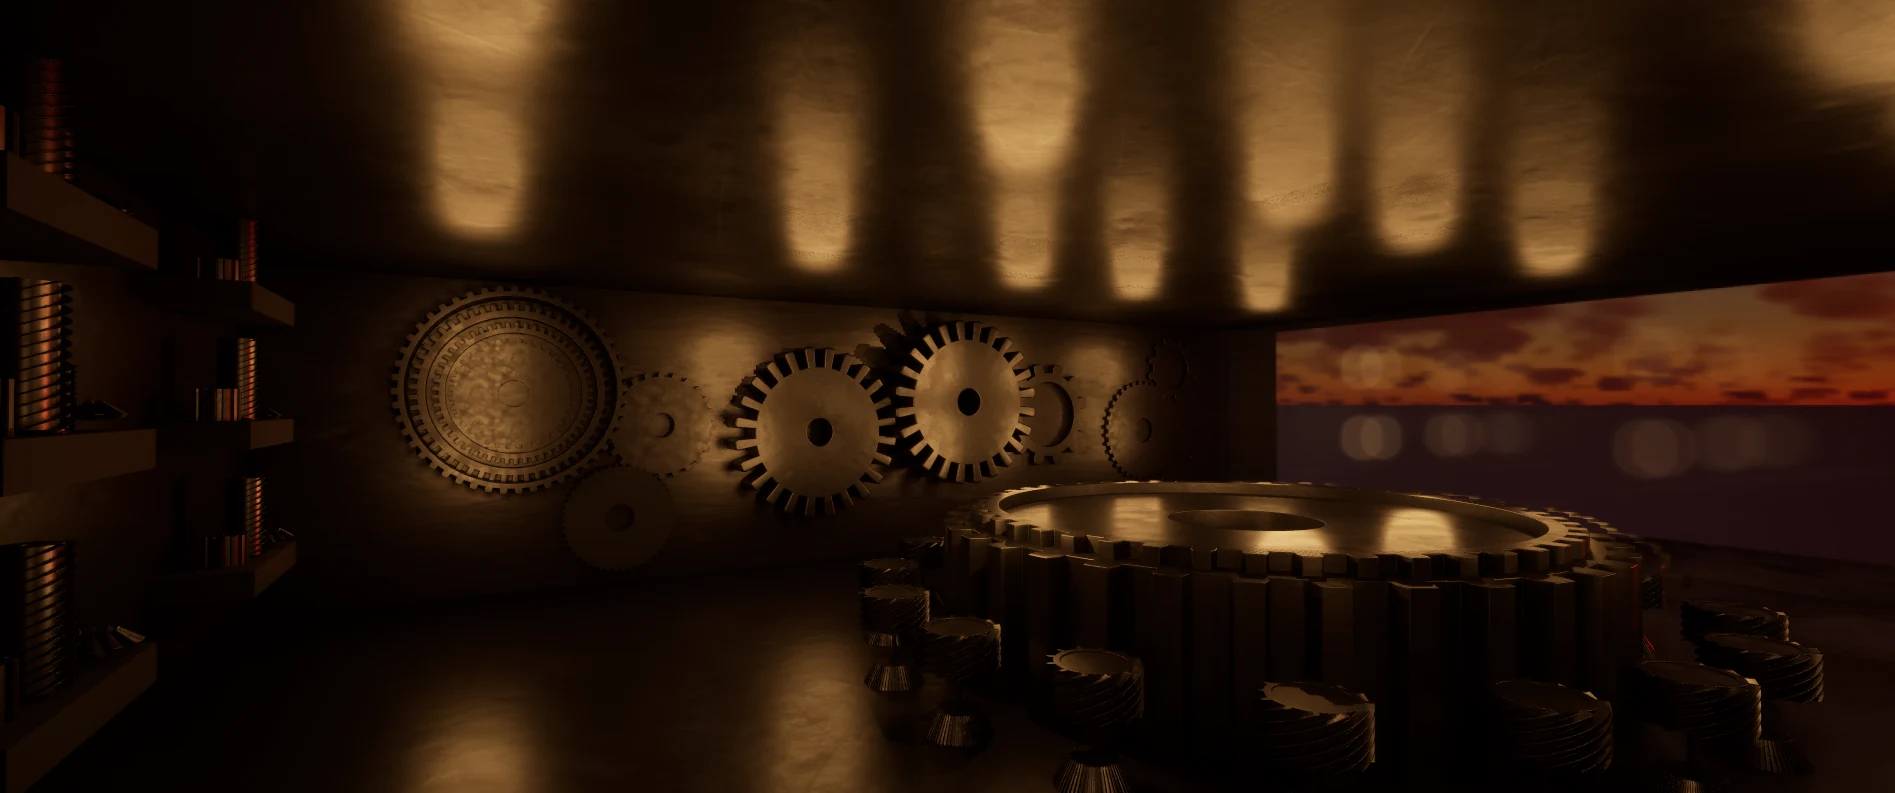
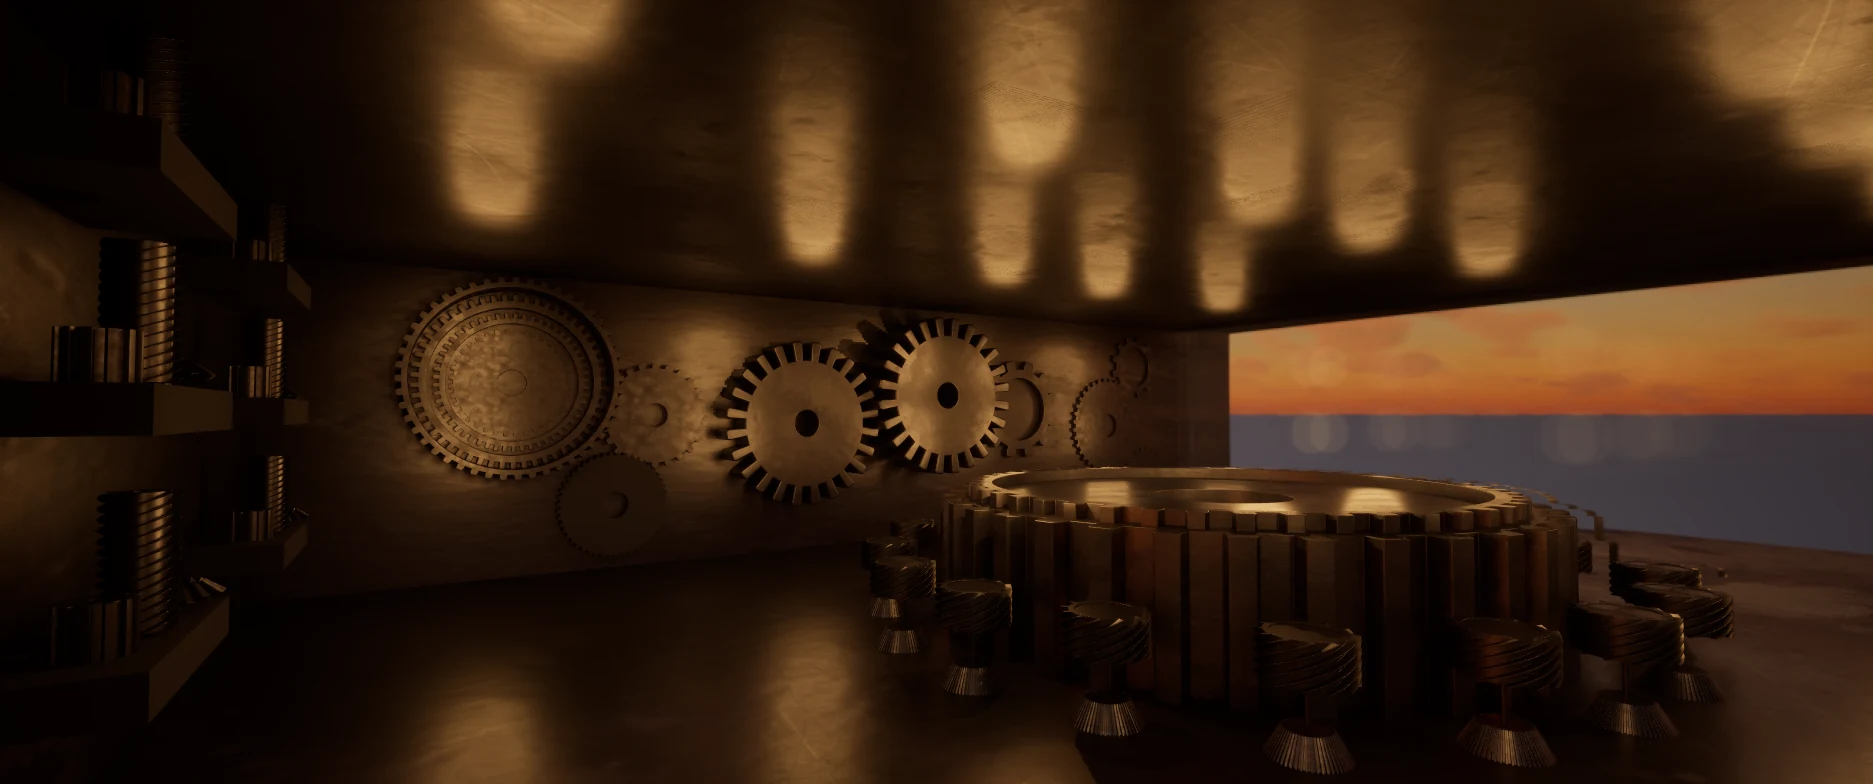
Reference
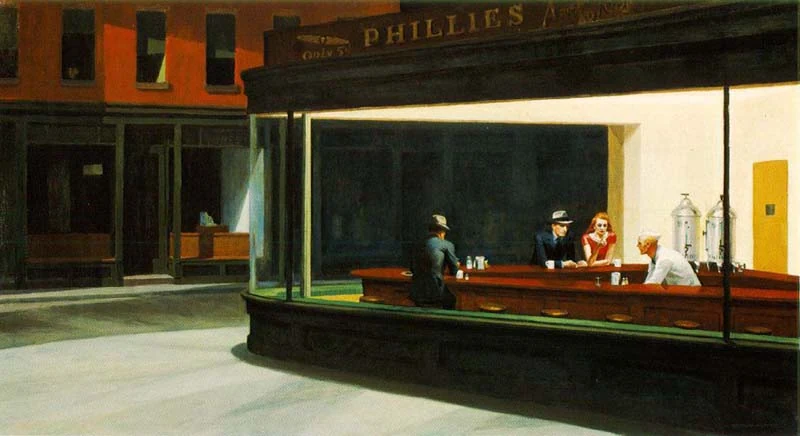
Edward Hopper’s Nighthawks: a lit interior seen from outside through a wall of glass.
Blockout
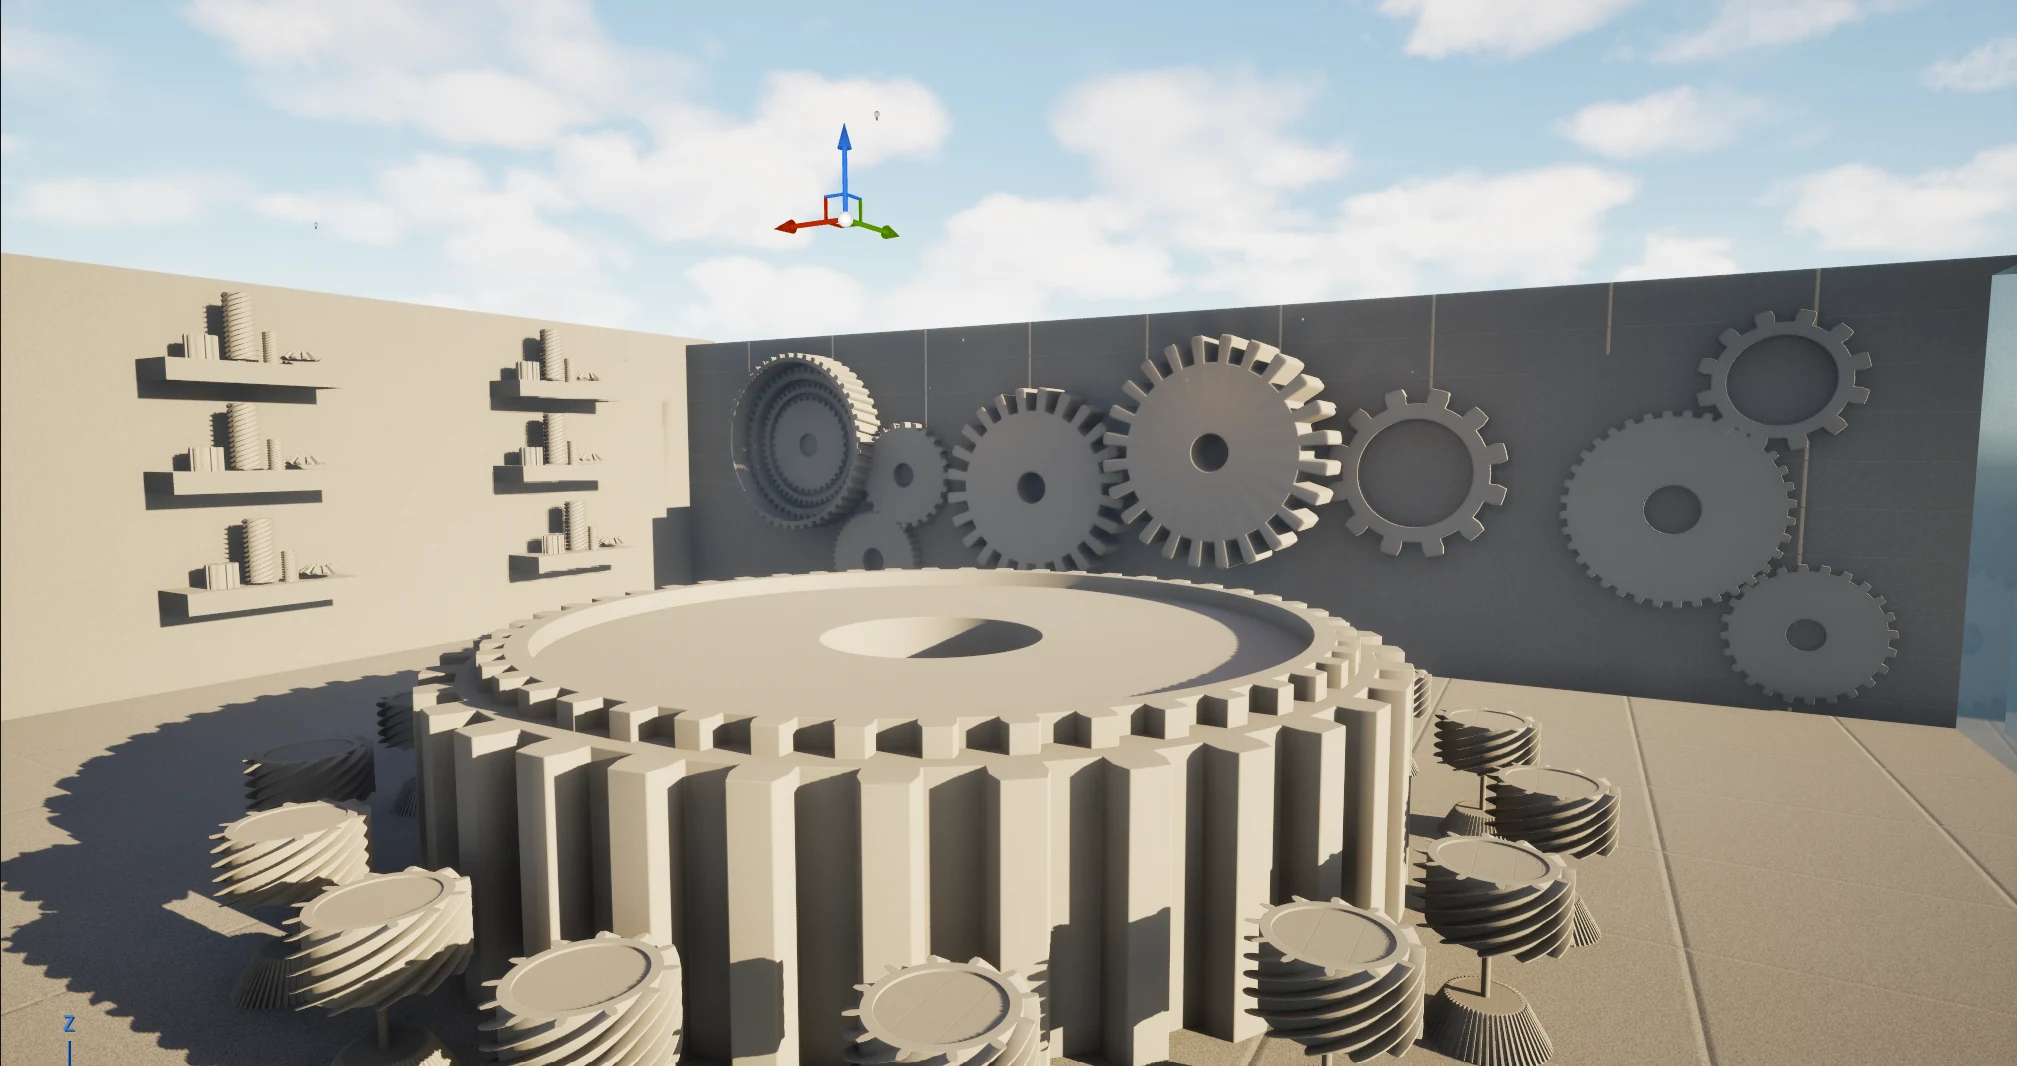
Gray-box layout of the shop: the gear-shaped counter and stools, the wall of gears and the shelves.
Assets
The gear models come from a free asset pack.

Overview
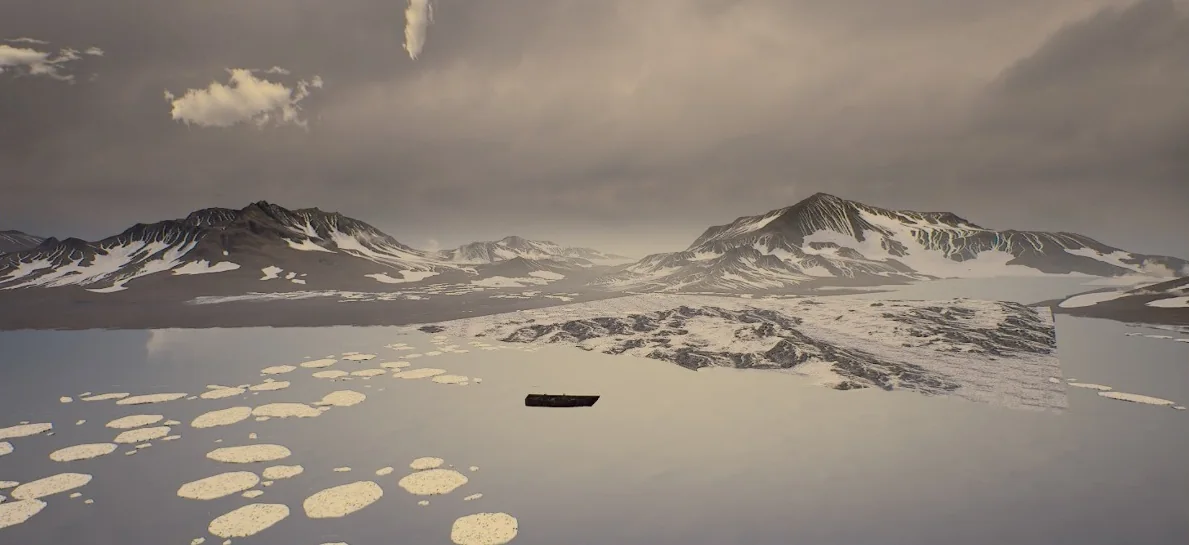
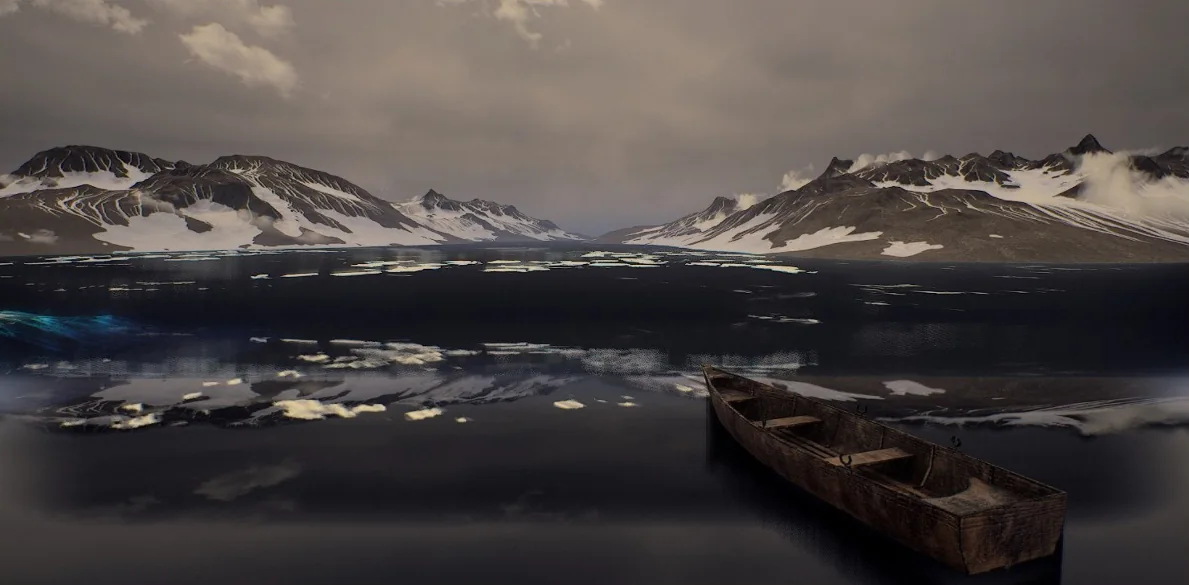
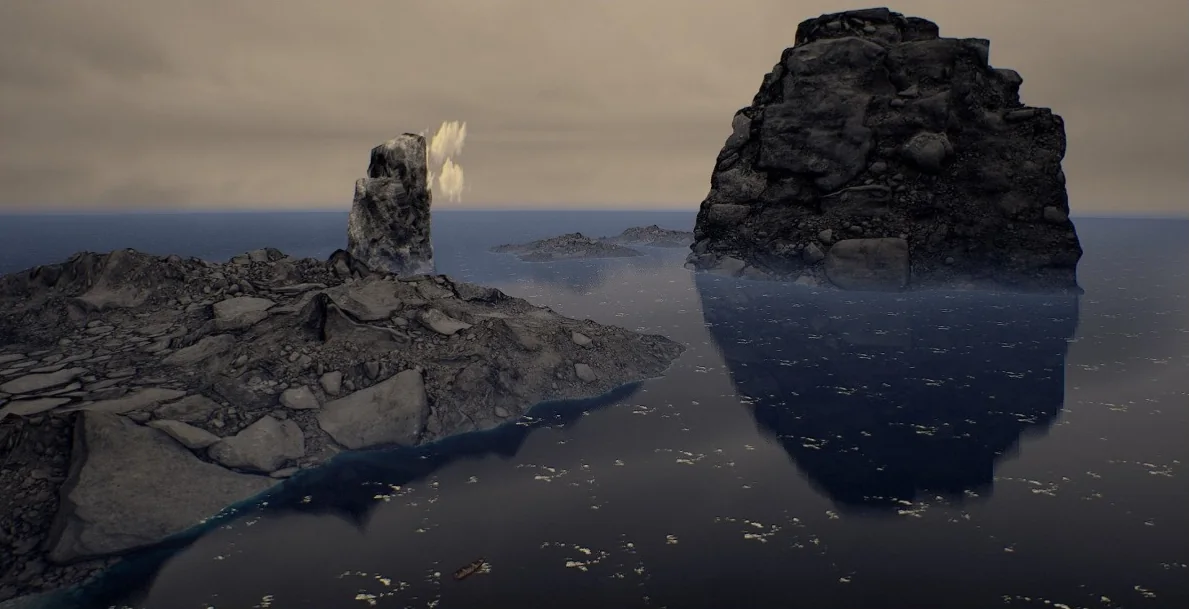
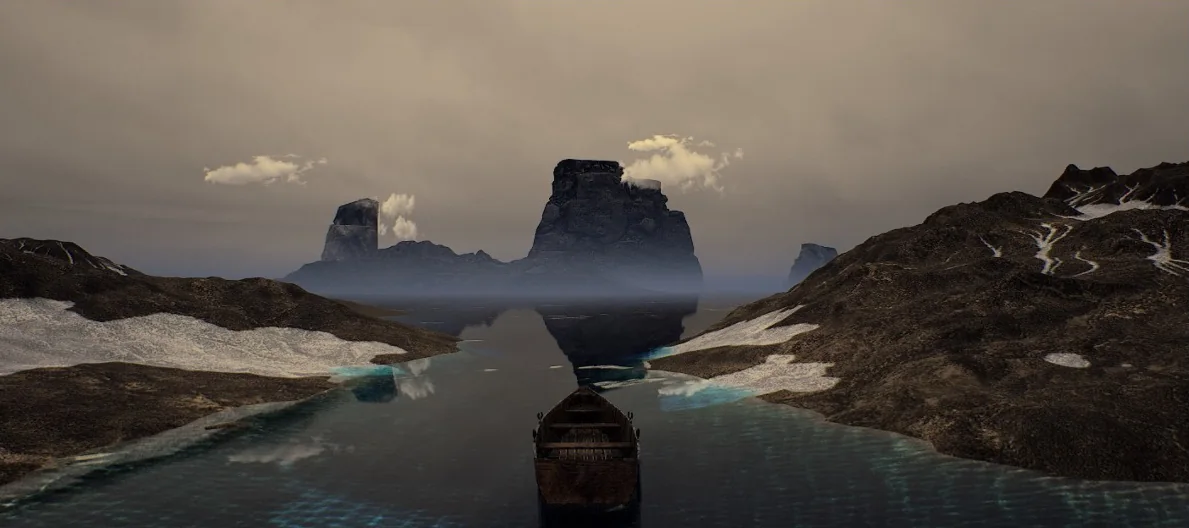
Four layers of virtual art department design for FIREKEEPER, built in Unreal Engine 4.
Bar Set 604 Redesign
- Type
- Digital Set Design
- Software
- Vectorworks
- Year
- To be added
- Role
- To be added
A digital set design, not presented as physically built or used on set.
Overview
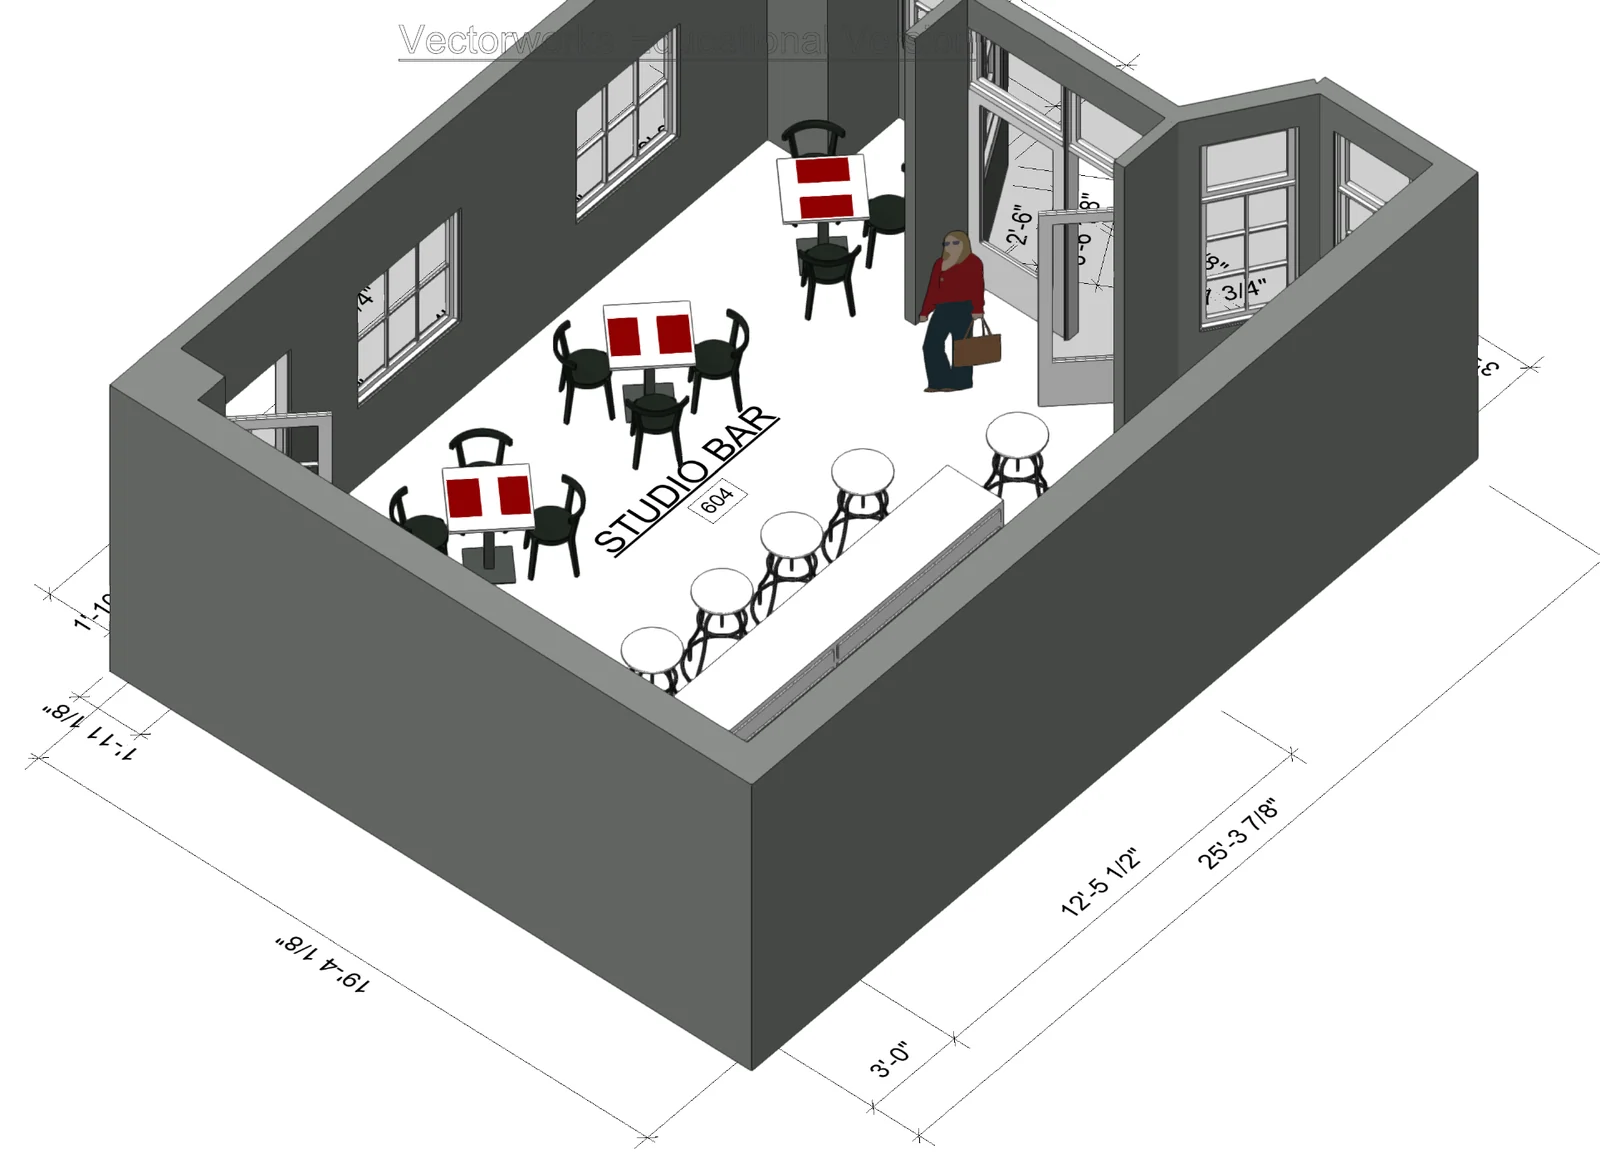
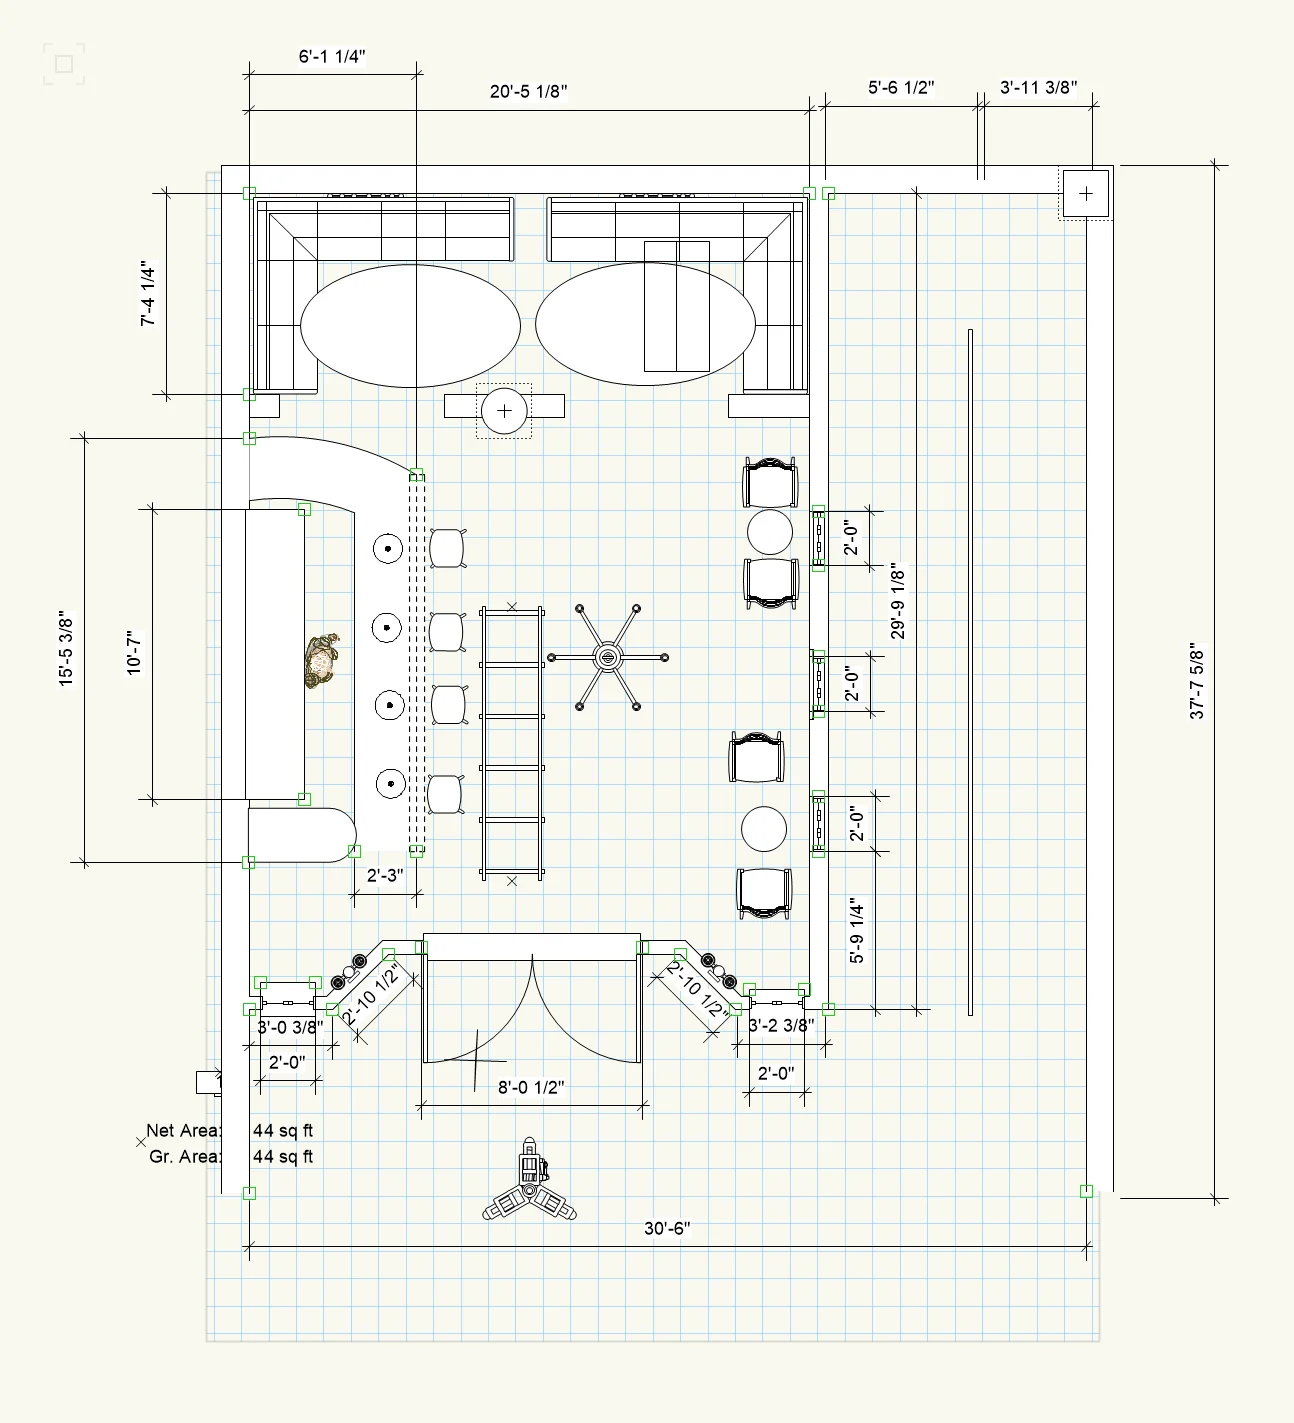
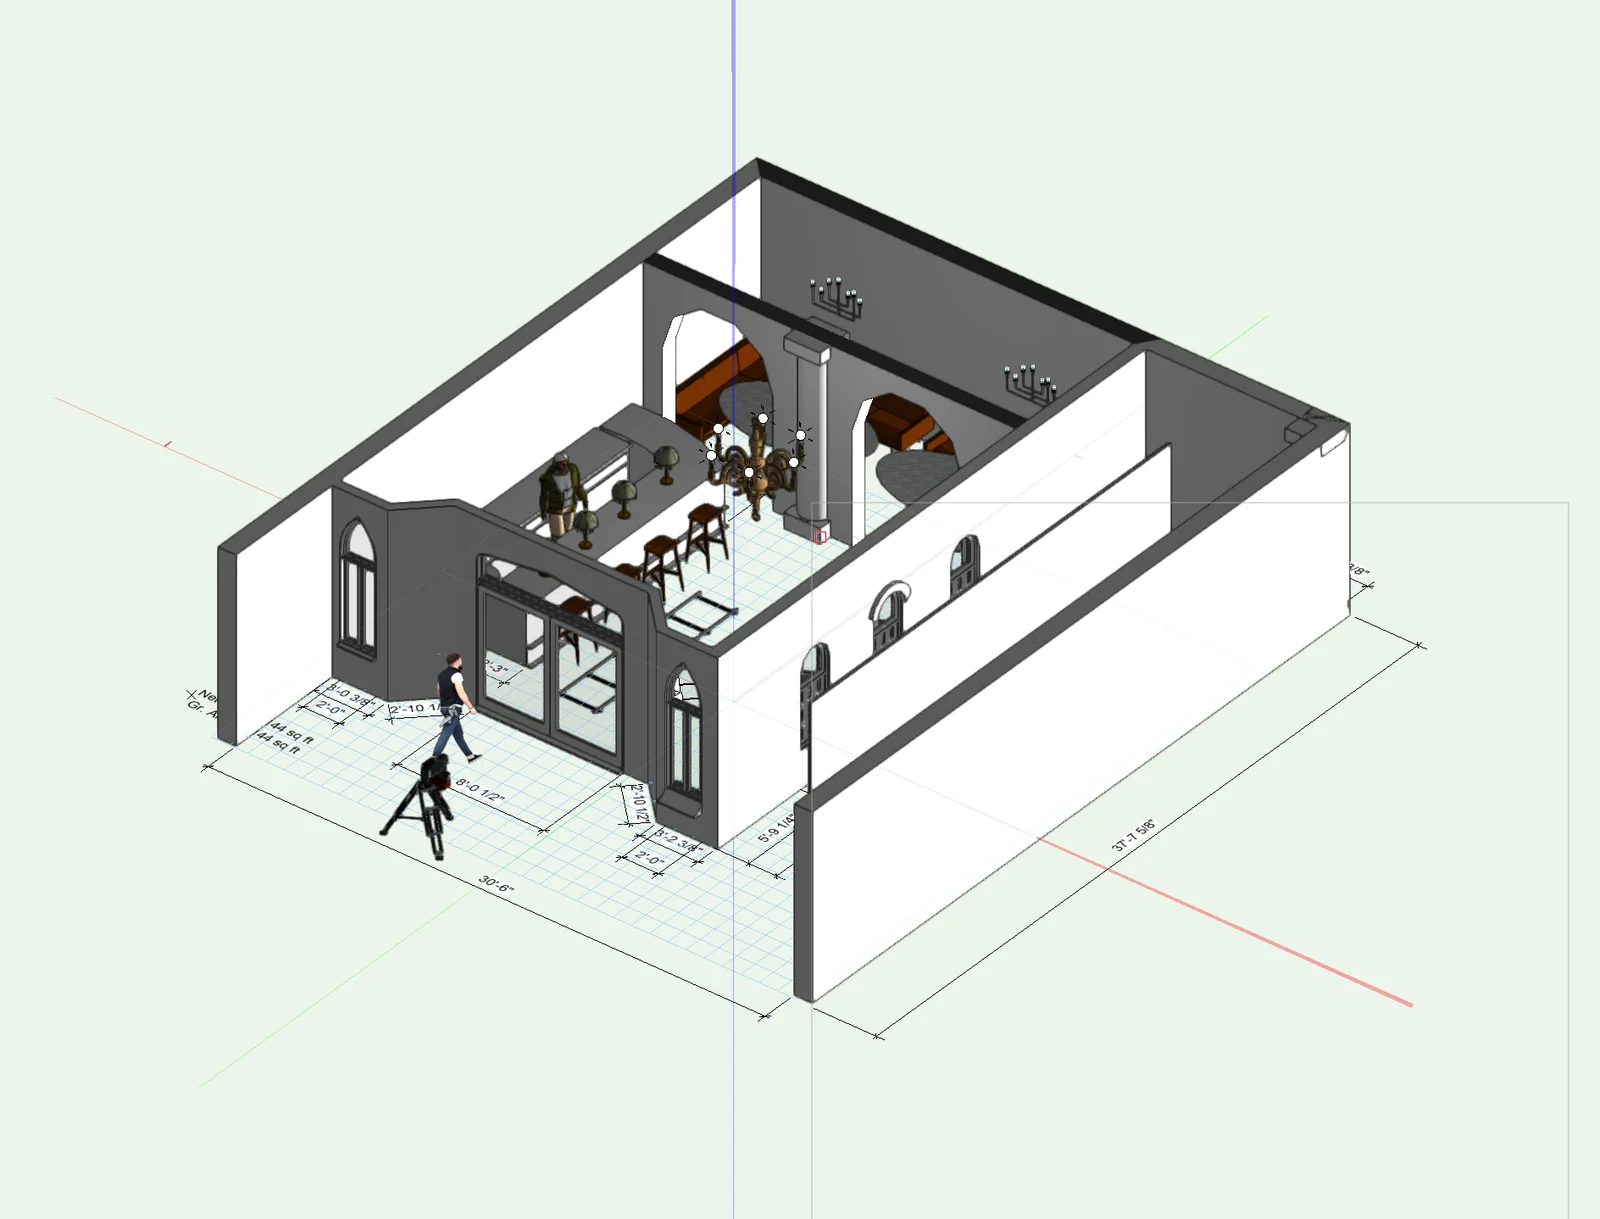
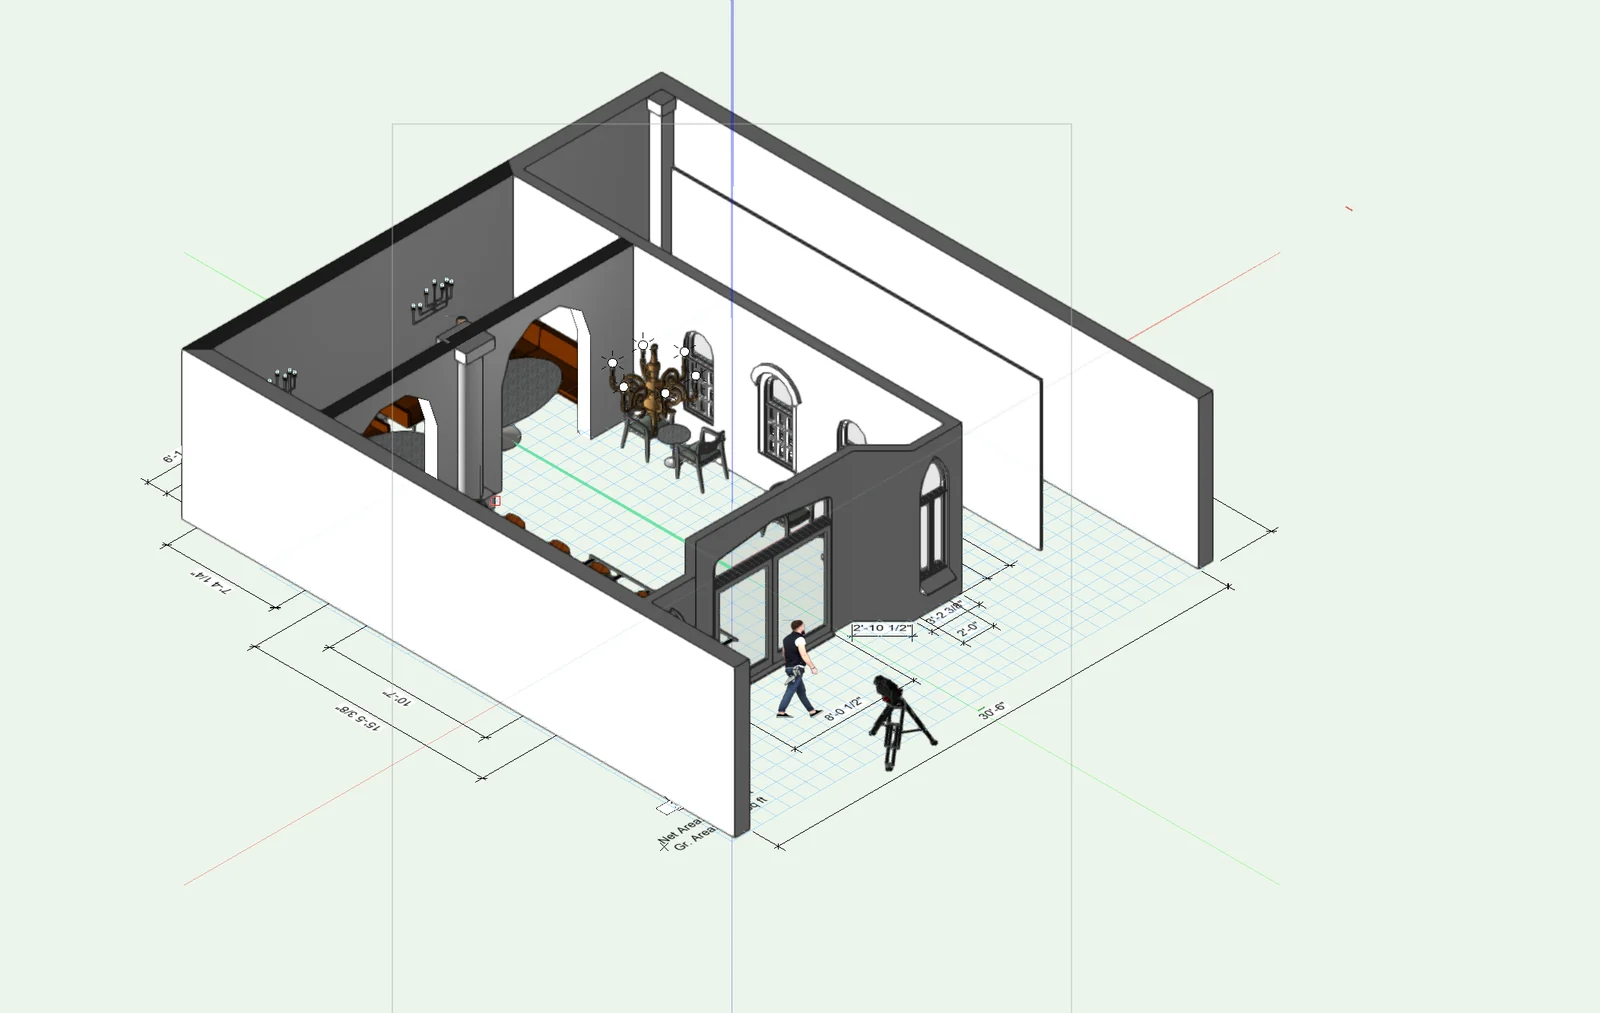
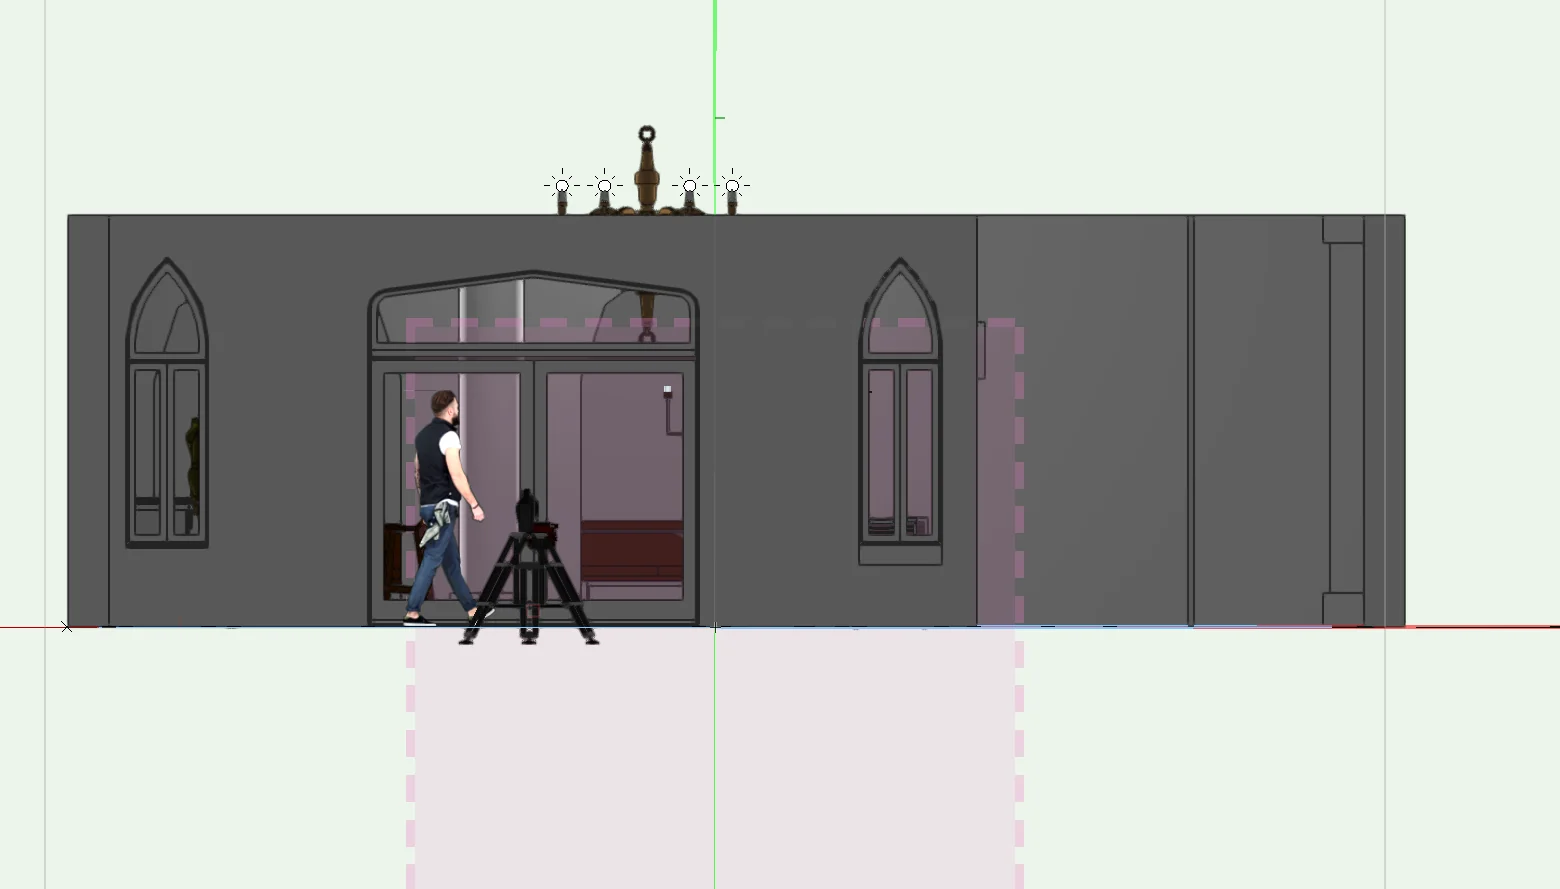
A redesign of the SVA bar set, drafted in Vectorworks. The original Studio Bar layout (room 604) comes first, followed by the redesign: a dimensioned floor plan, isometric views of the full set, and an elevation of the entrance wall, with a figure and a camera on a tripod placed in the scene.
Haunted House Set Design
- Type
- Digital Set Design
- Software
- Vectorworks
- Year
- To be added
- Role
- To be added
A digital set design, not presented as physically built or used on set.
Overview
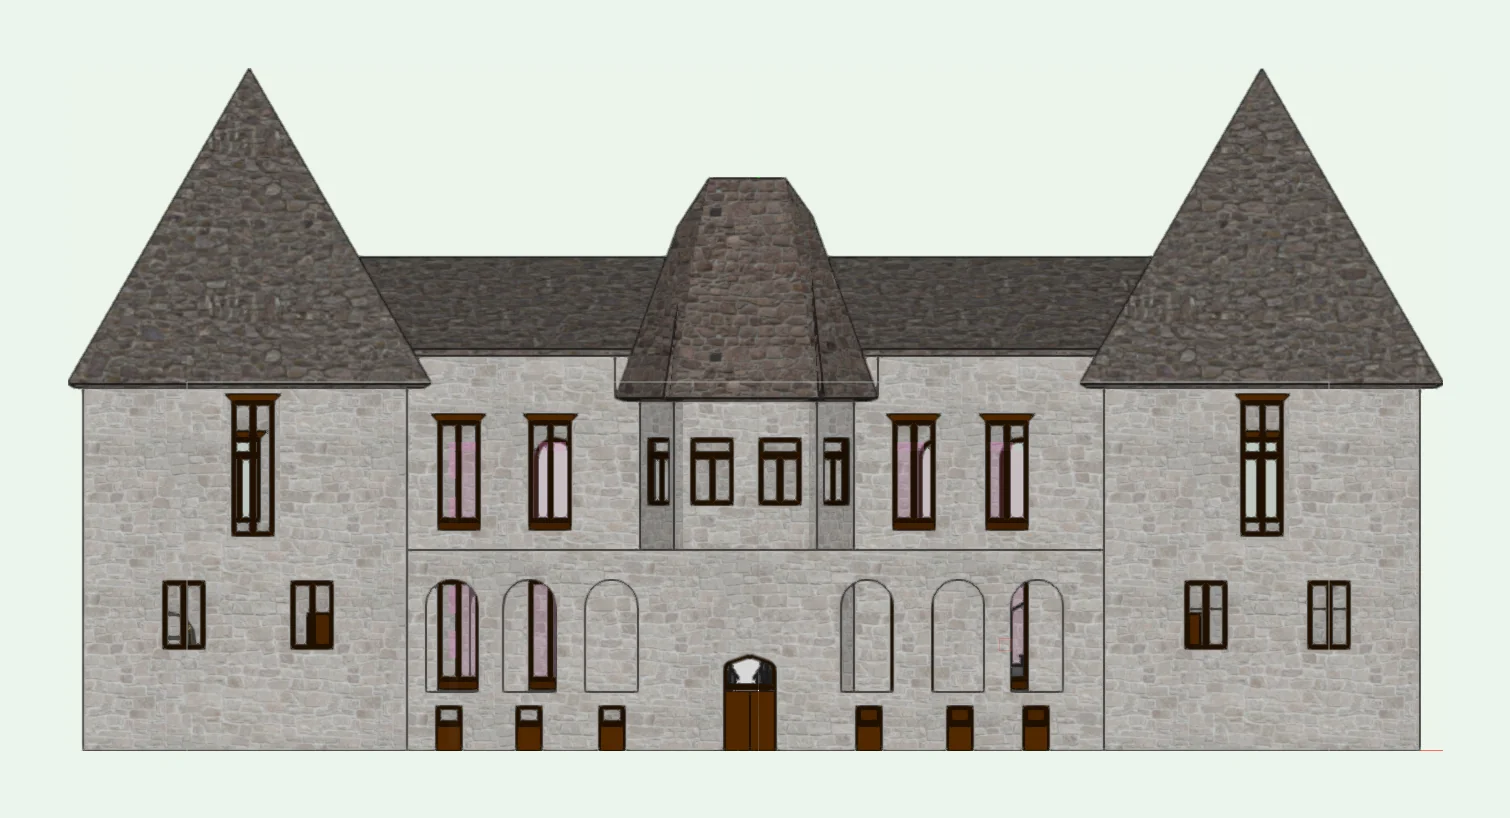
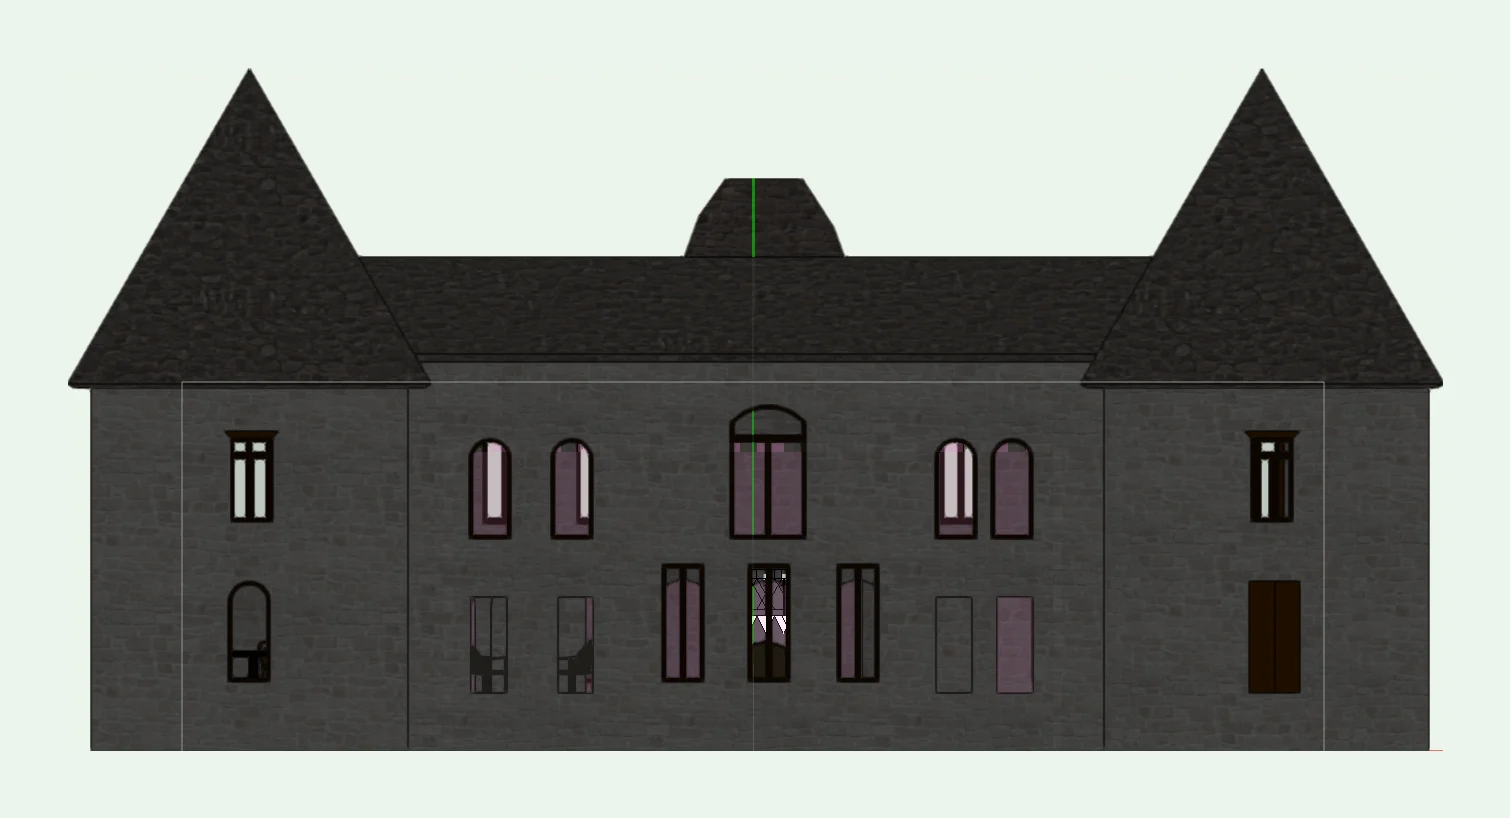
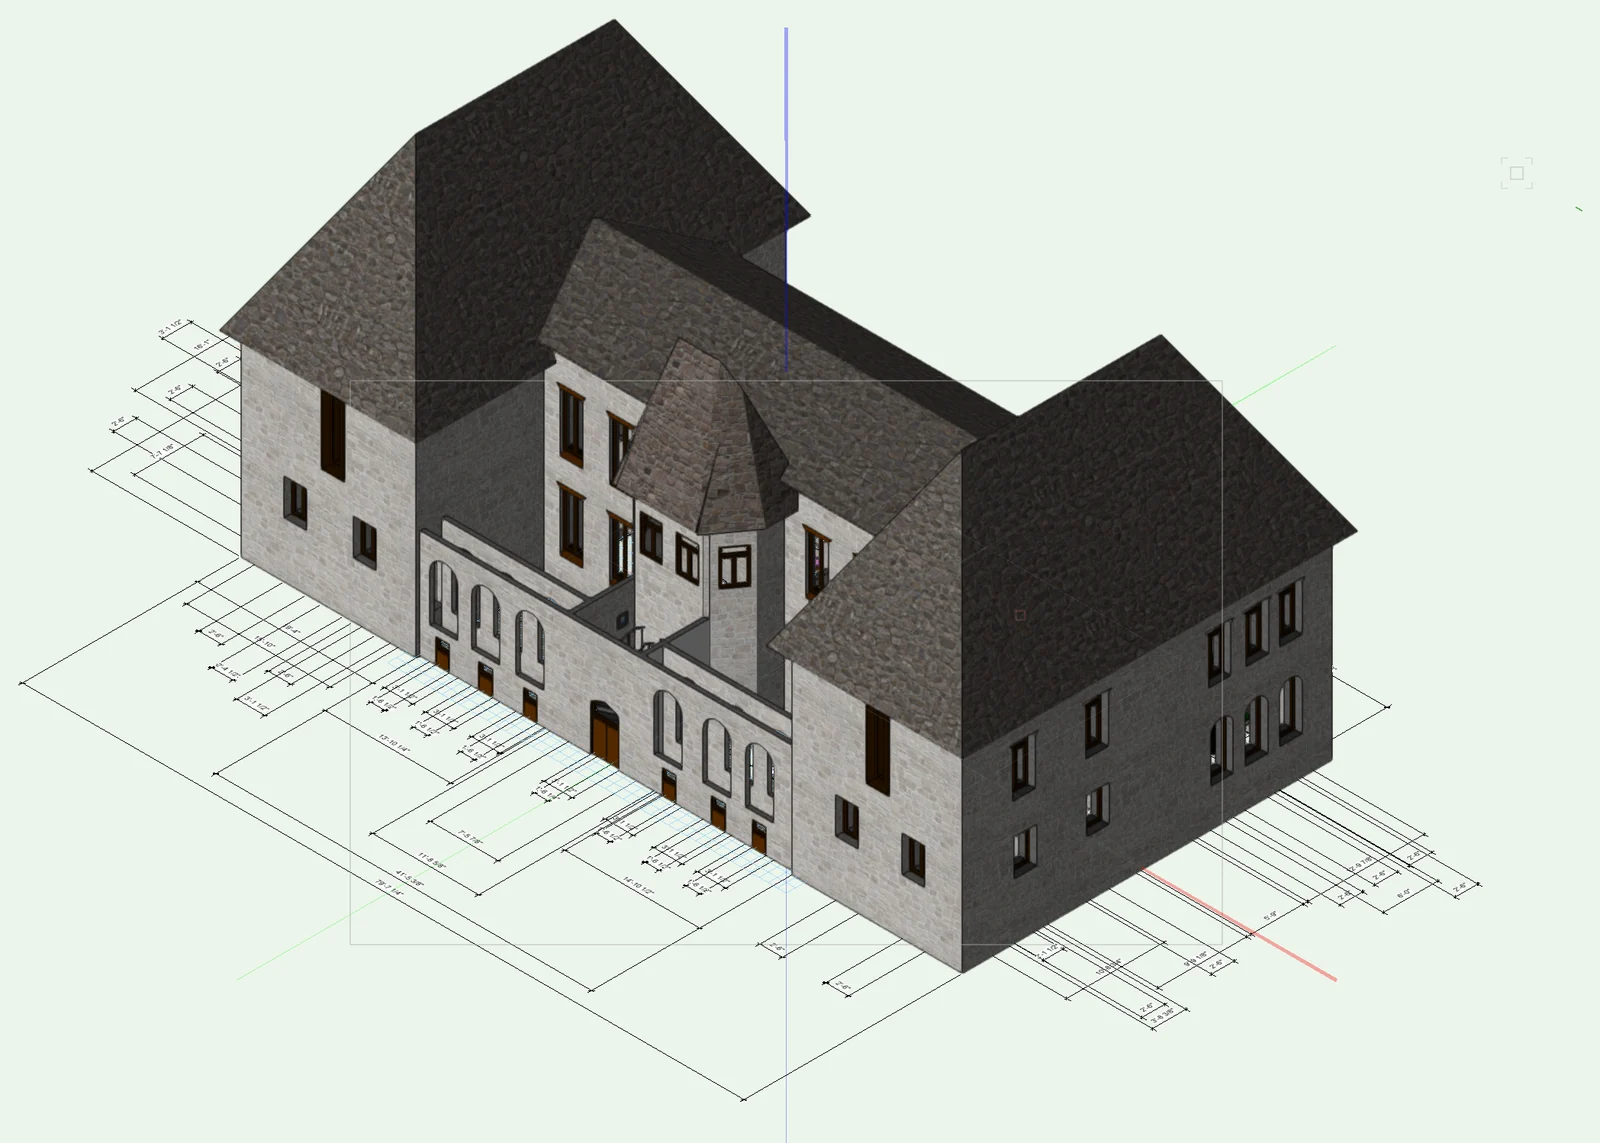
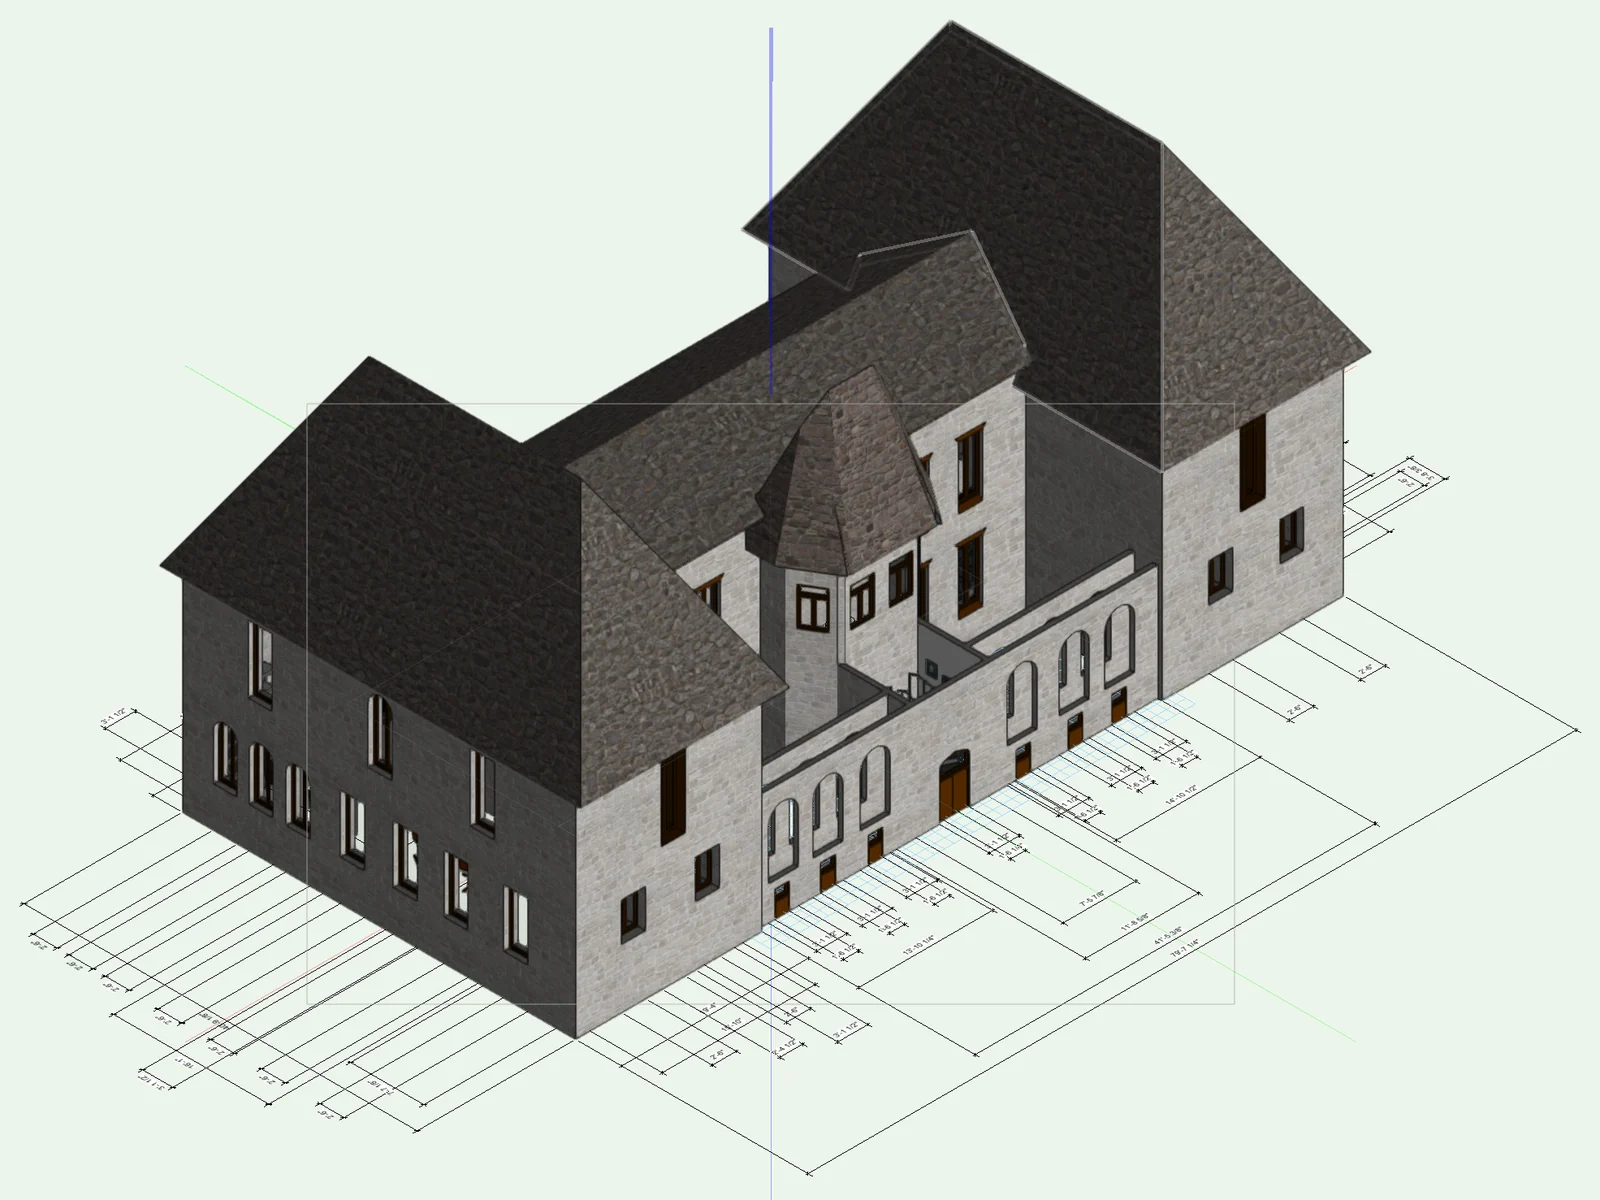
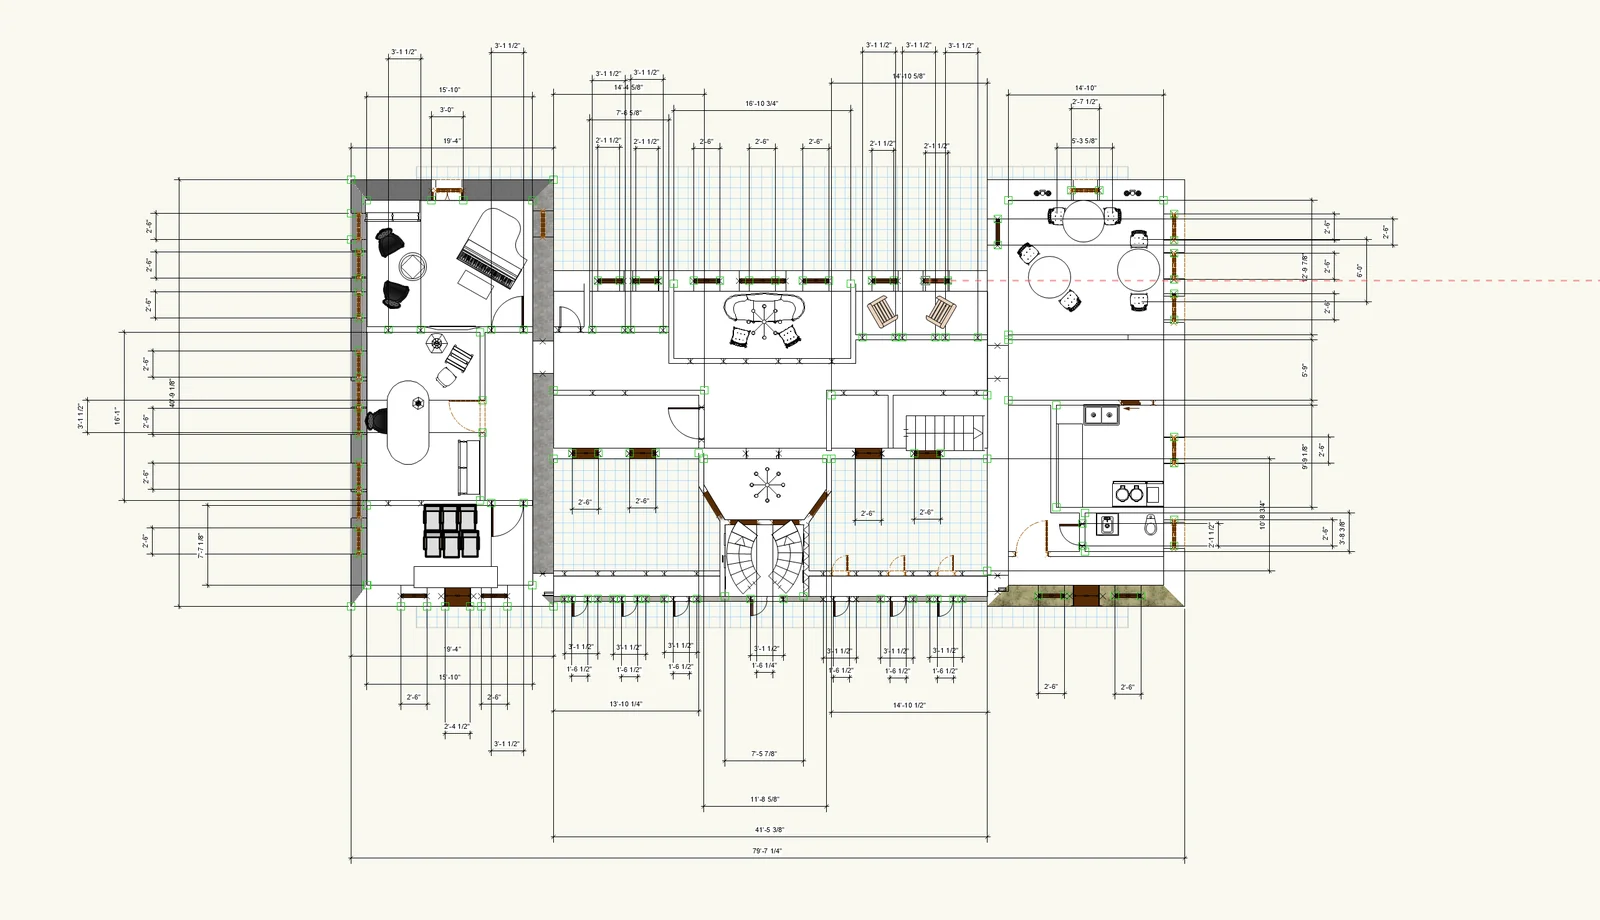
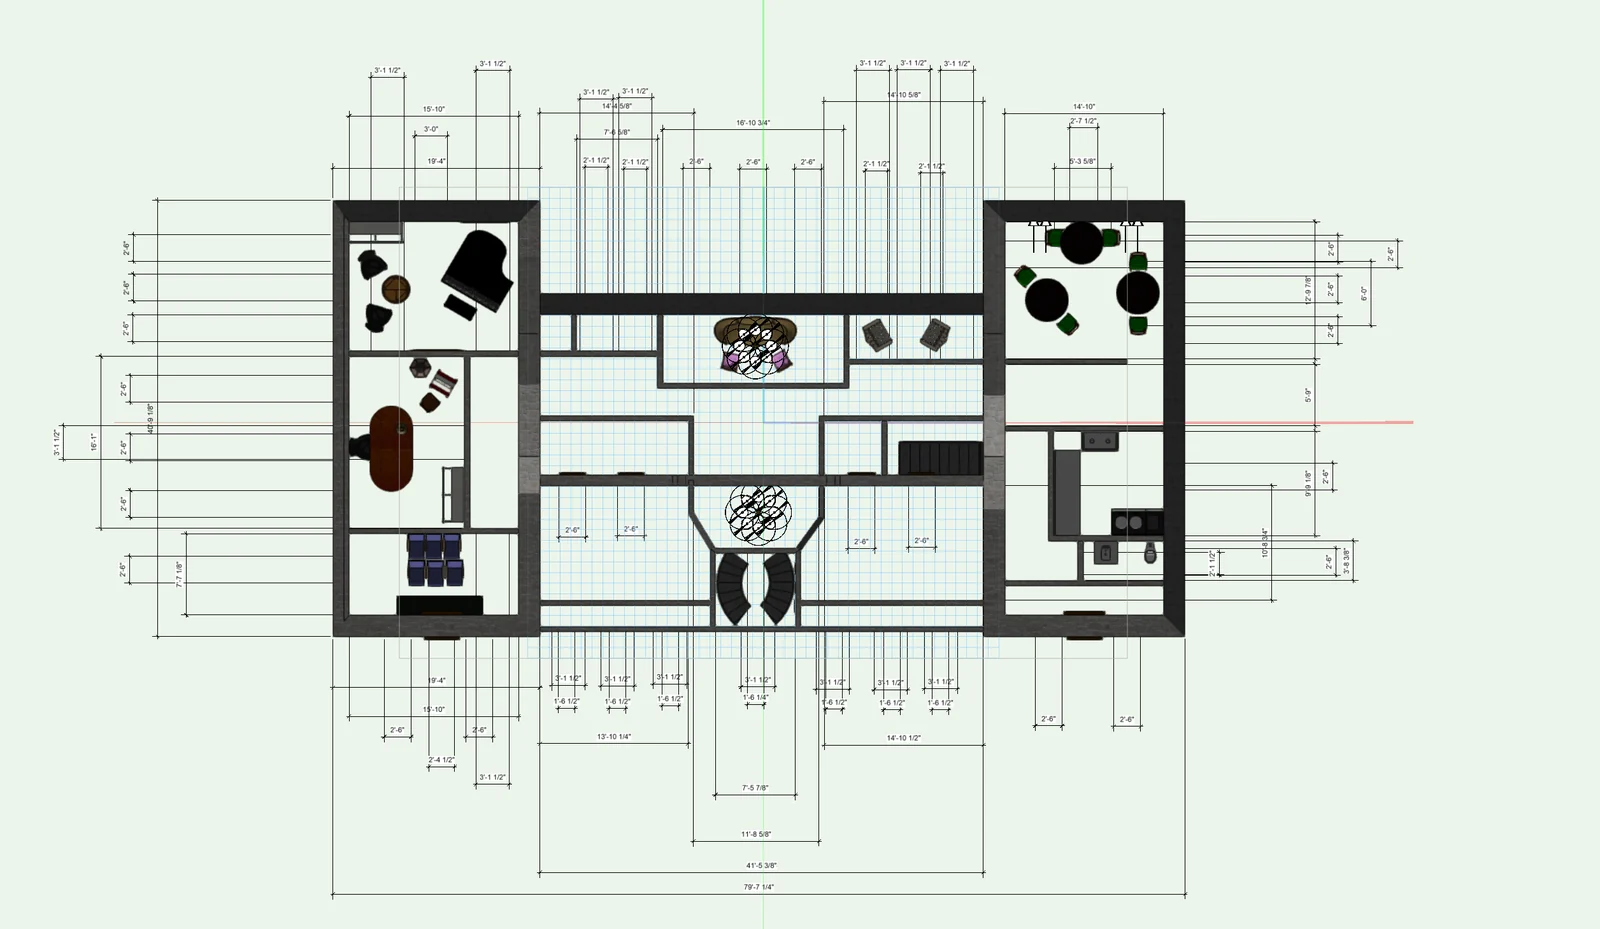
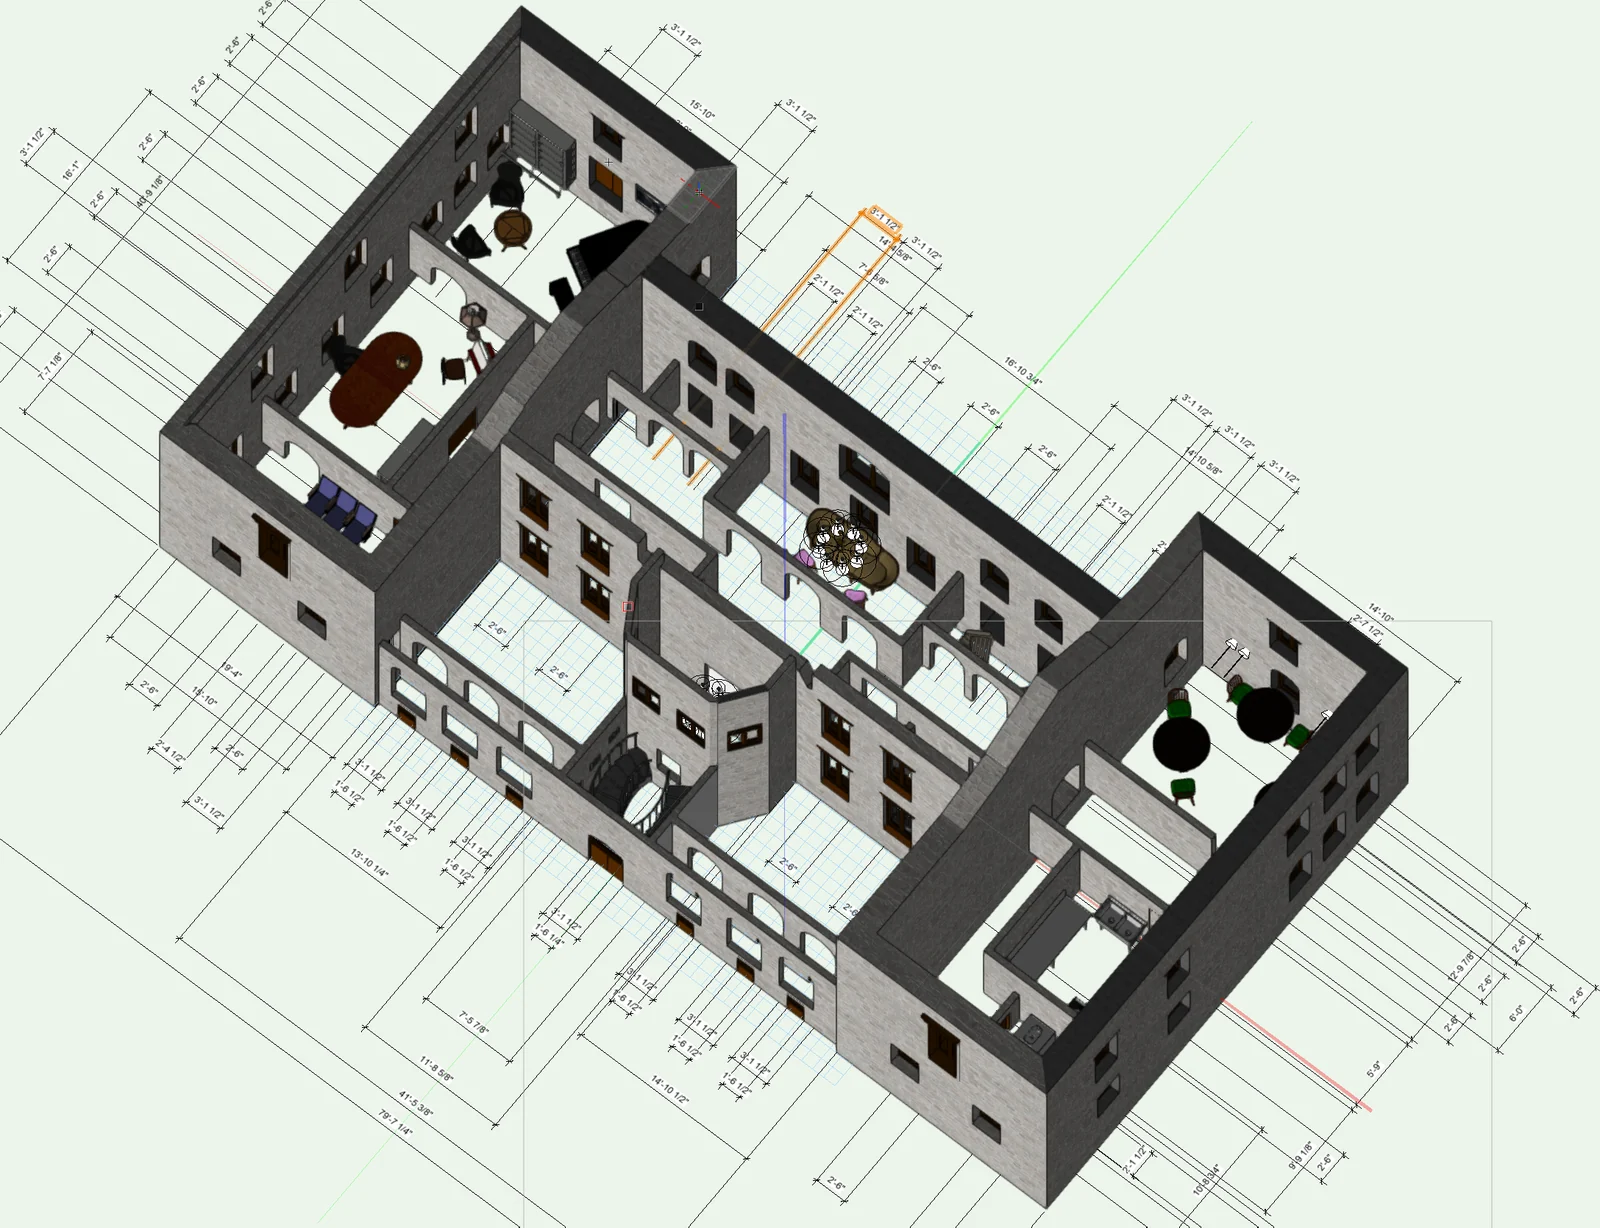
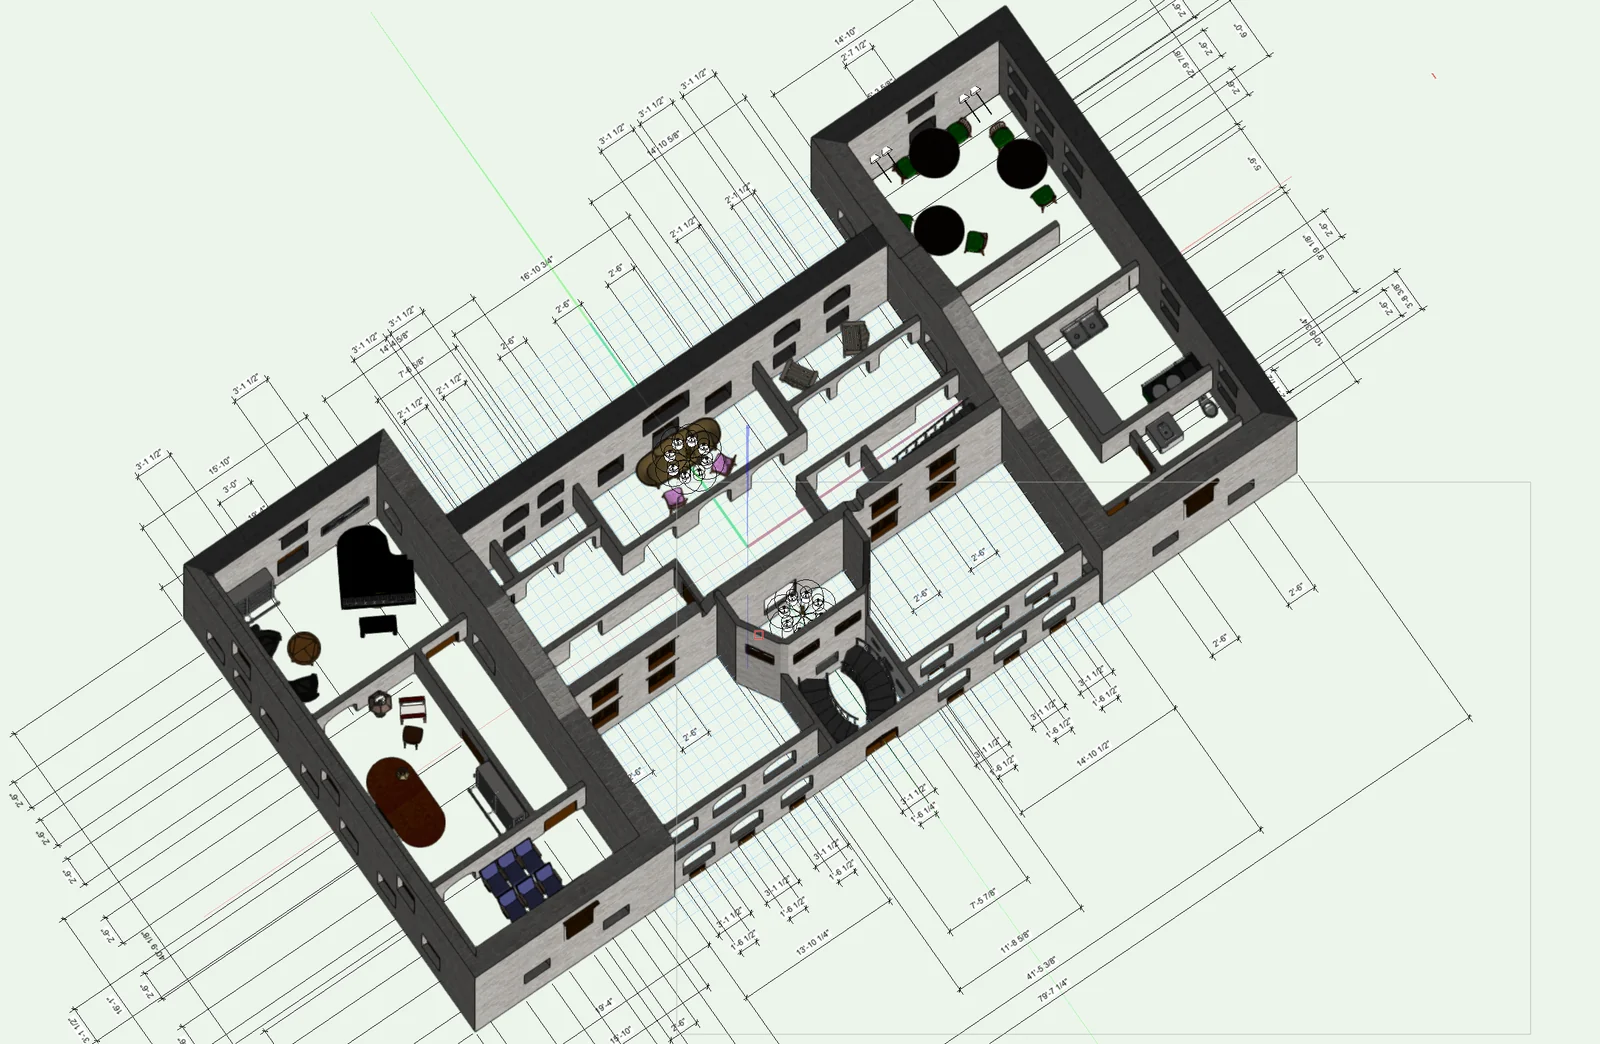
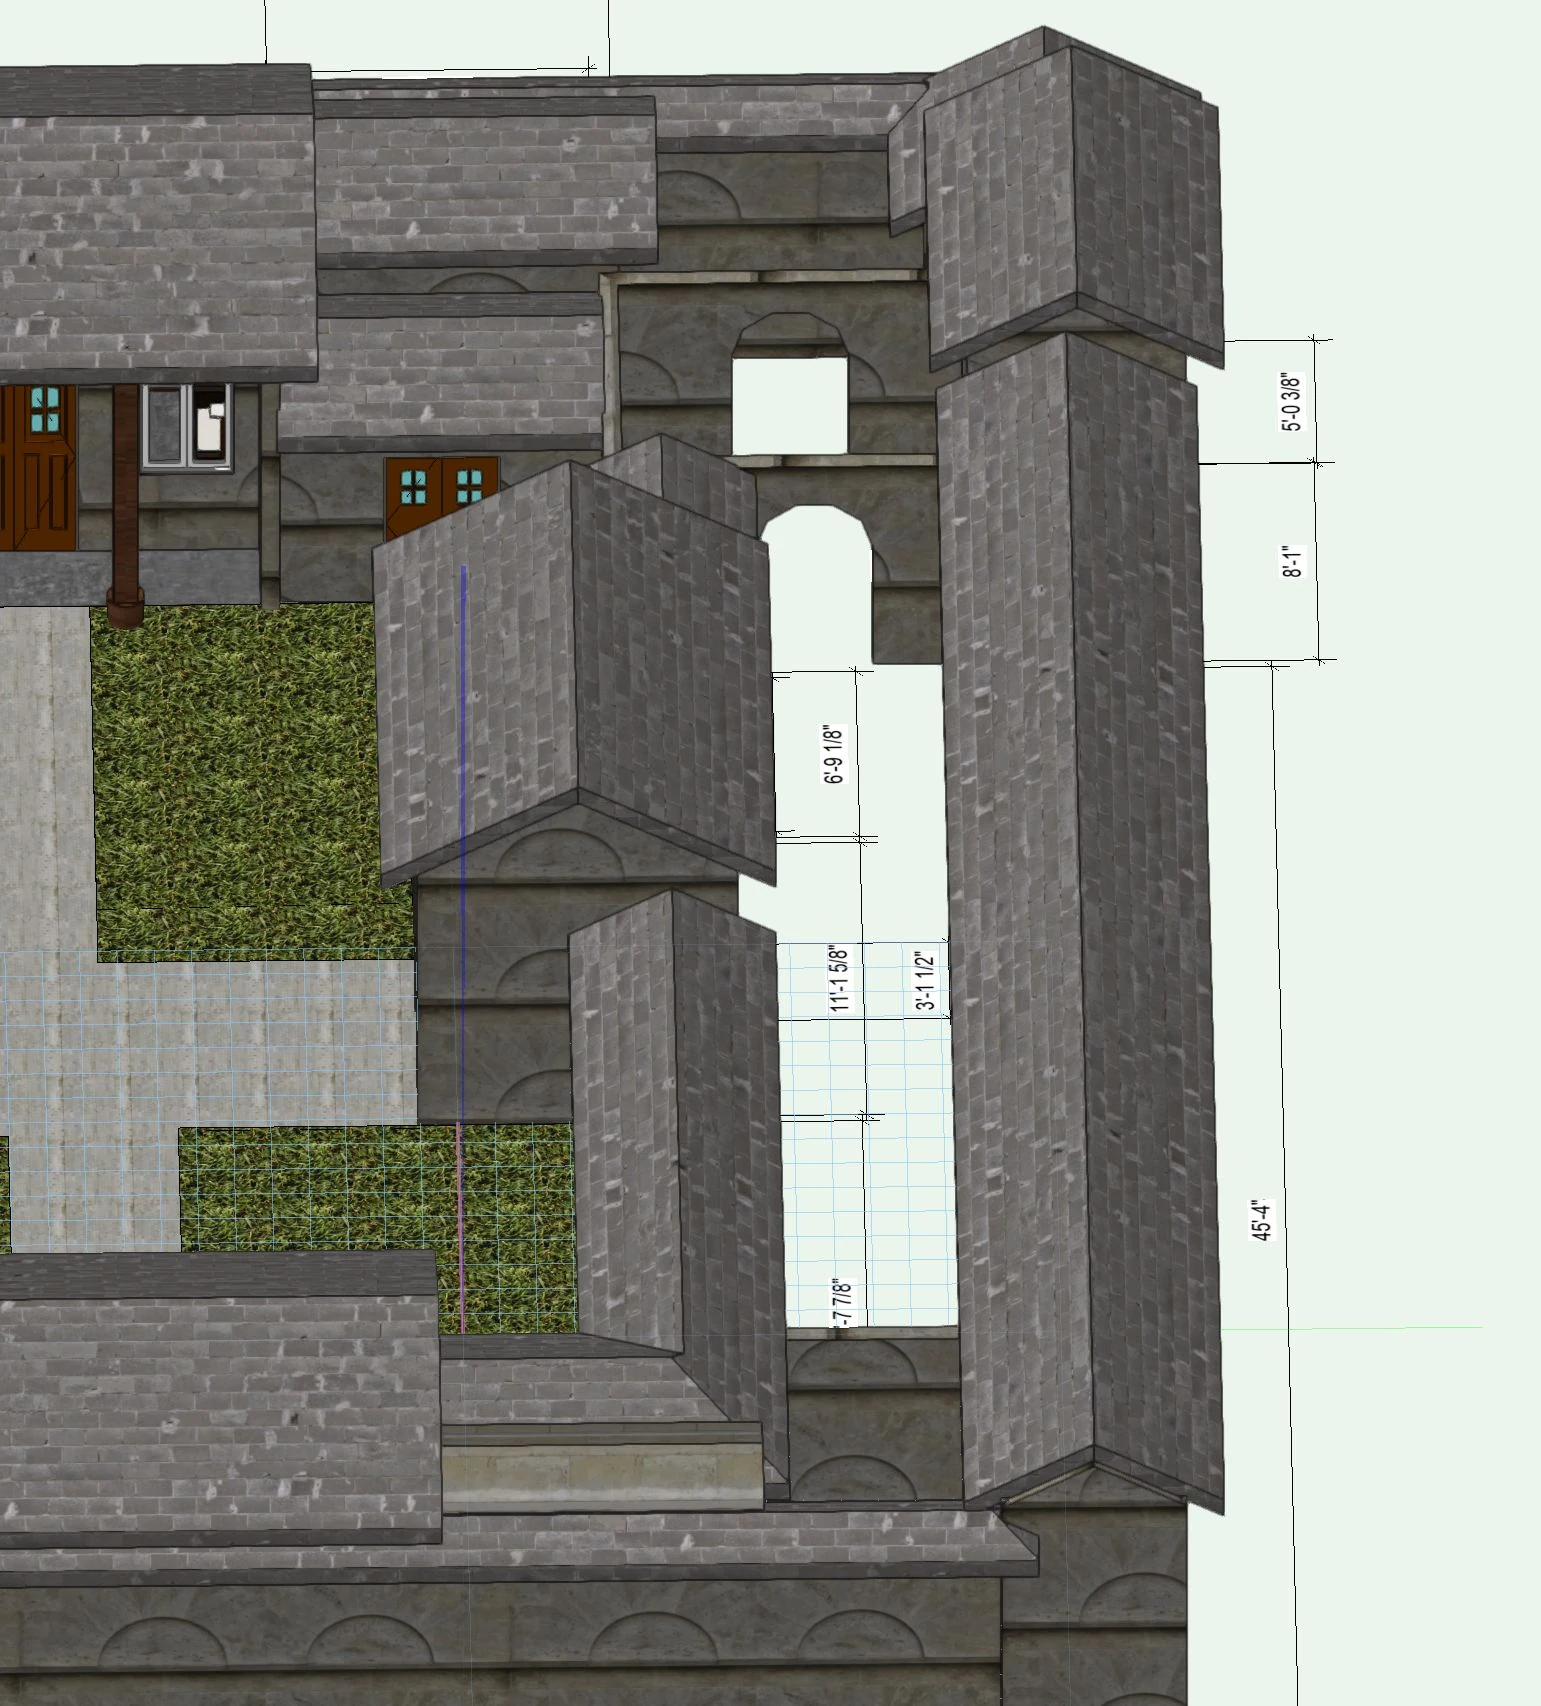
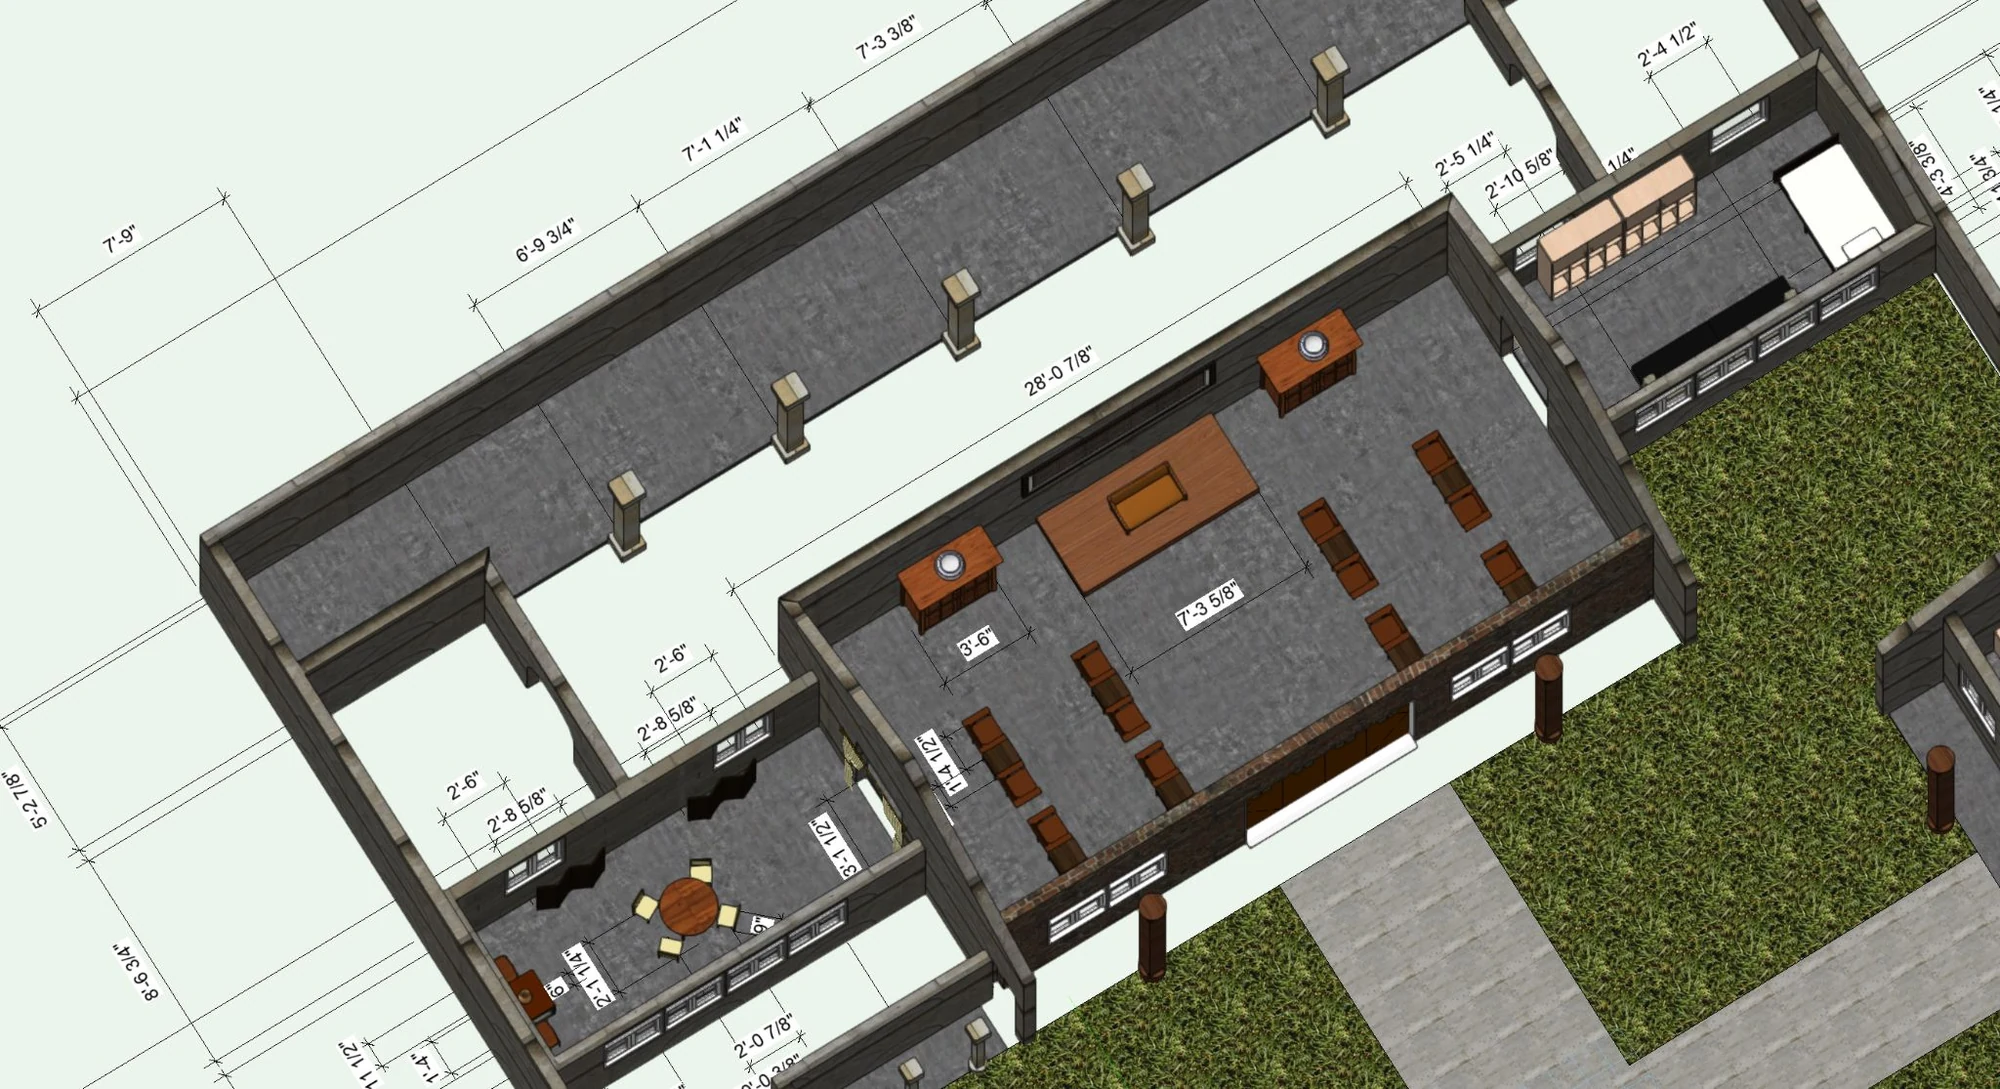
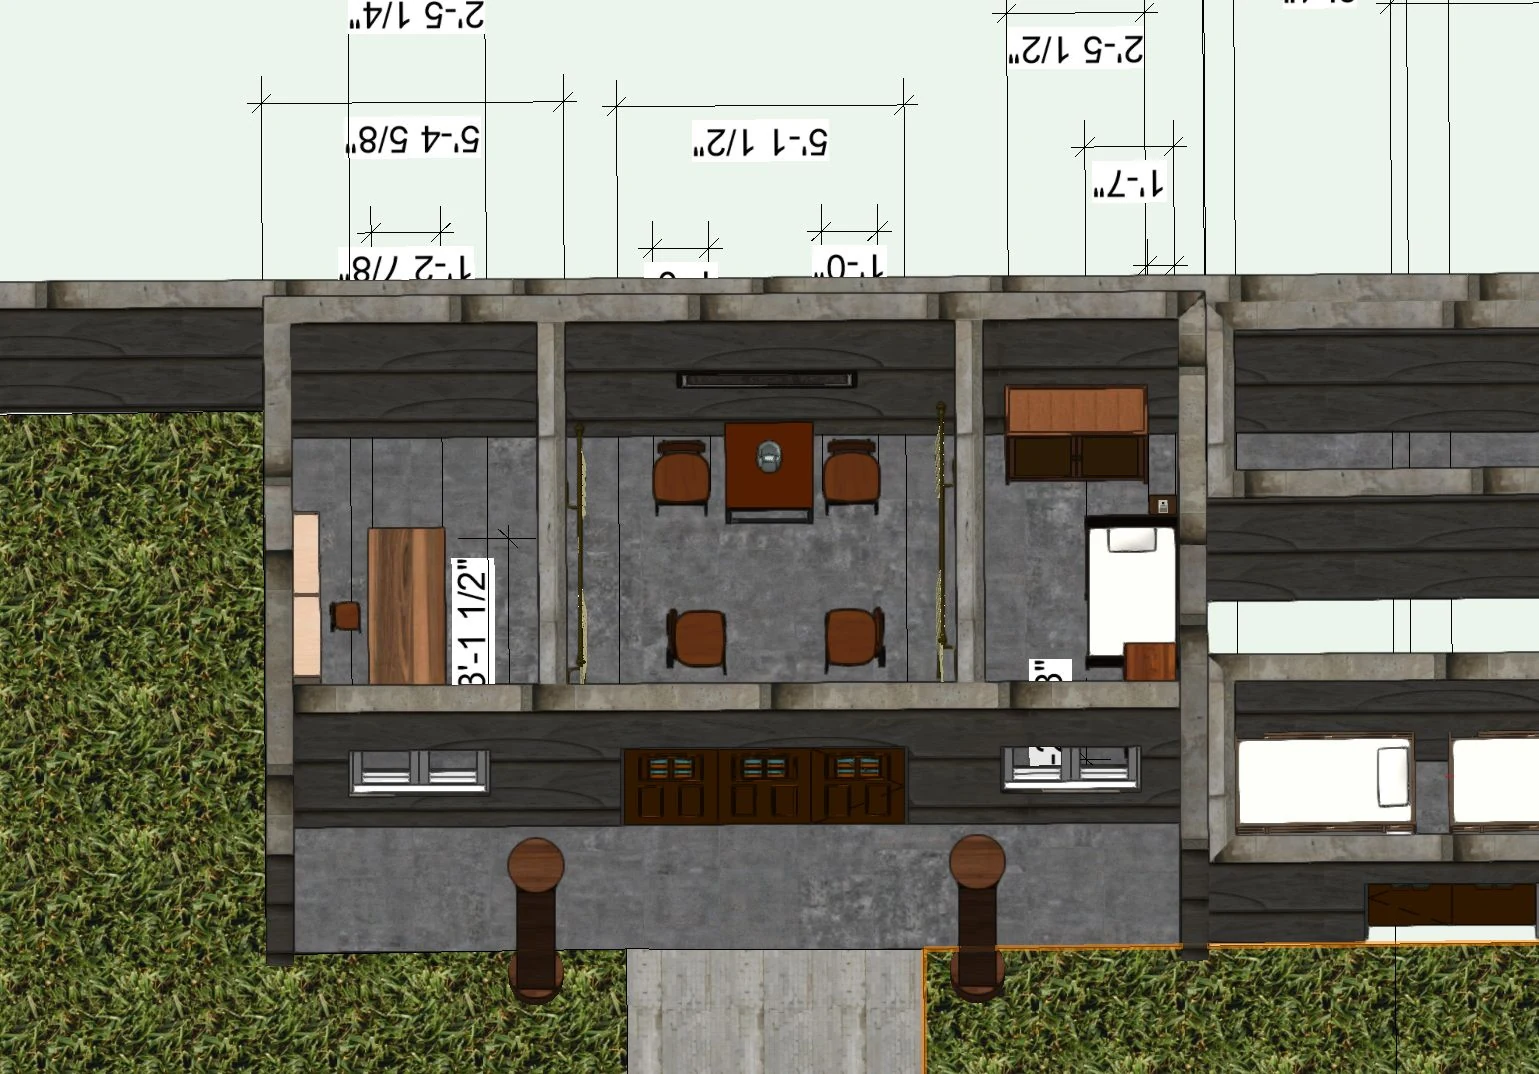
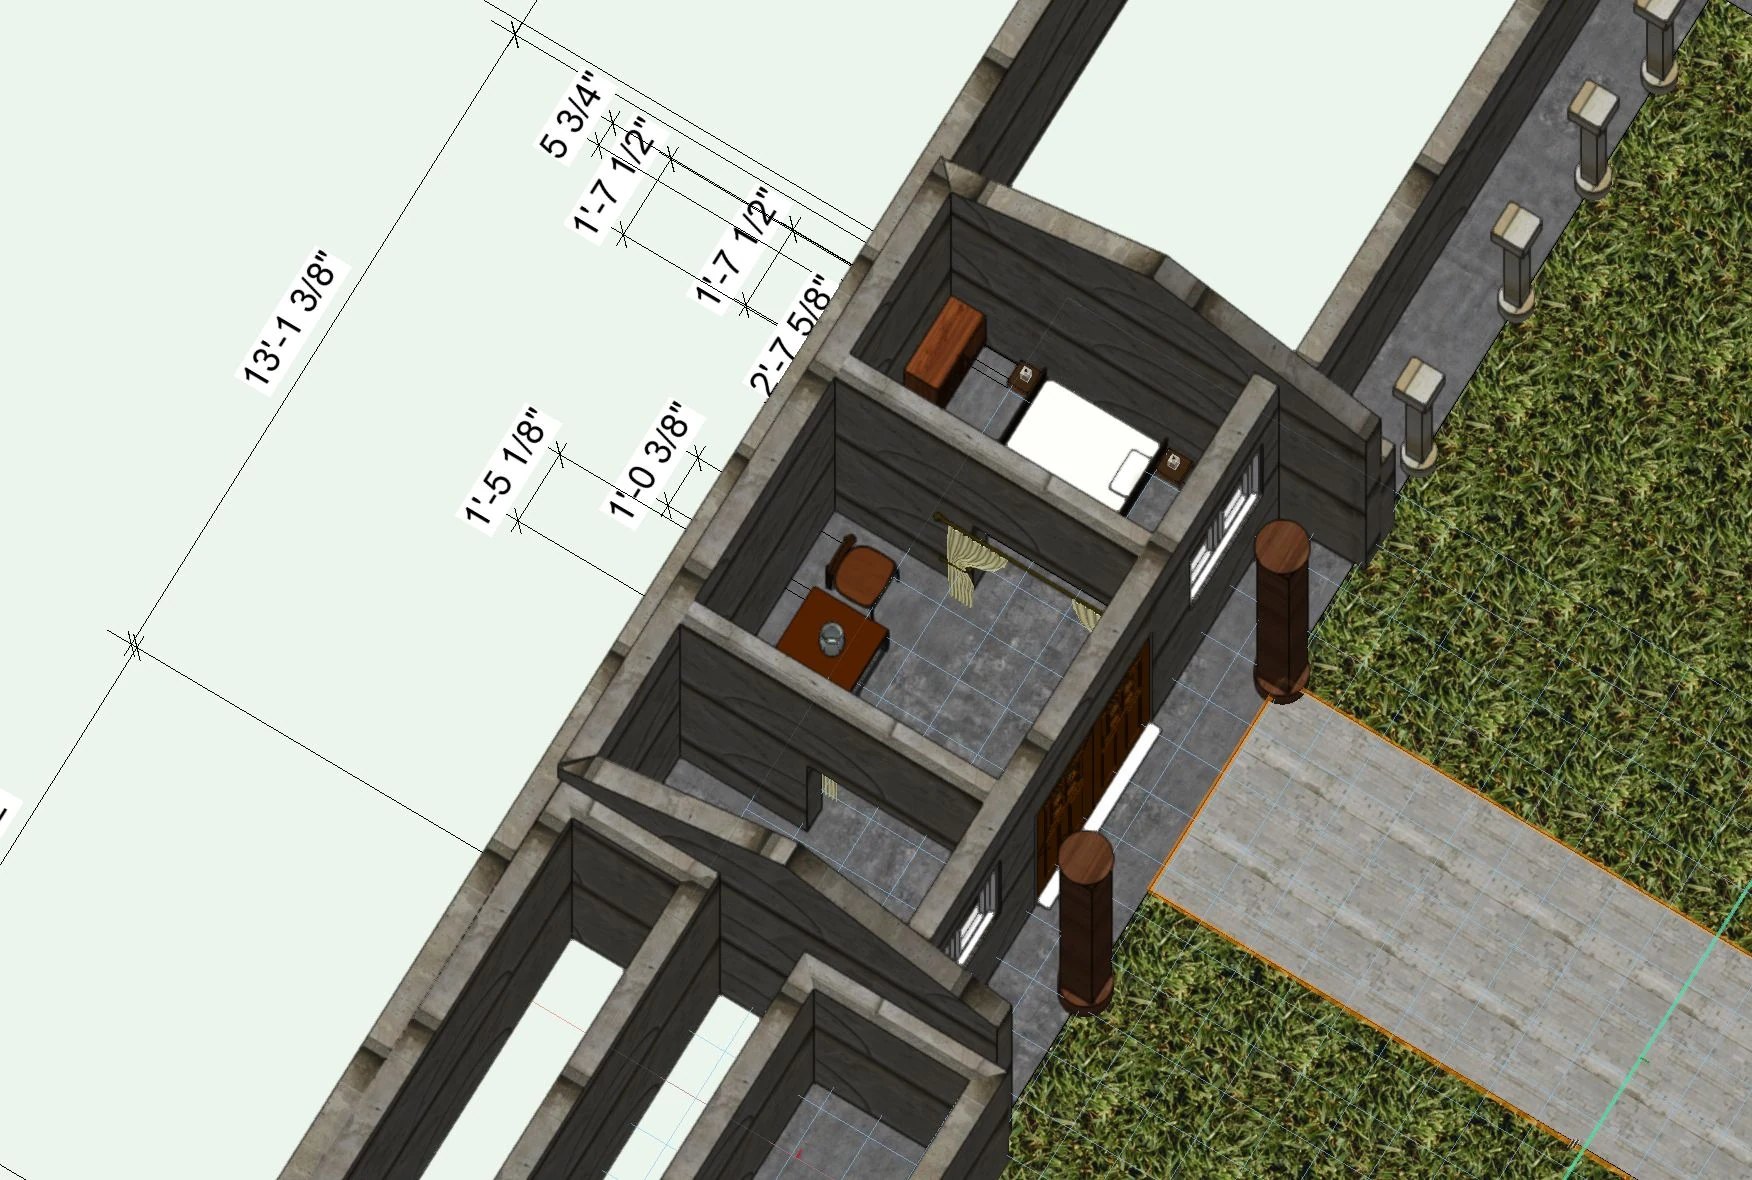
A haunted house set design inspired by Edgar Allan Poe’s “The Black Cat,” based on Oheka Castle on Long Island. Drafted in Vectorworks: front and rear elevations, exterior isometric views, the floor plan as a dimensioned drawing and as a render, and isometric views of the furnished interior.
The Painted Veil Set Redesign
- Type
- Digital Set Design
- Software
- Vectorworks
- Year
- To be added
- Role
- To be added
A digital set design, not presented as physically built or used on set.
Overview
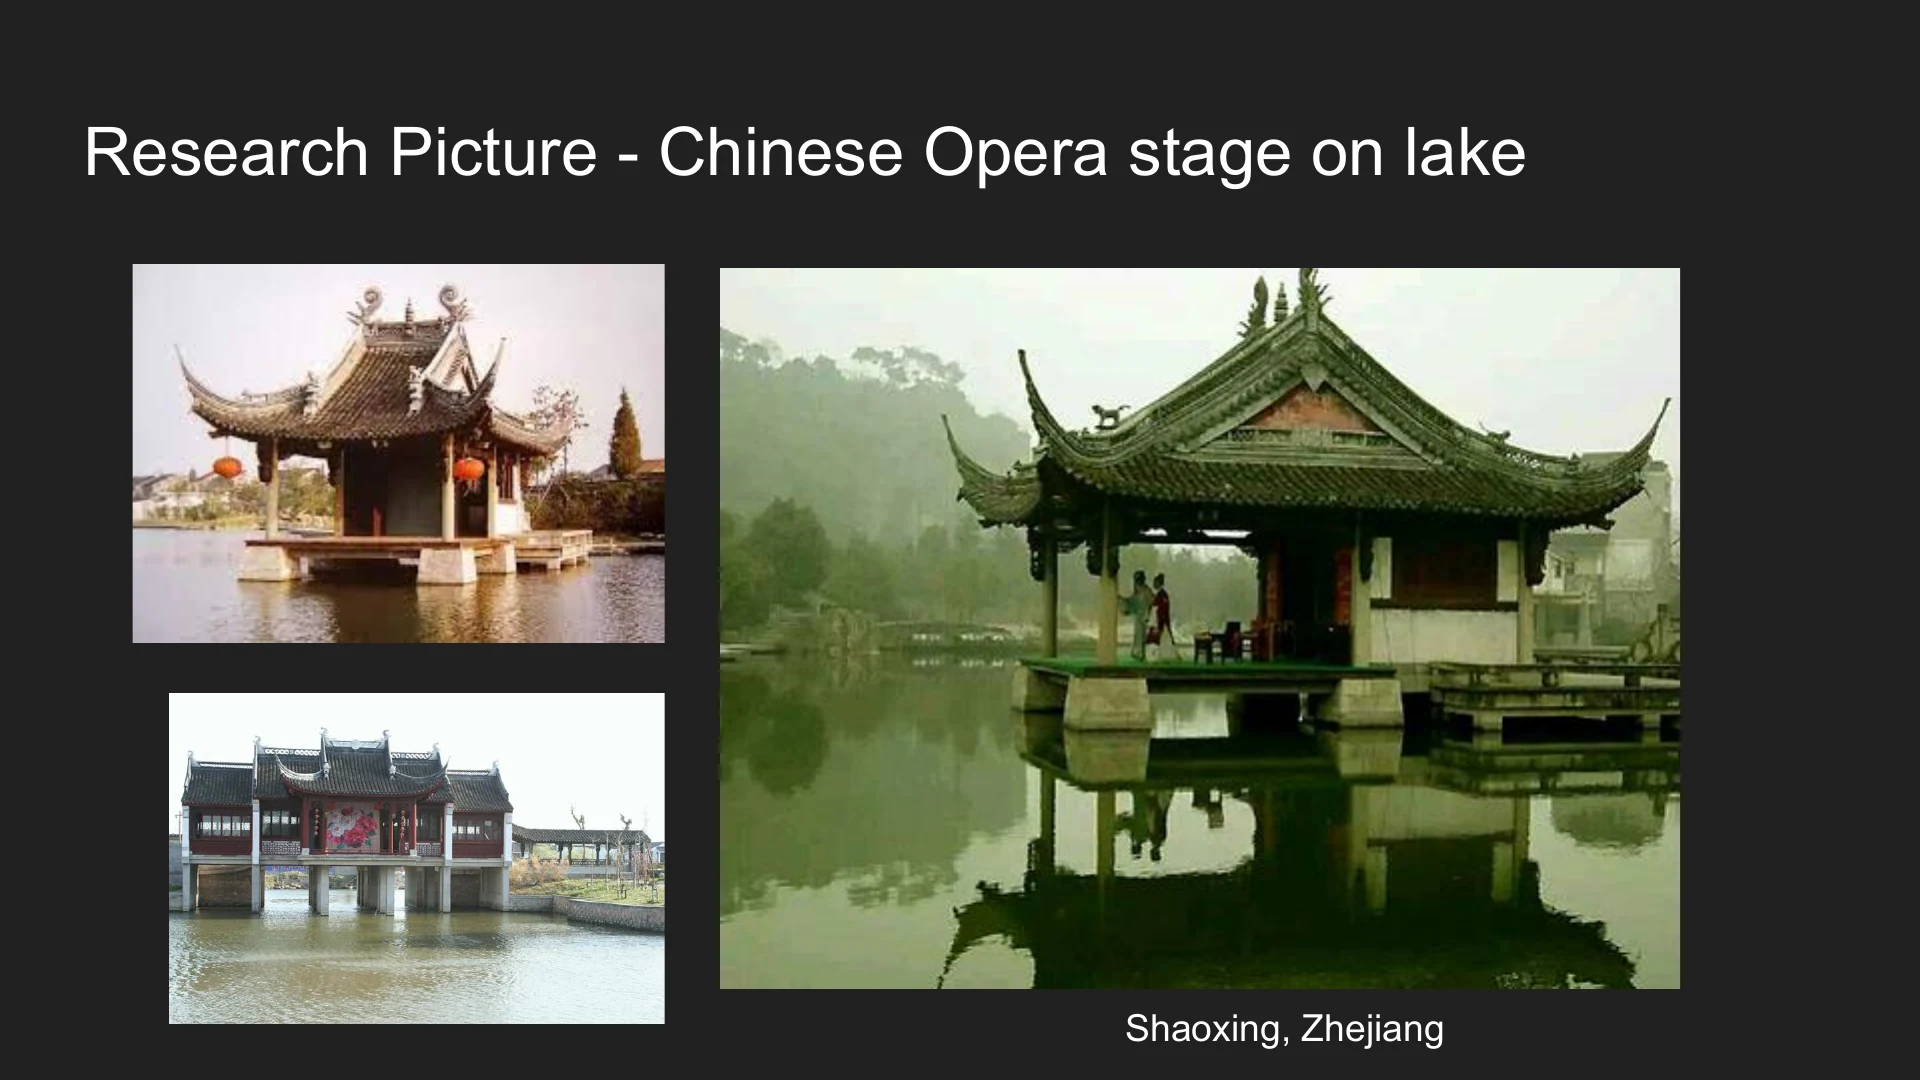
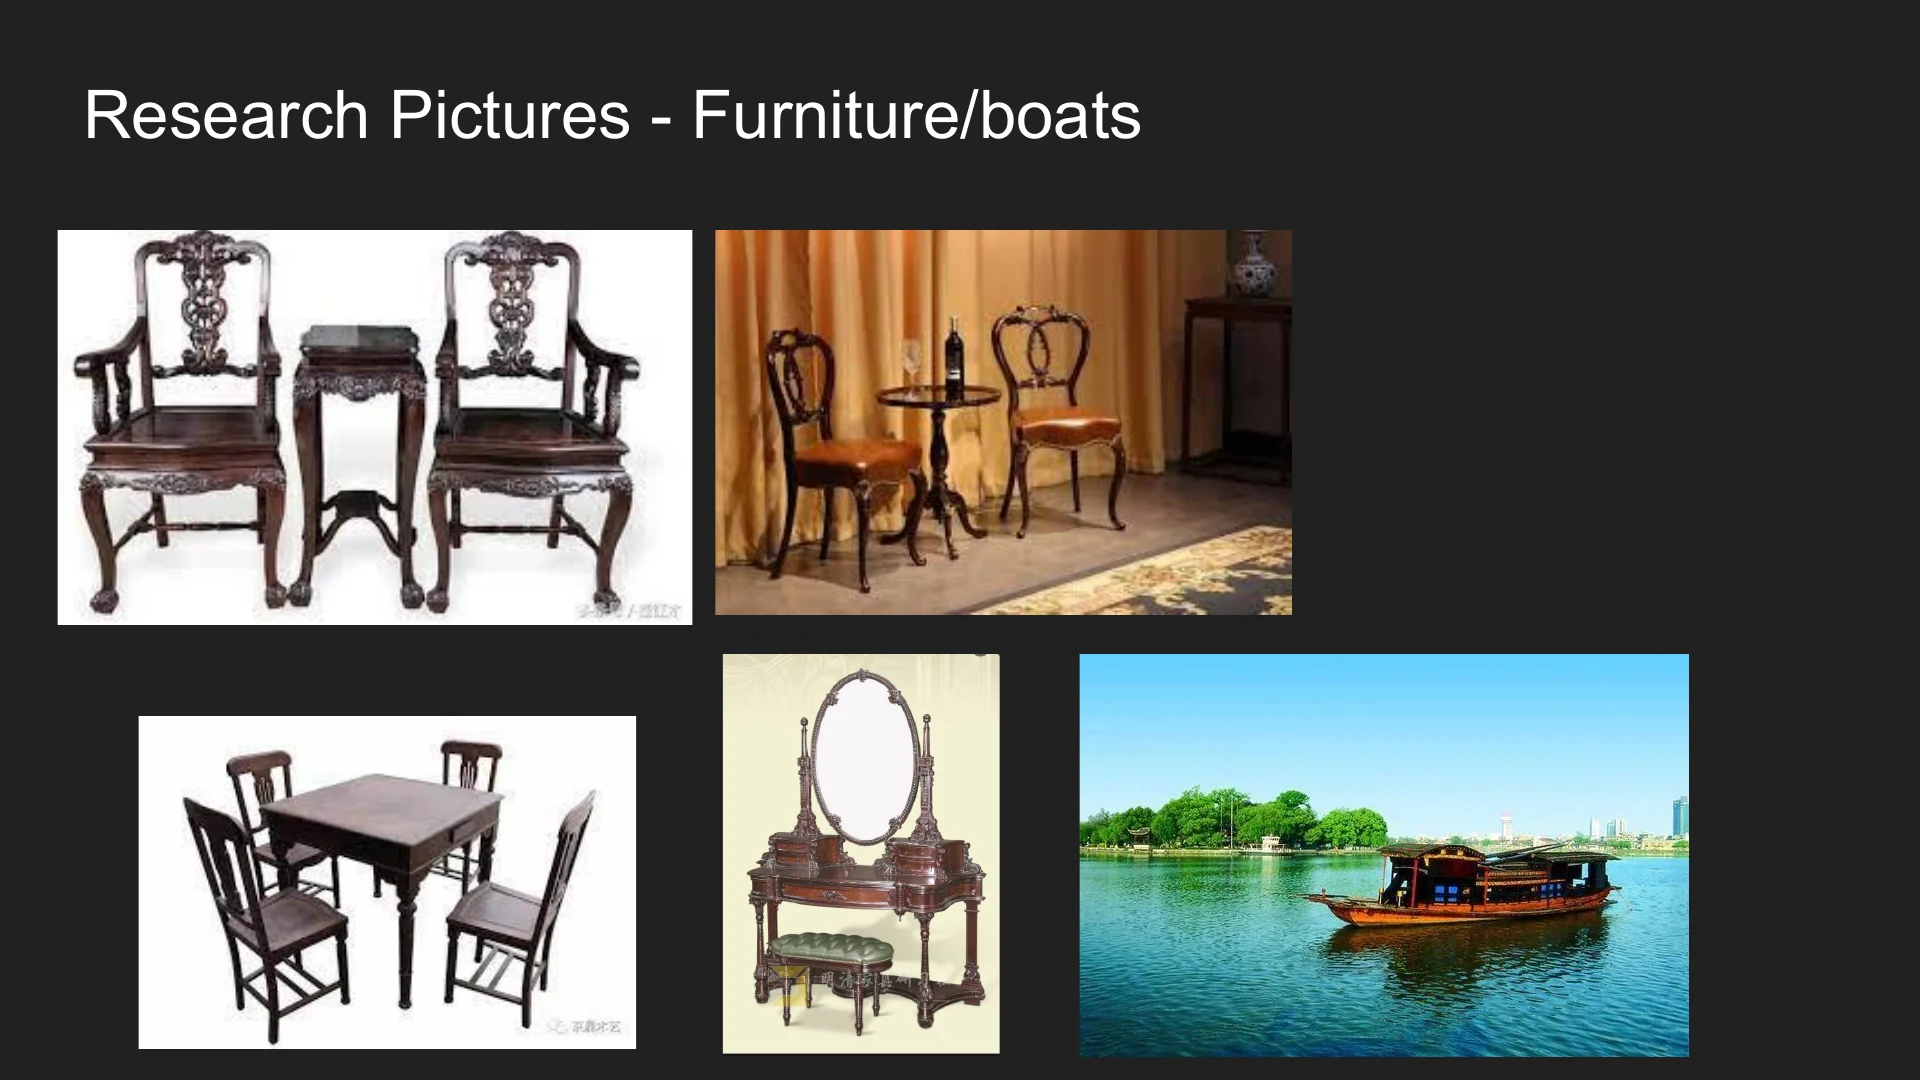
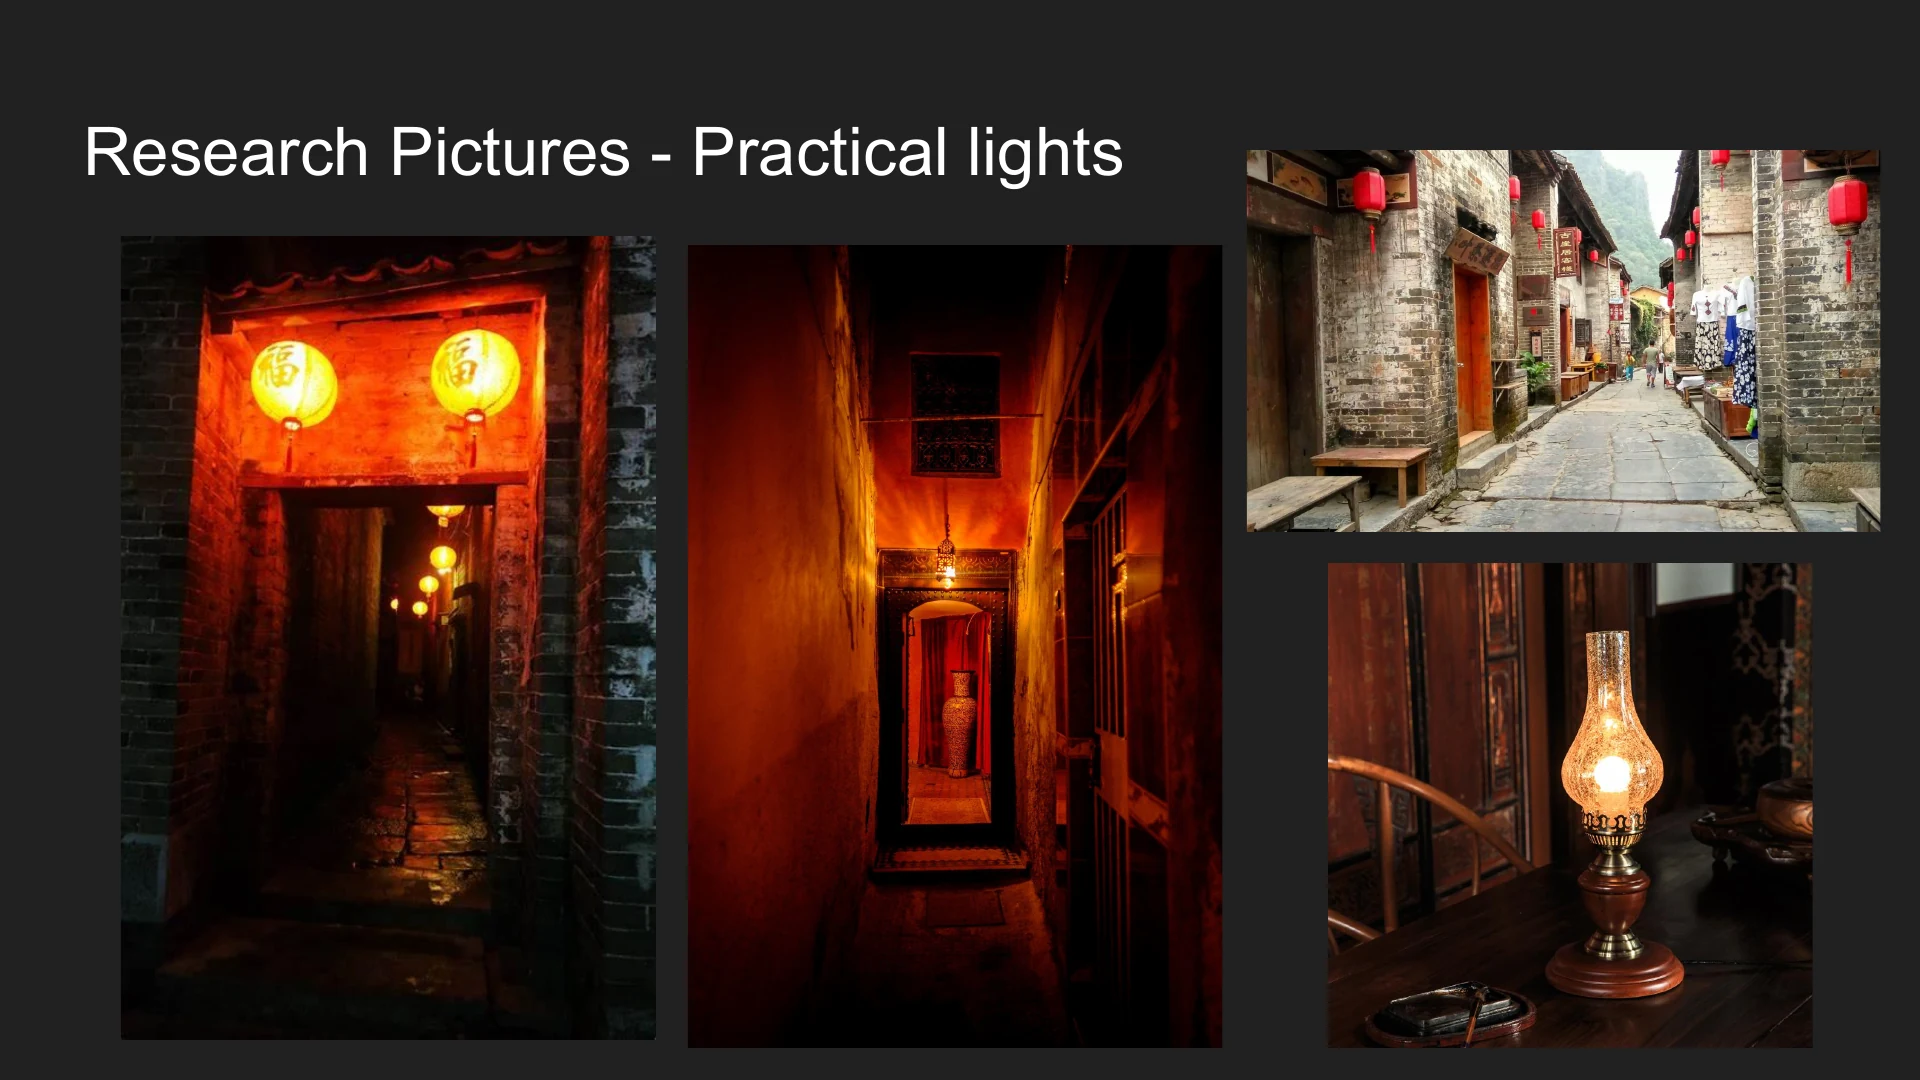
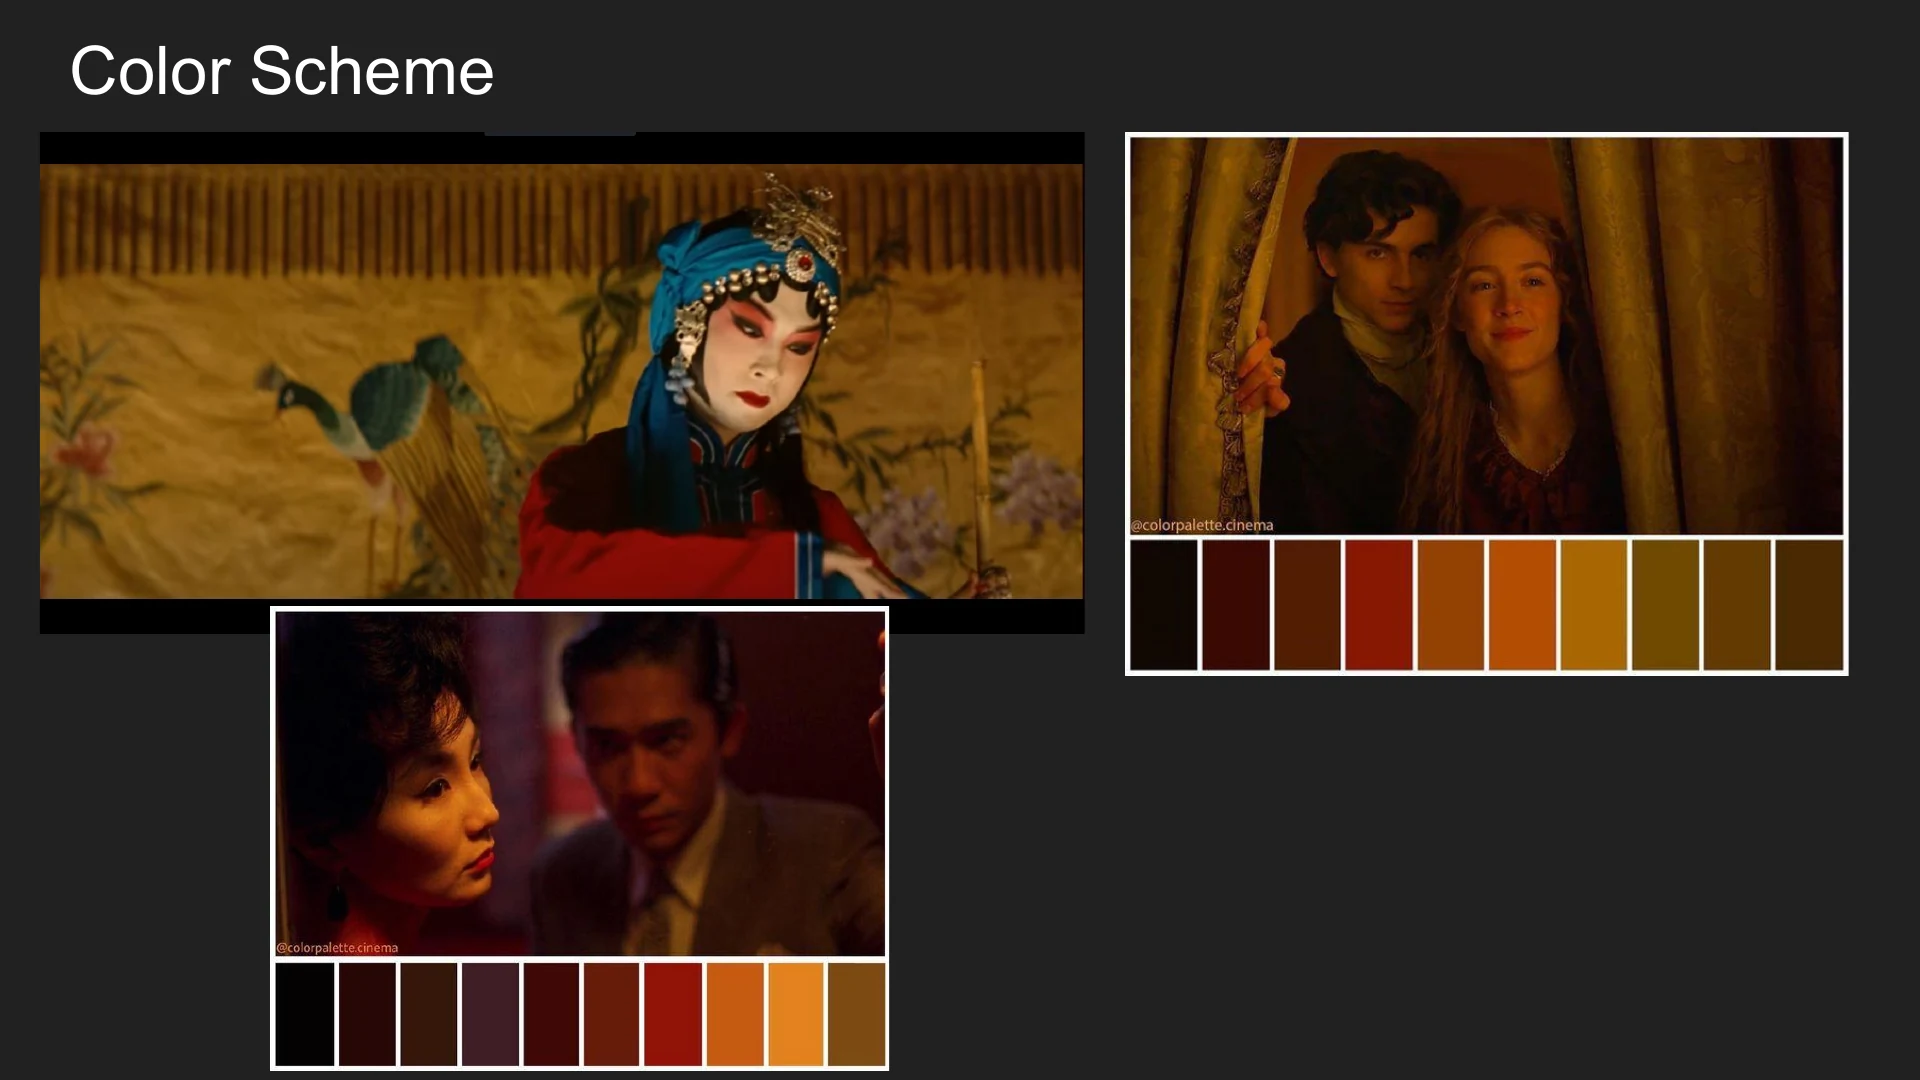
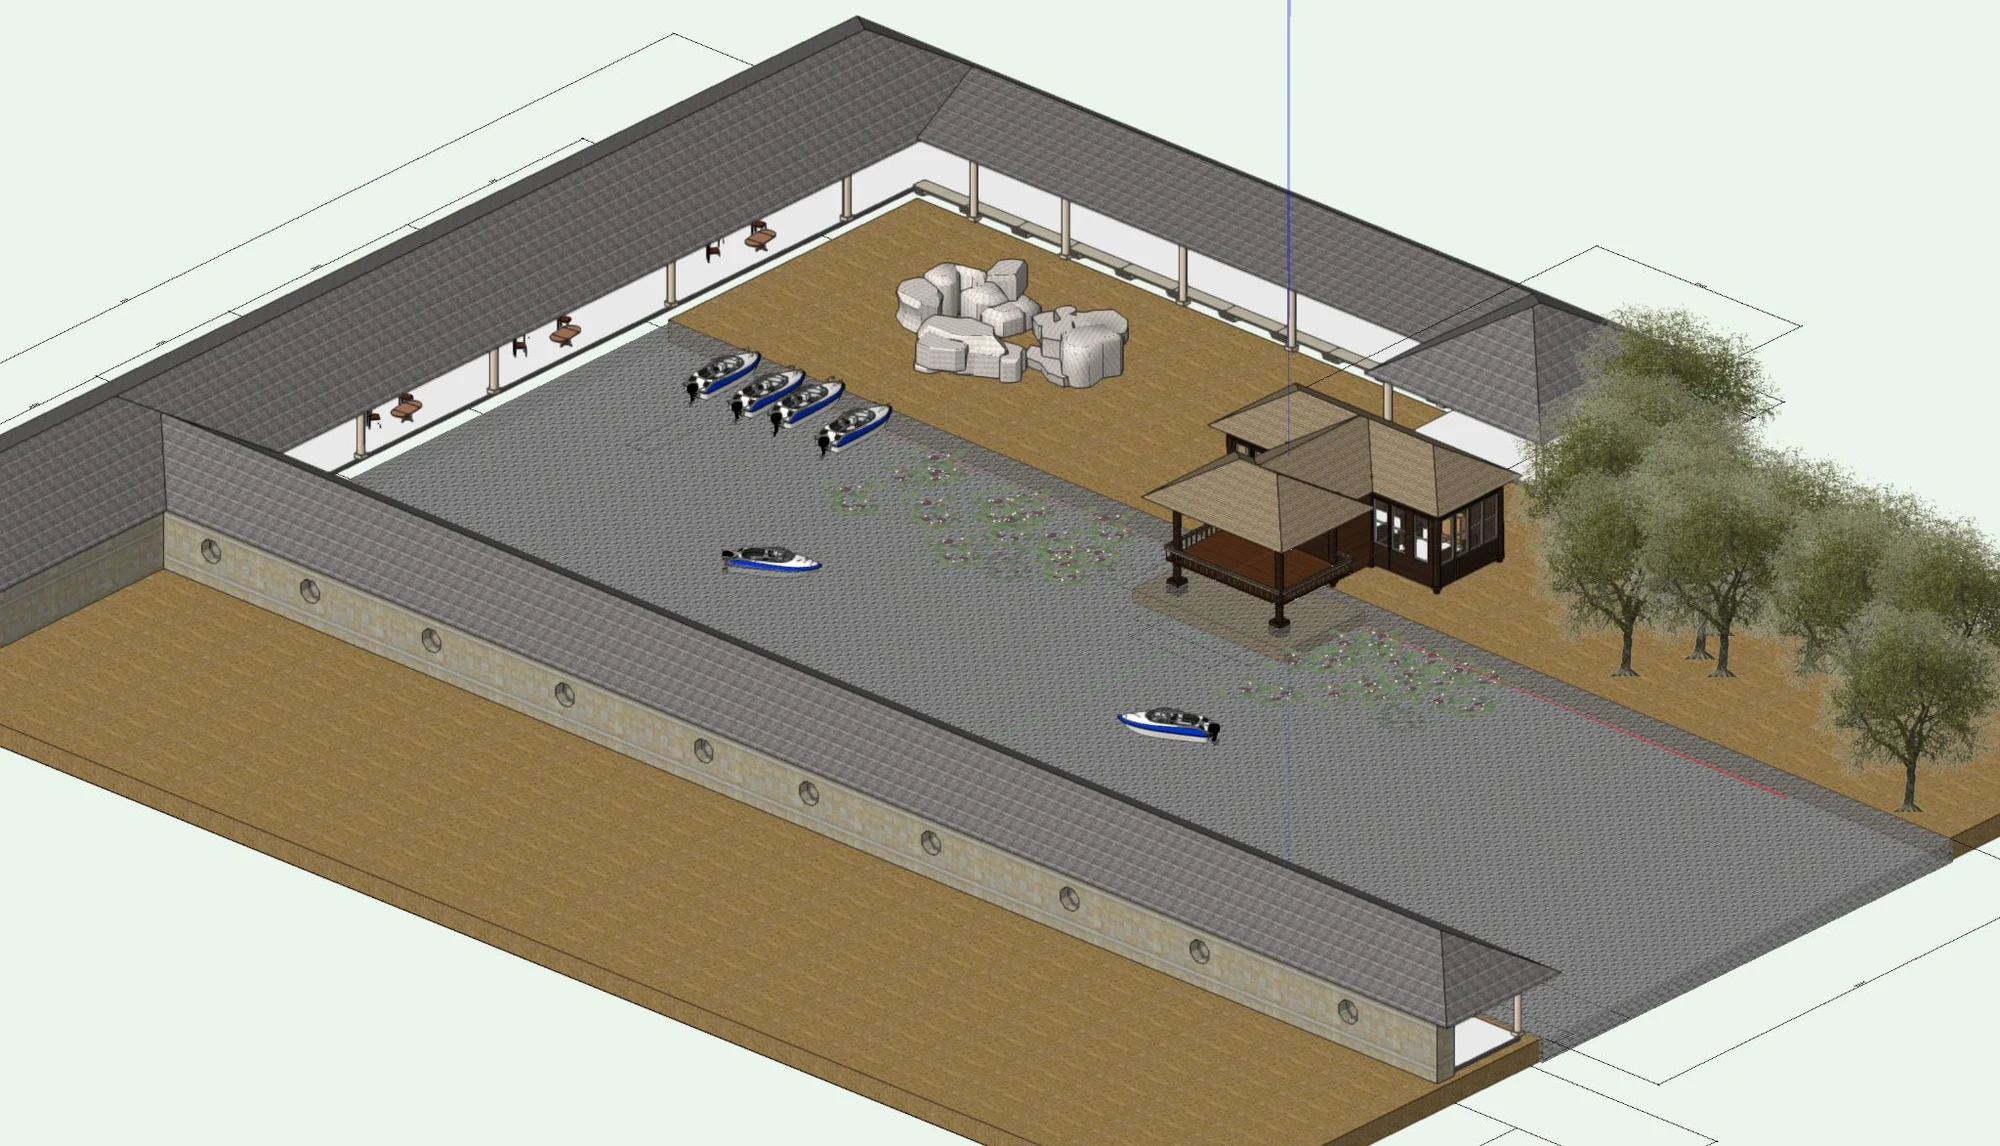
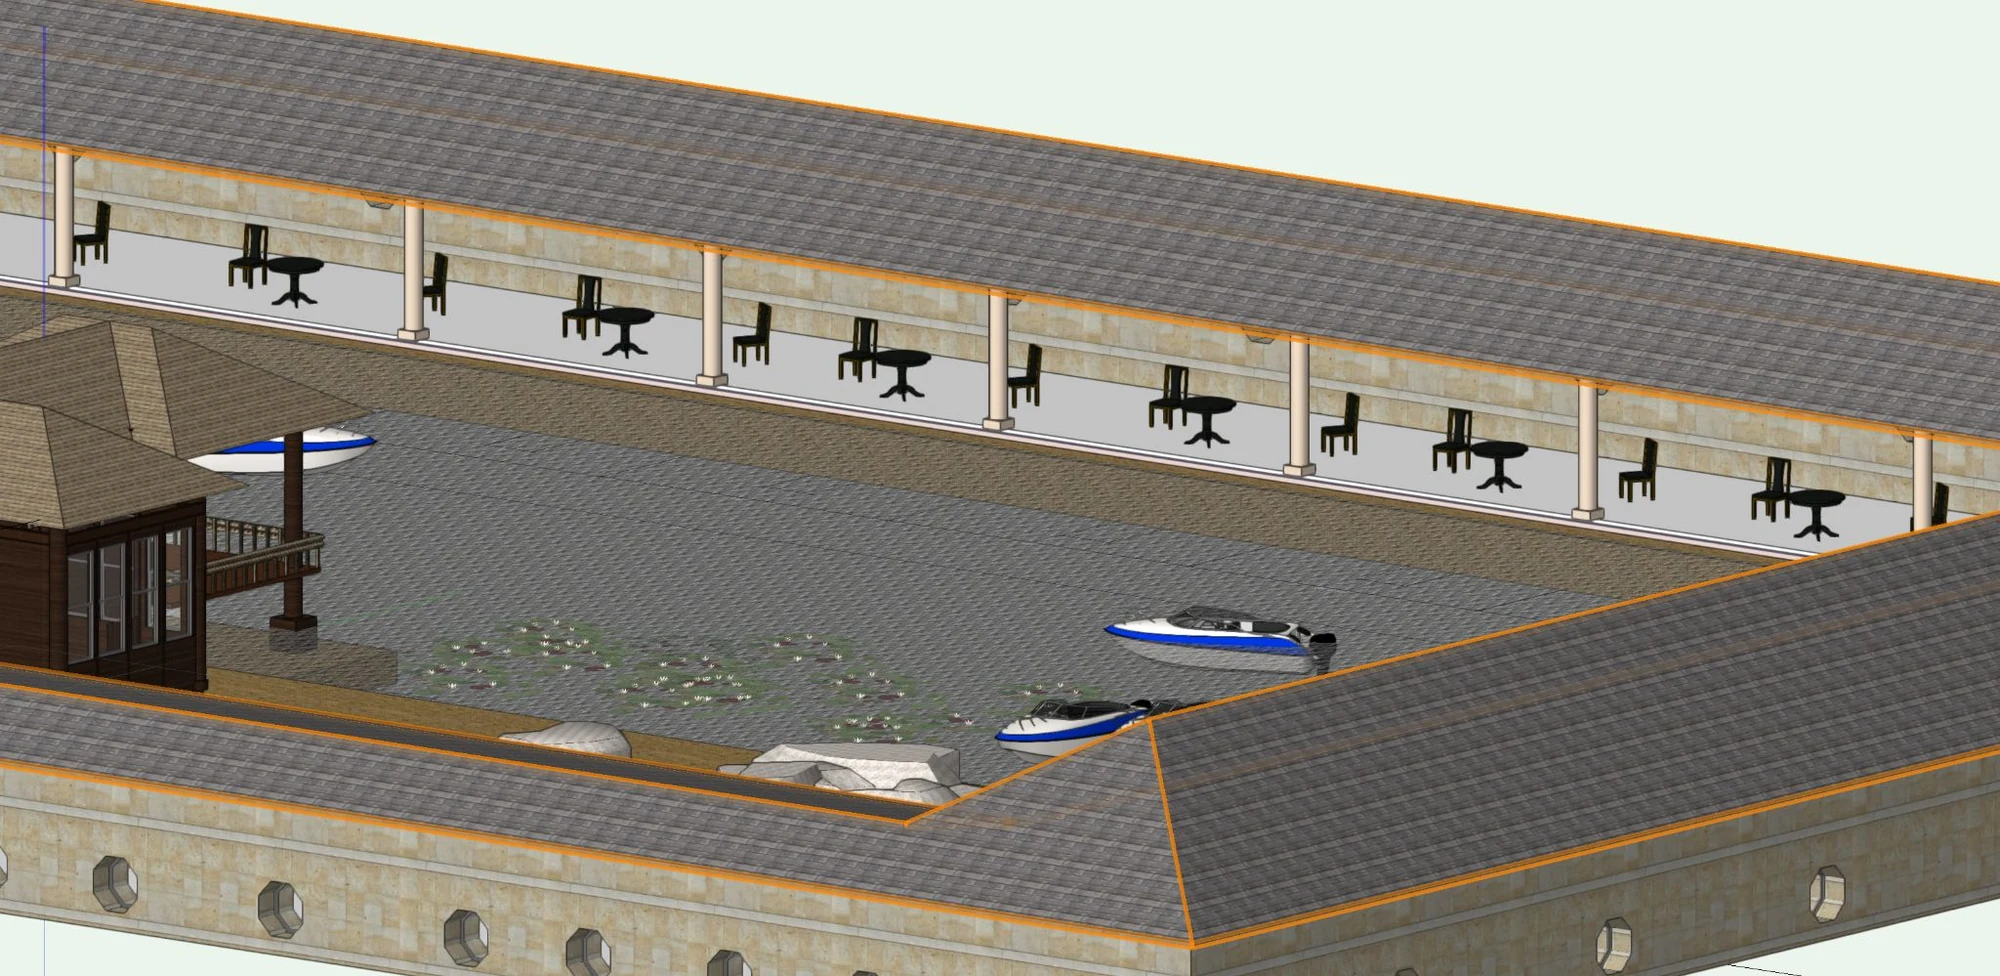
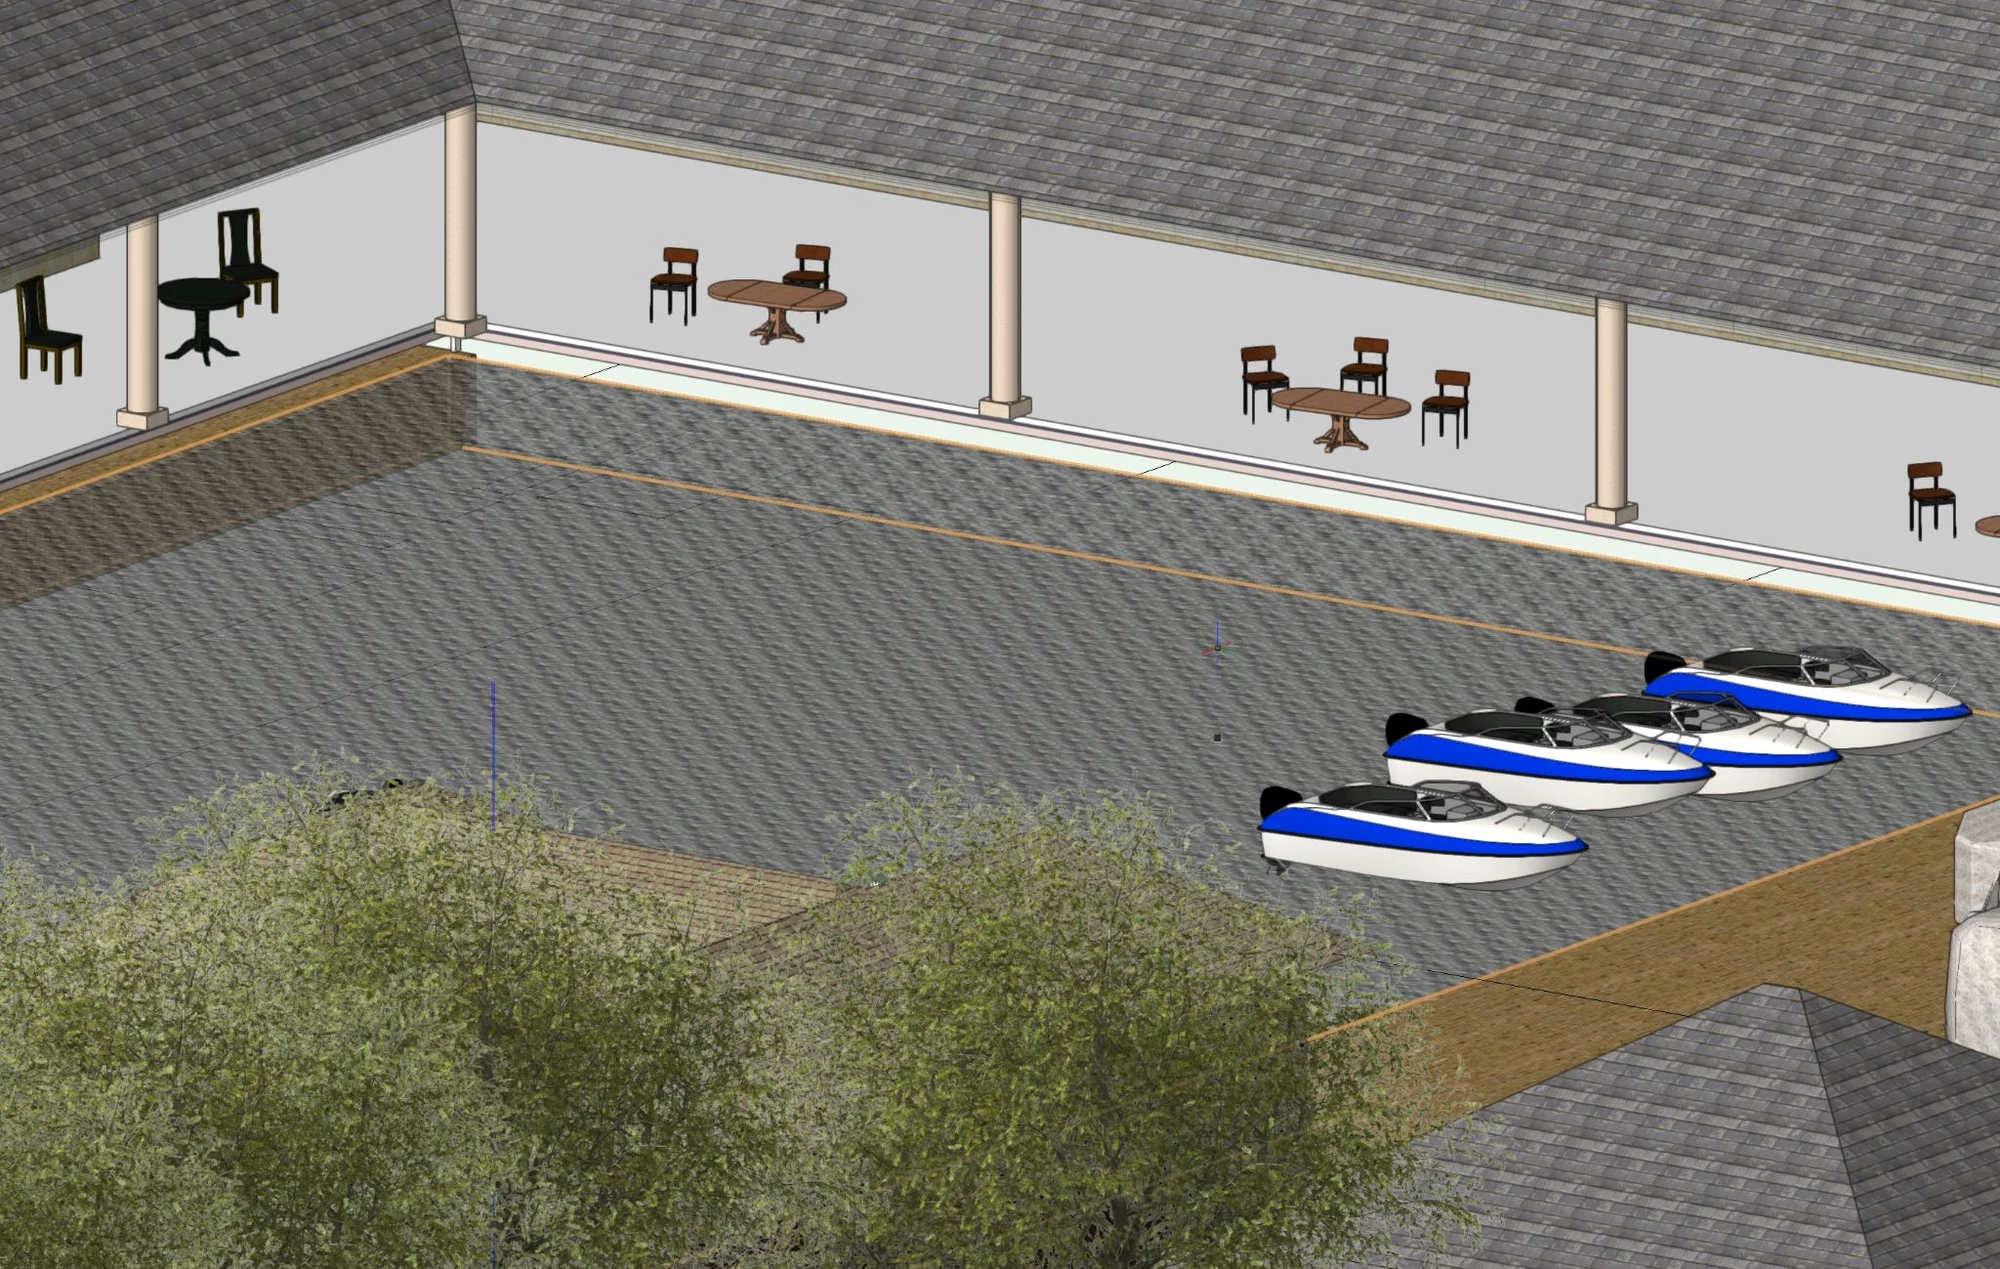
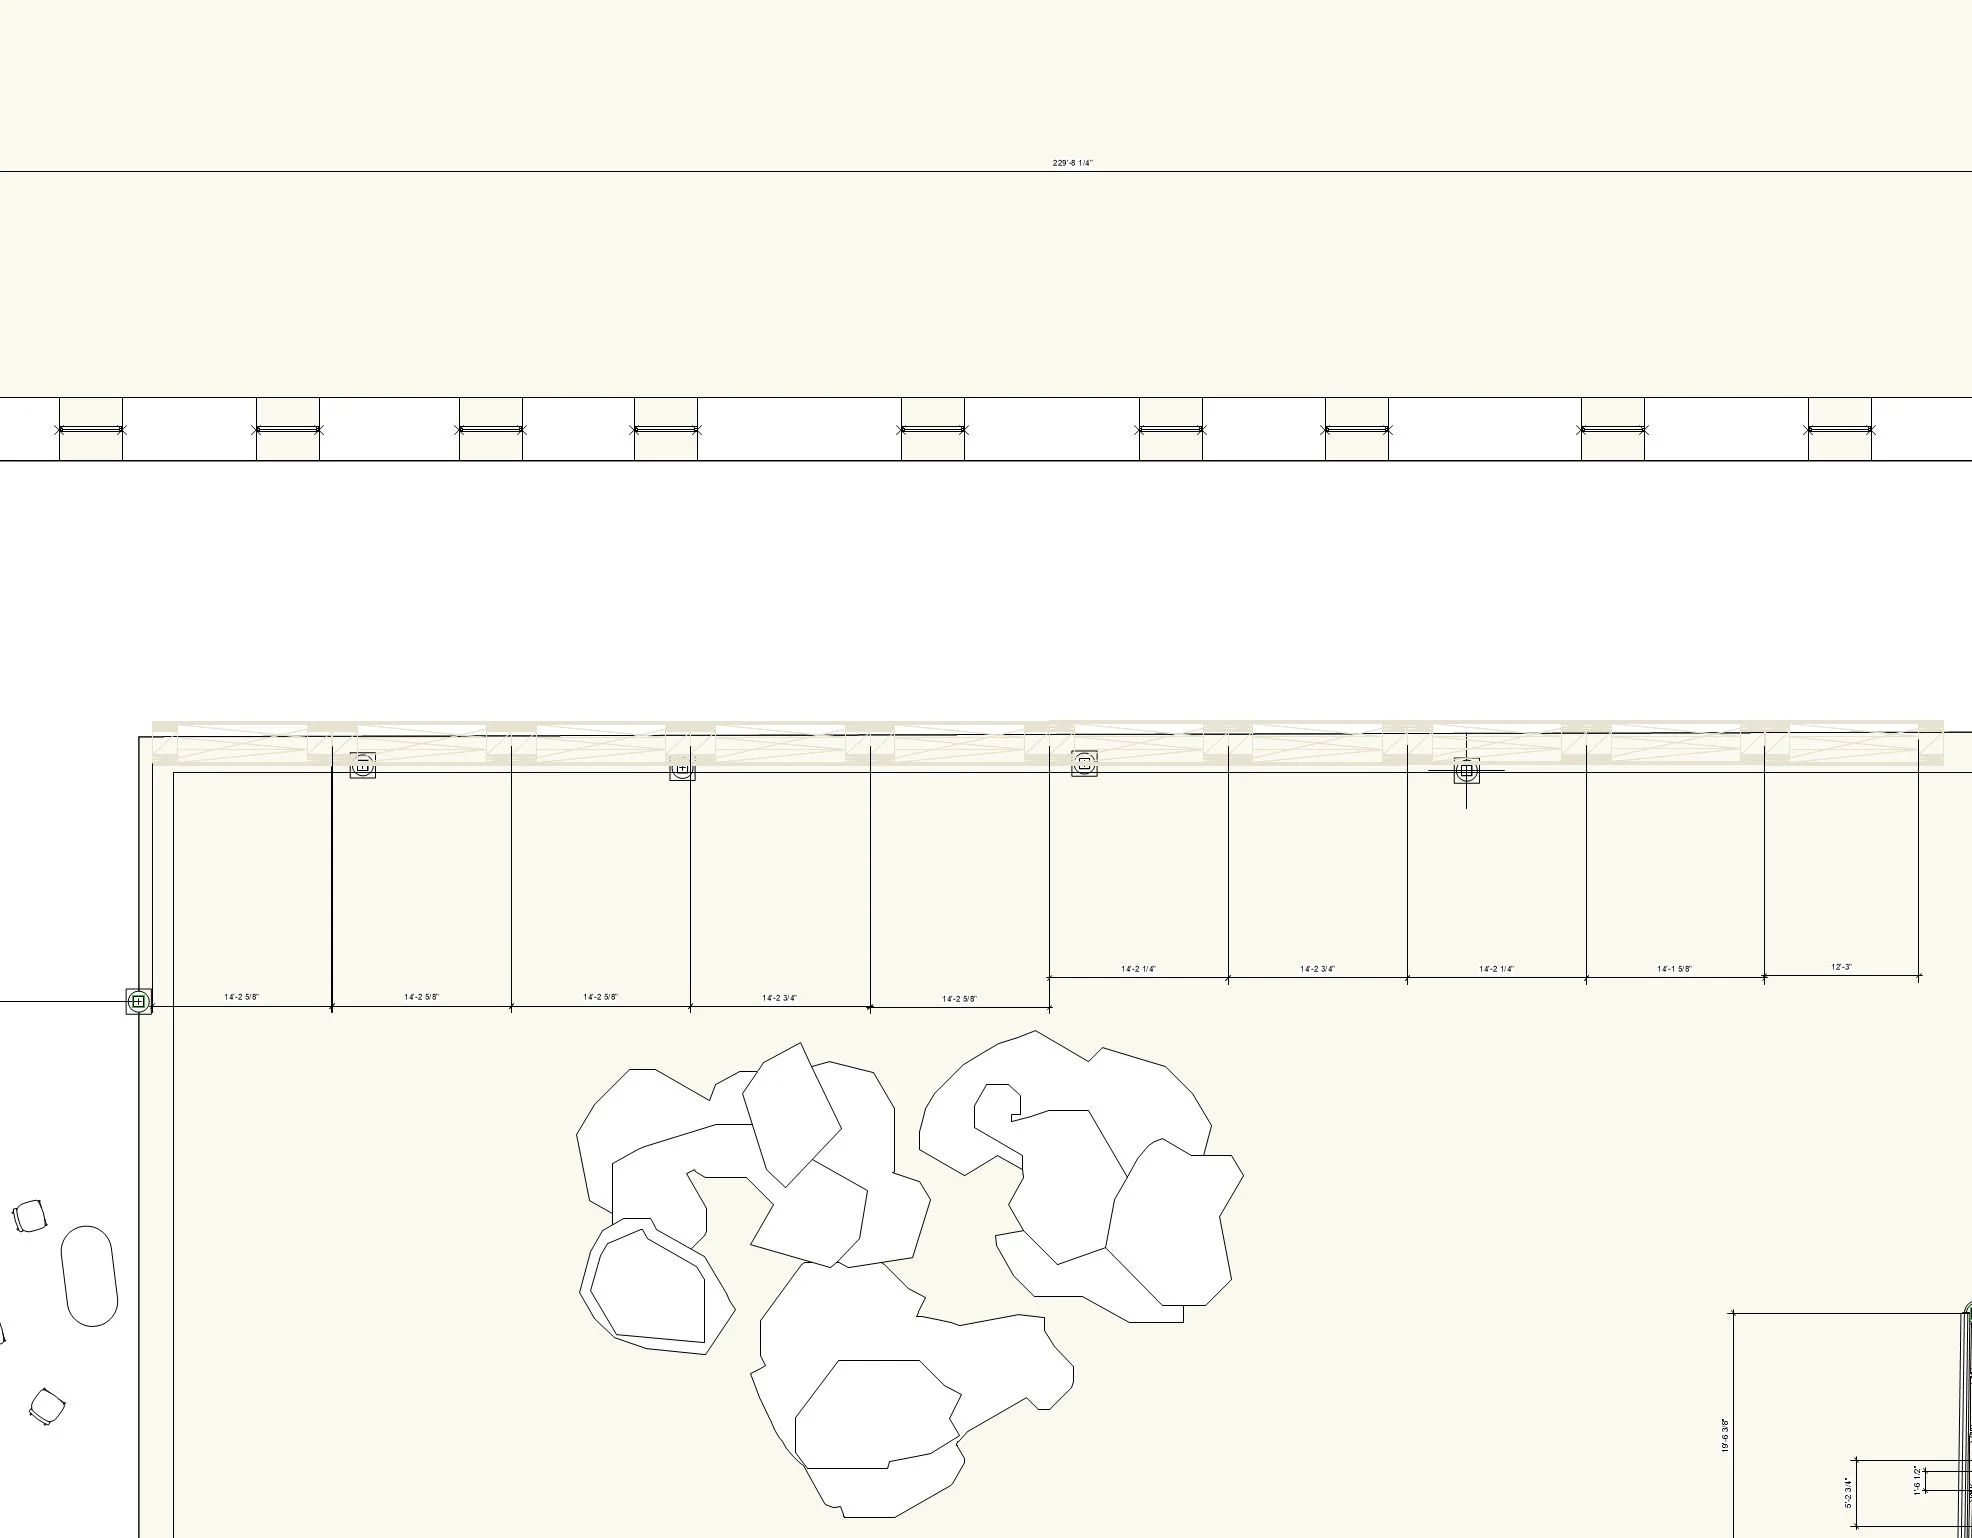
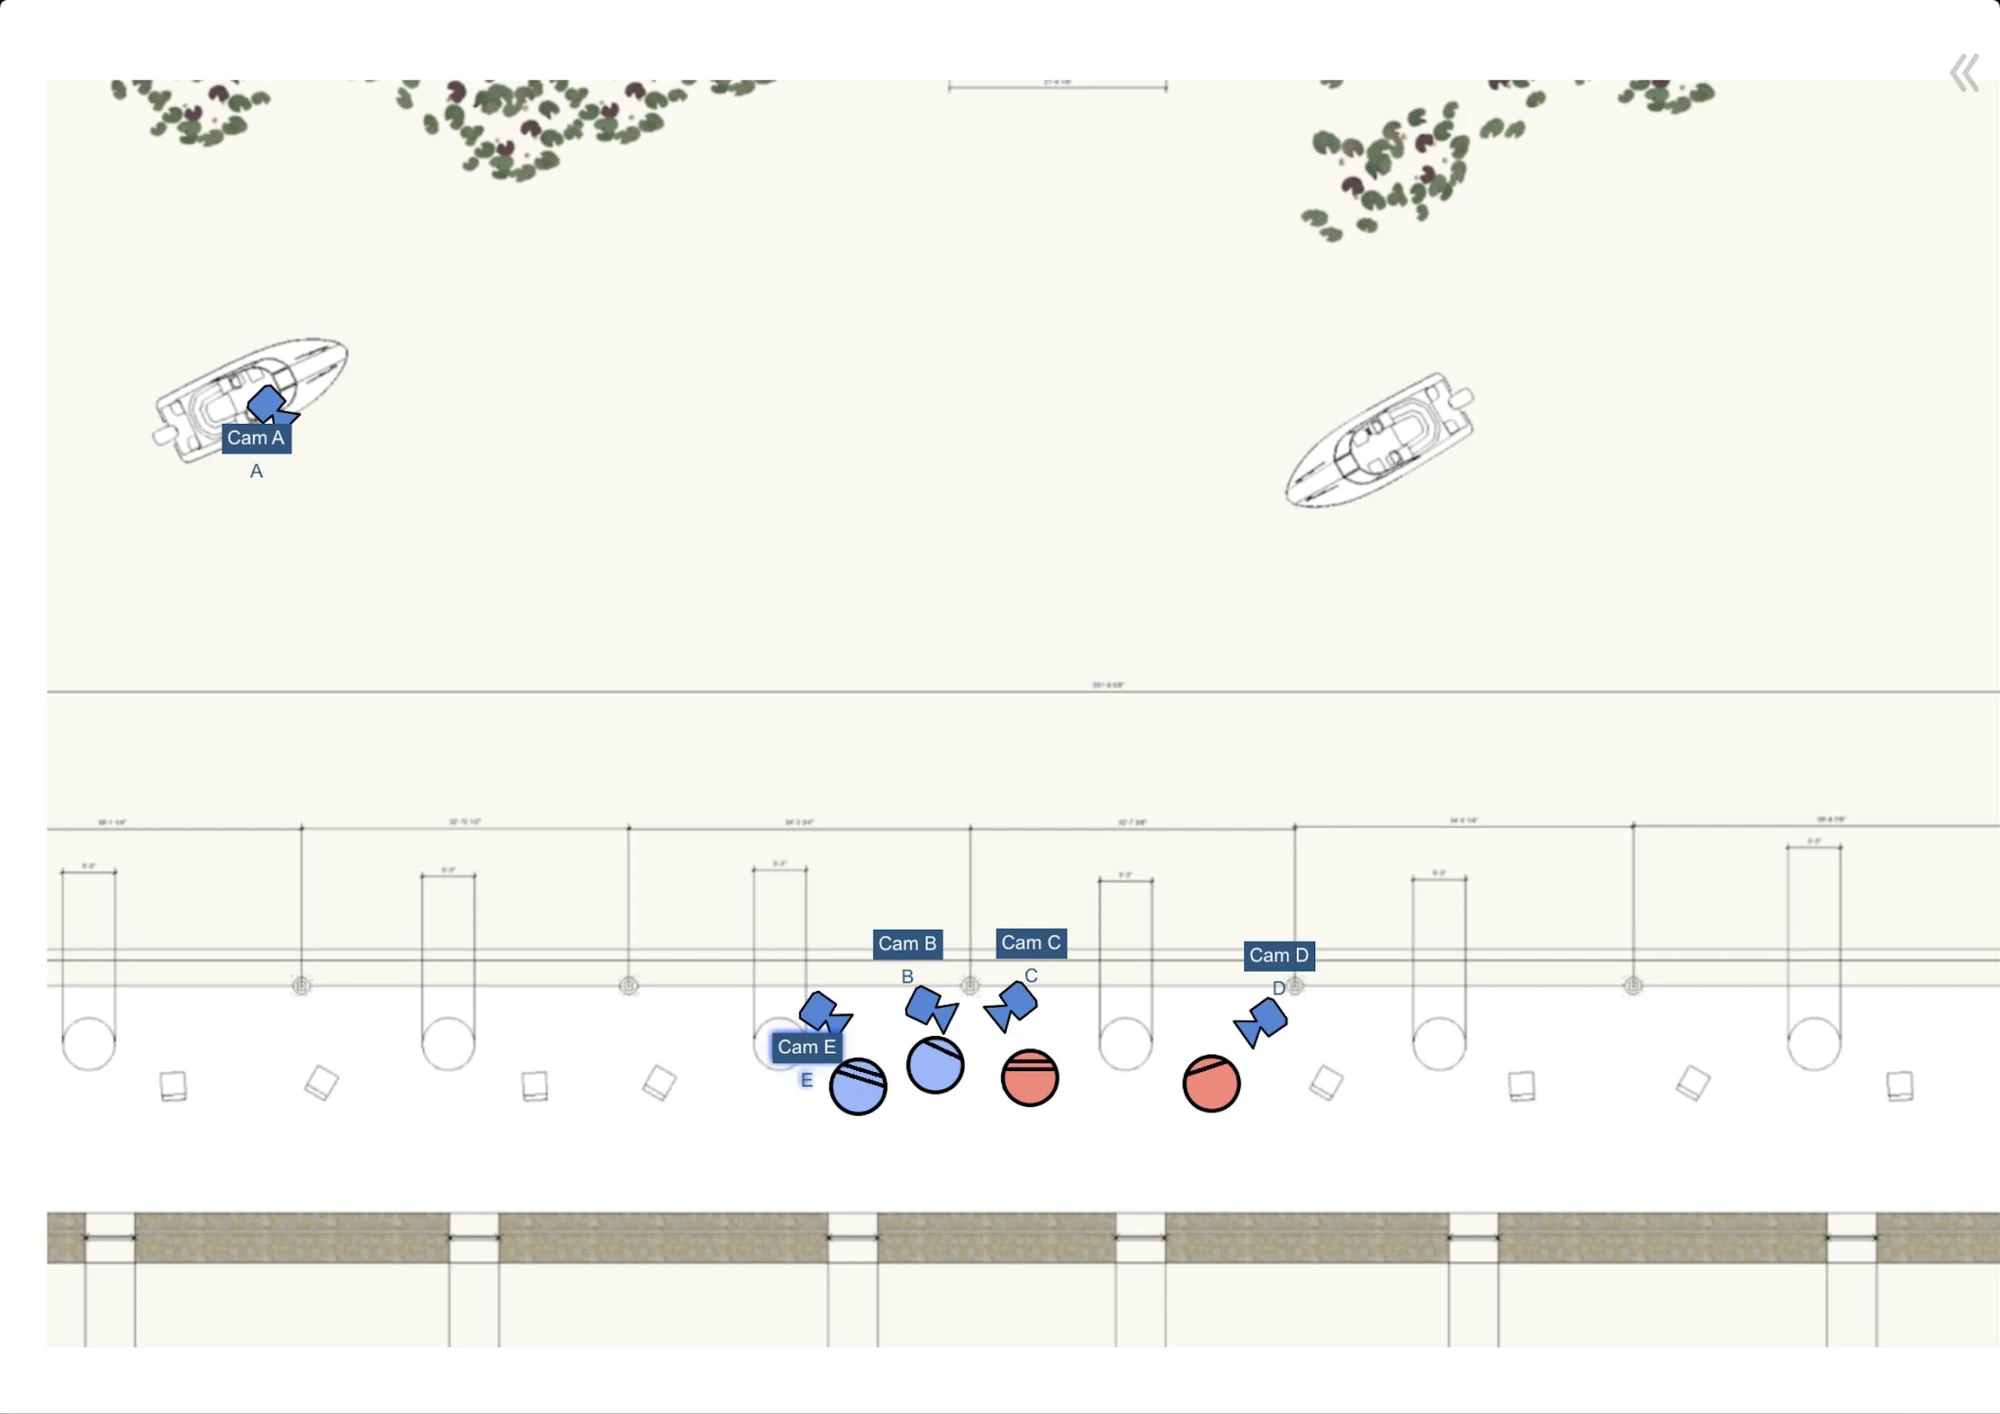
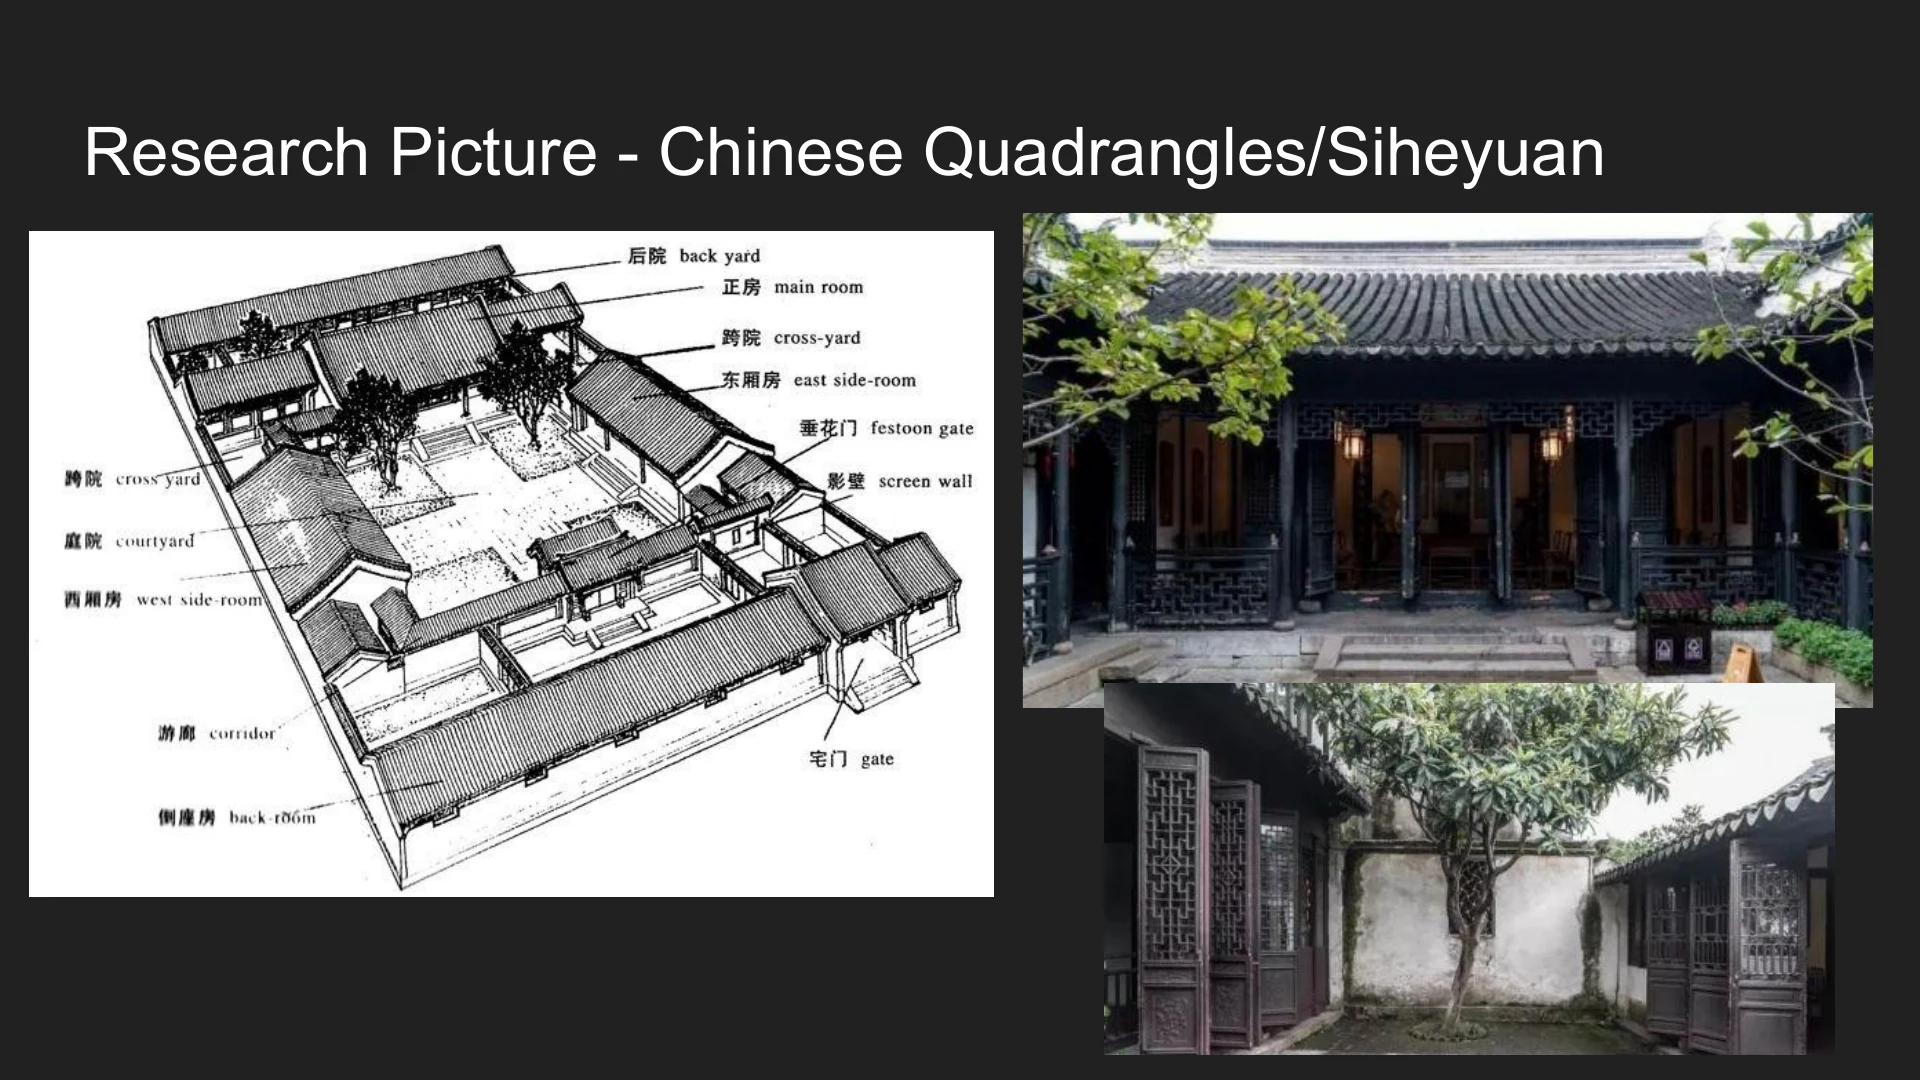
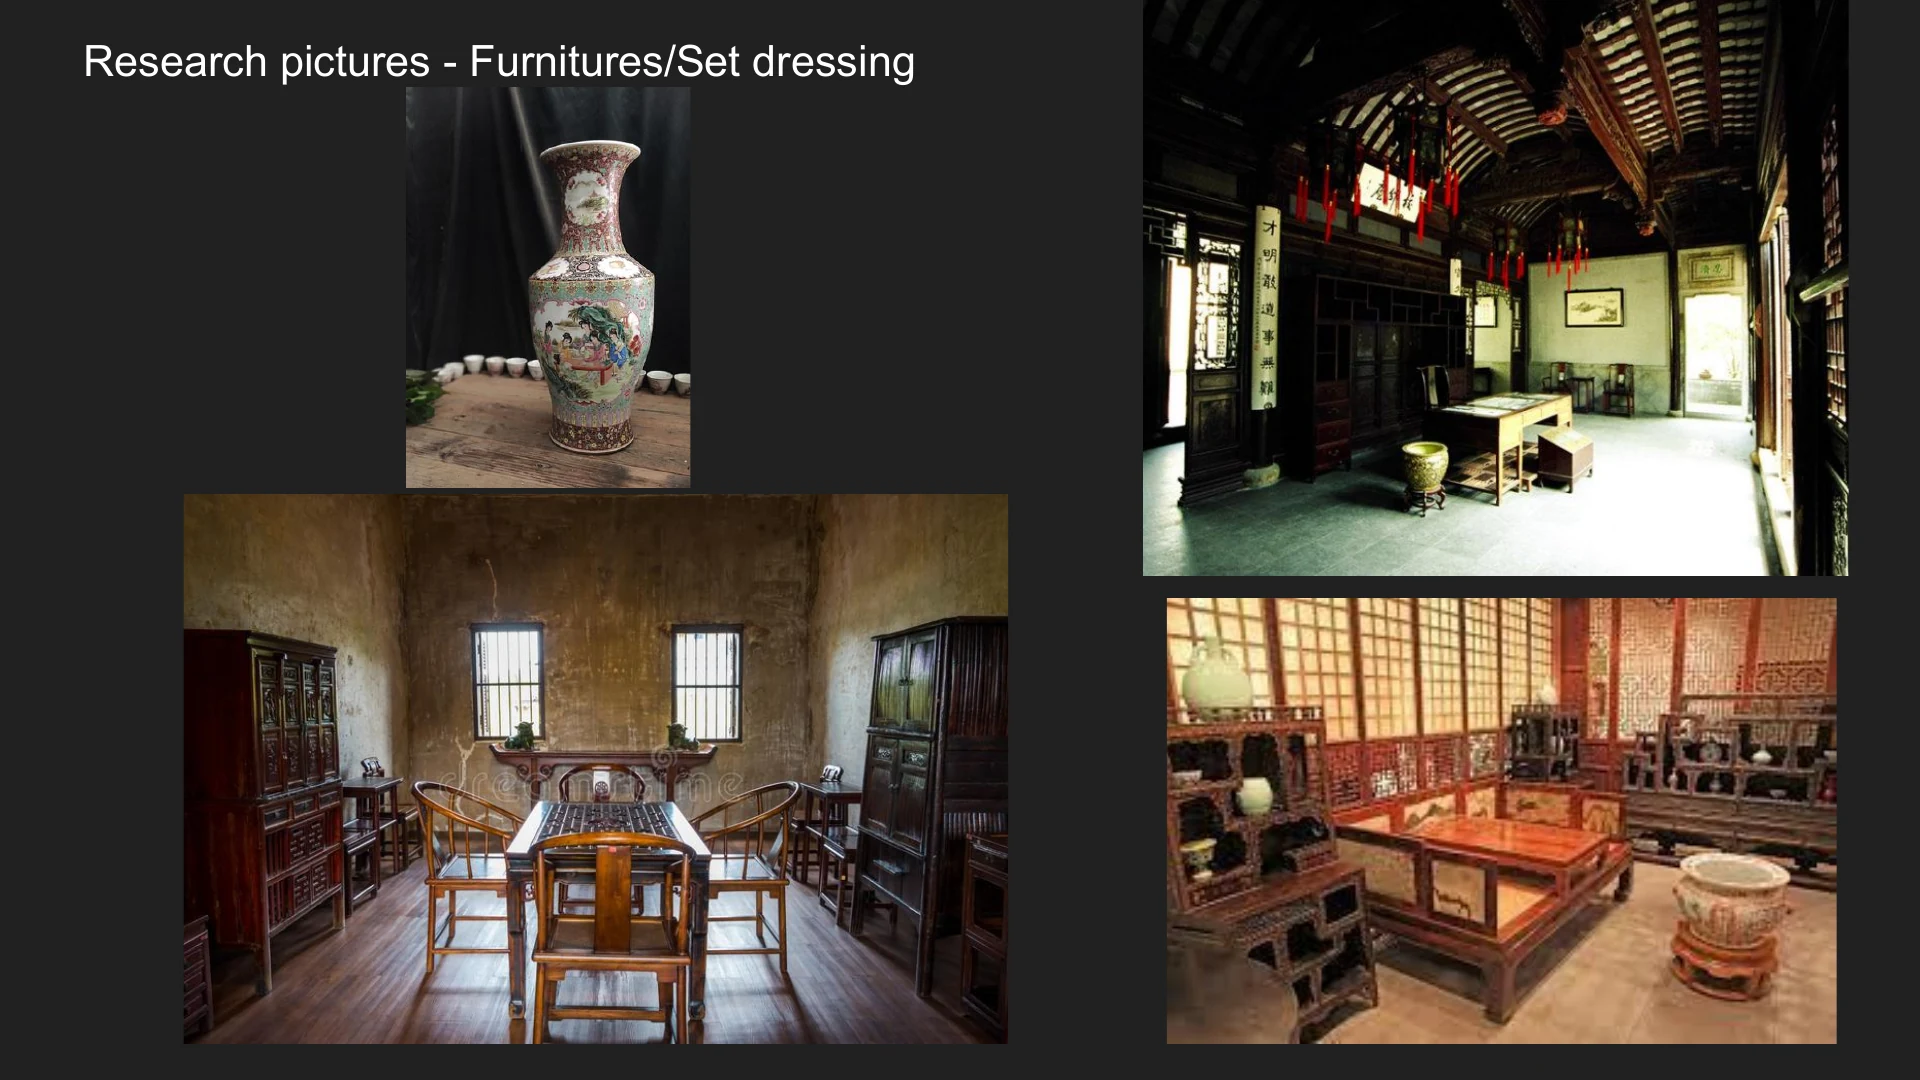
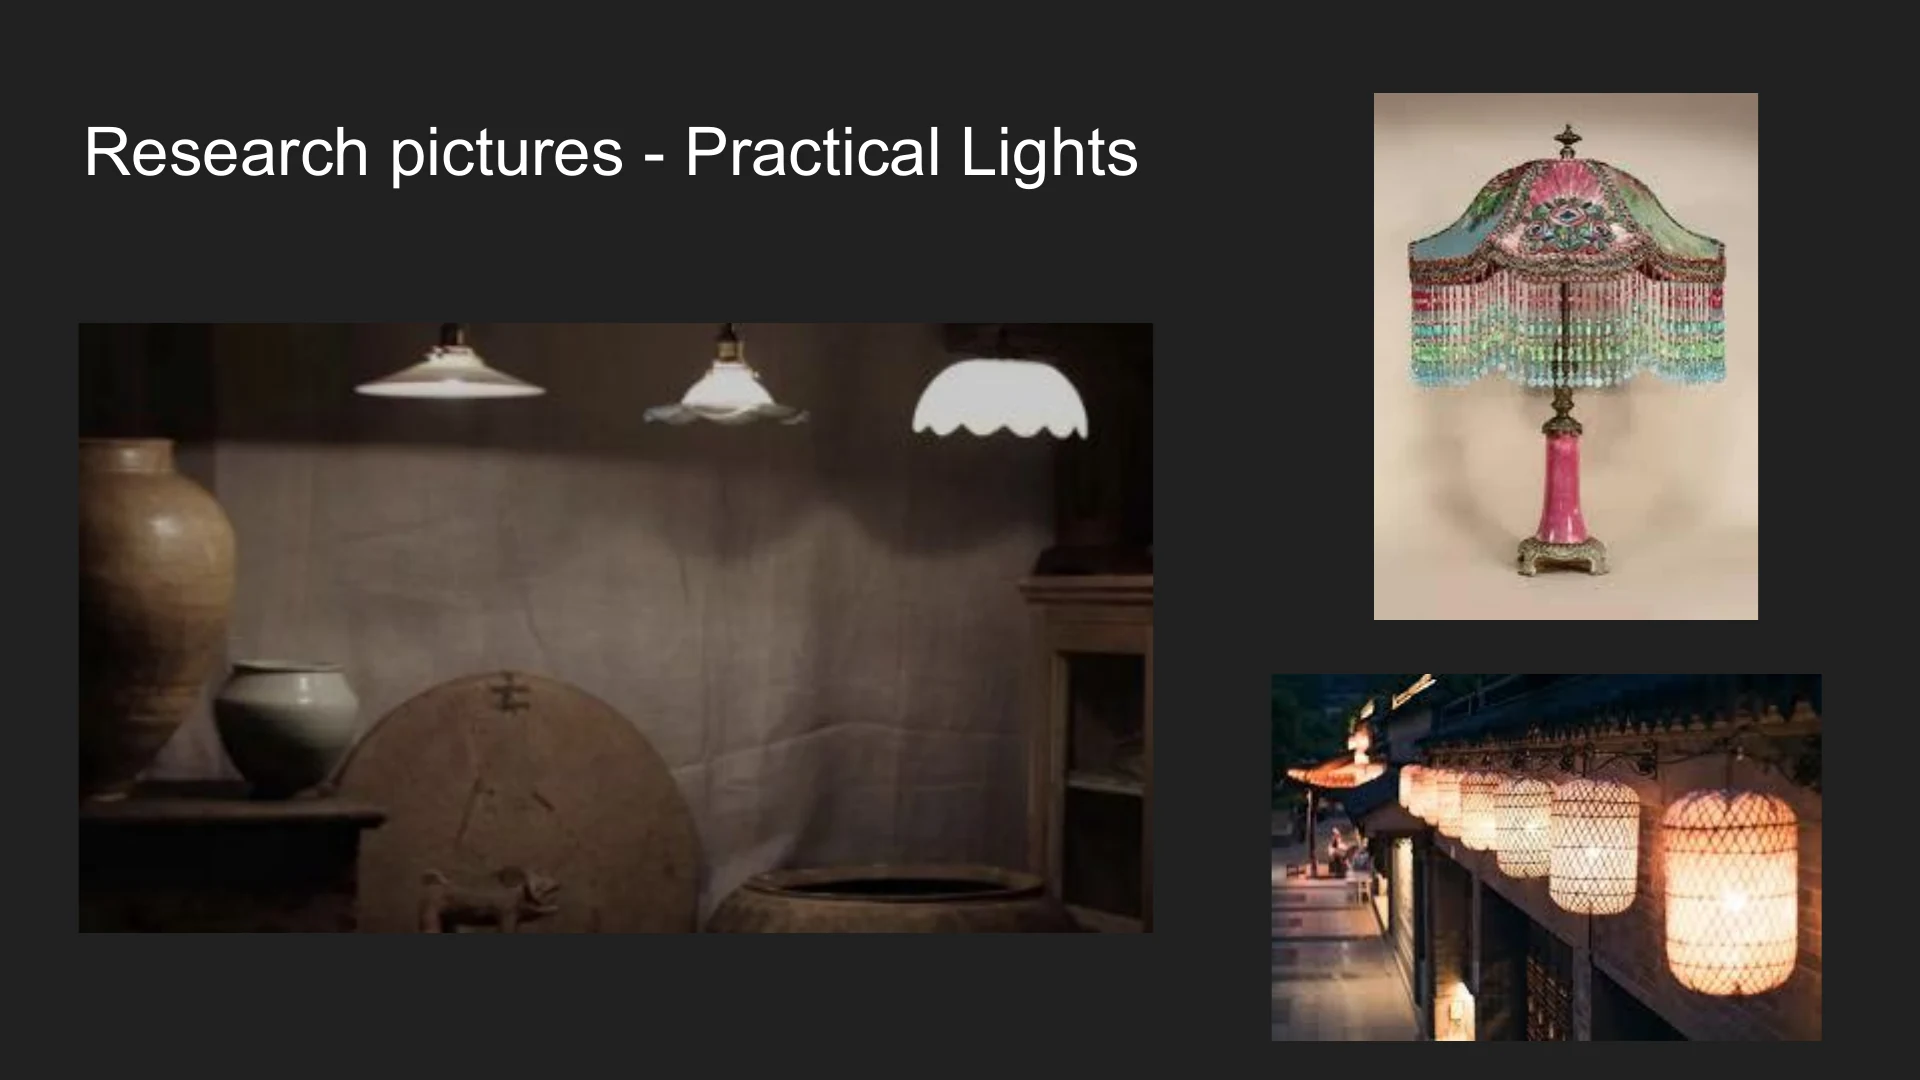
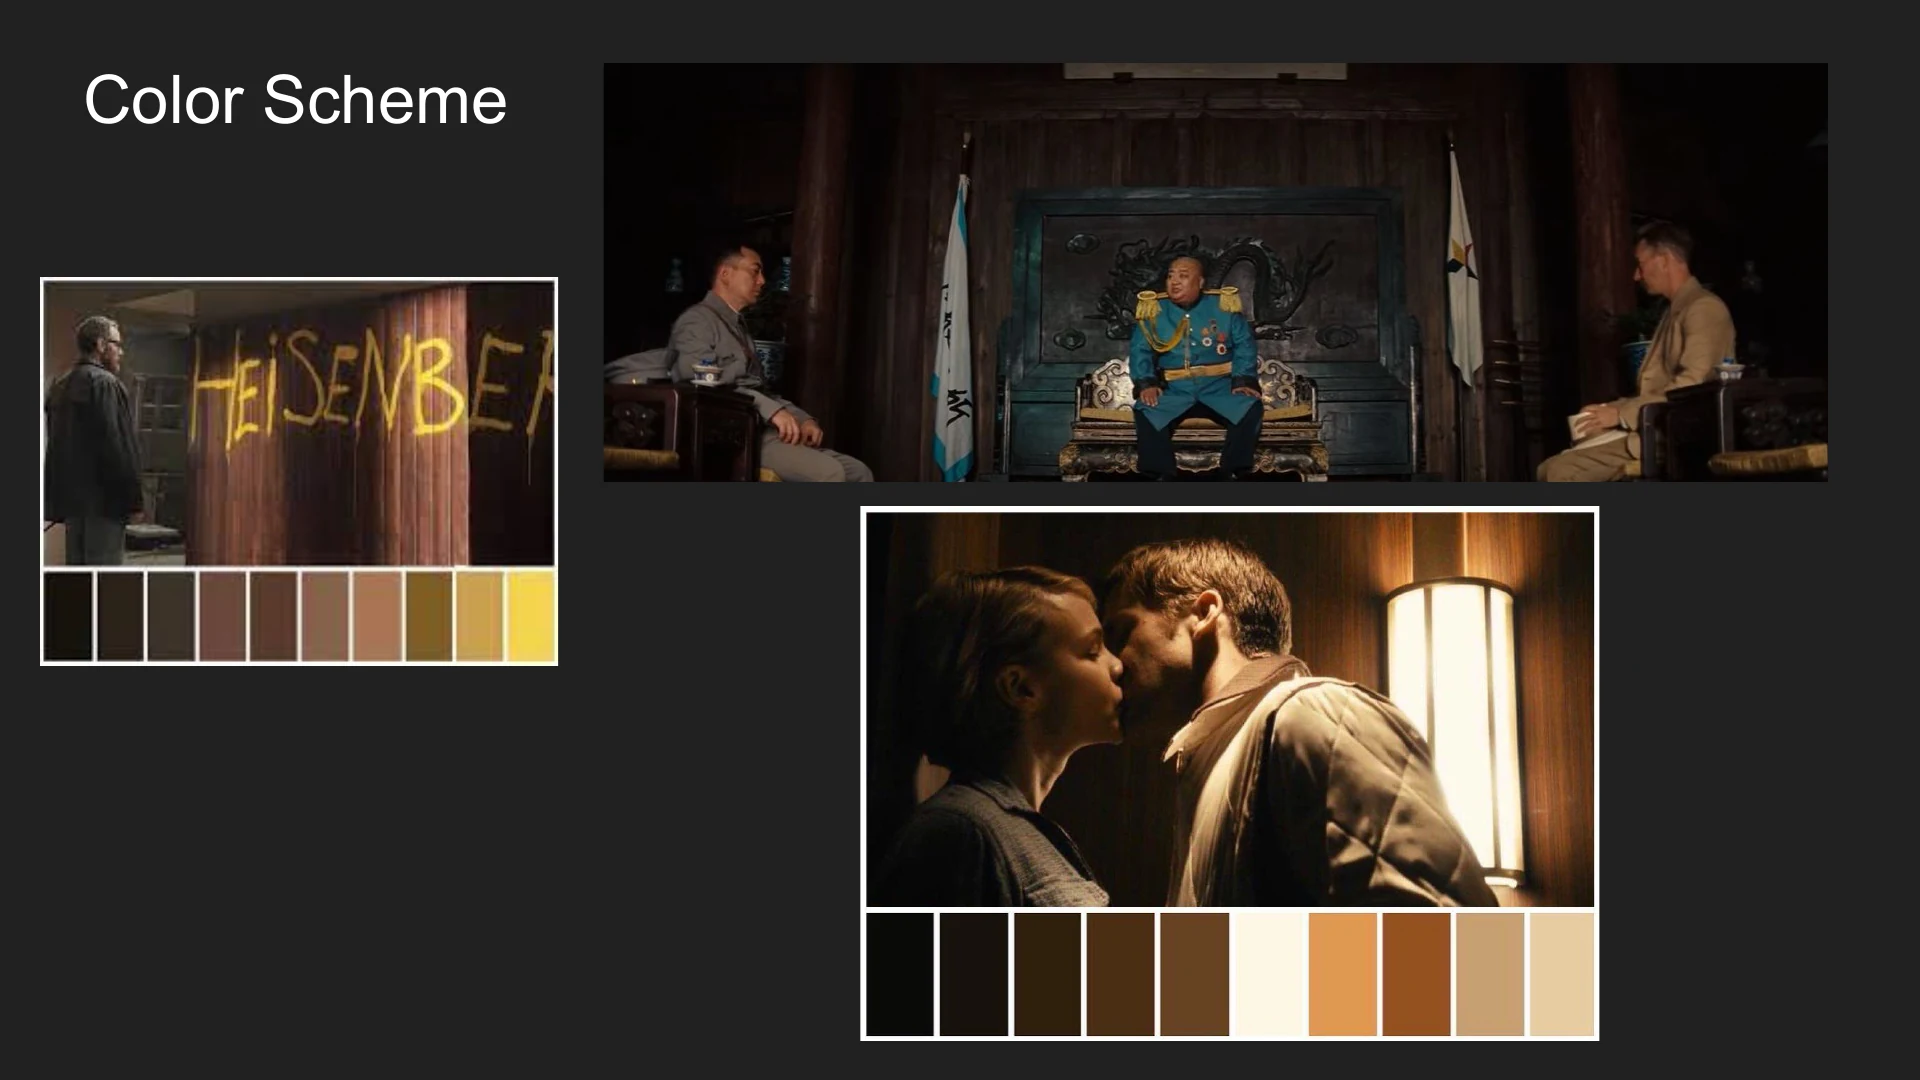
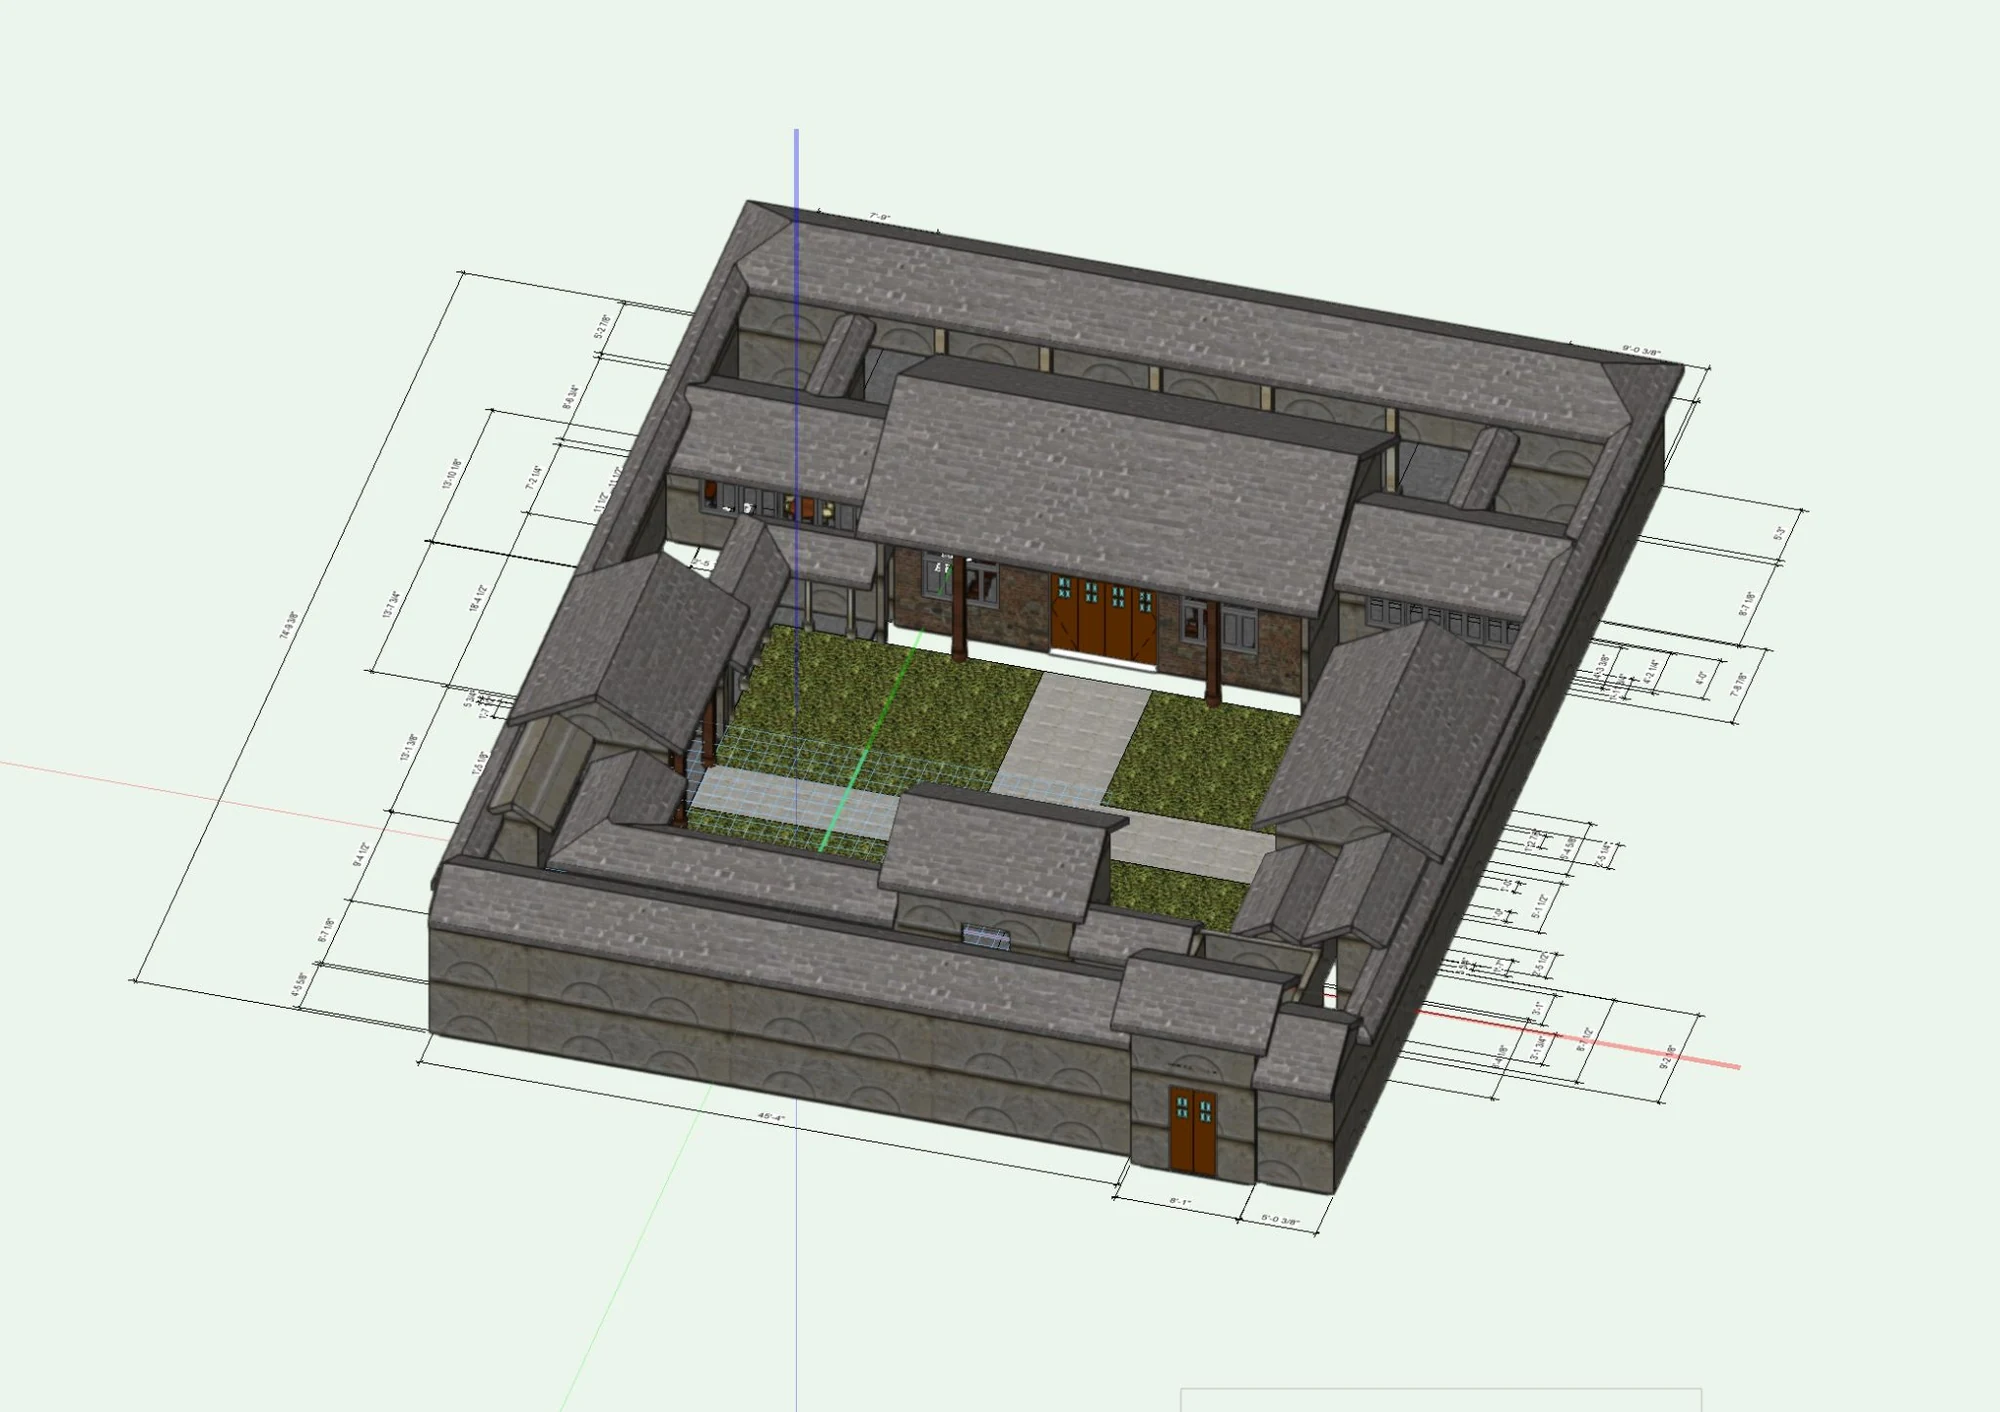
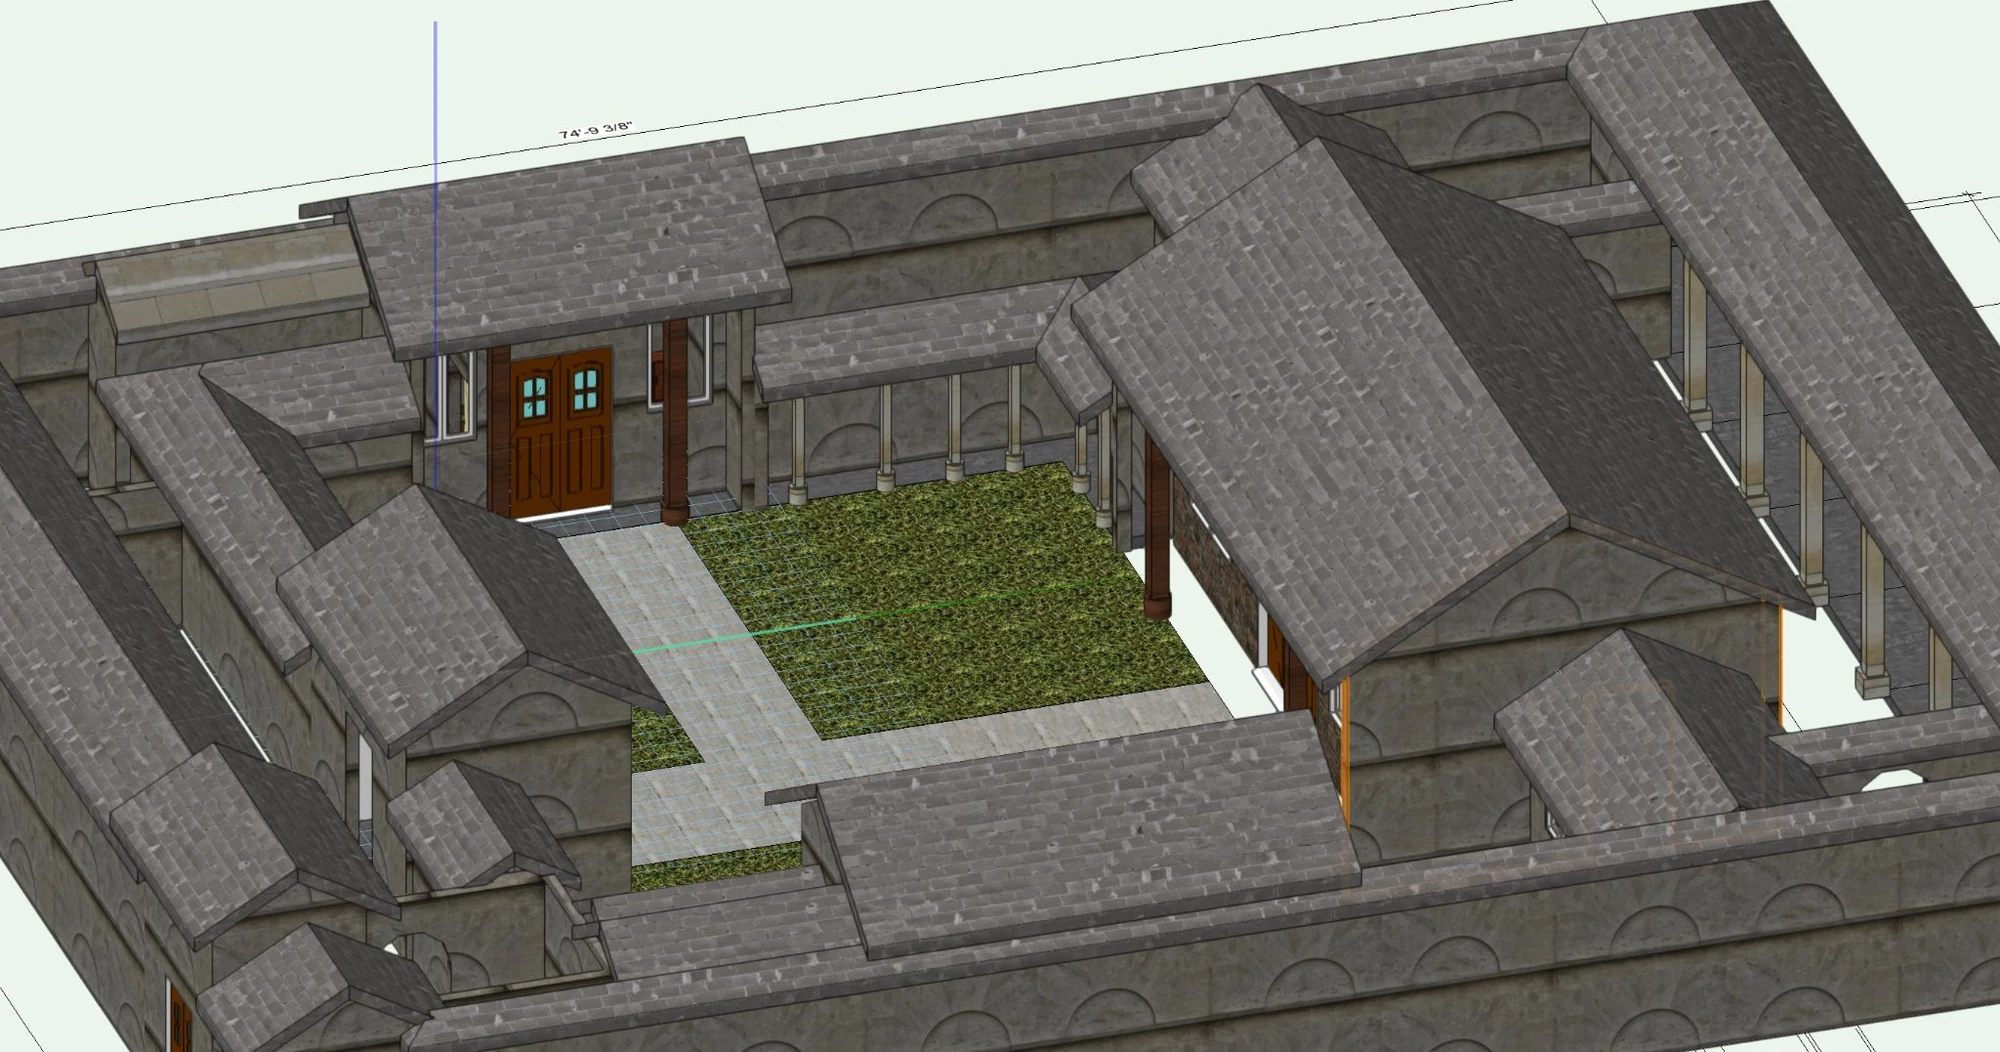
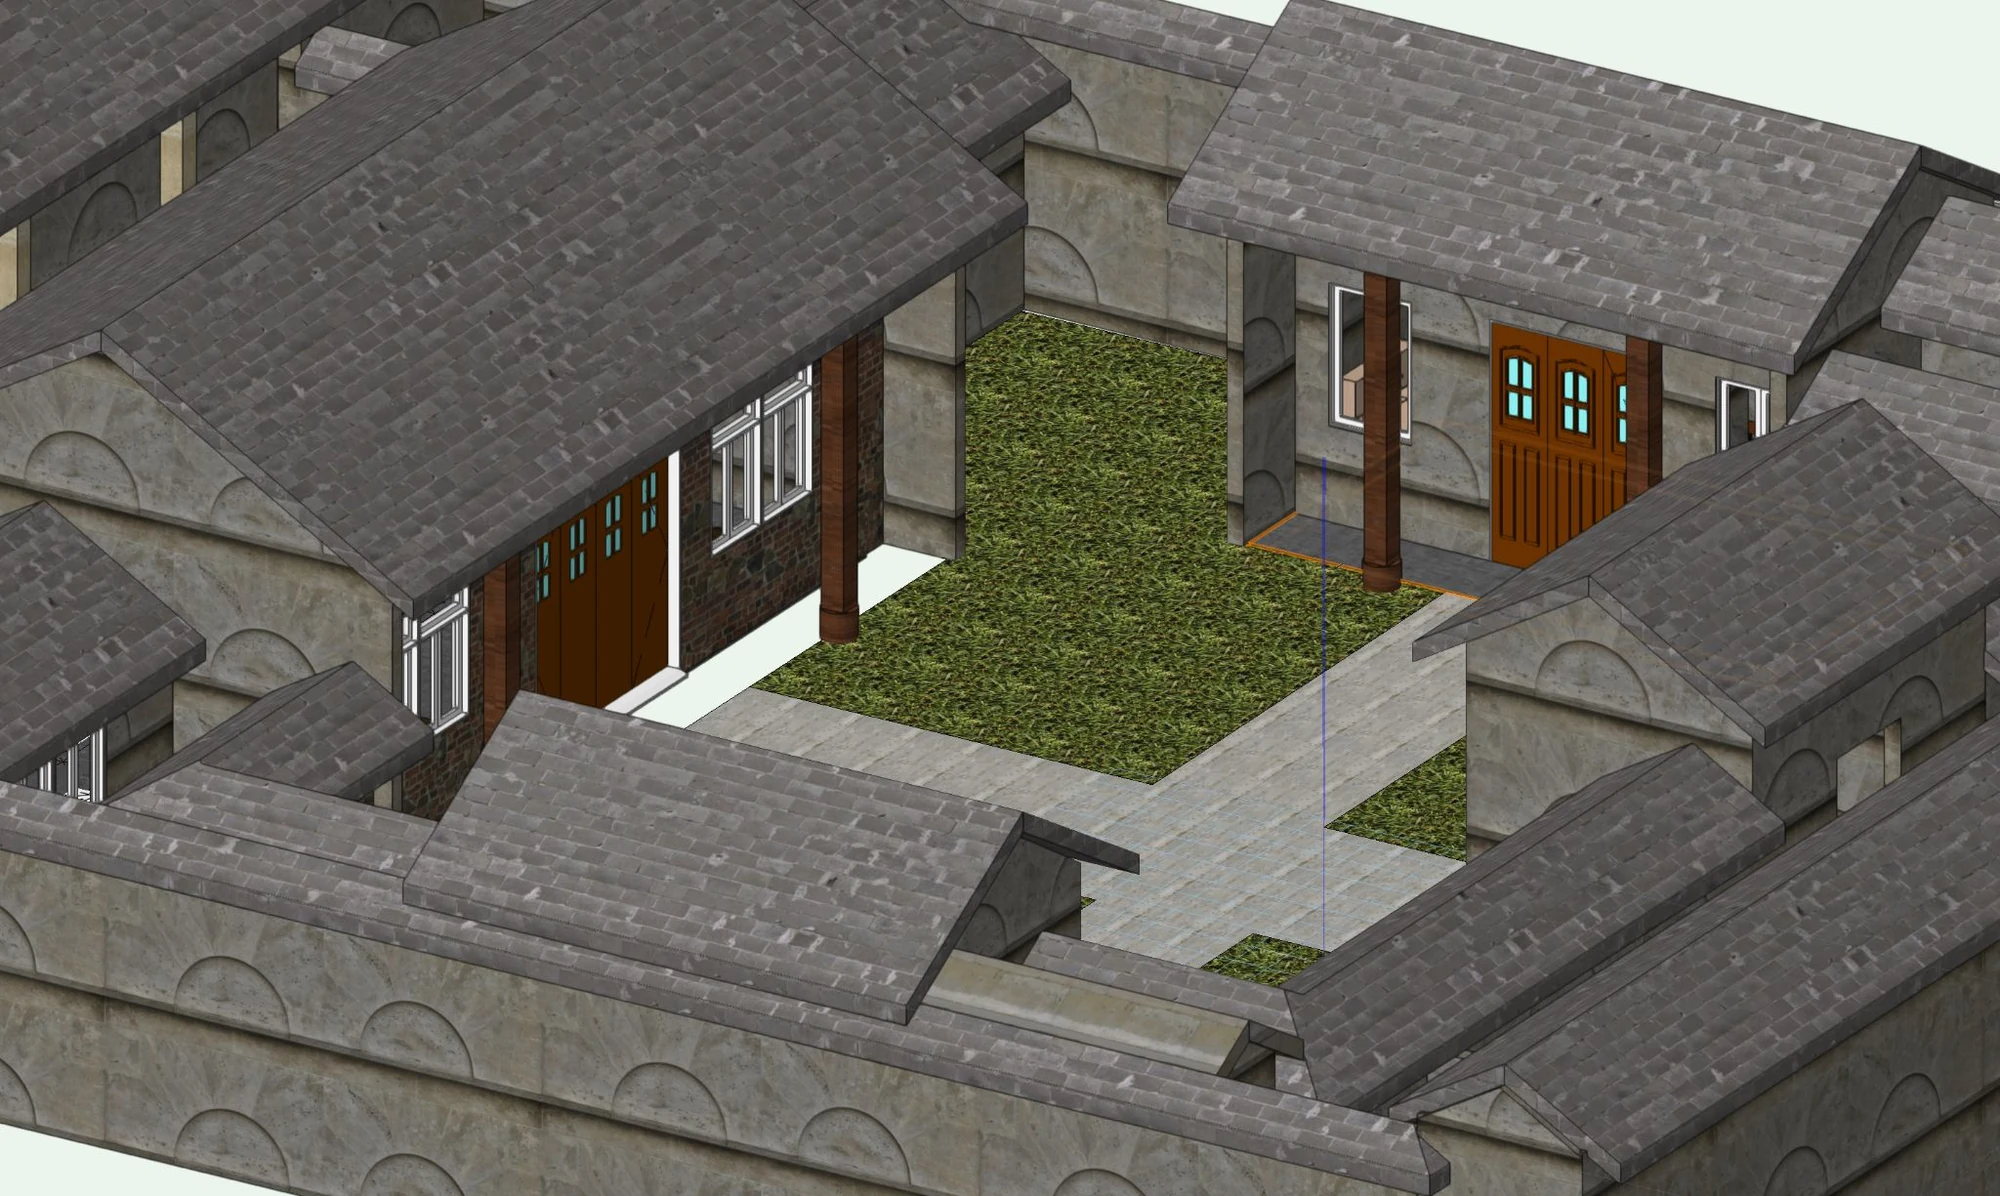
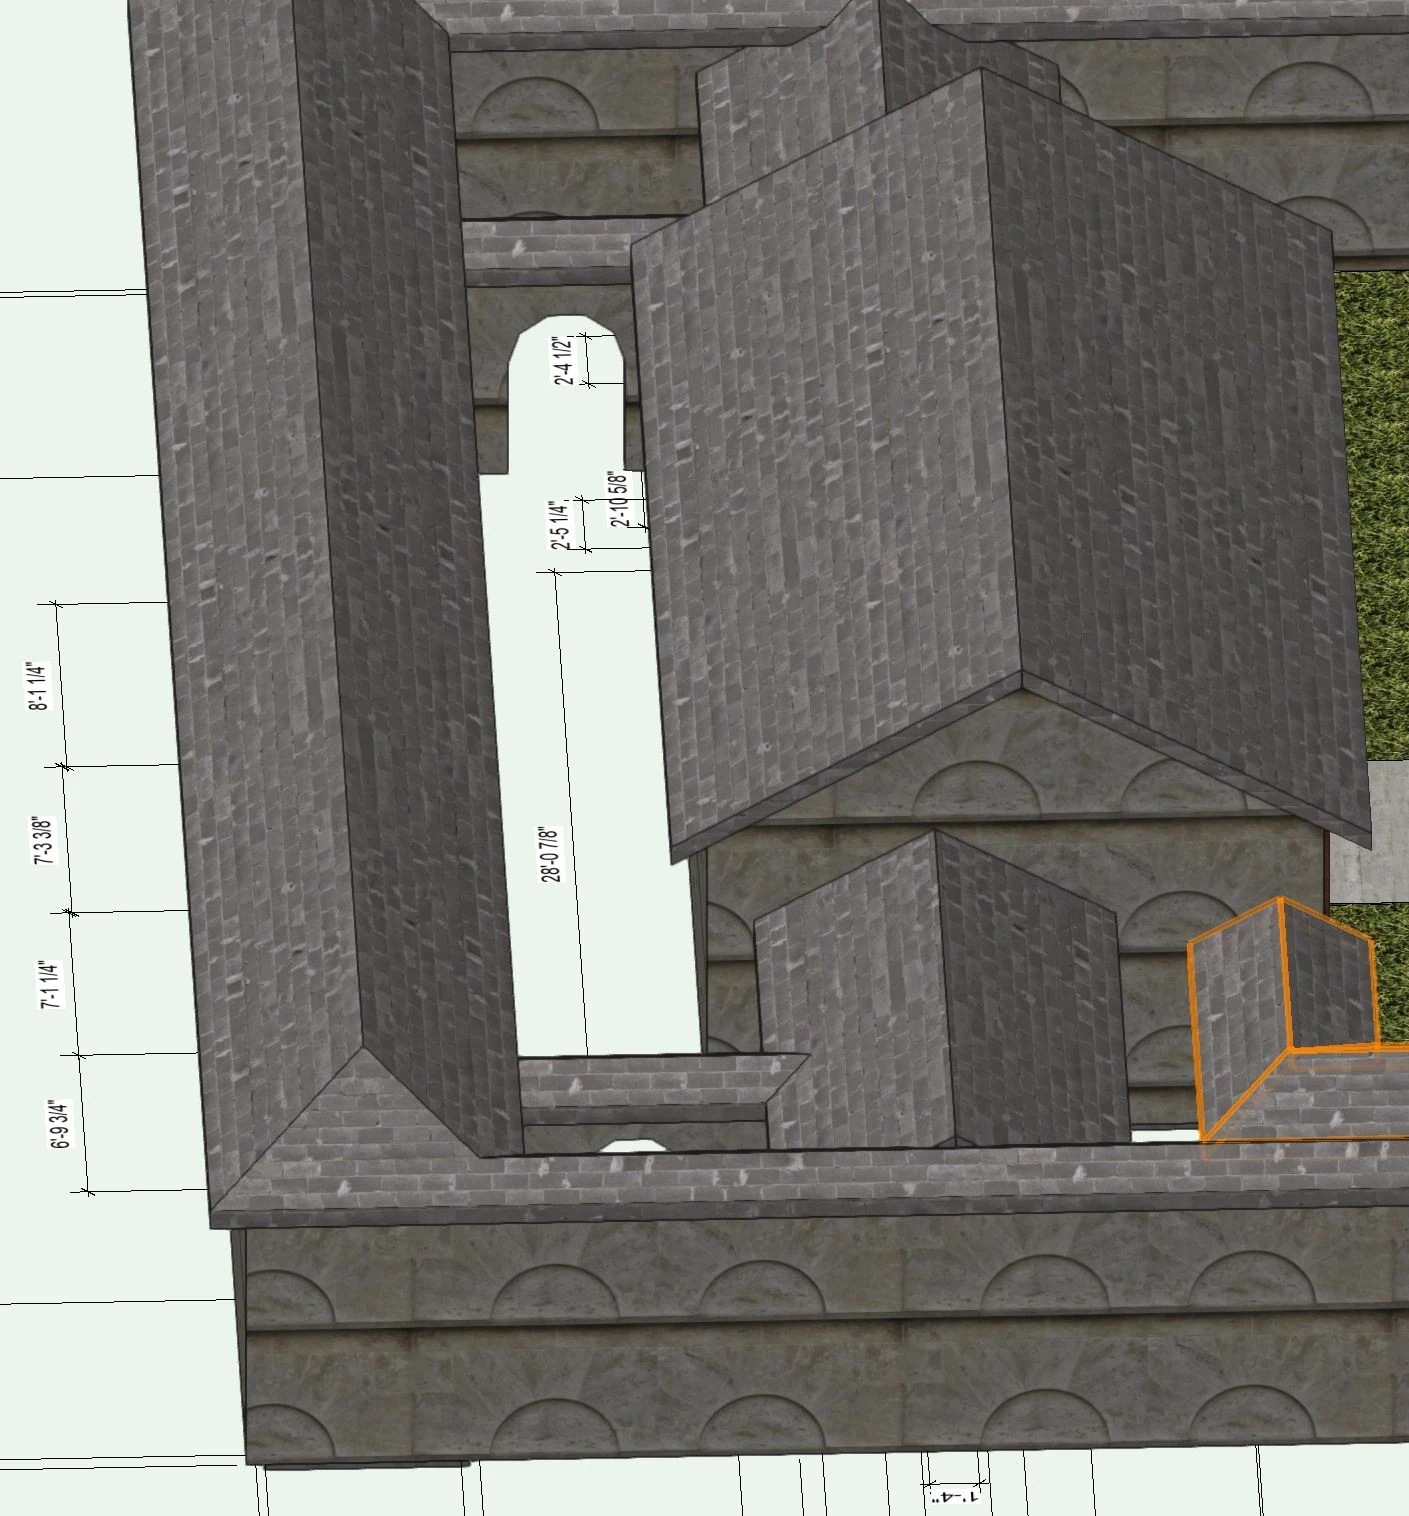
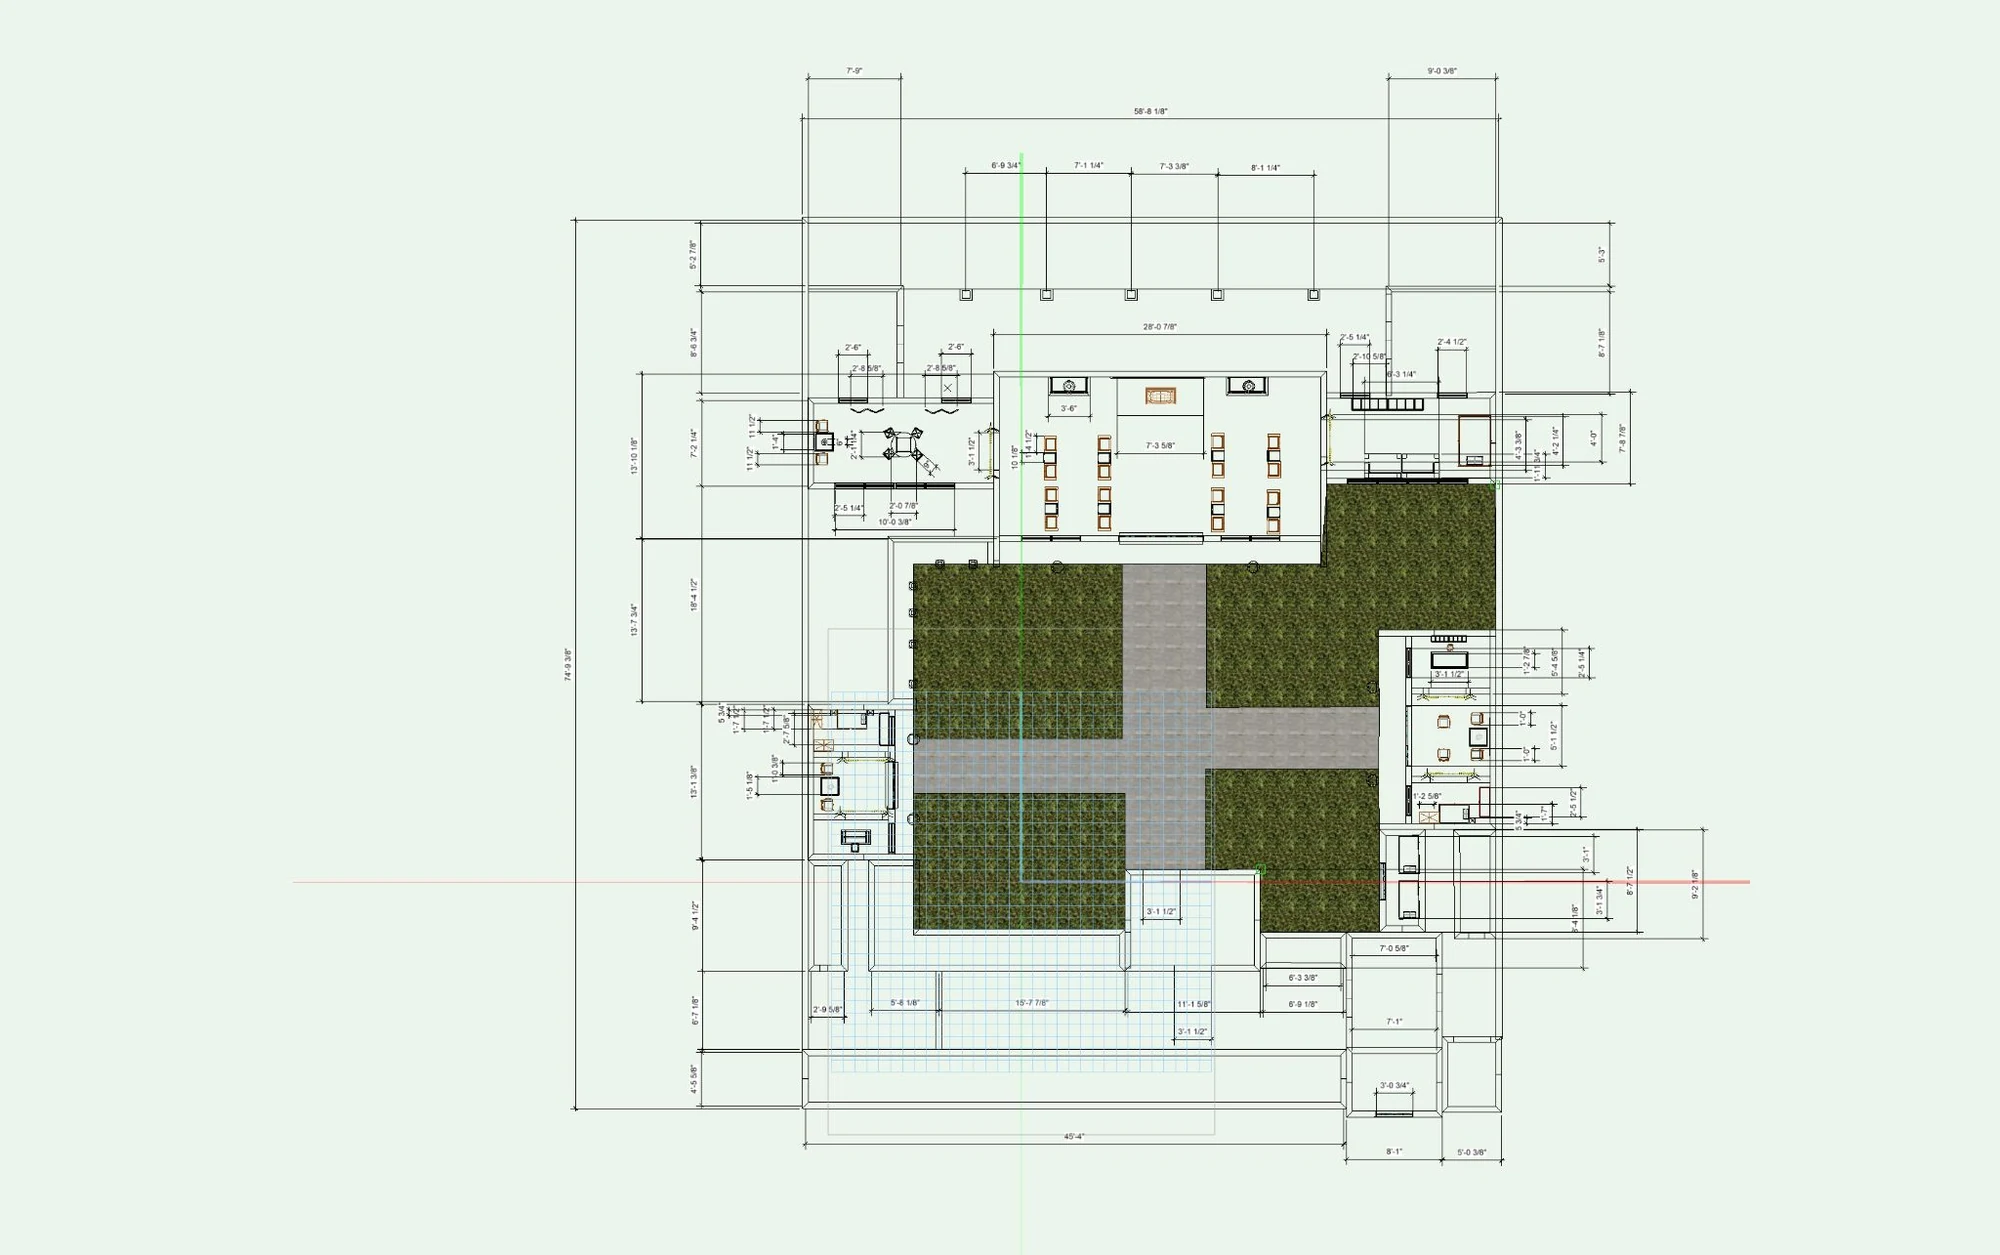
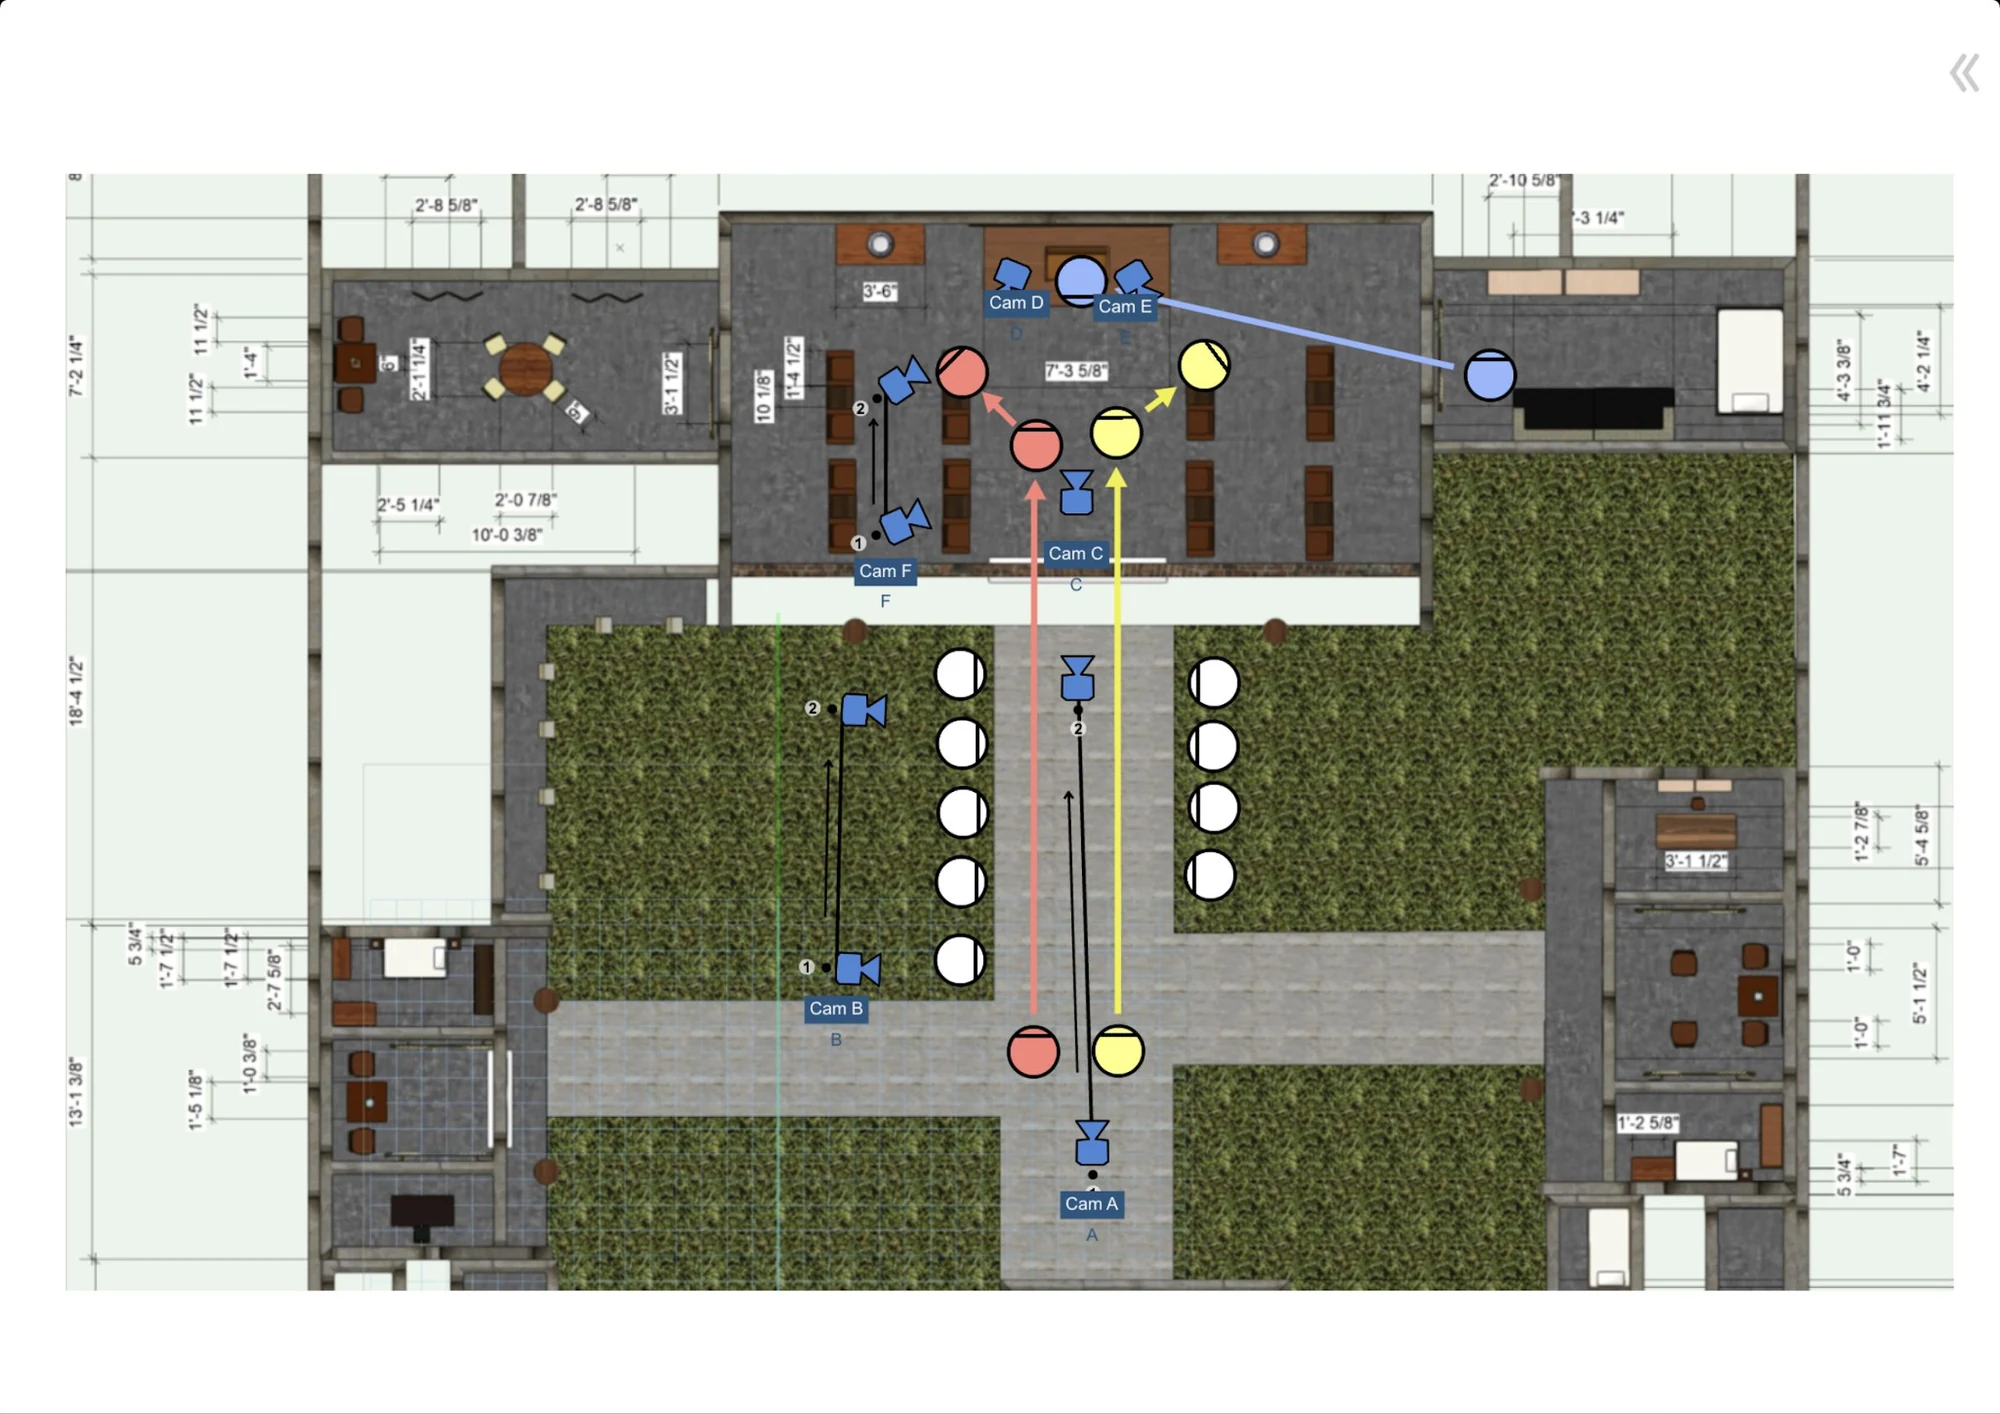
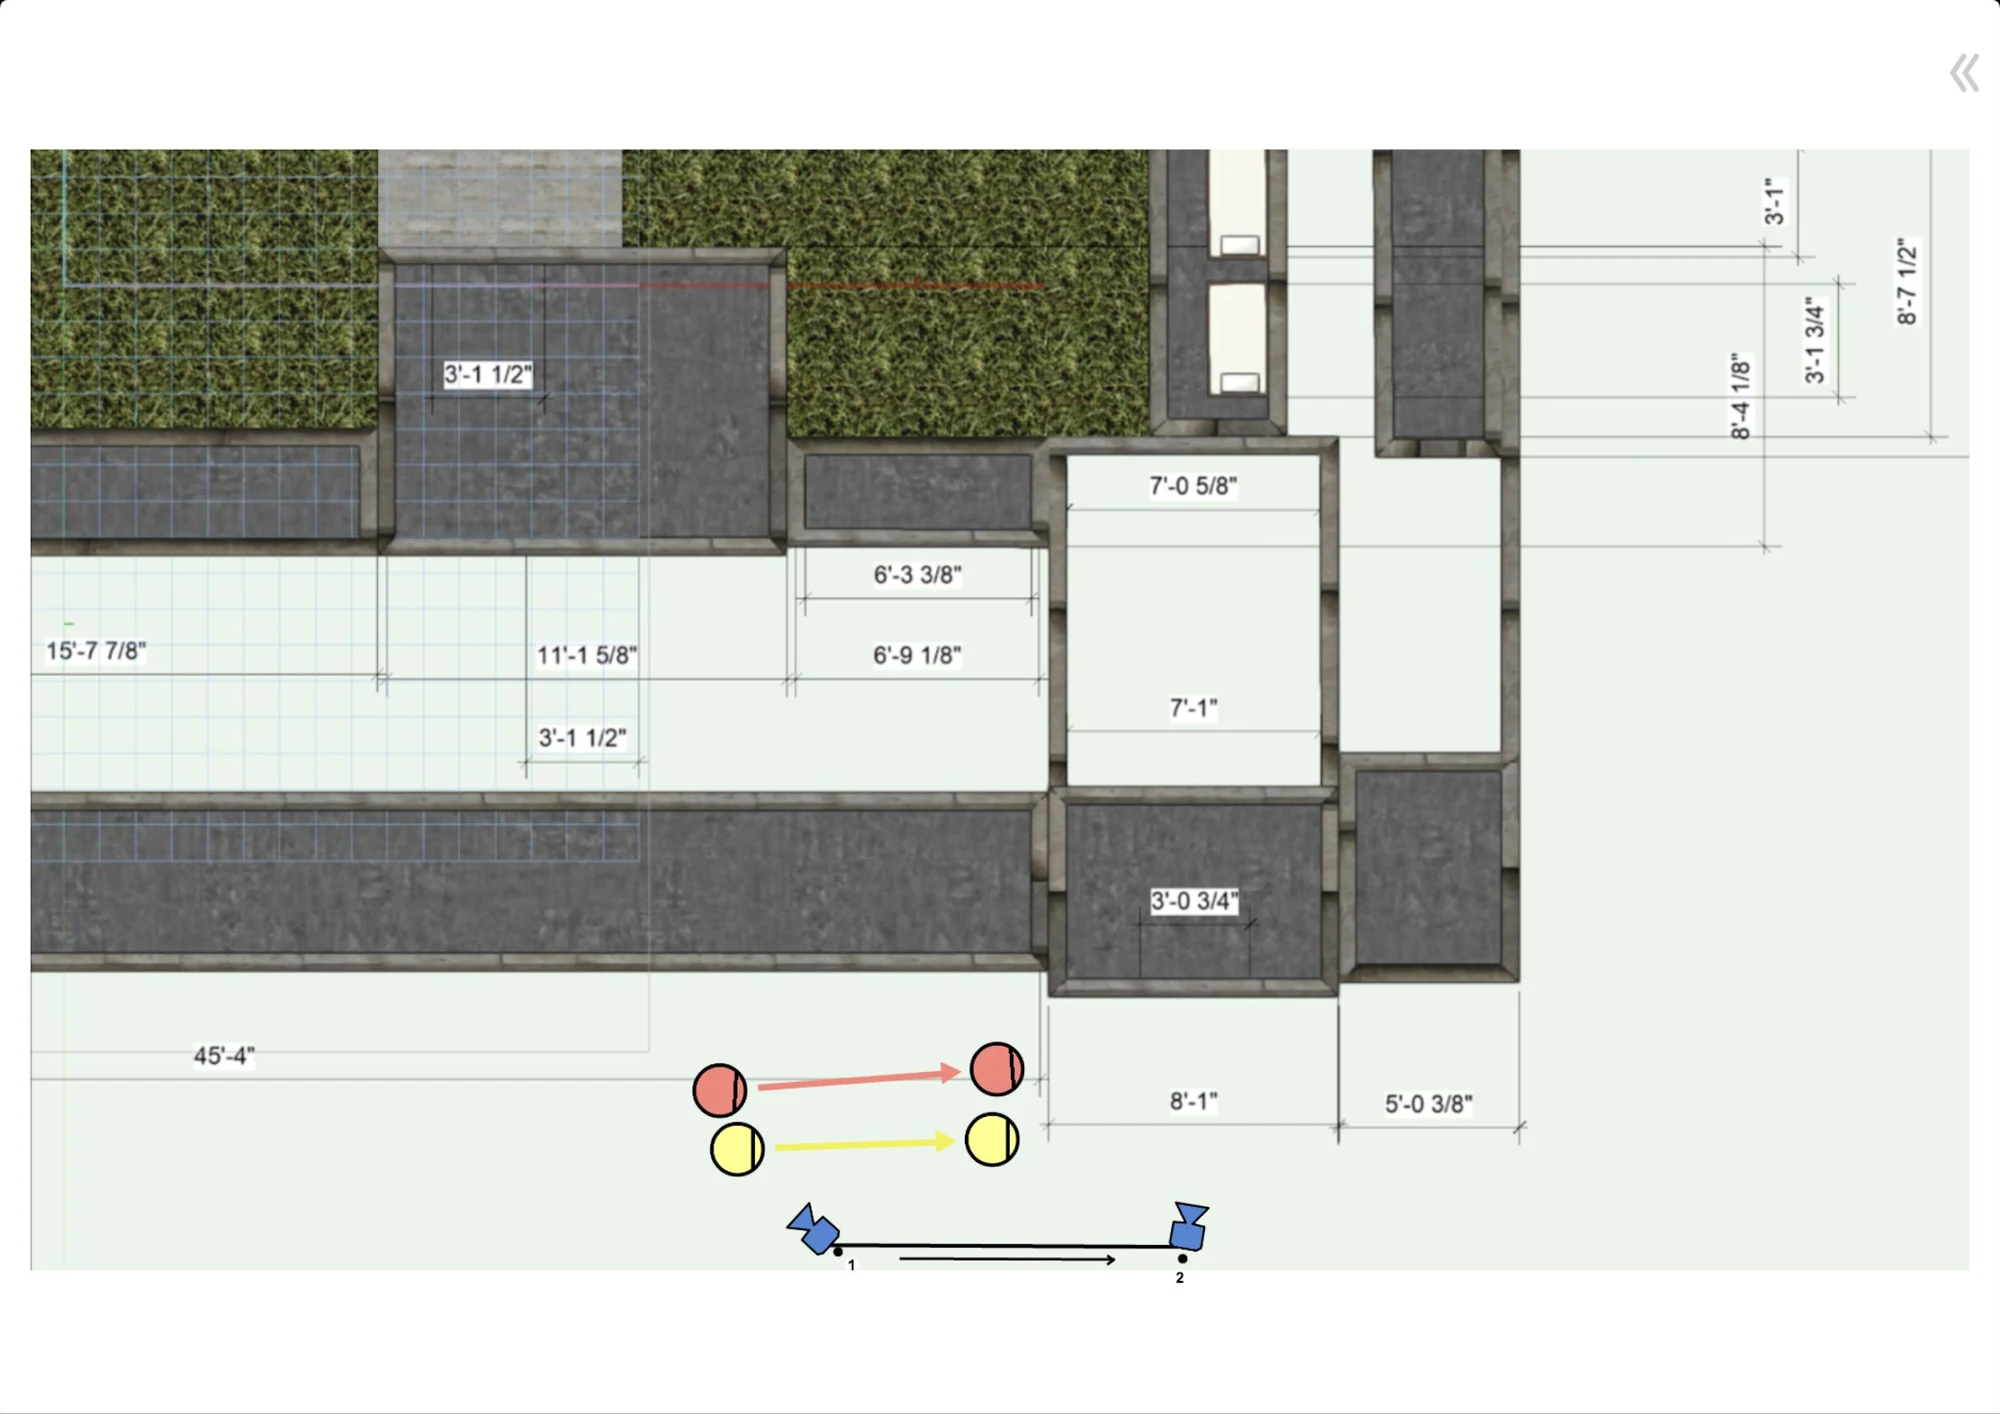
A redesign of two sets from The Painted Veil, a love story set in the 1920s. Walter and Kitty, a young English couple who marry for the wrong reasons, move to Shanghai, where Kitty falls in love with someone else. When Walter finds out, he threatens to divorce her for adultery unless she goes with him to Mei-tan-fu, a remote village in China where he has volunteered to treat victims of a cholera epidemic. Each set goes from research and a color scheme to a 3D model, a floor plan, and camera positions and actor blocking for its scene.
Scene 1: The Opera Stage
Kitty and Walter go to see a Chinese opera, where they meet the Townsend couple. Charlie flirts with Kitty while they watch the performance.
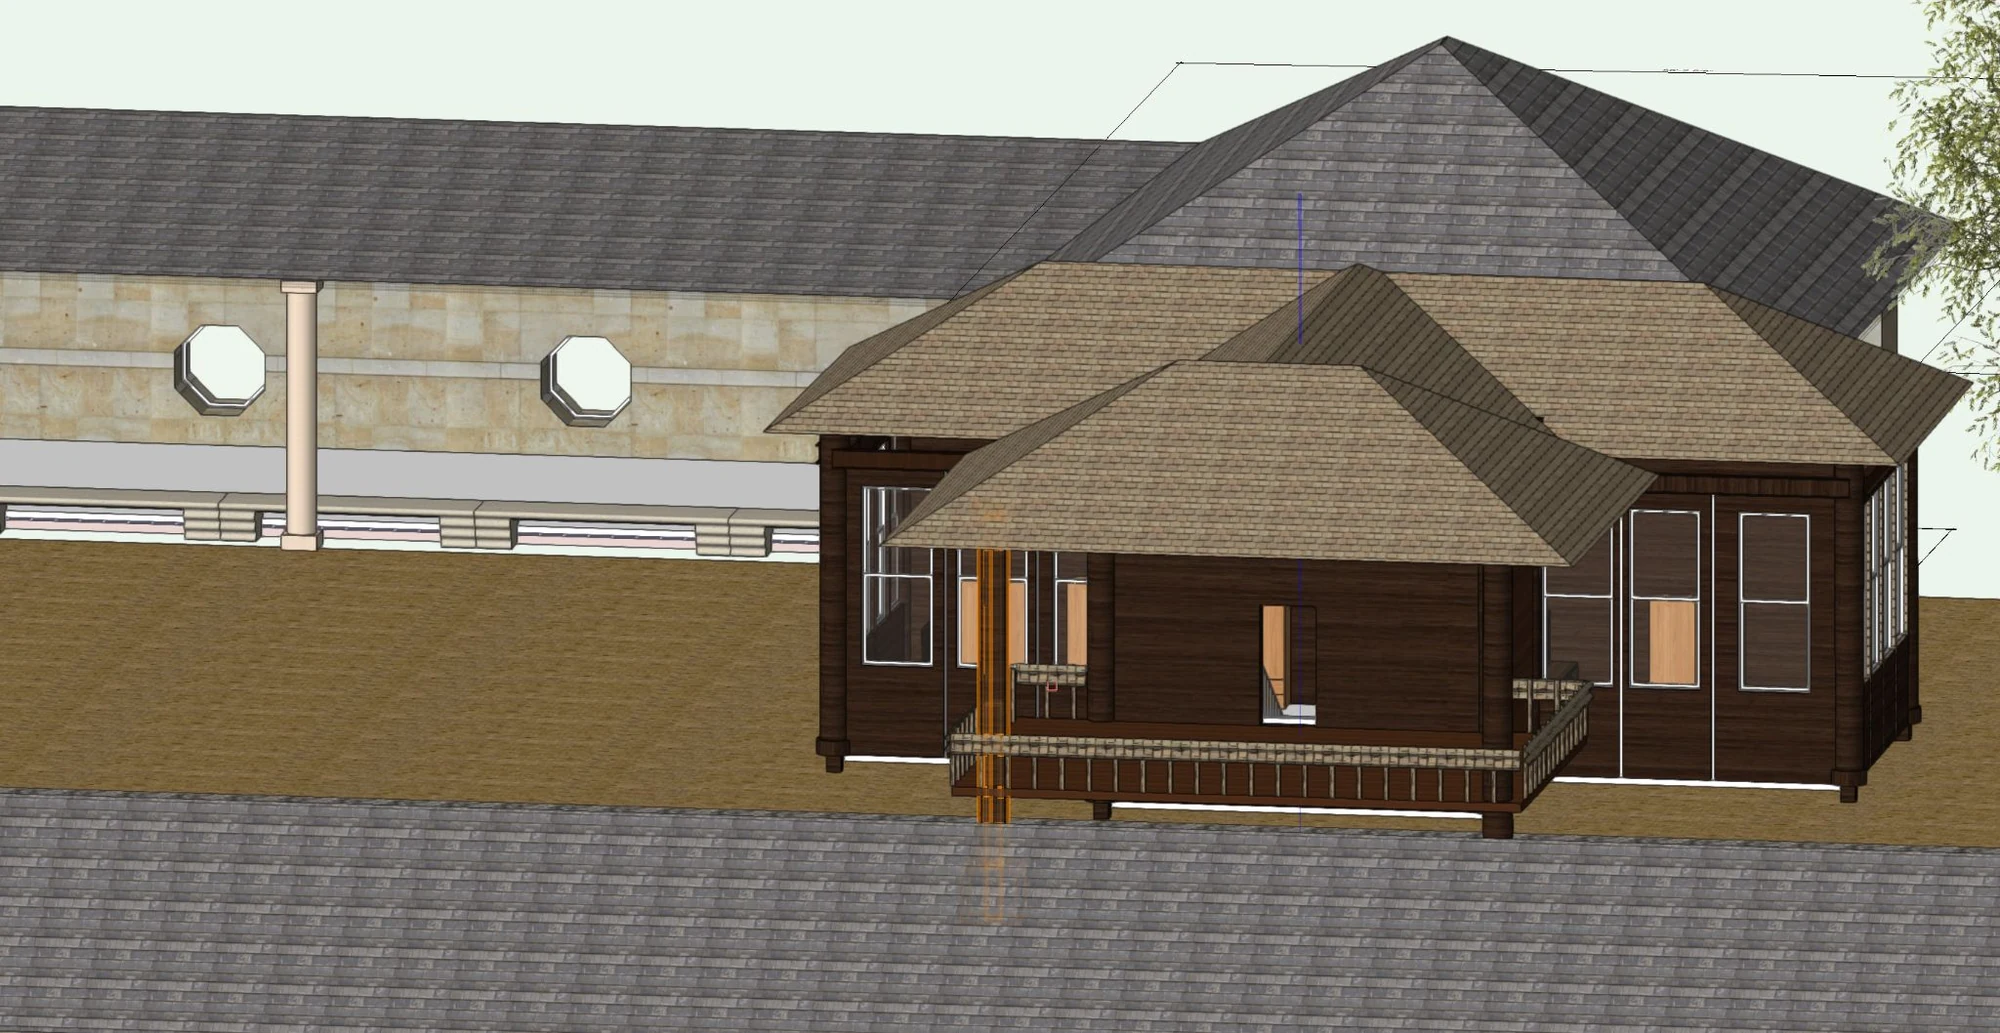
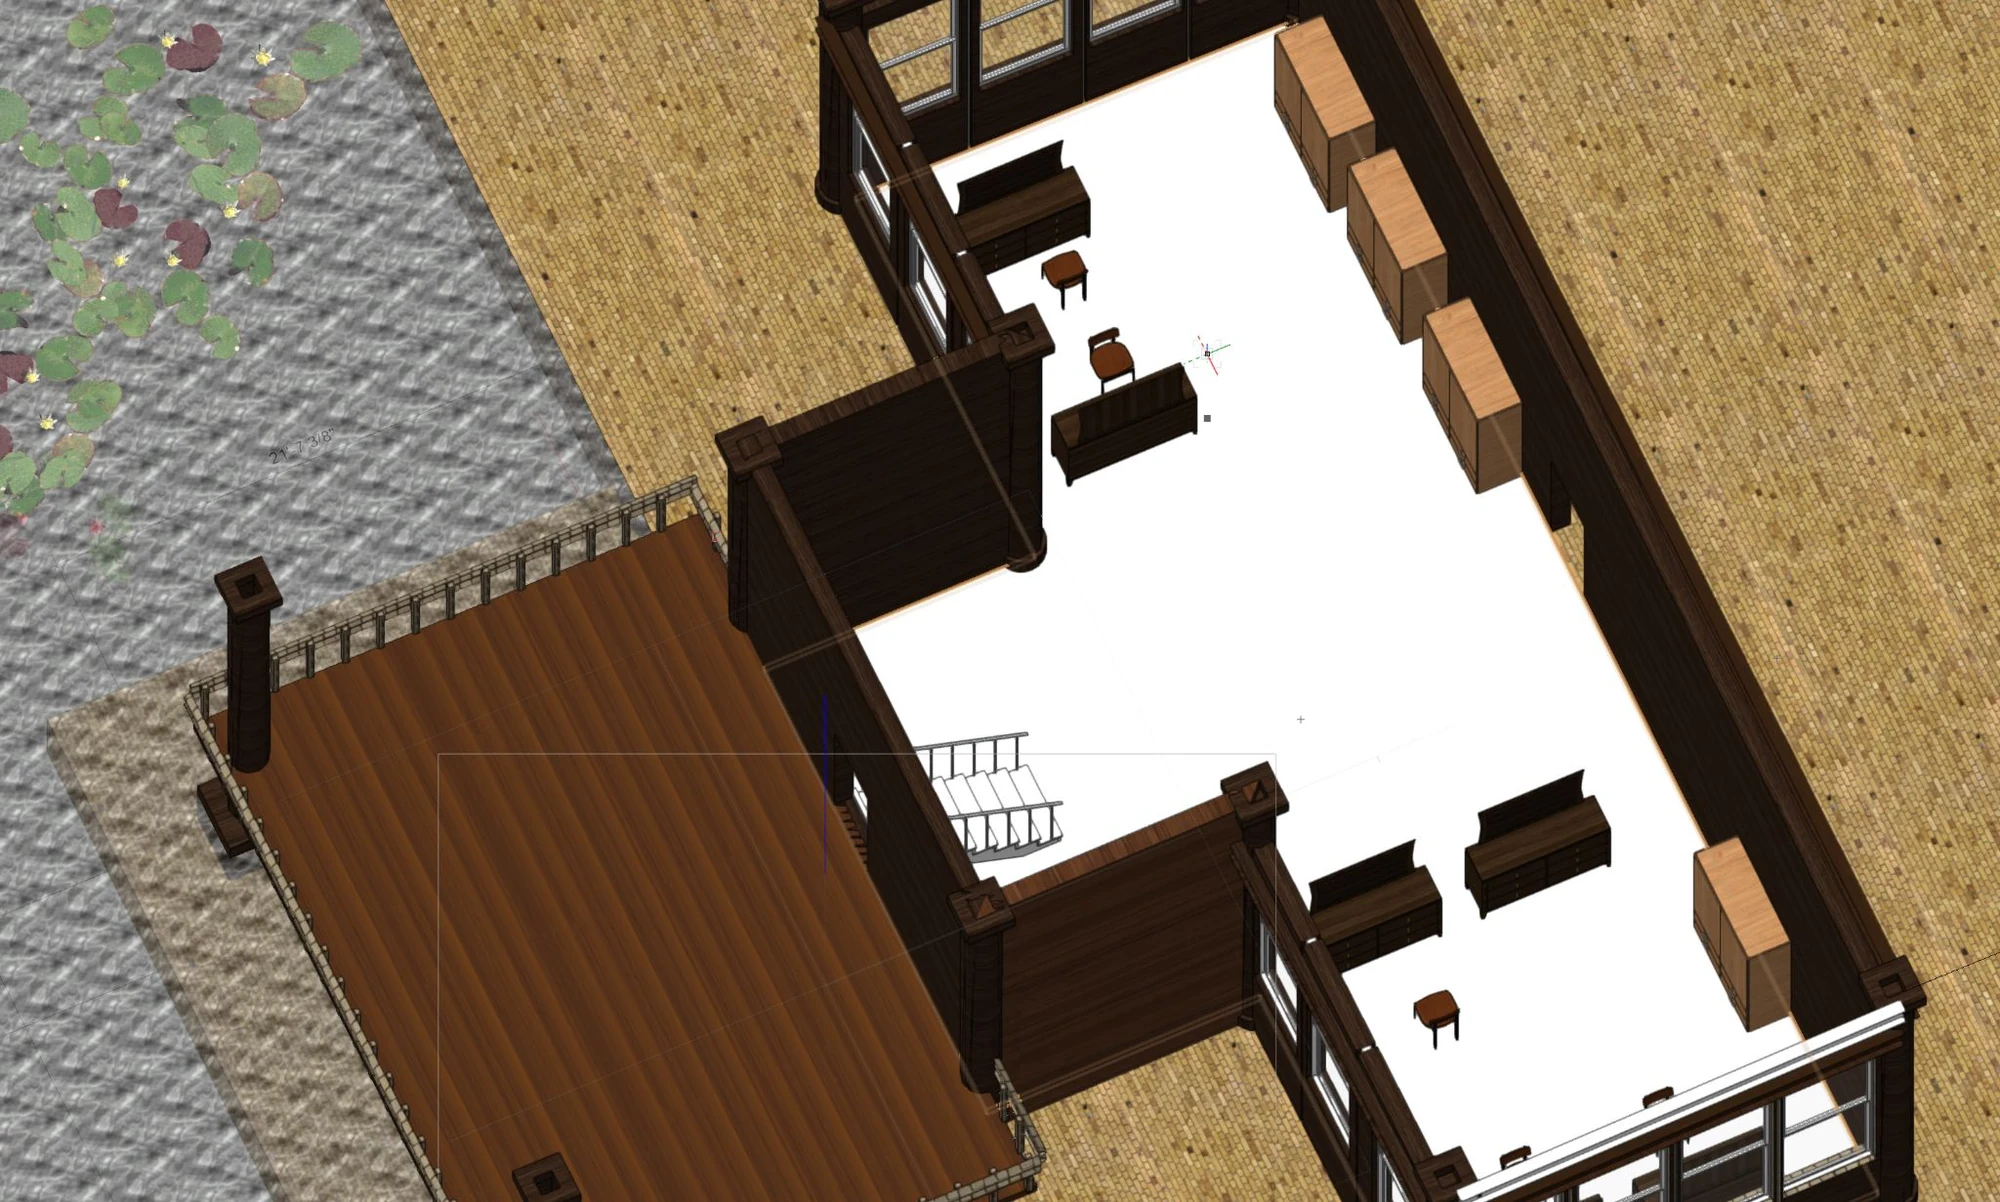
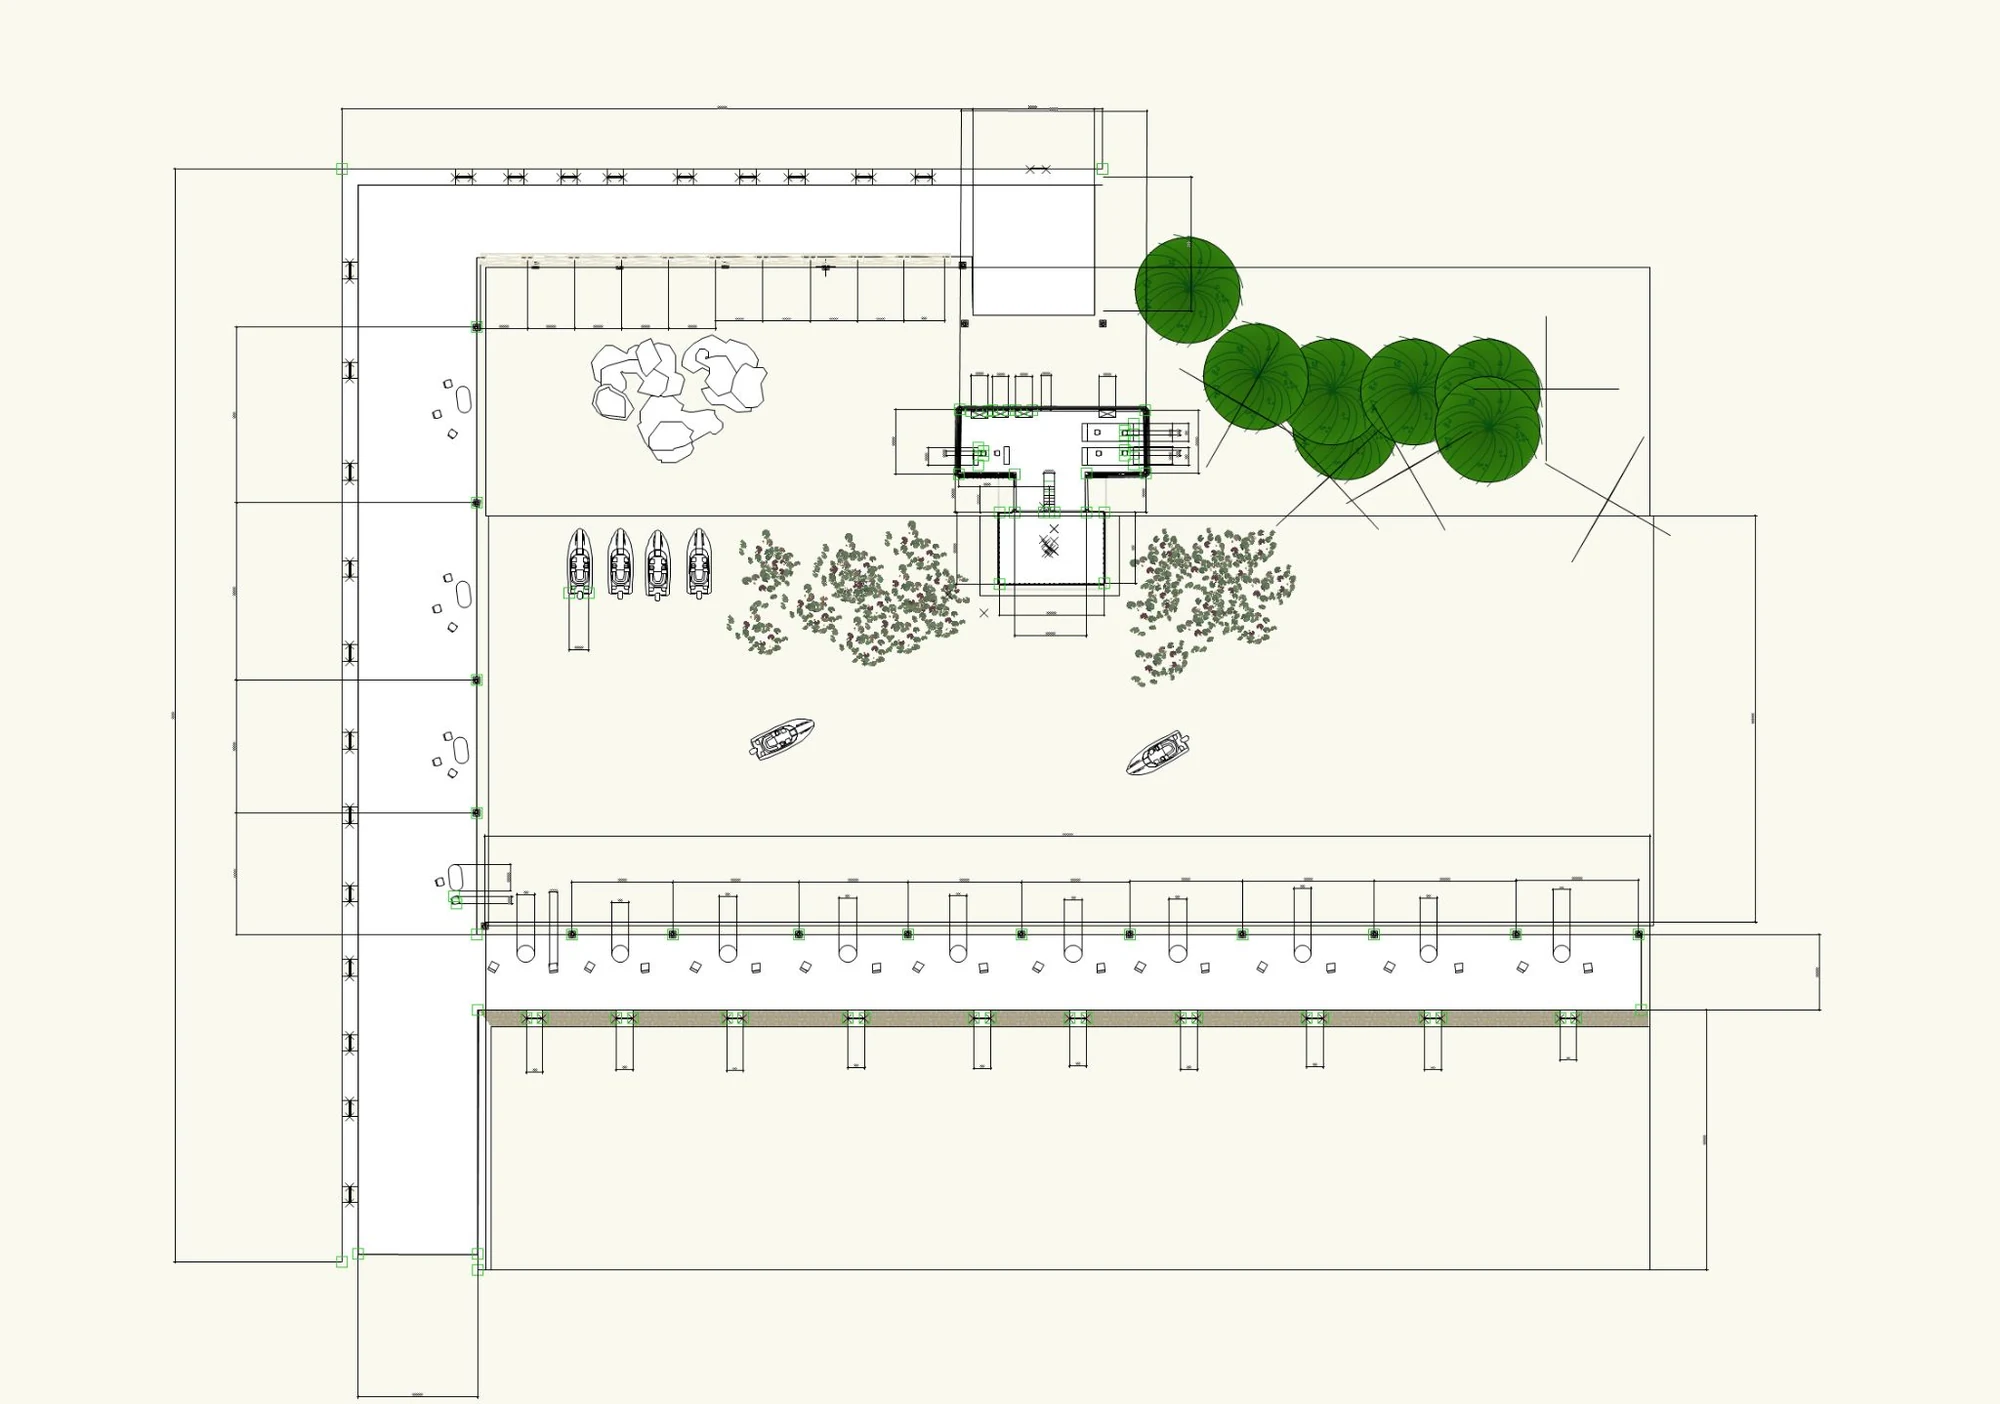
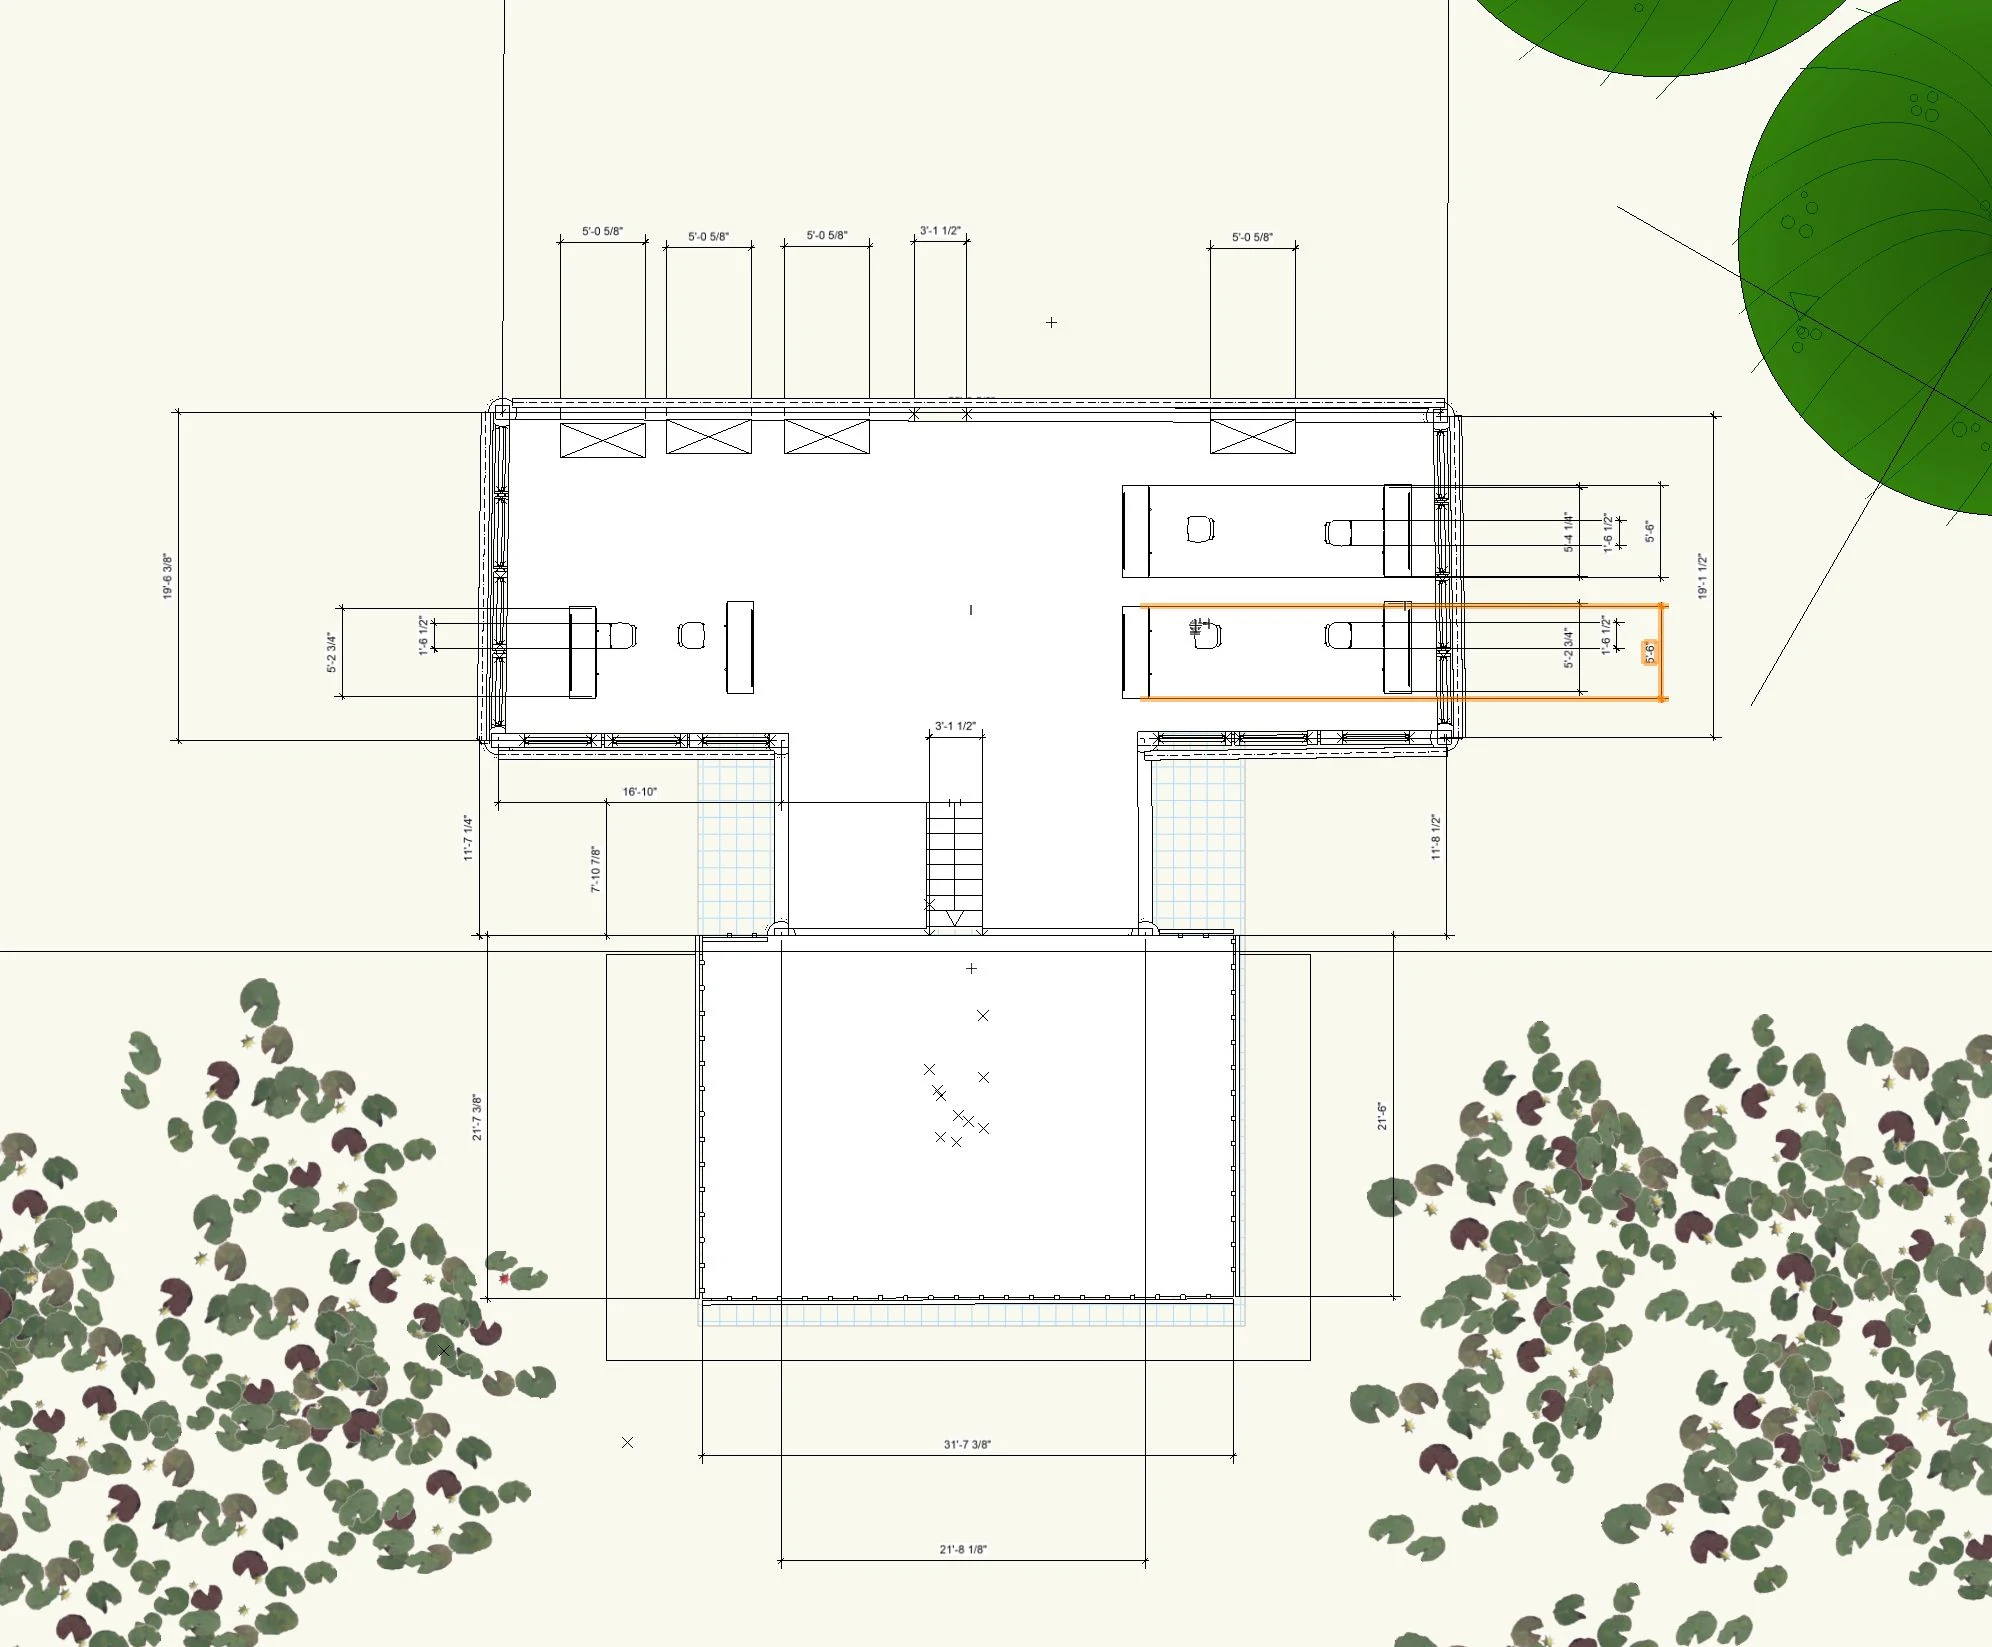
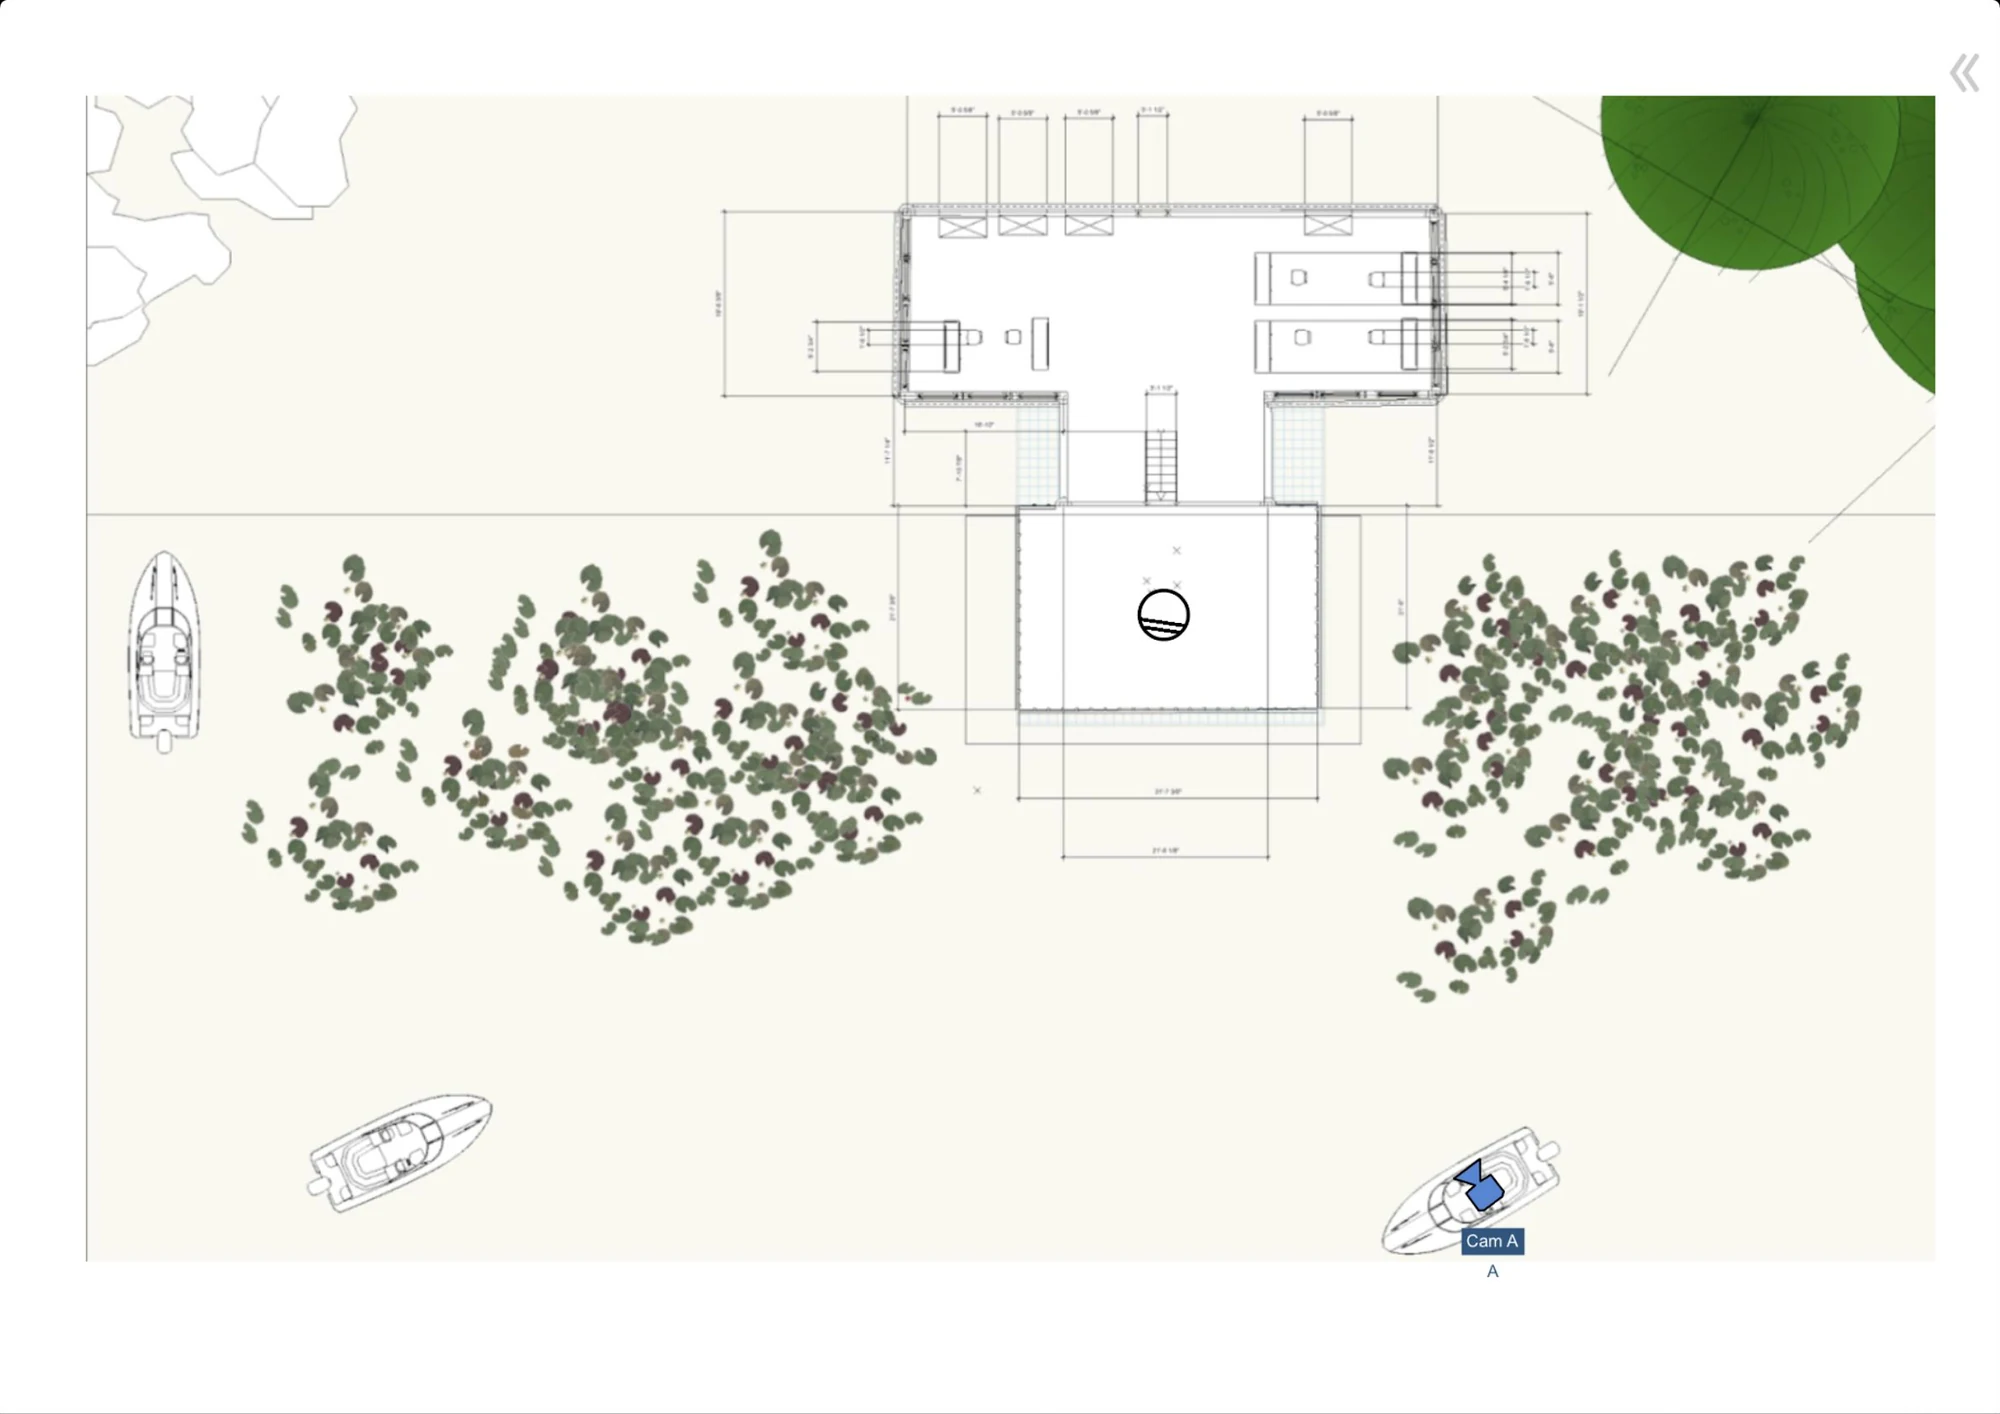
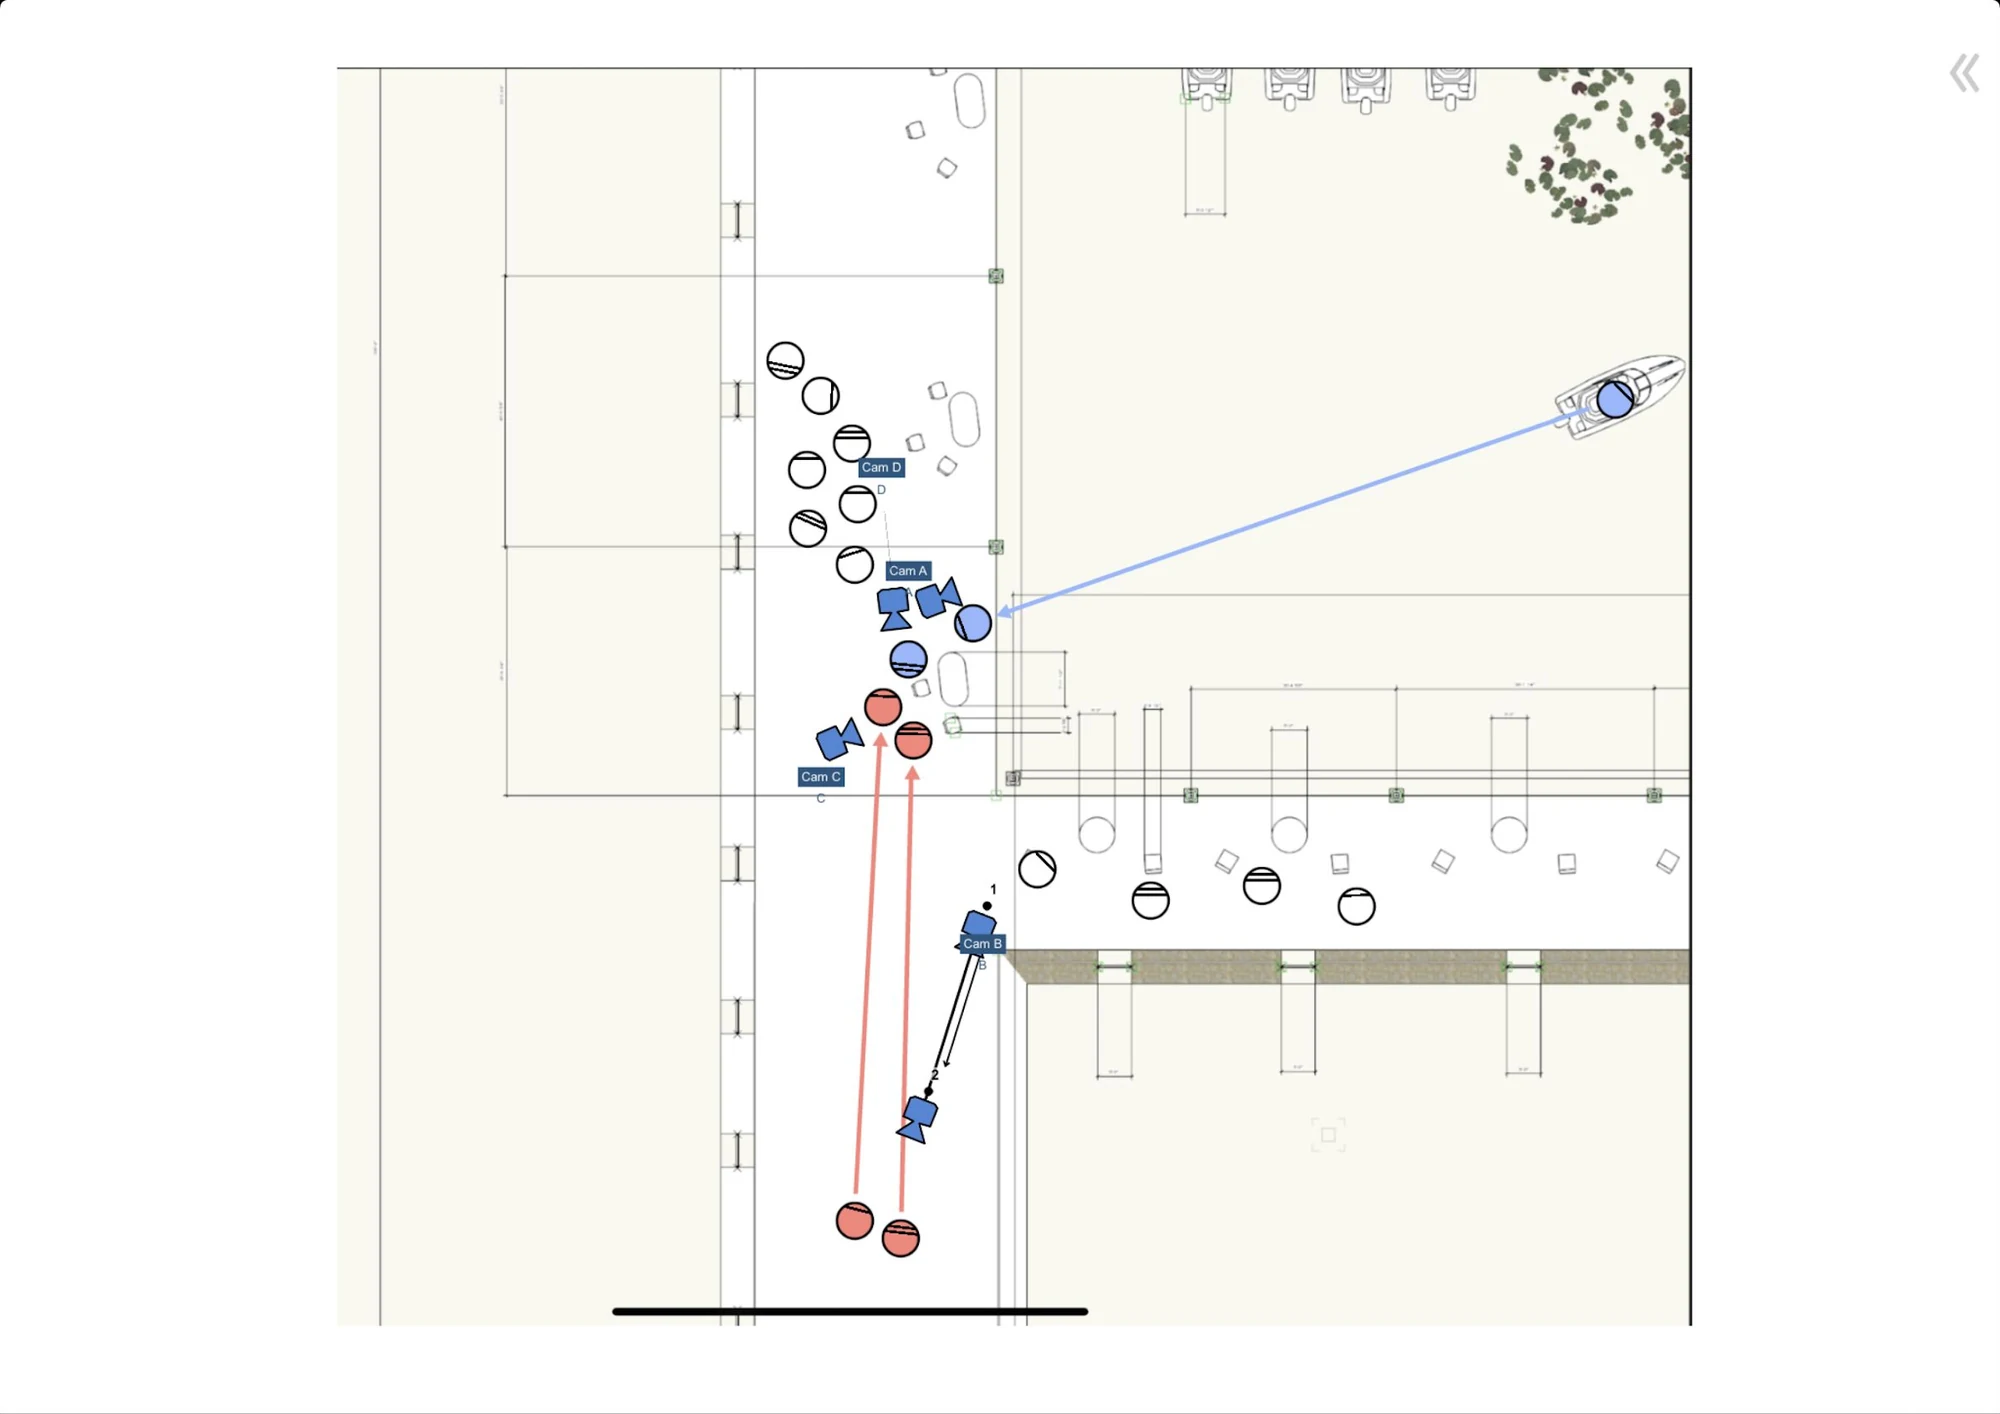
Scene 2: The Warlord’s Quadrangle
Dr. Fane and the Colonel go to the warlord’s quadrangle to negotiate, asking him to let his soldiers go to Mei-tan-fu to help.
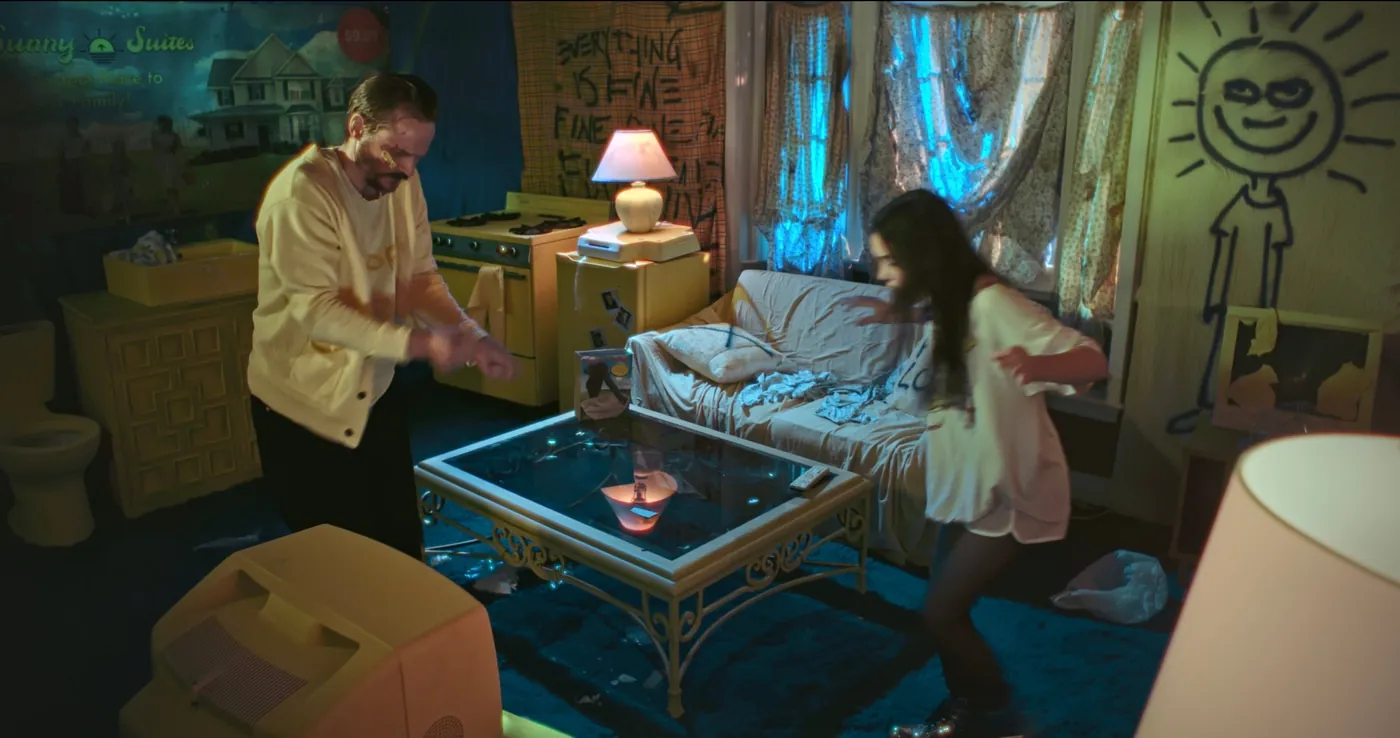
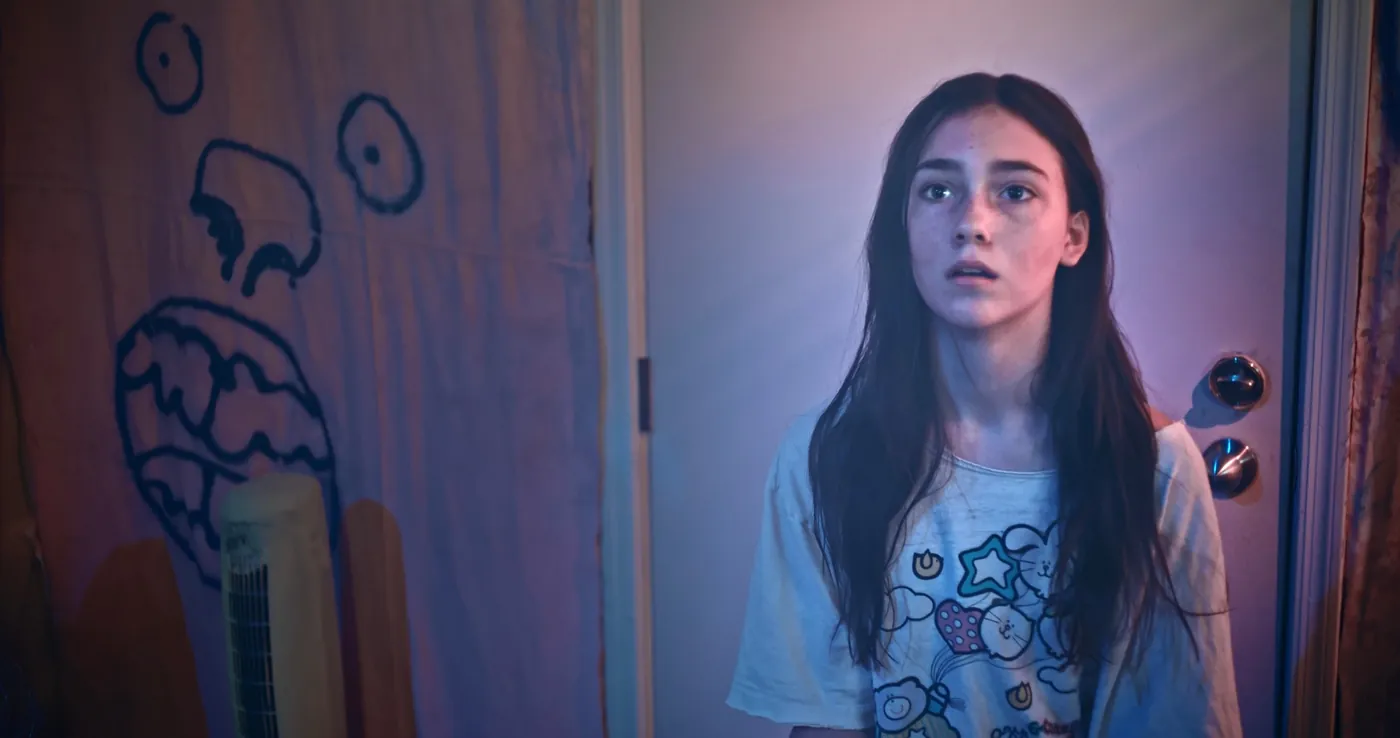
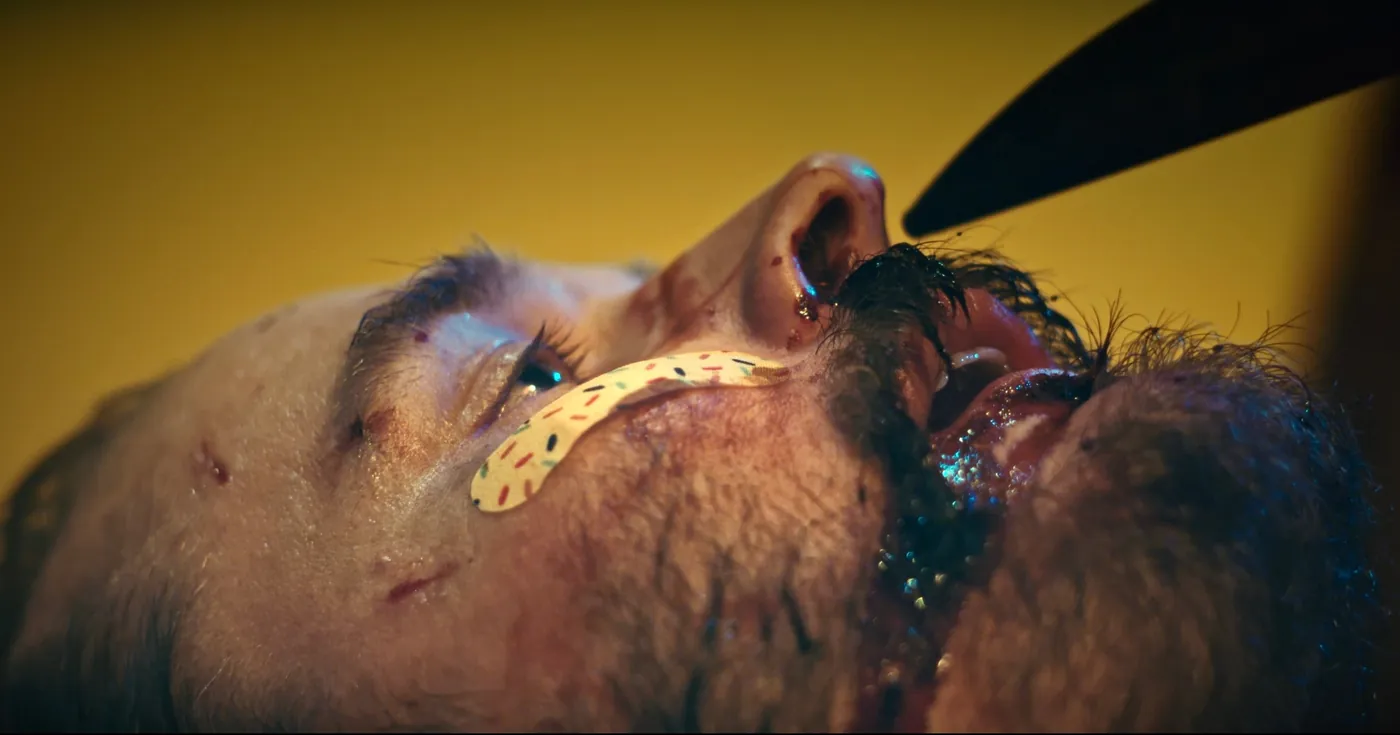
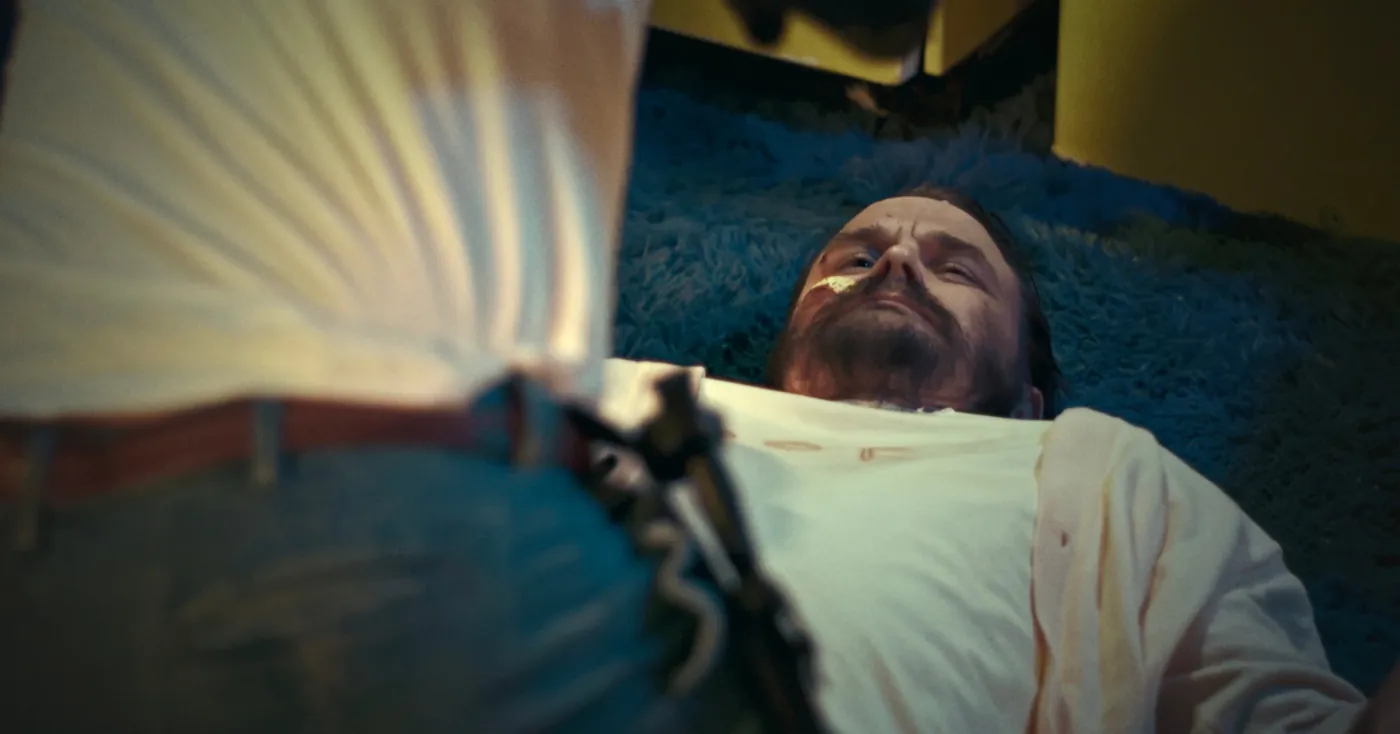
Sniff & Scratch
- Type
- Color Grading
- Role
- Colorist
- Year
- To be added
- Software
- DaVinci Resolve Studio
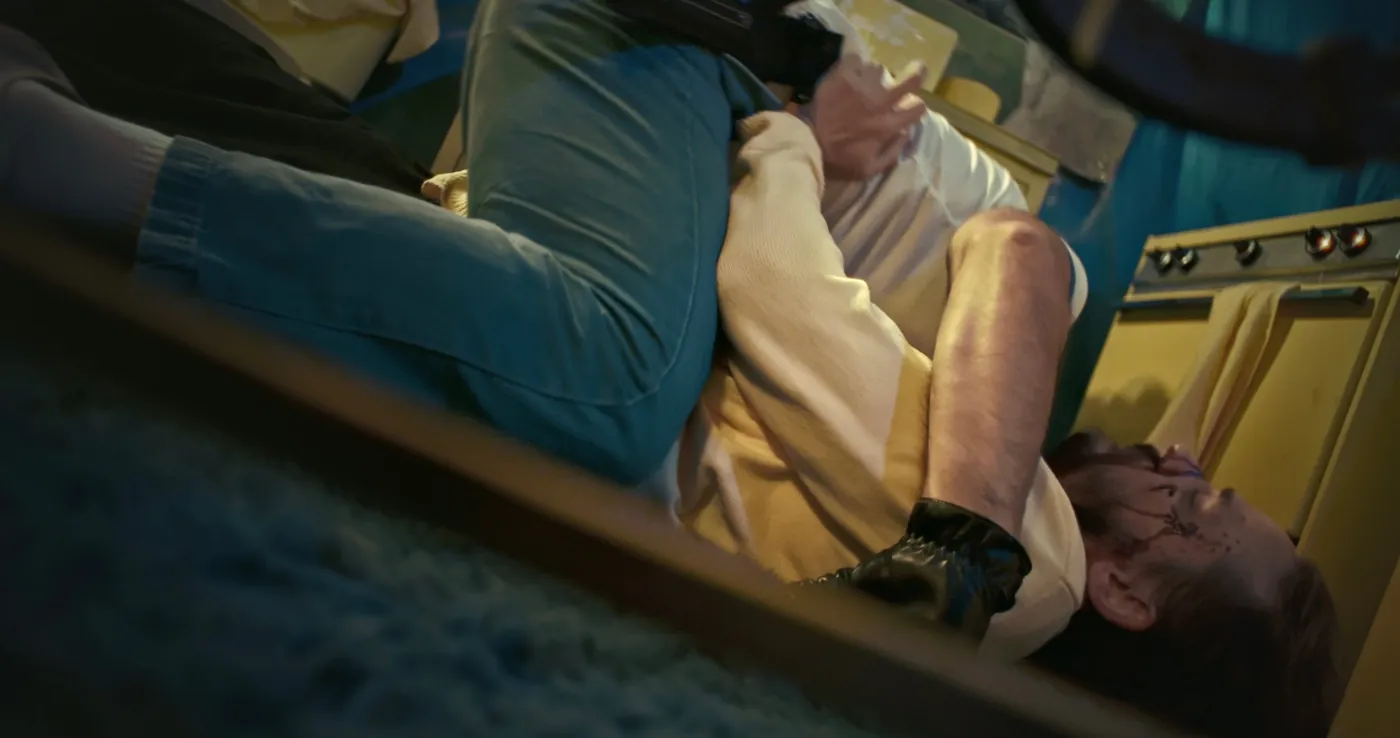
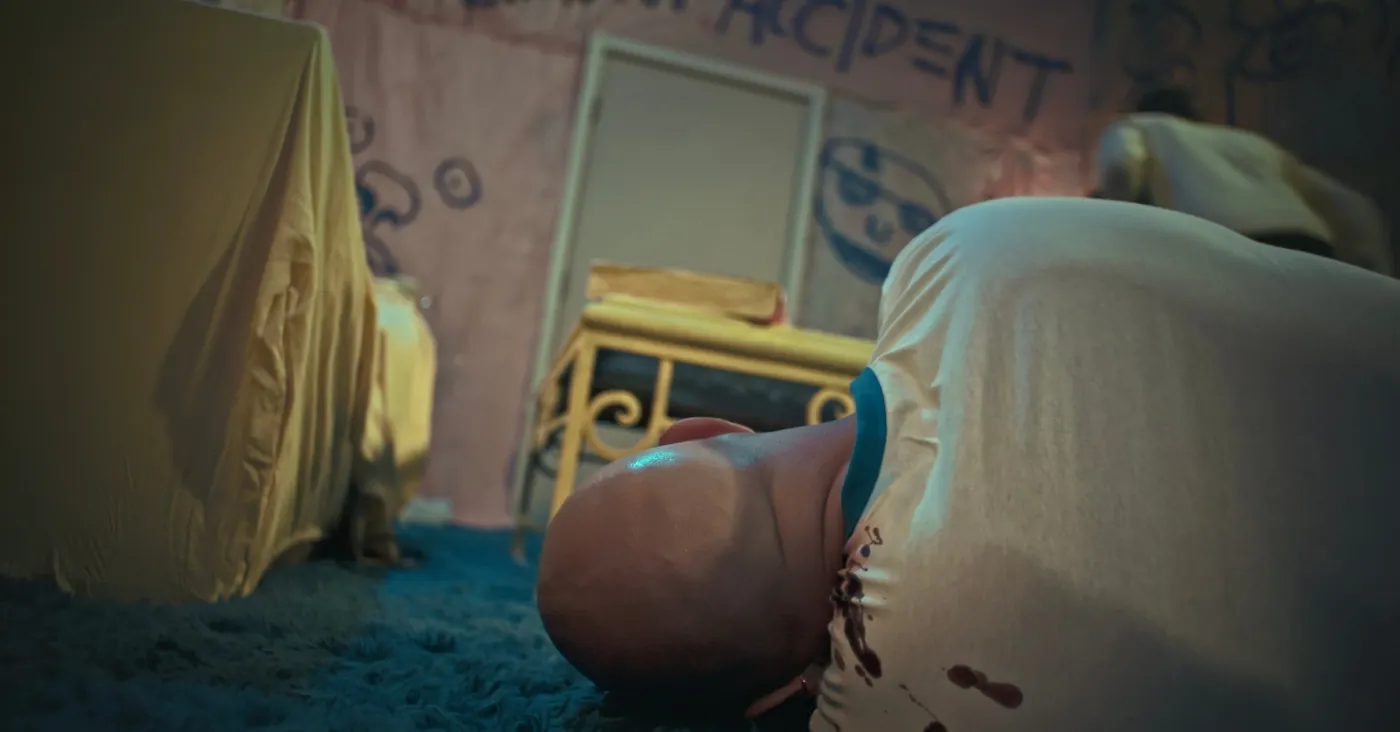
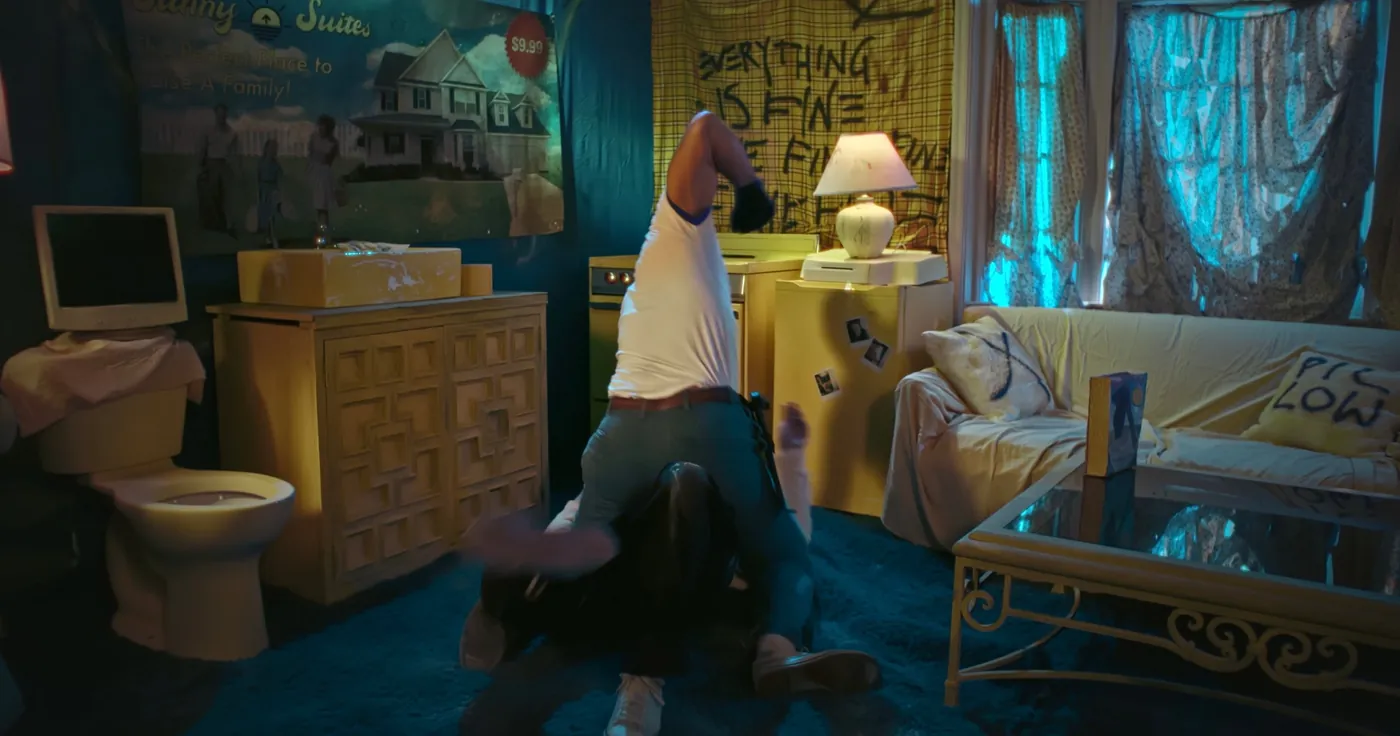
Overview
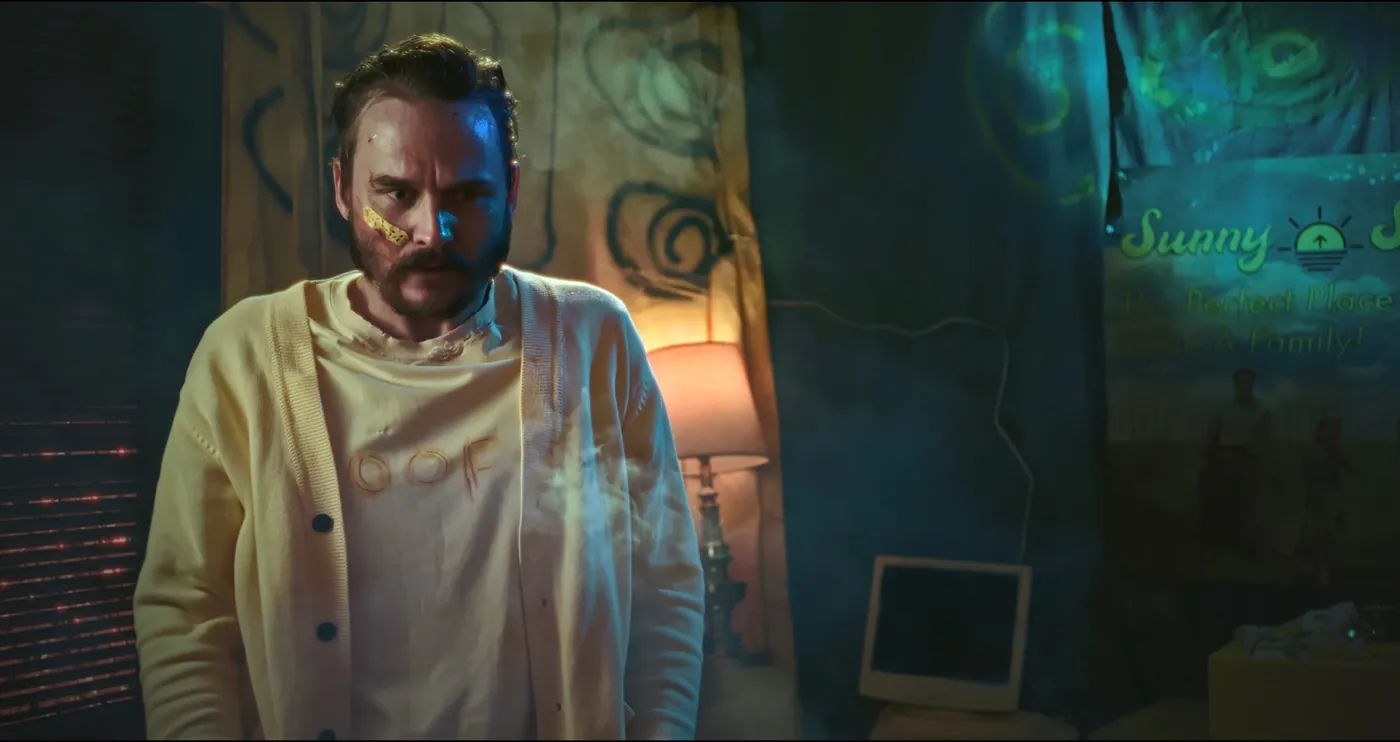
Color grading stills from Sniff & Scratch.
The Park Hour
- Type
- Color Grading
- Role
- Colorist
- Year
- To be added
- Software
- DaVinci Resolve Studio
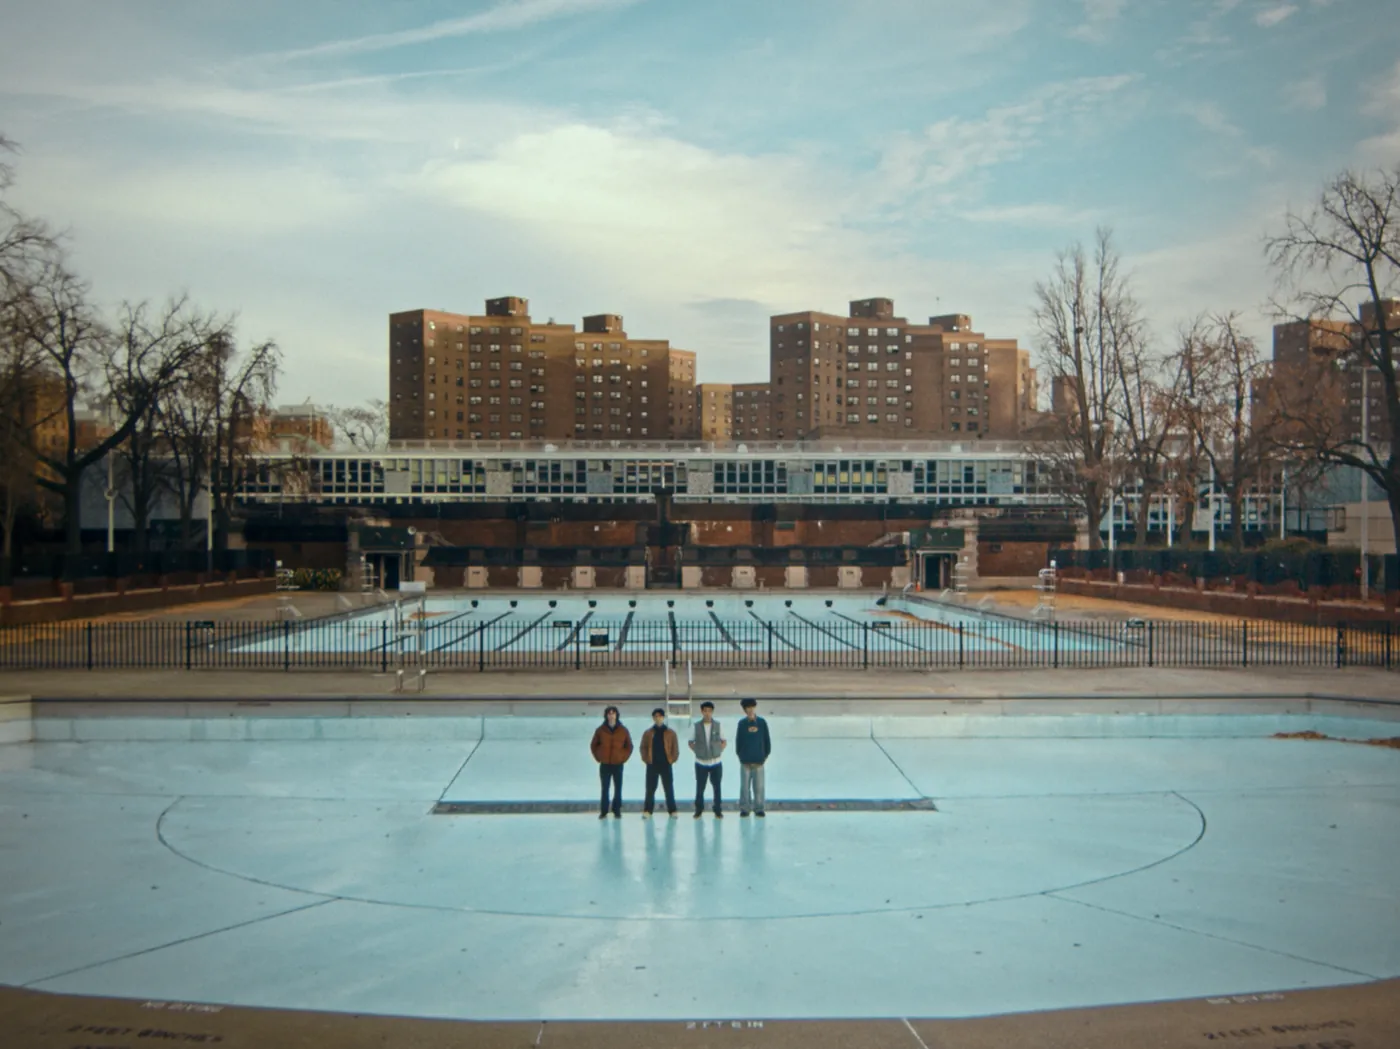
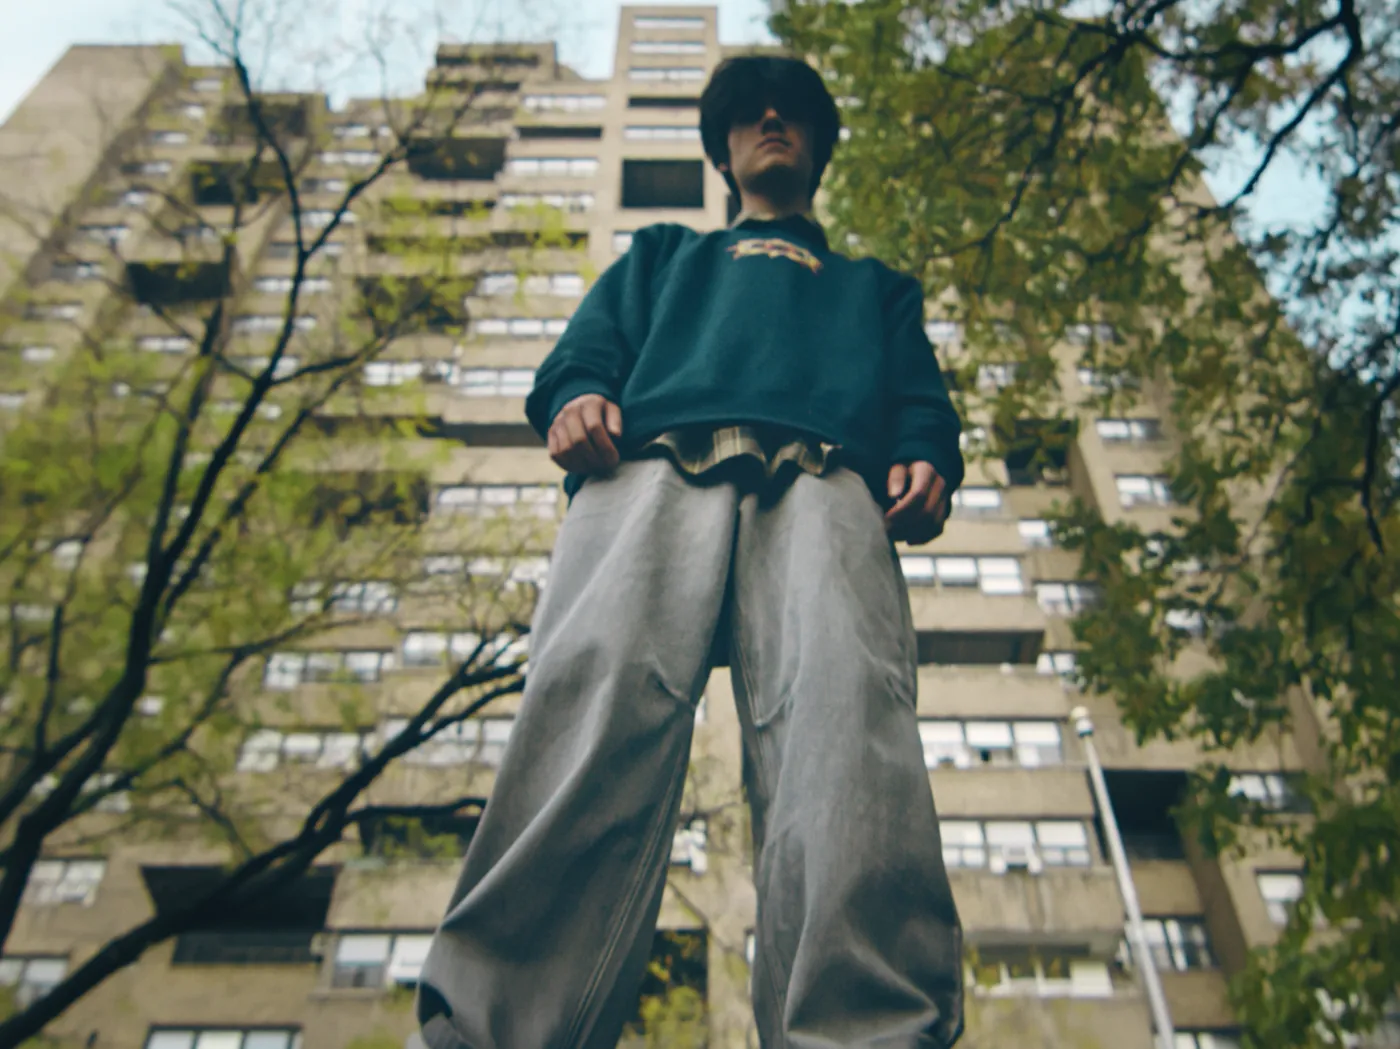
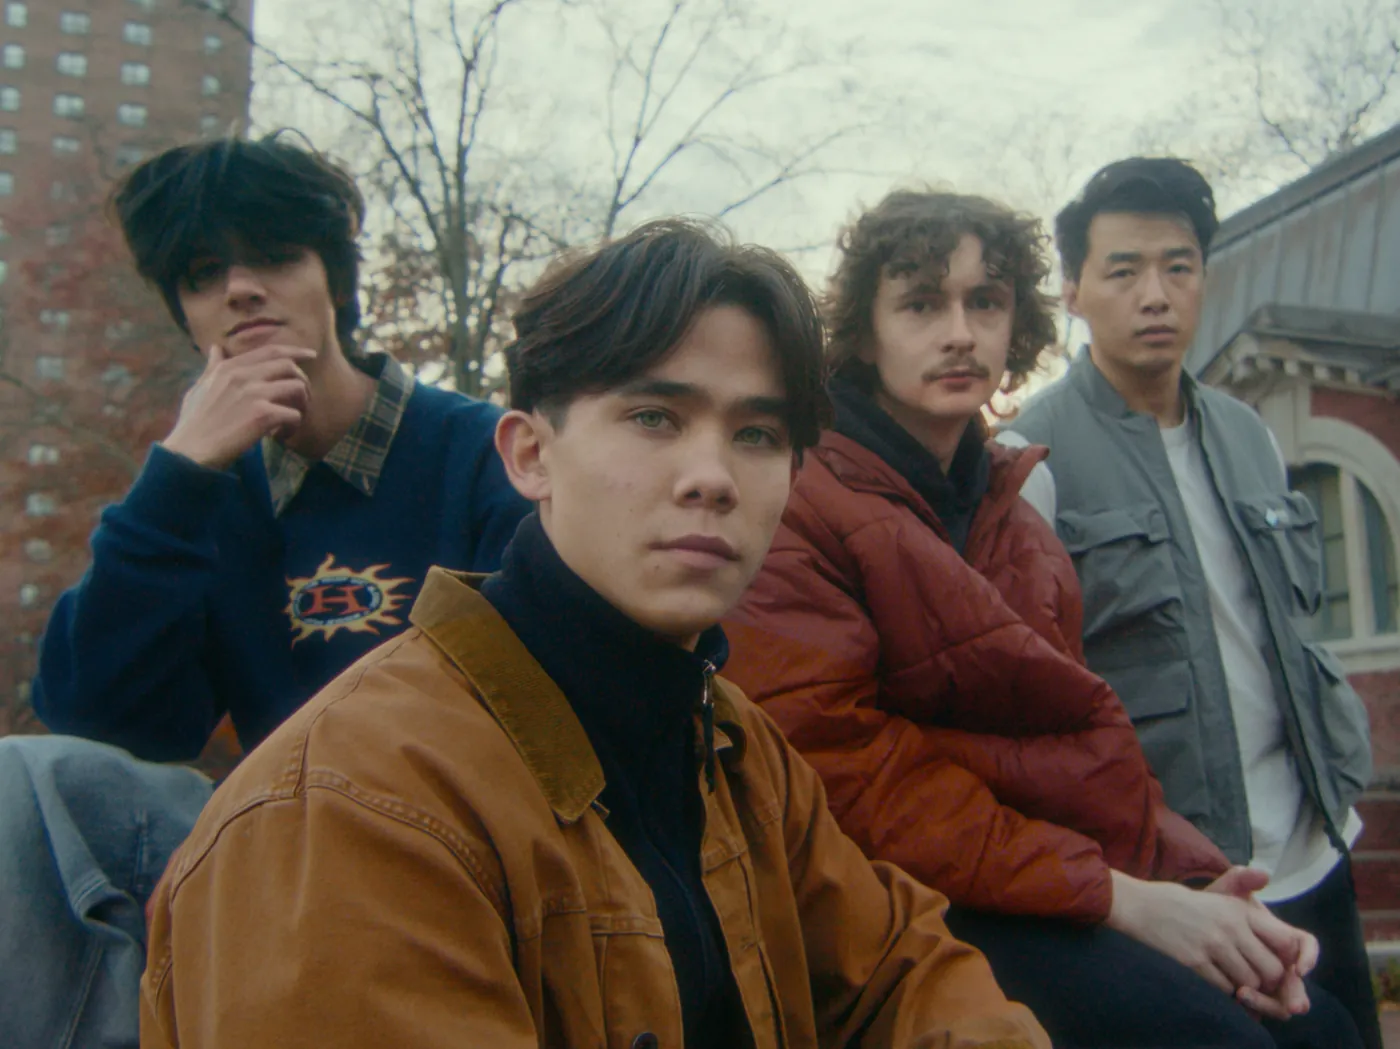
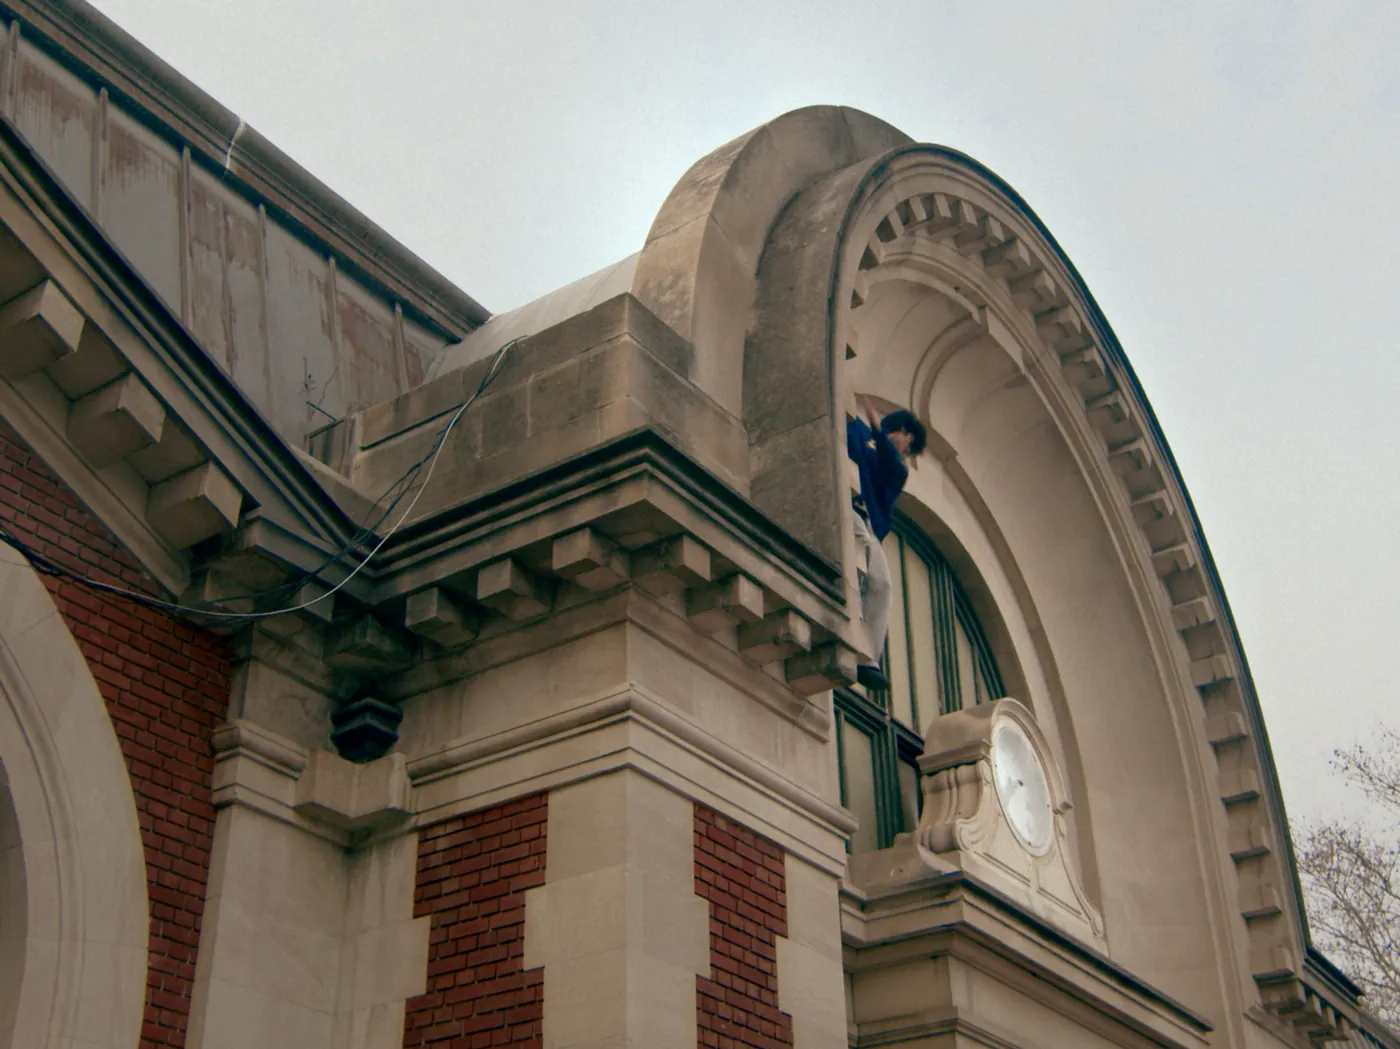
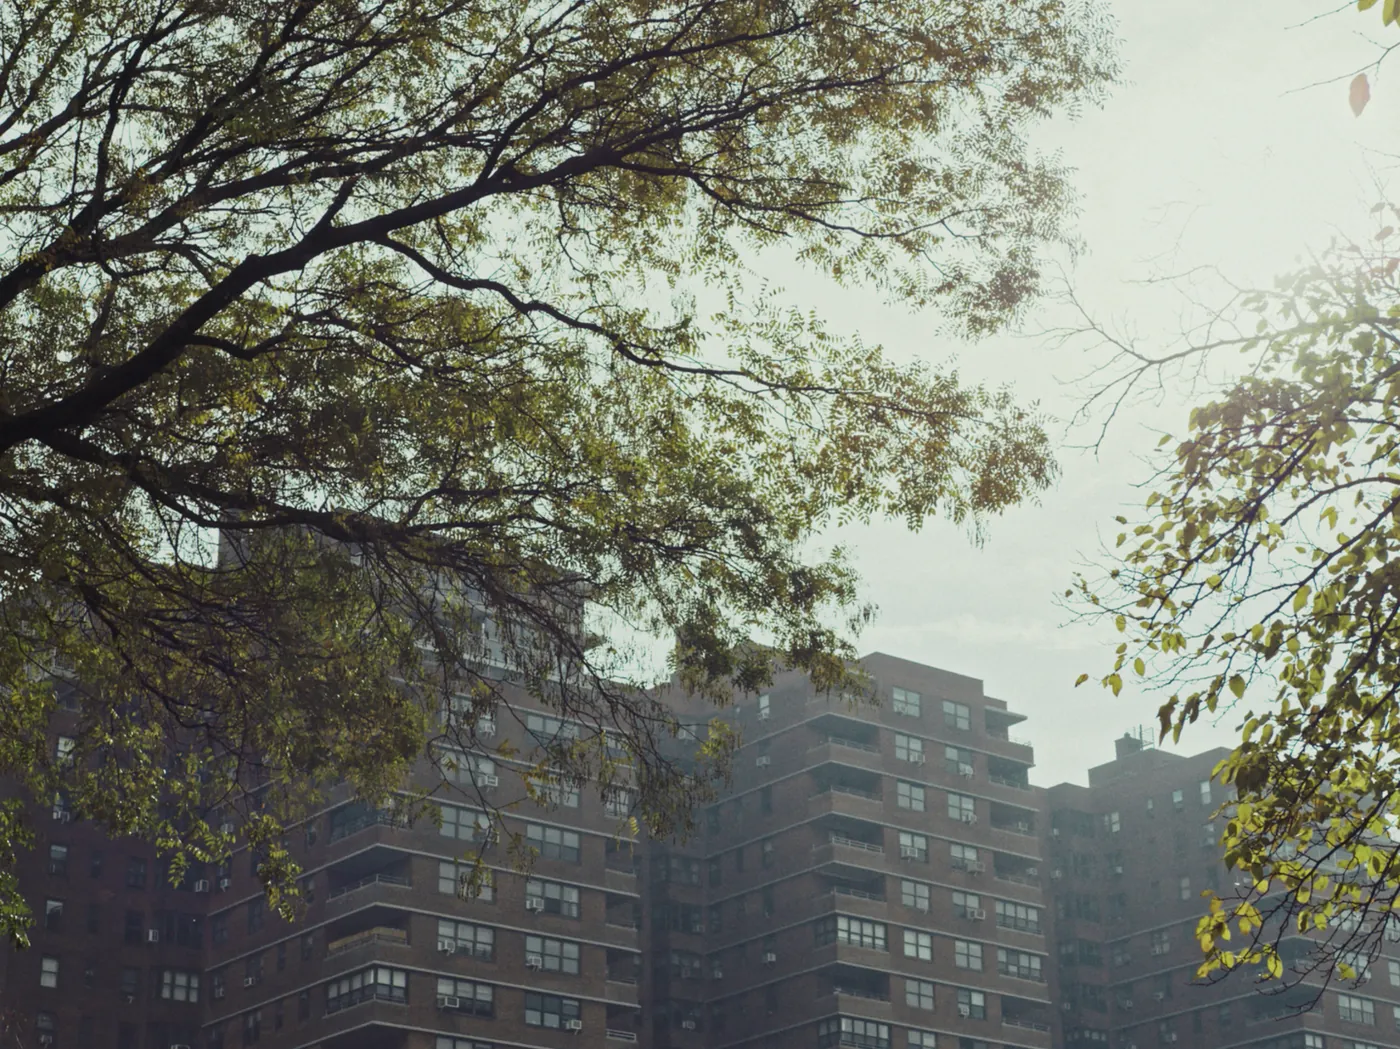
Overview
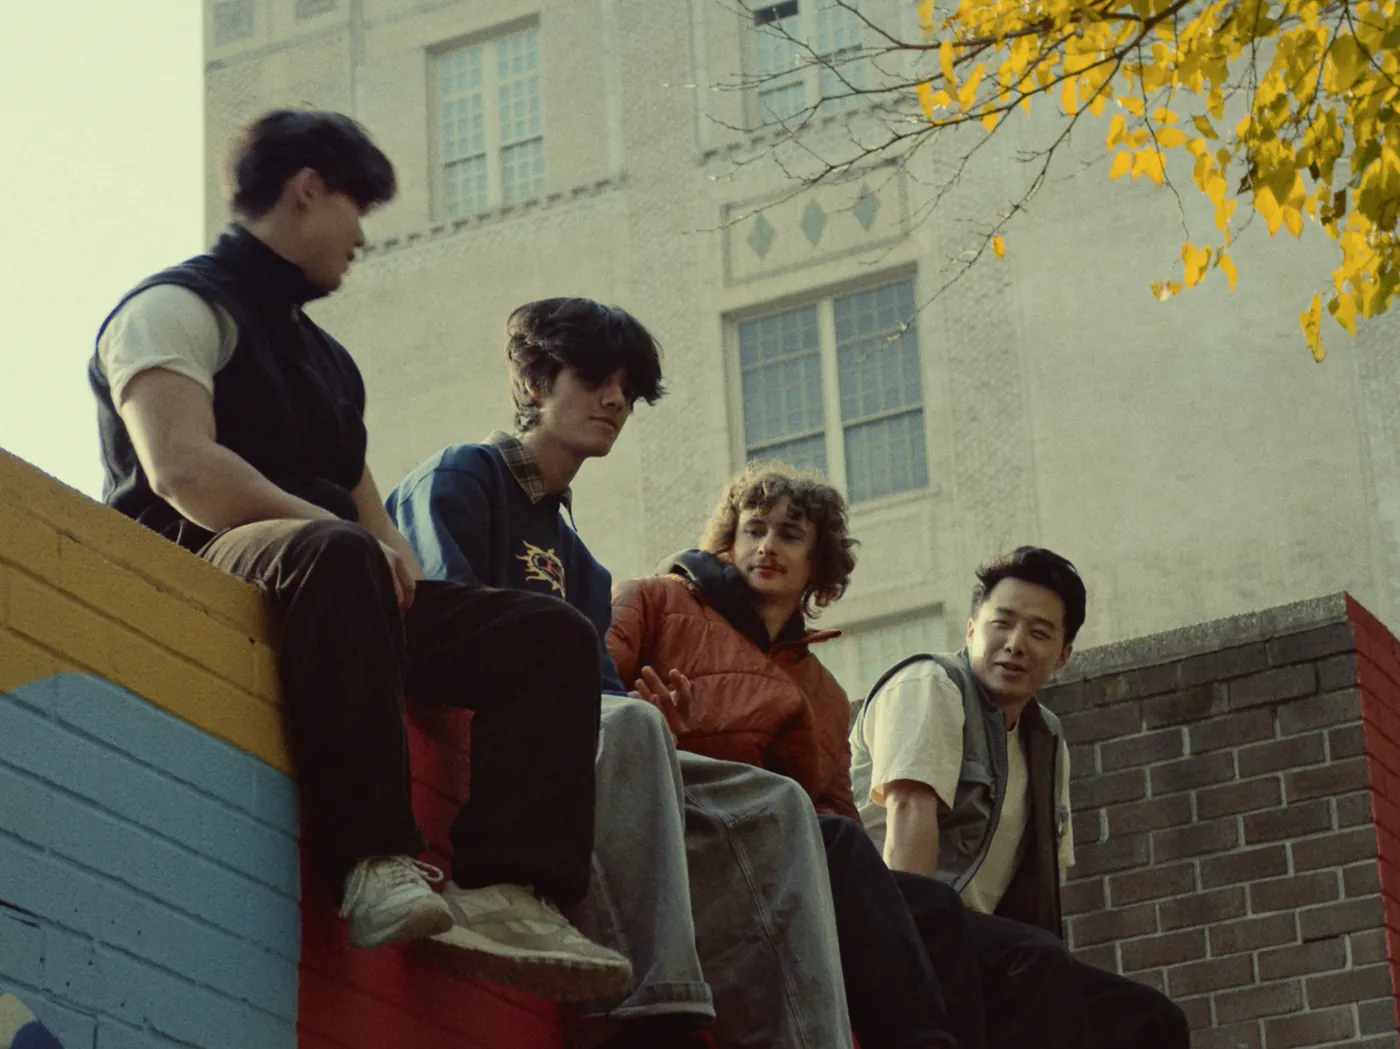
Color grading stills from The Park Hour.
Delete This Number
- Type
- Color Grading
- Role
- Colorist
- Year
- To be added
- Software
- DaVinci Resolve Studio
Overview
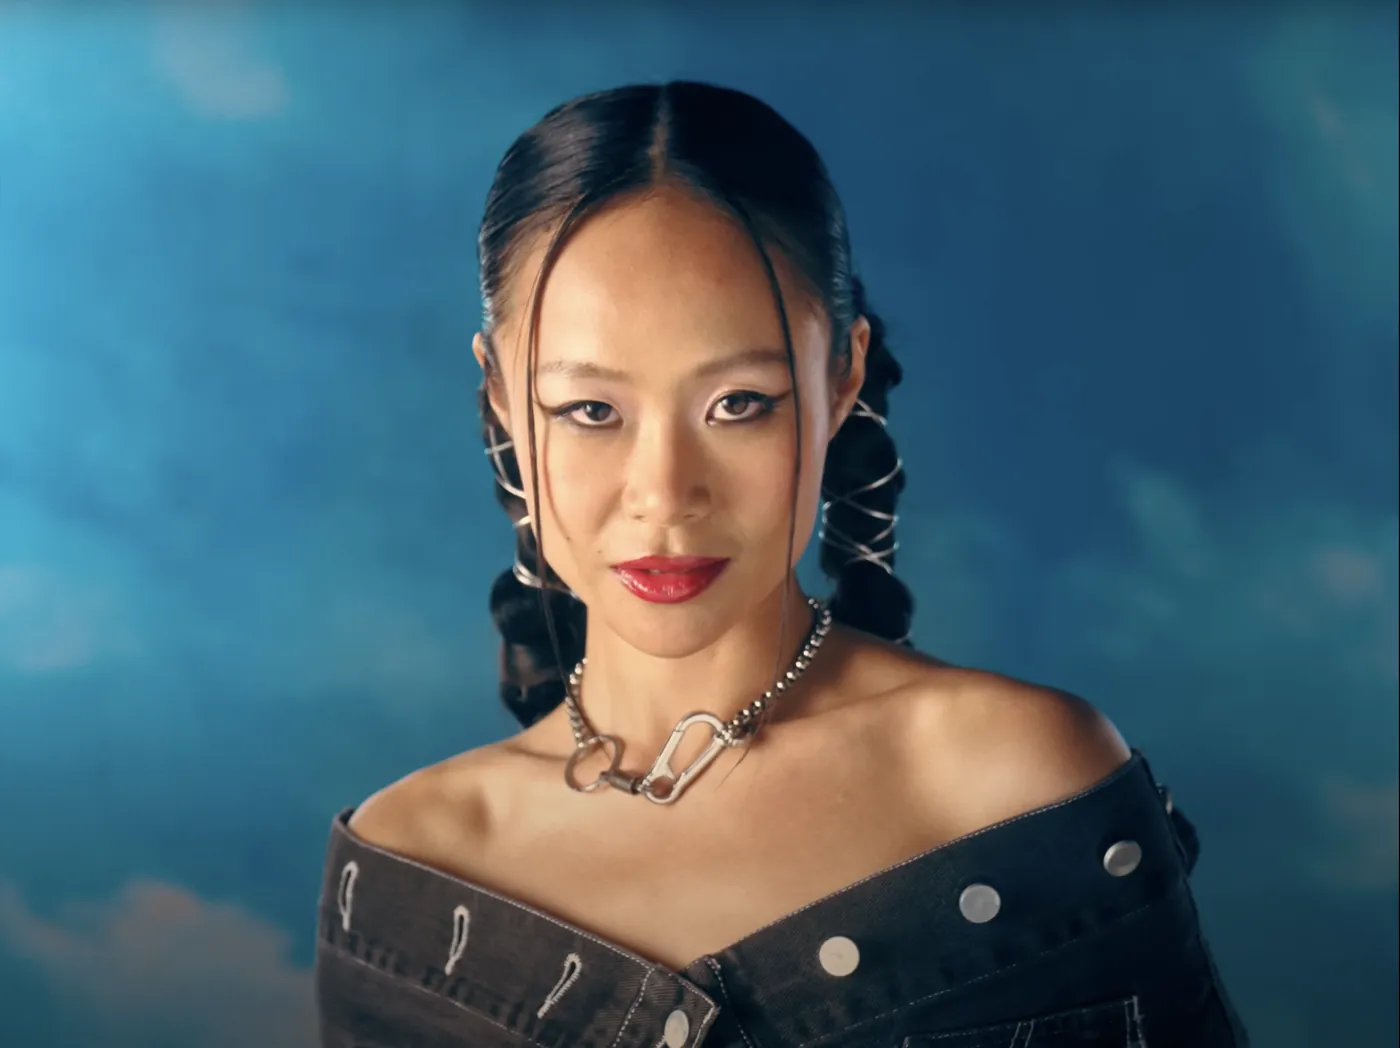
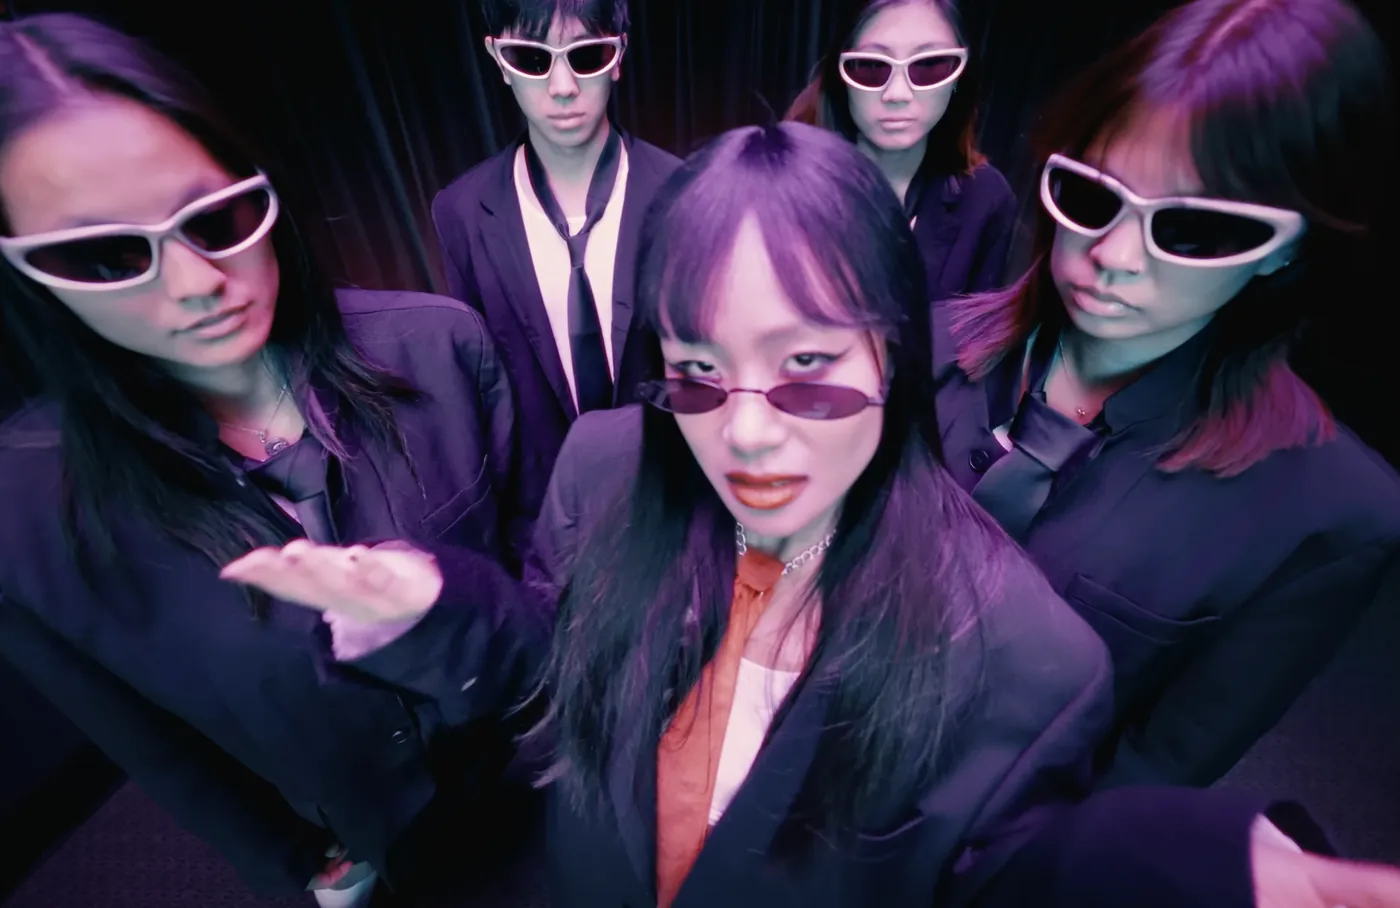
Color grading stills from the music video Delete This Number.

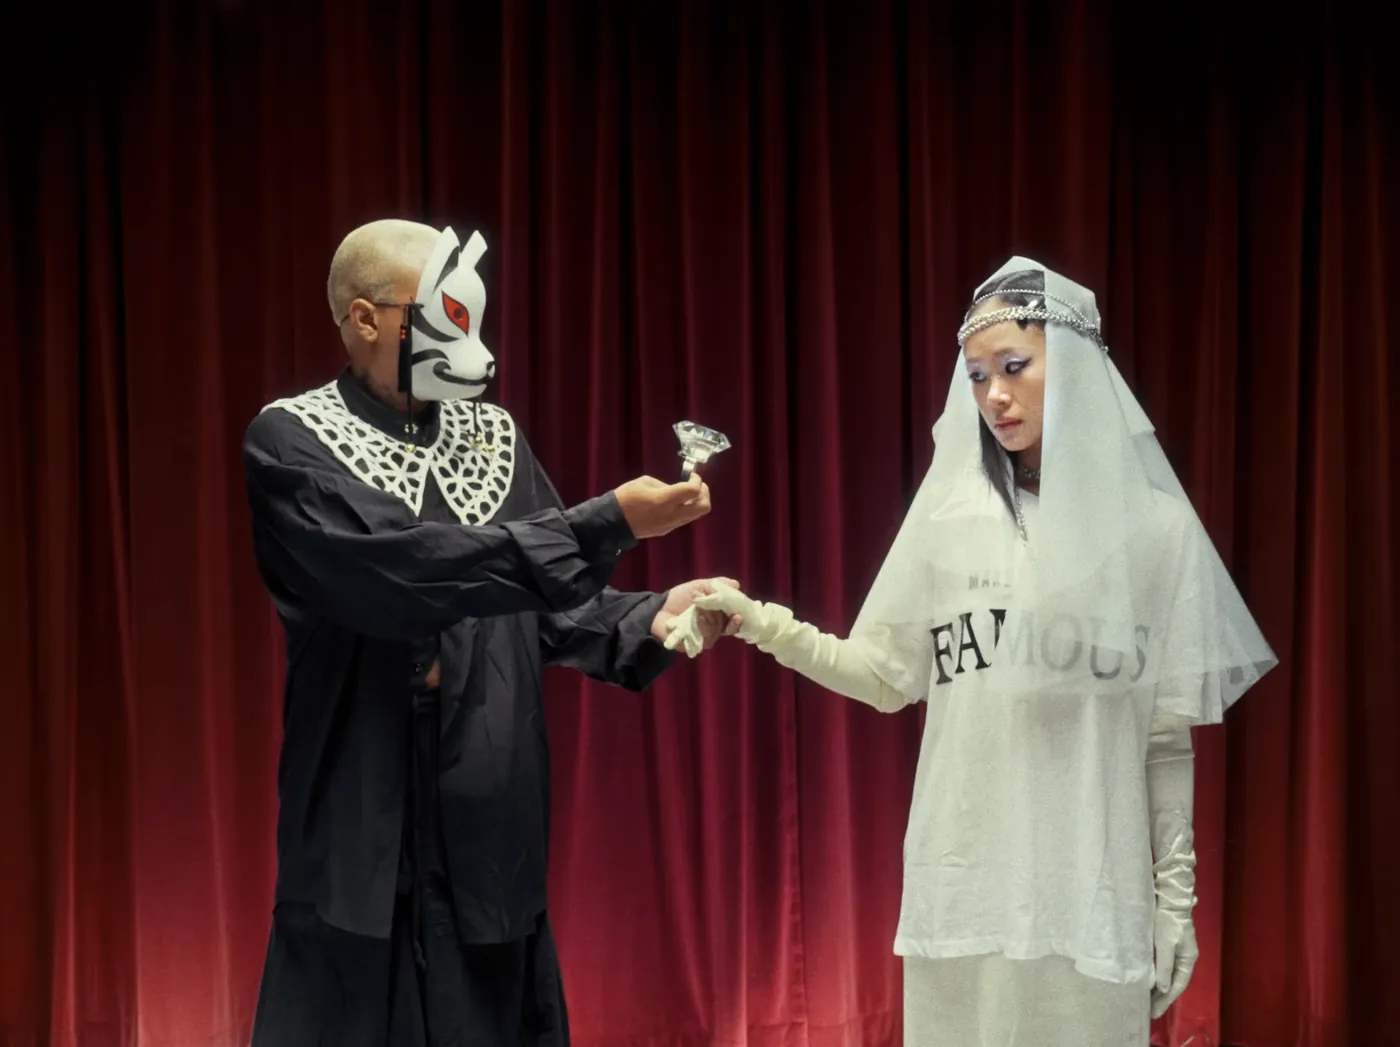
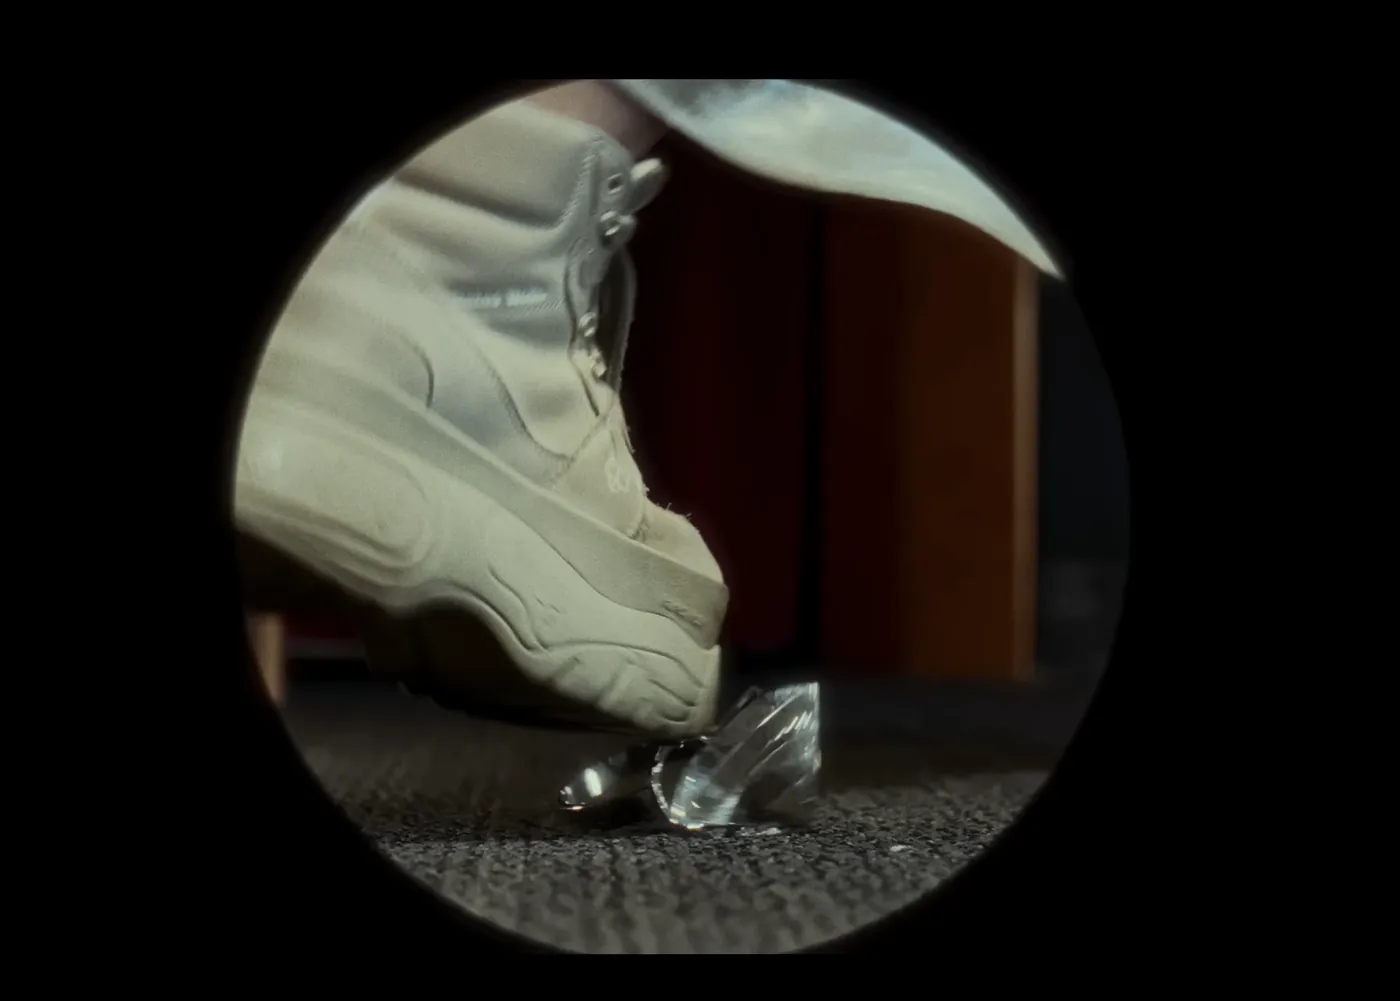
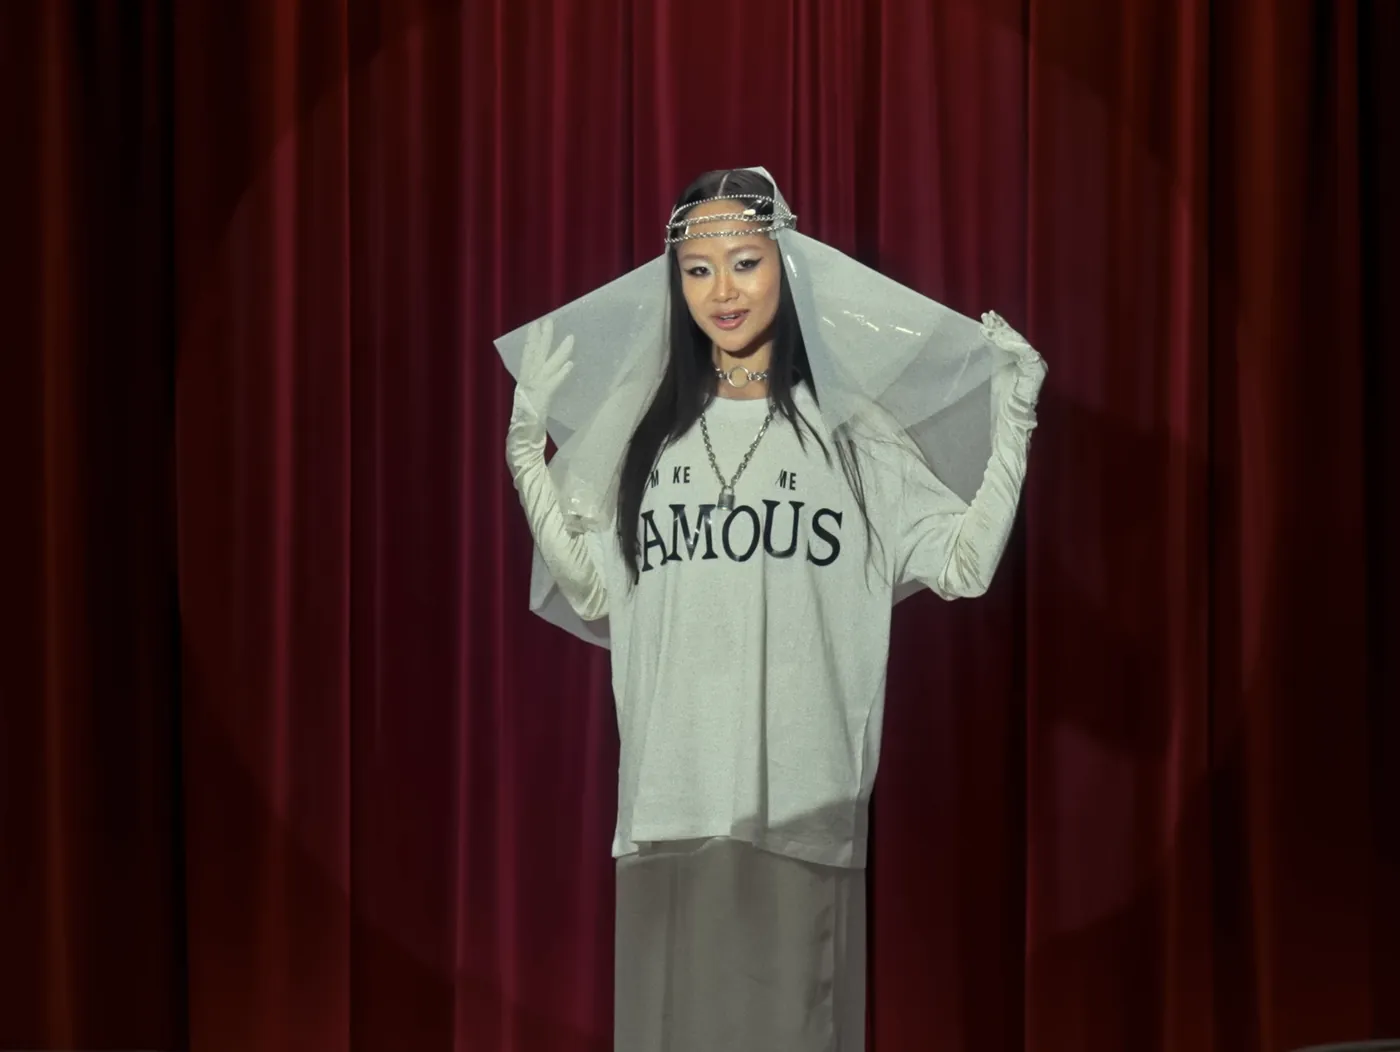

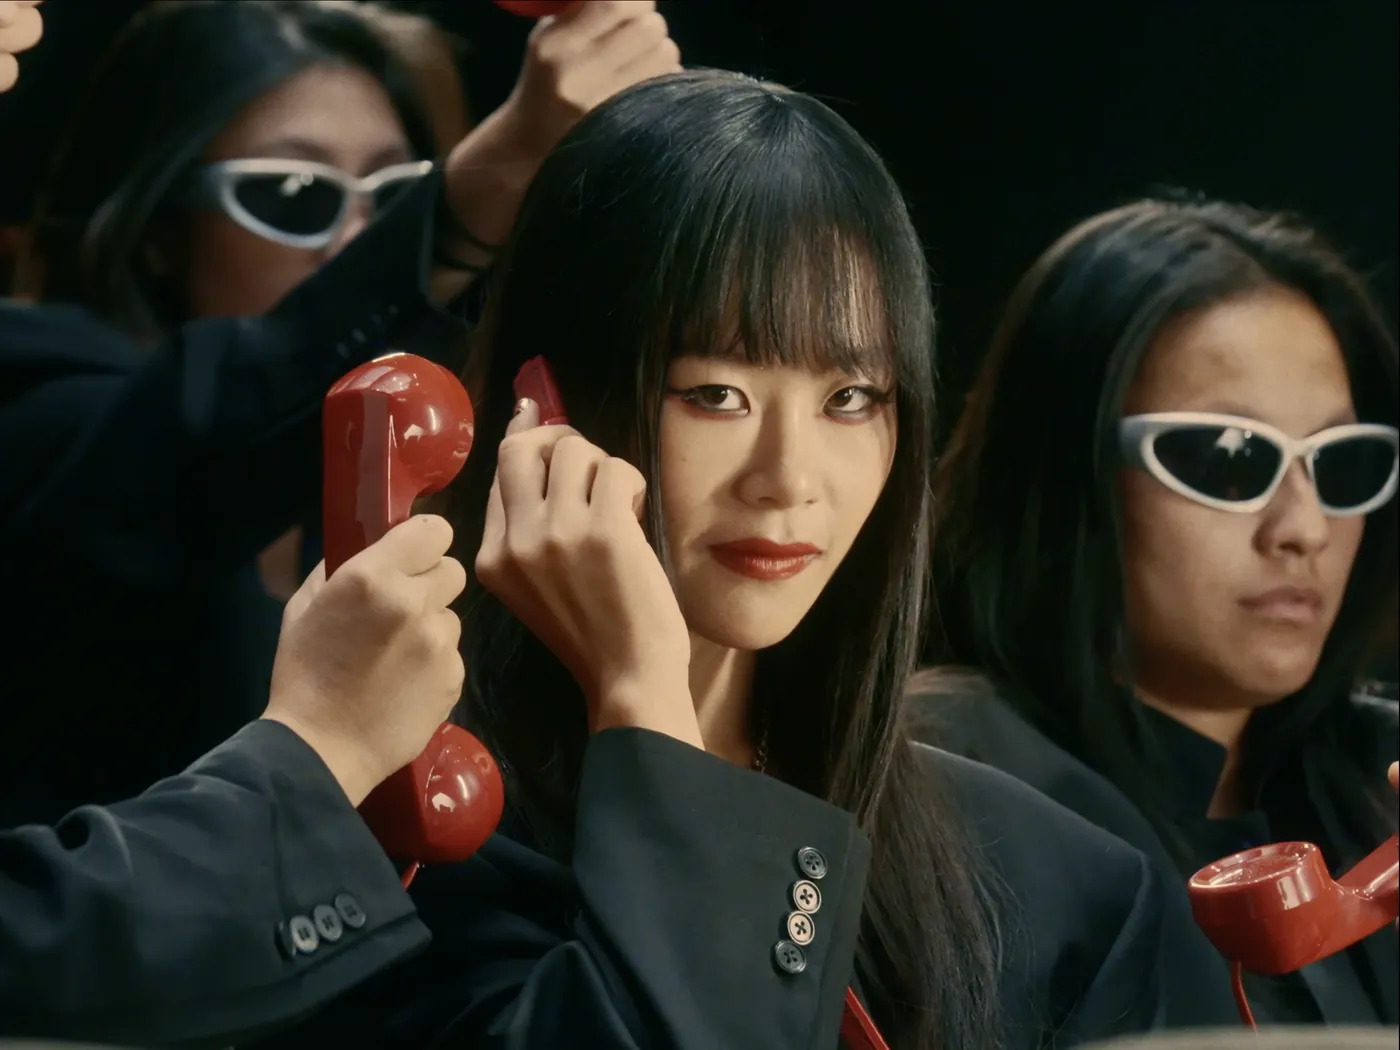
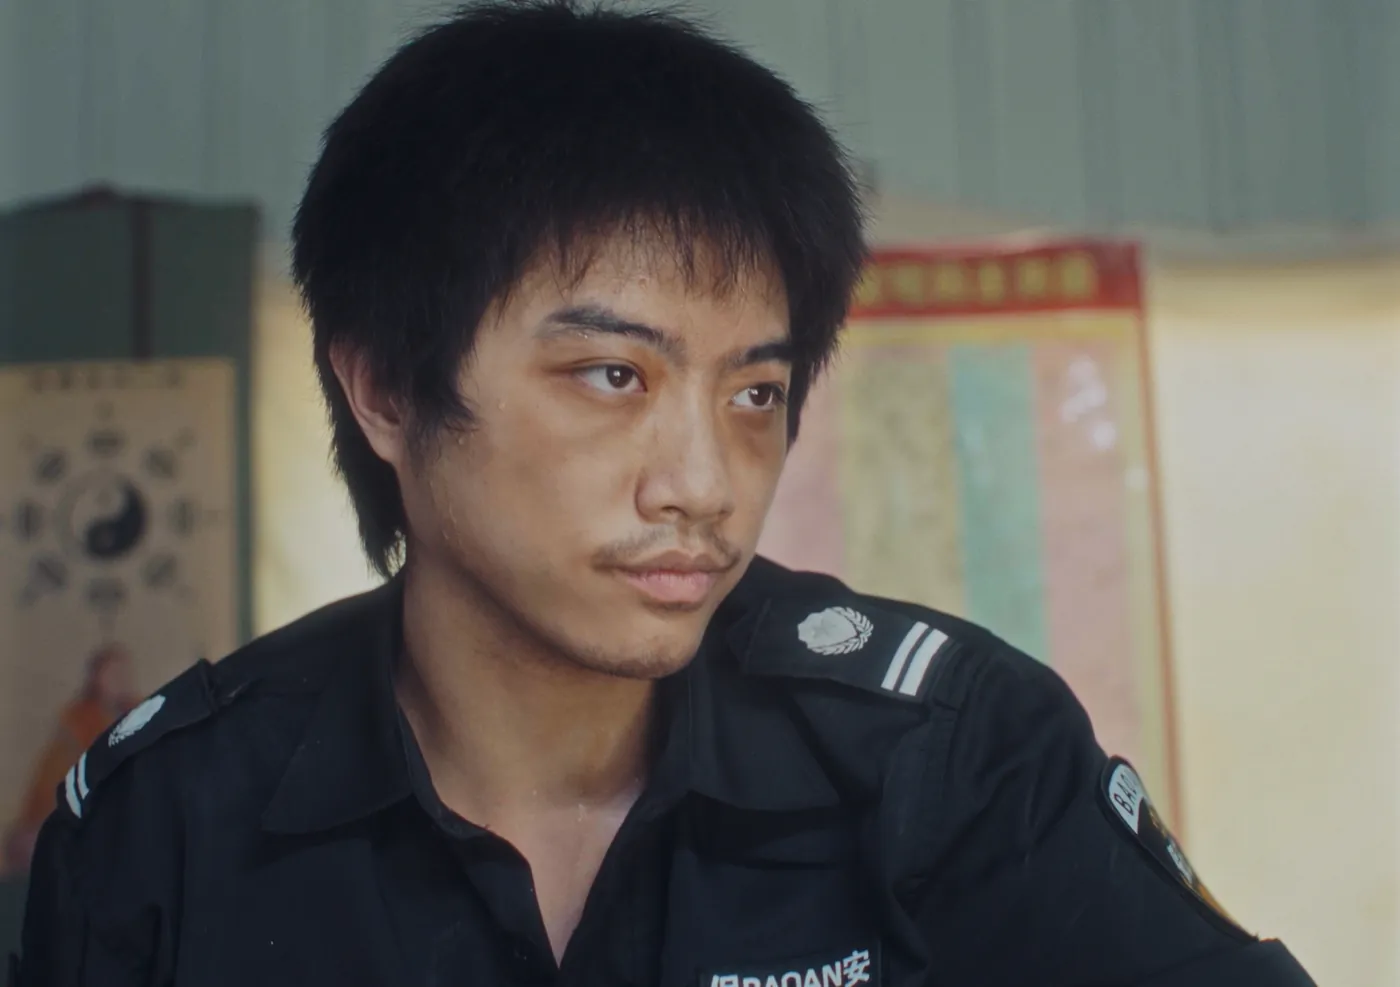
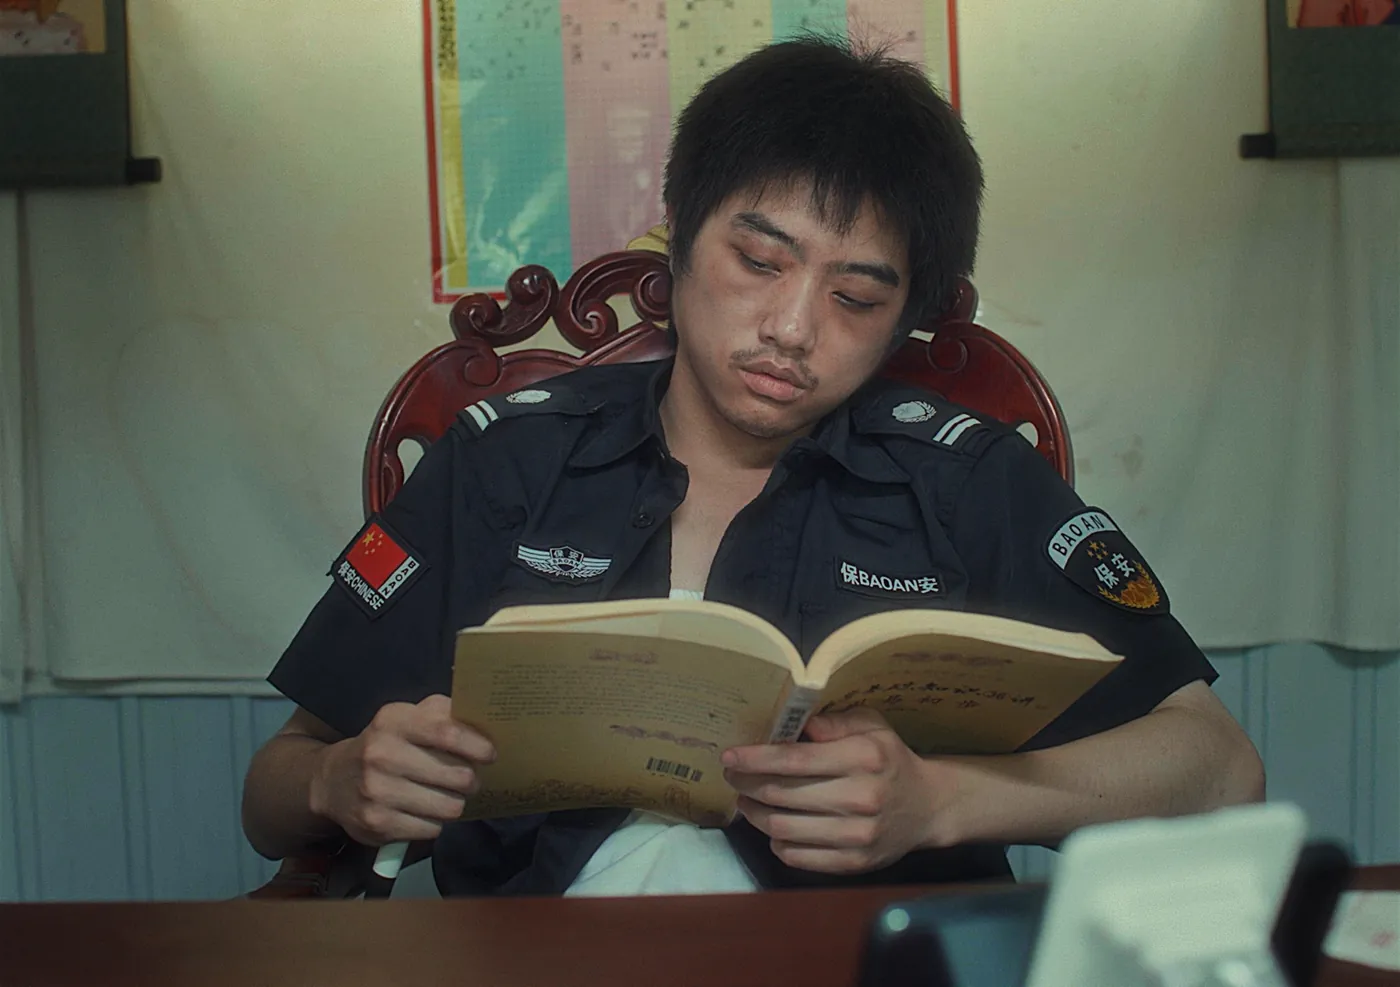
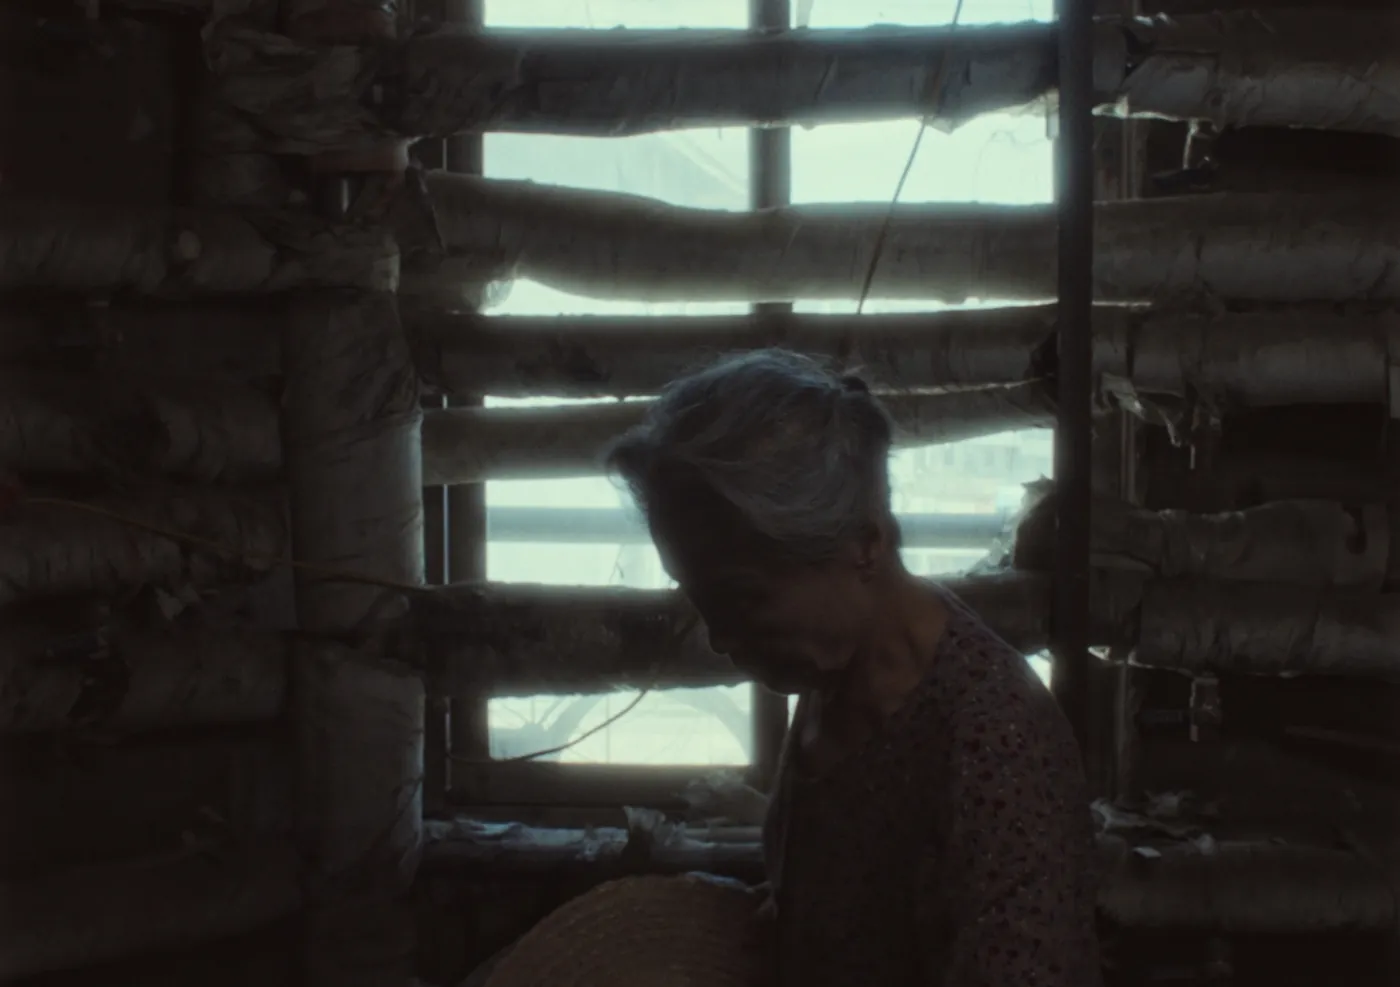
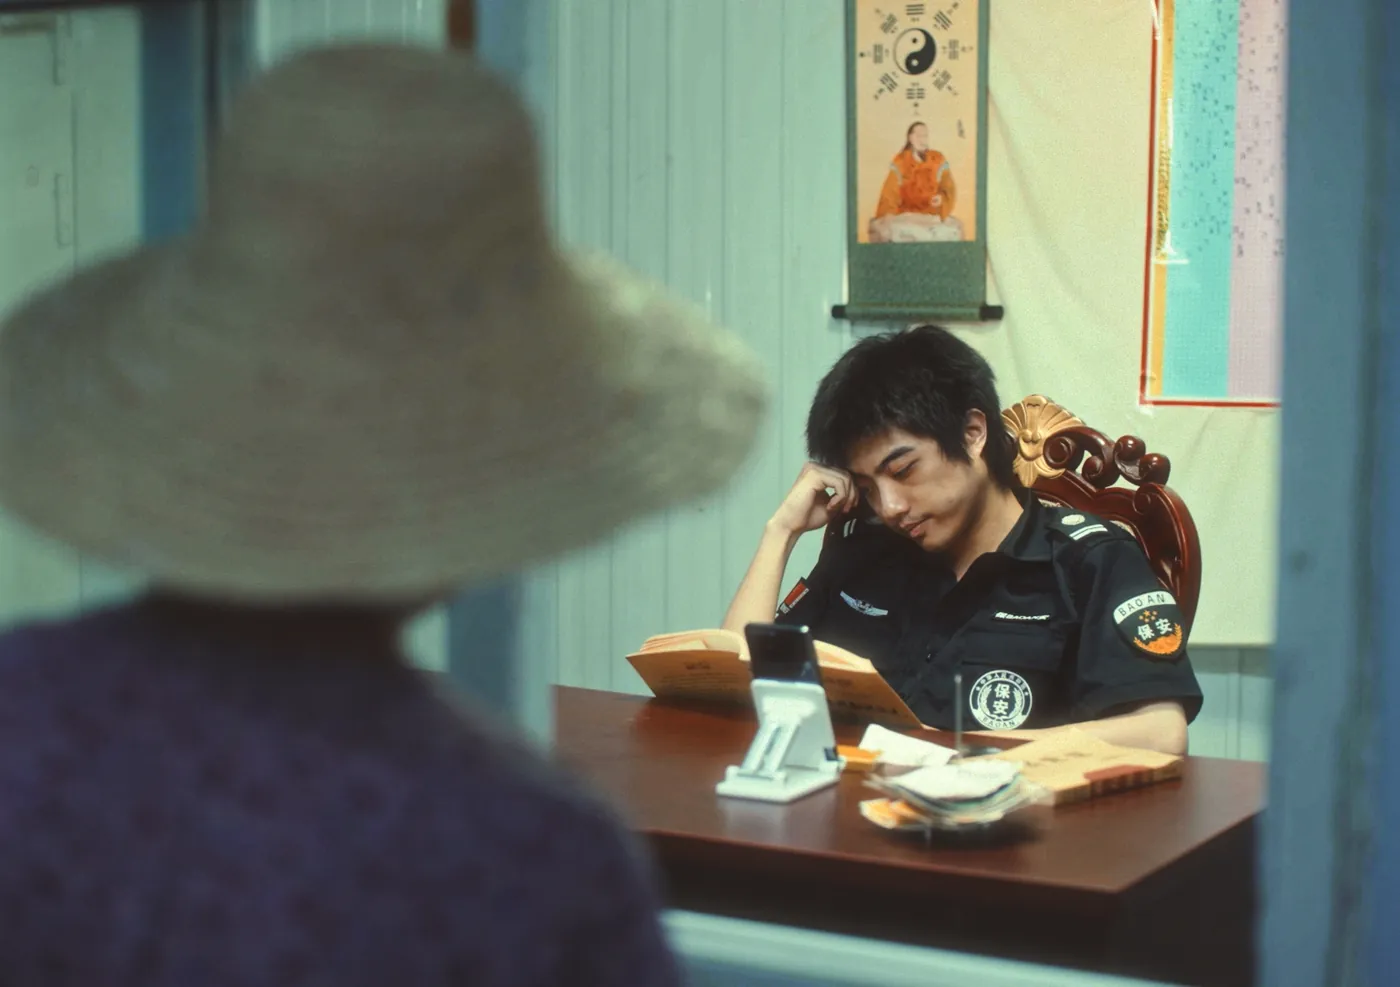
Overview
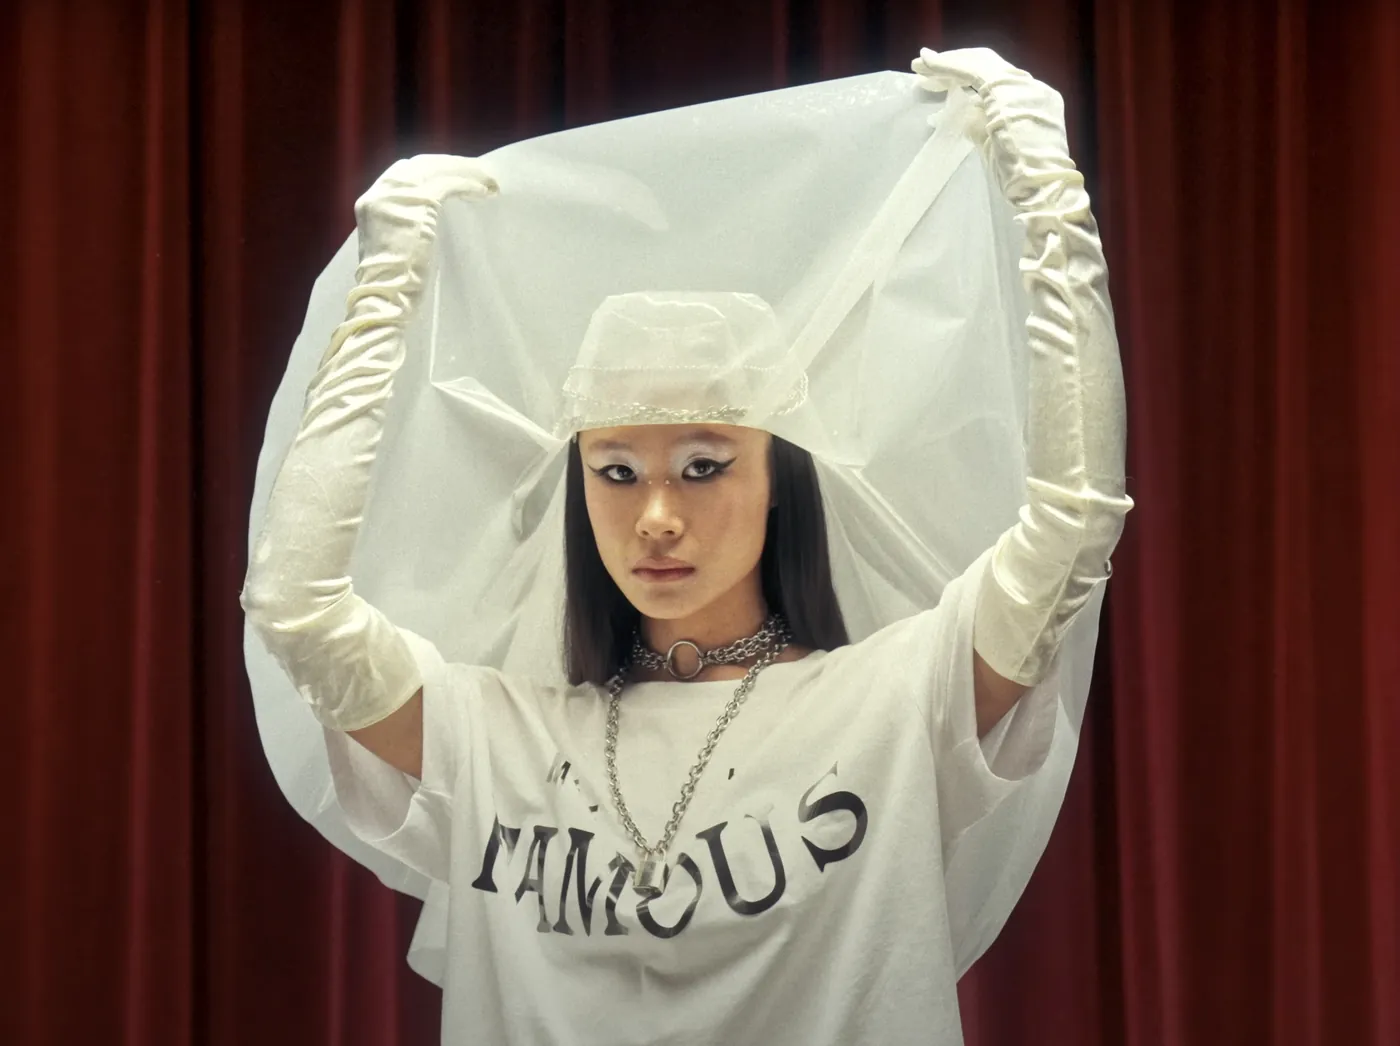
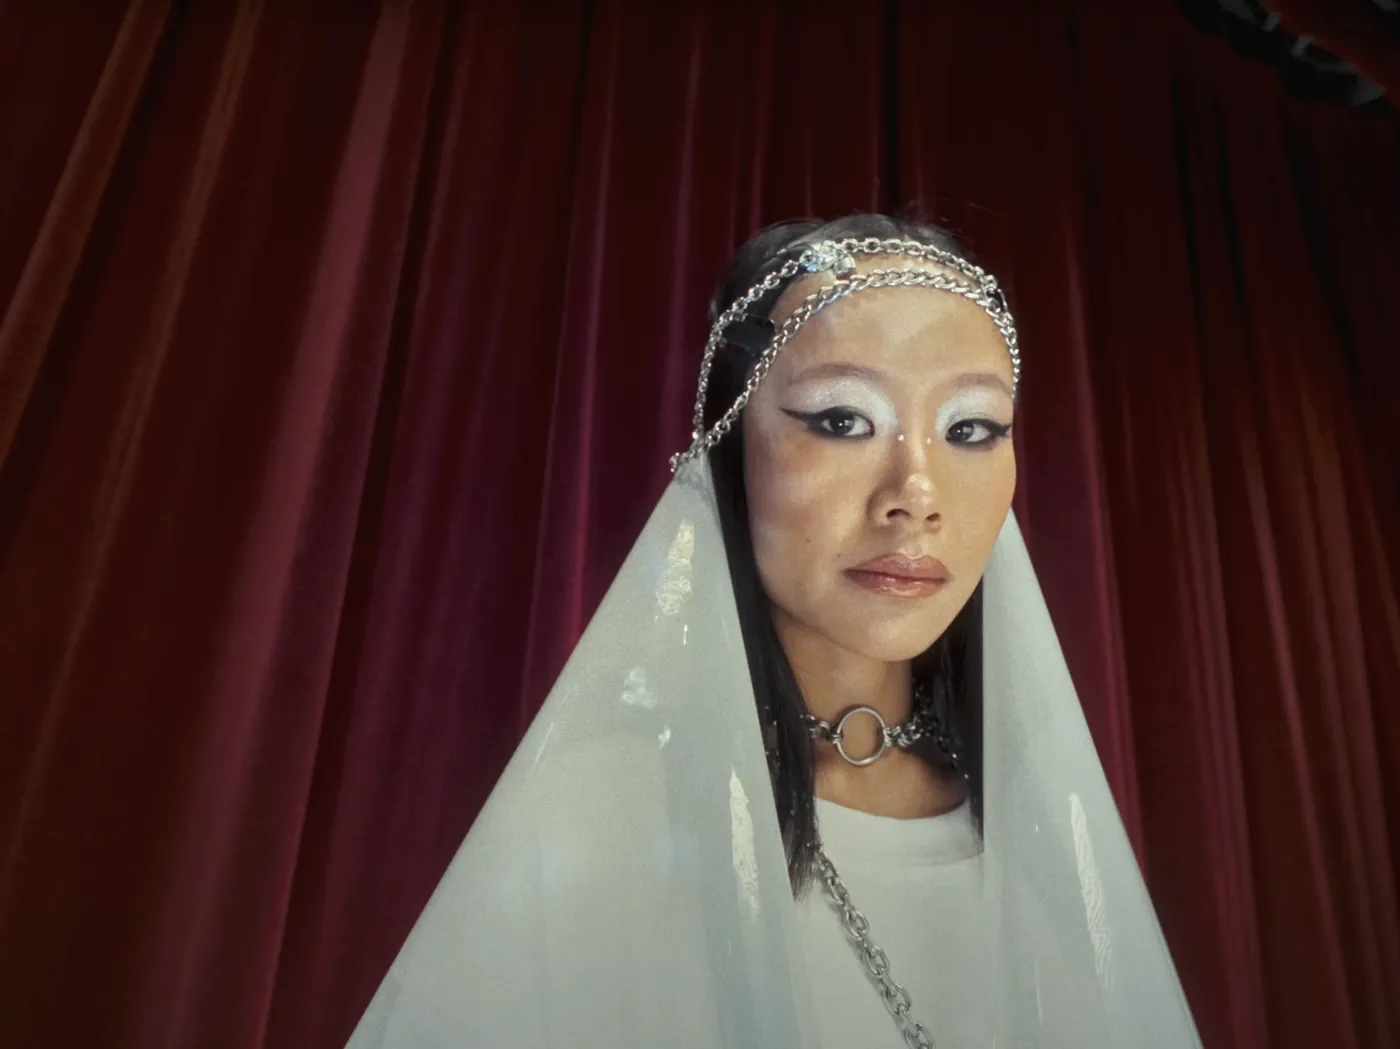
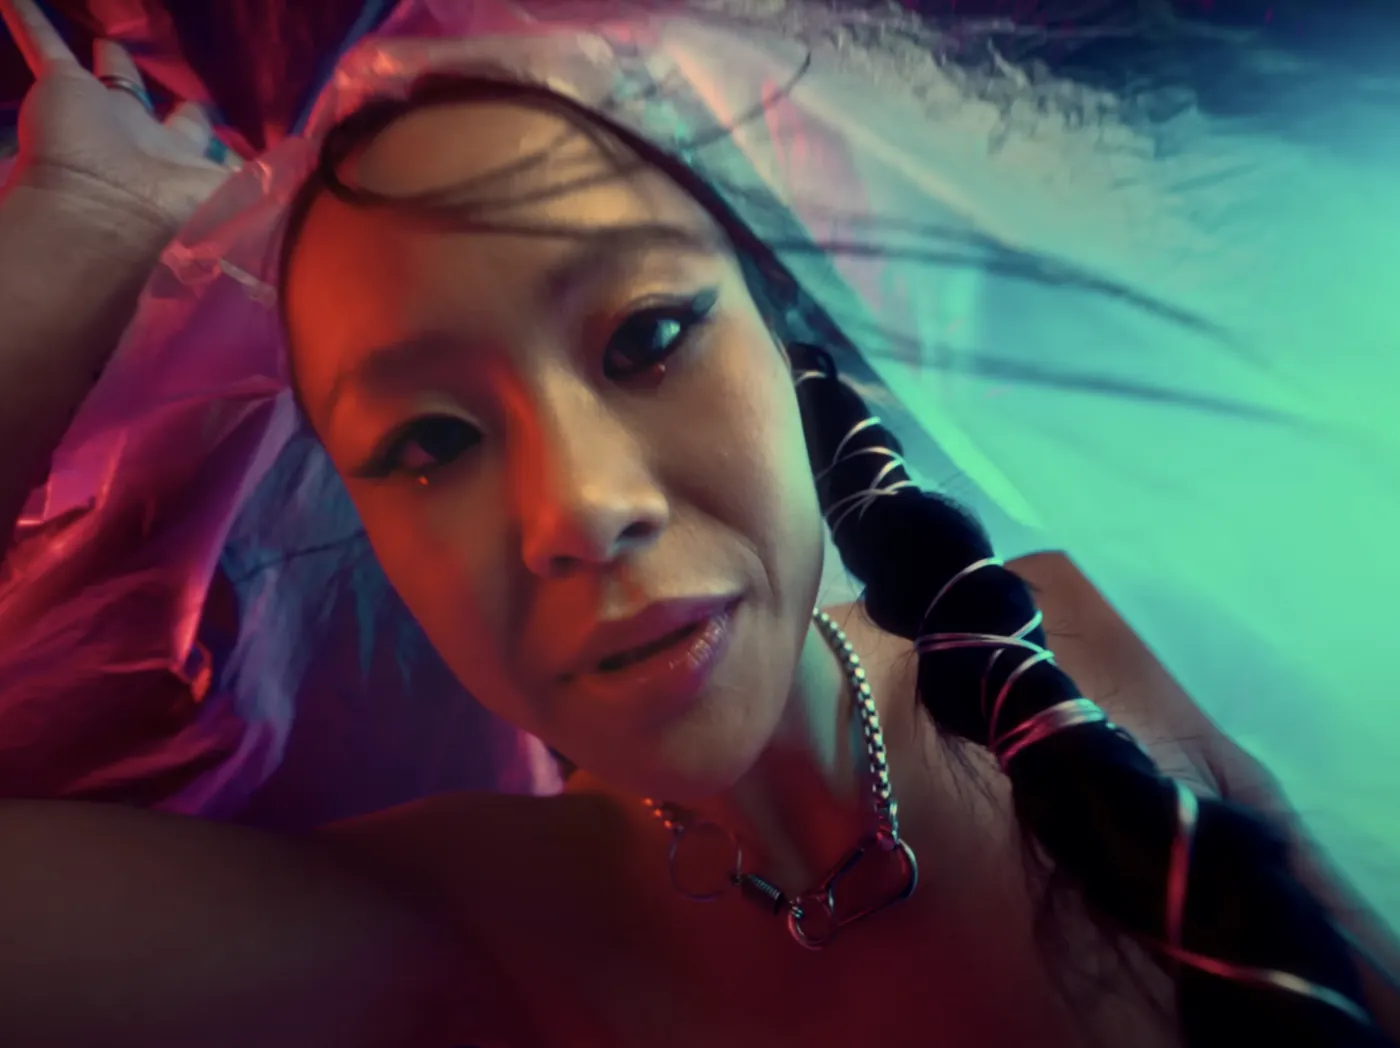
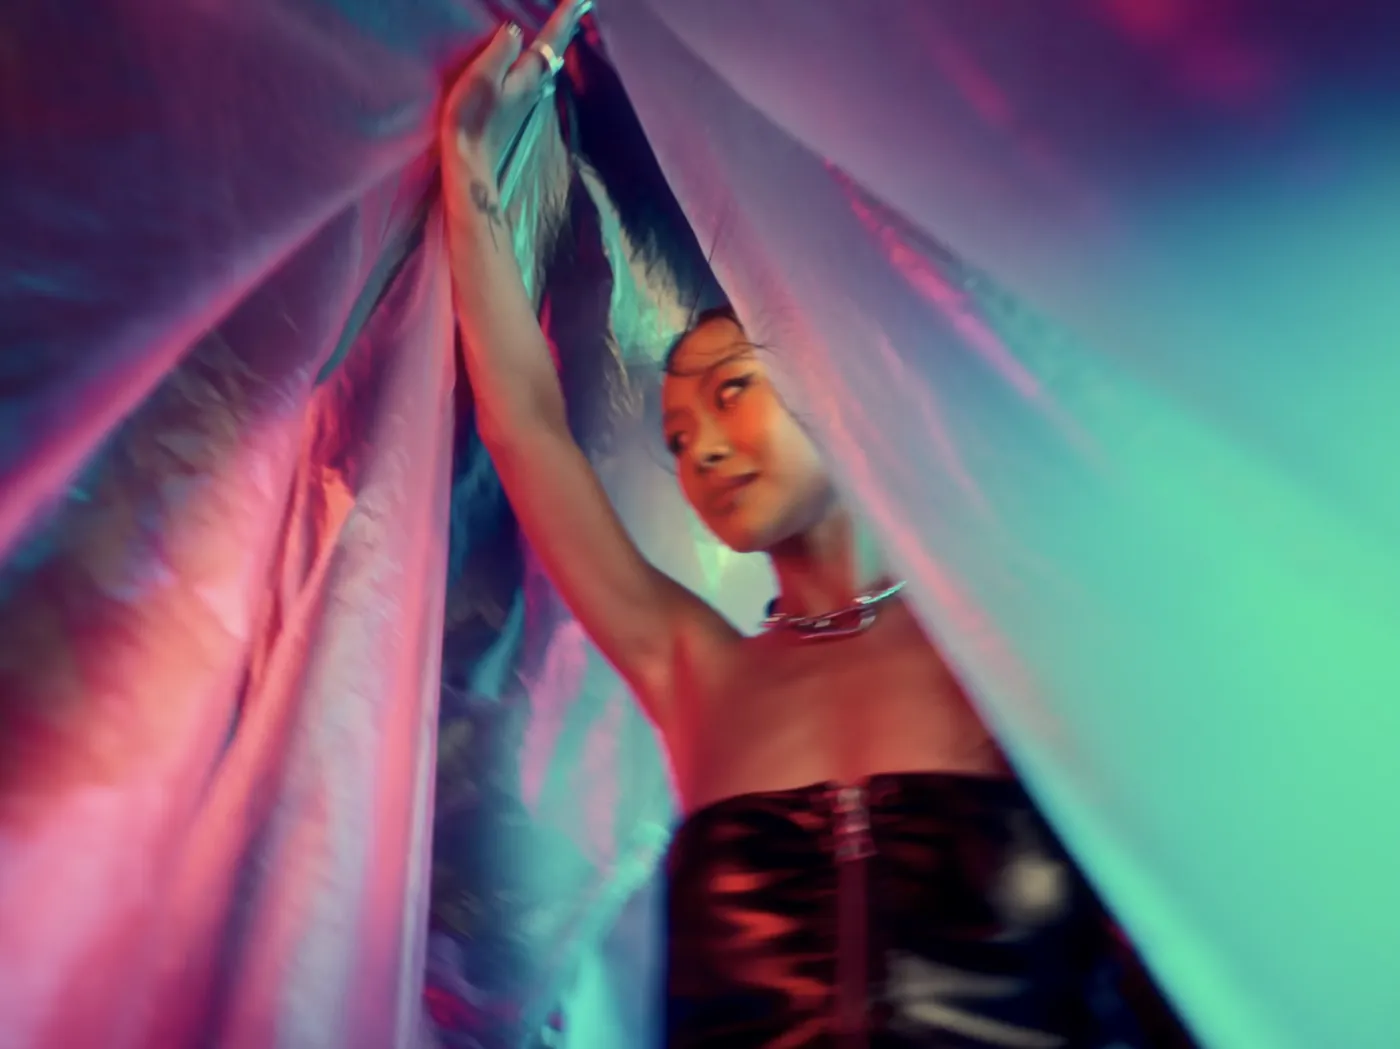
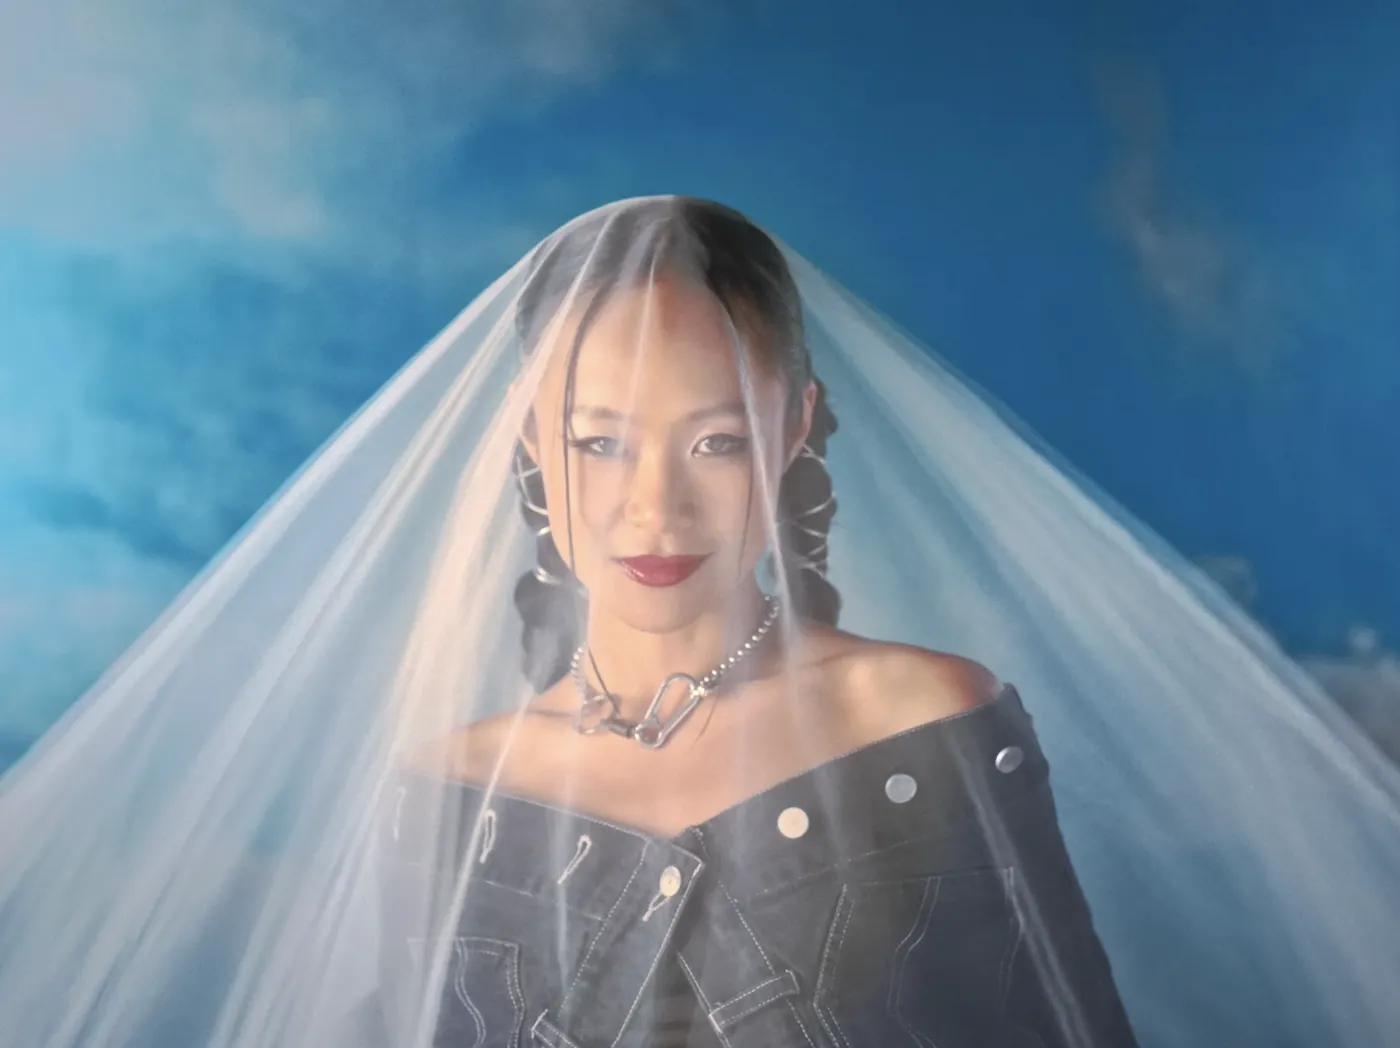
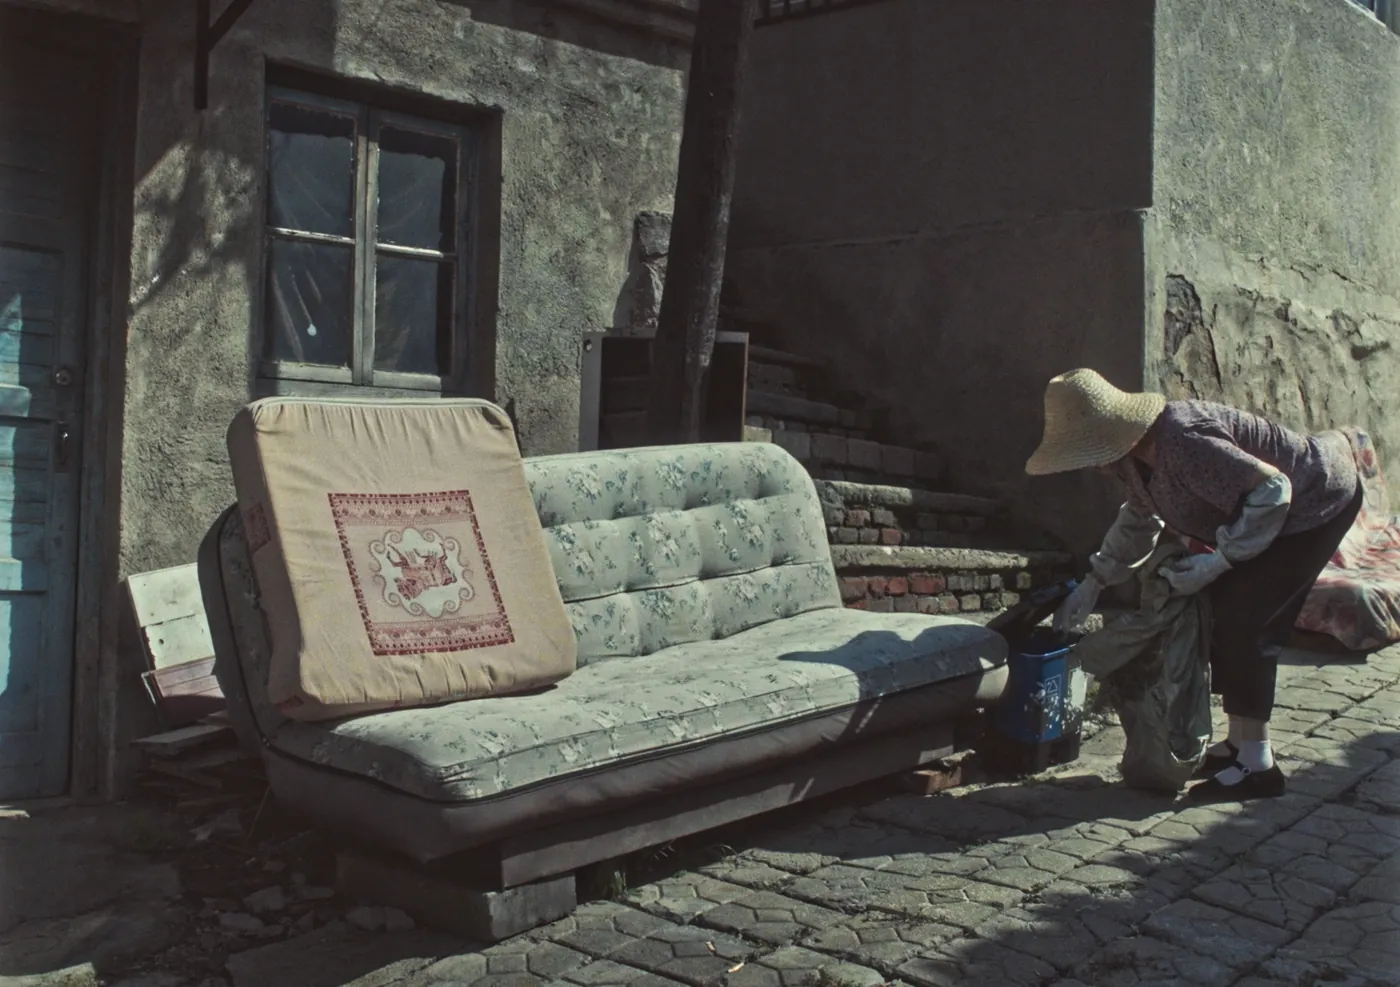
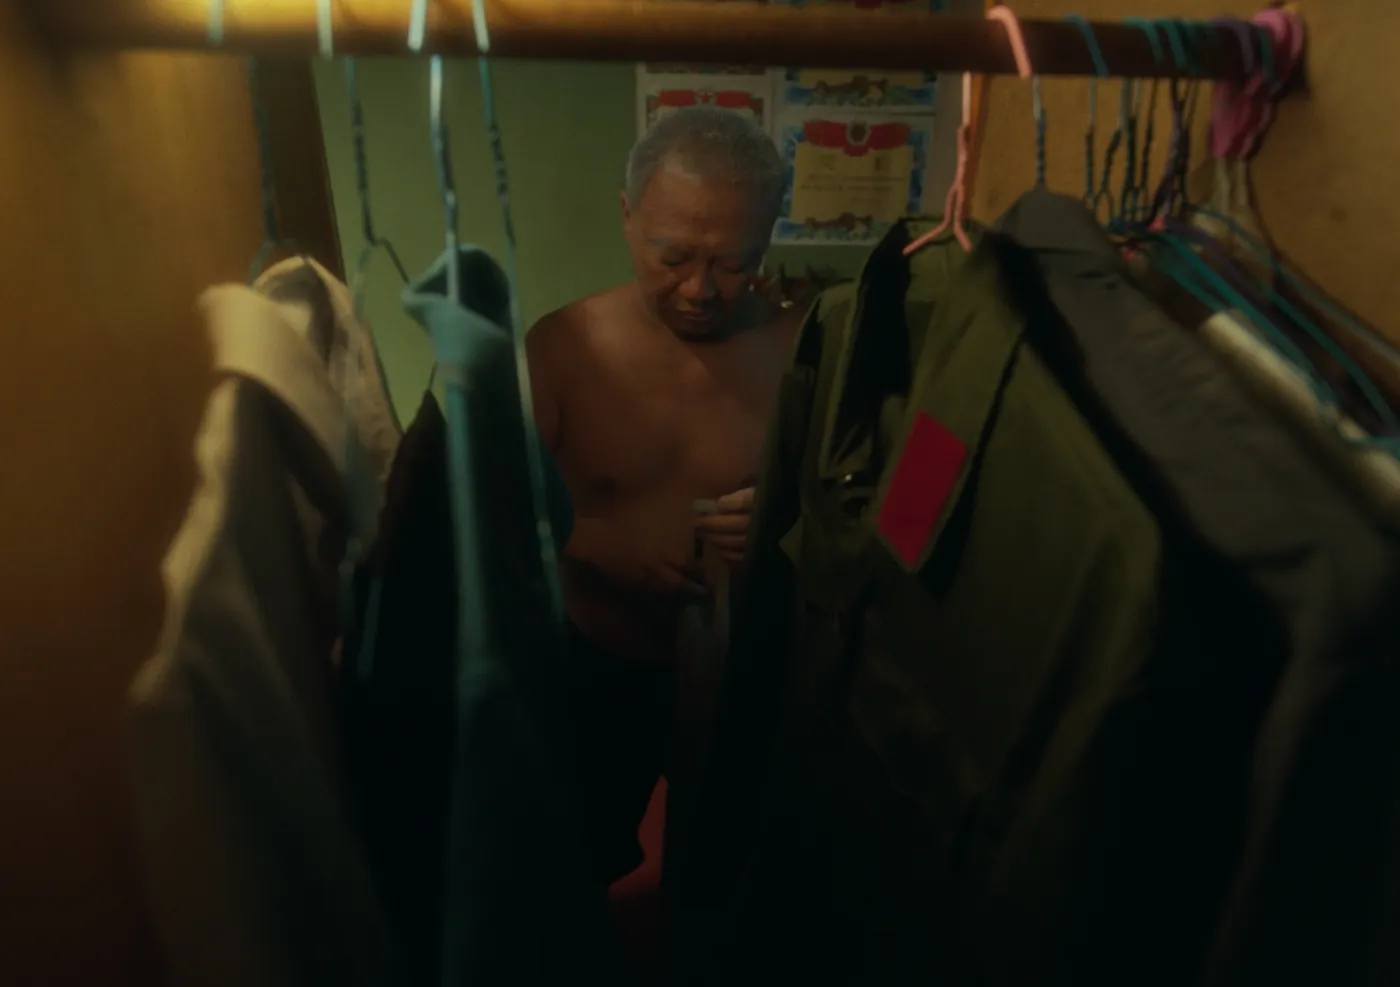
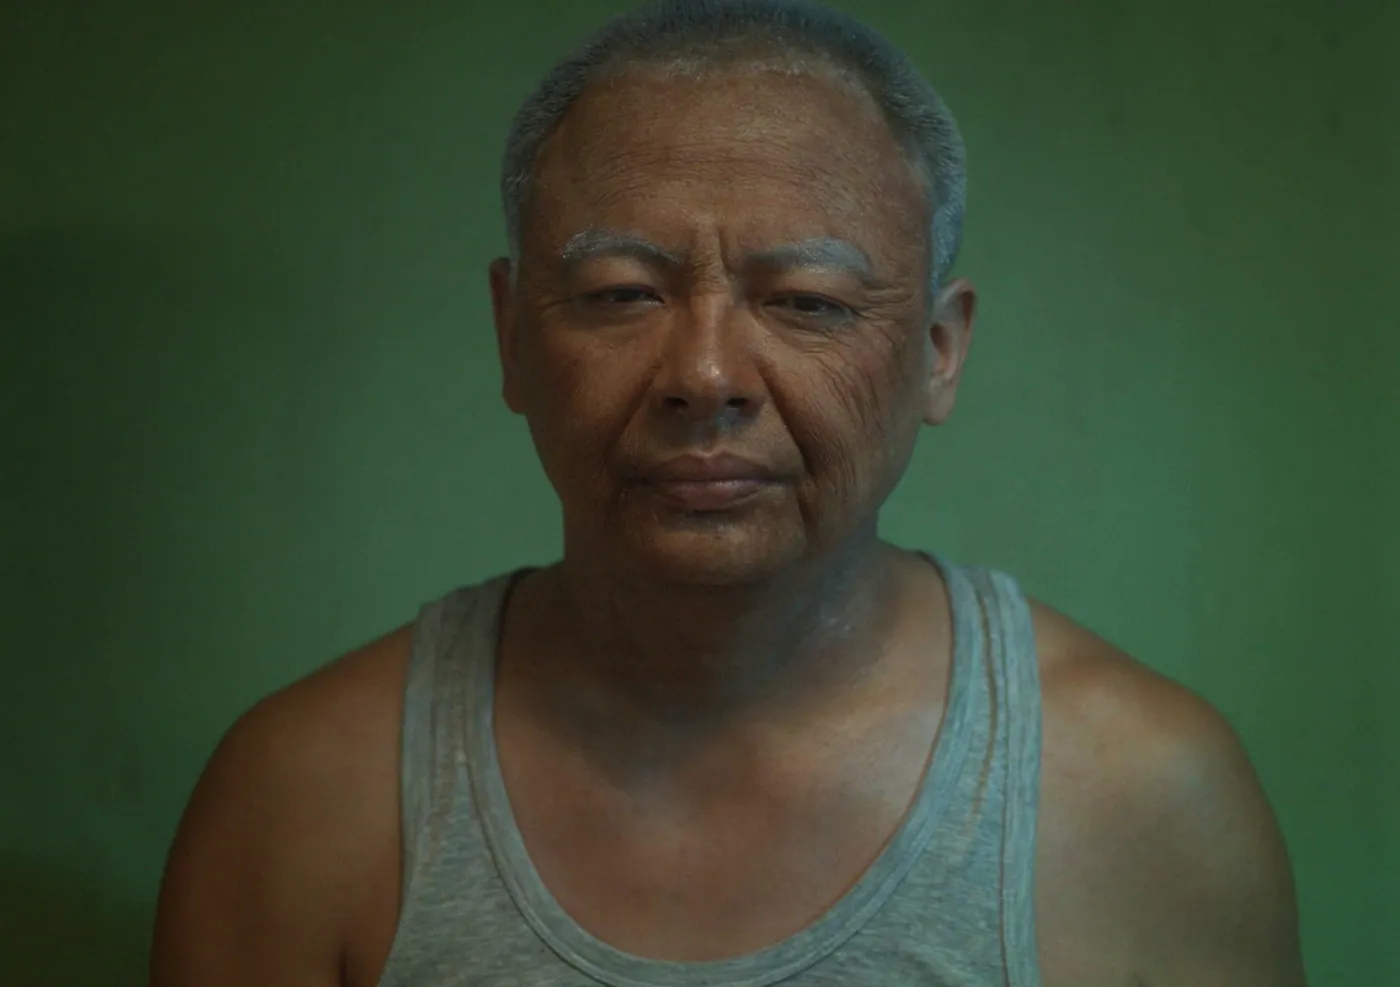
Color grading stills from Lao Lou.
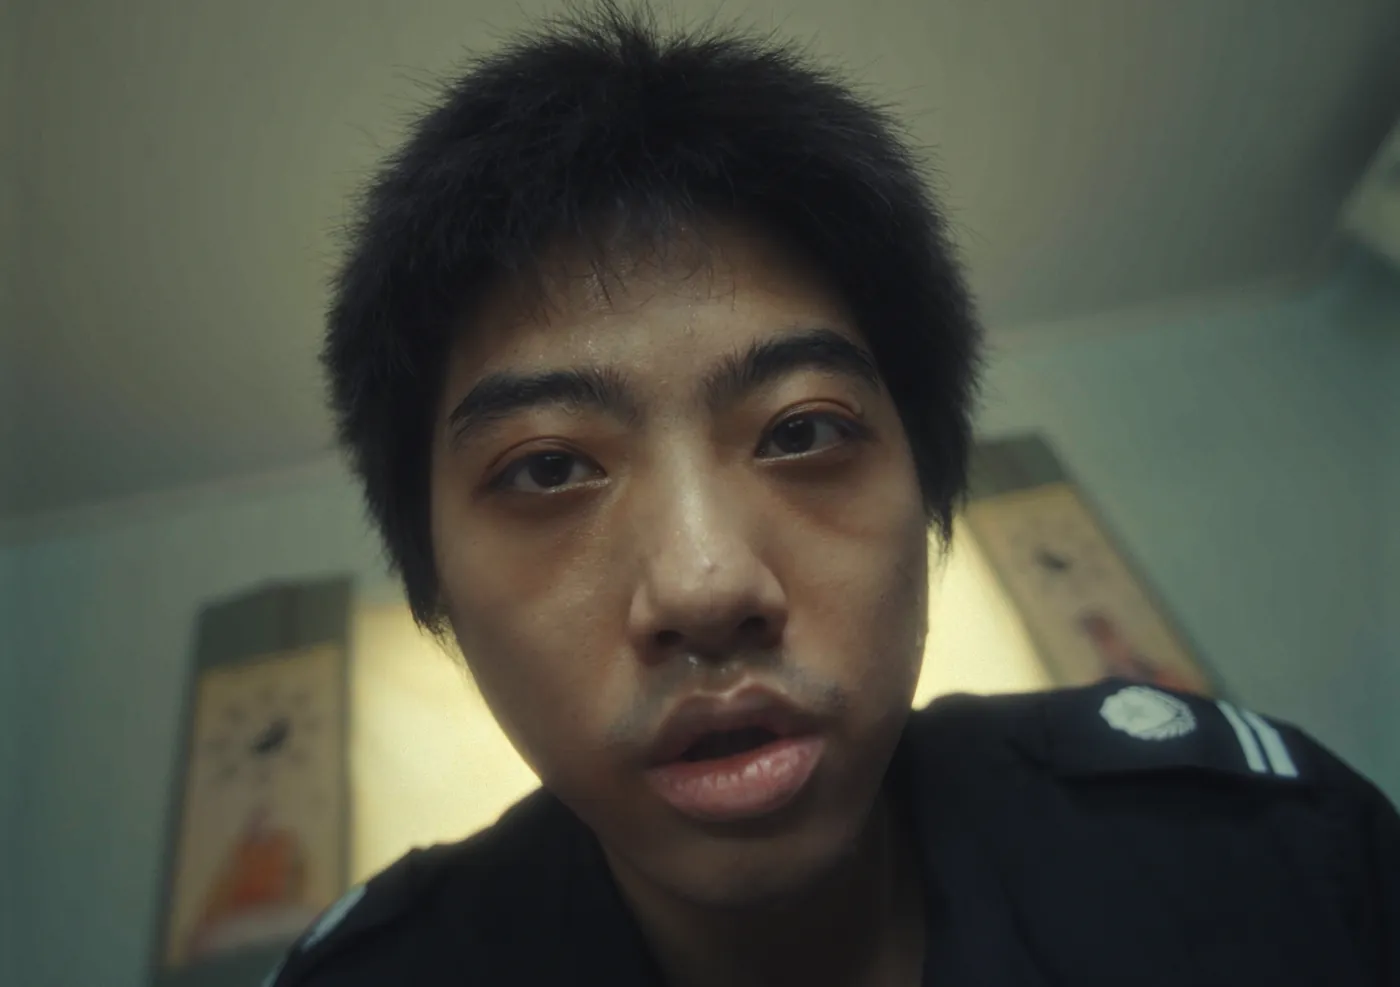
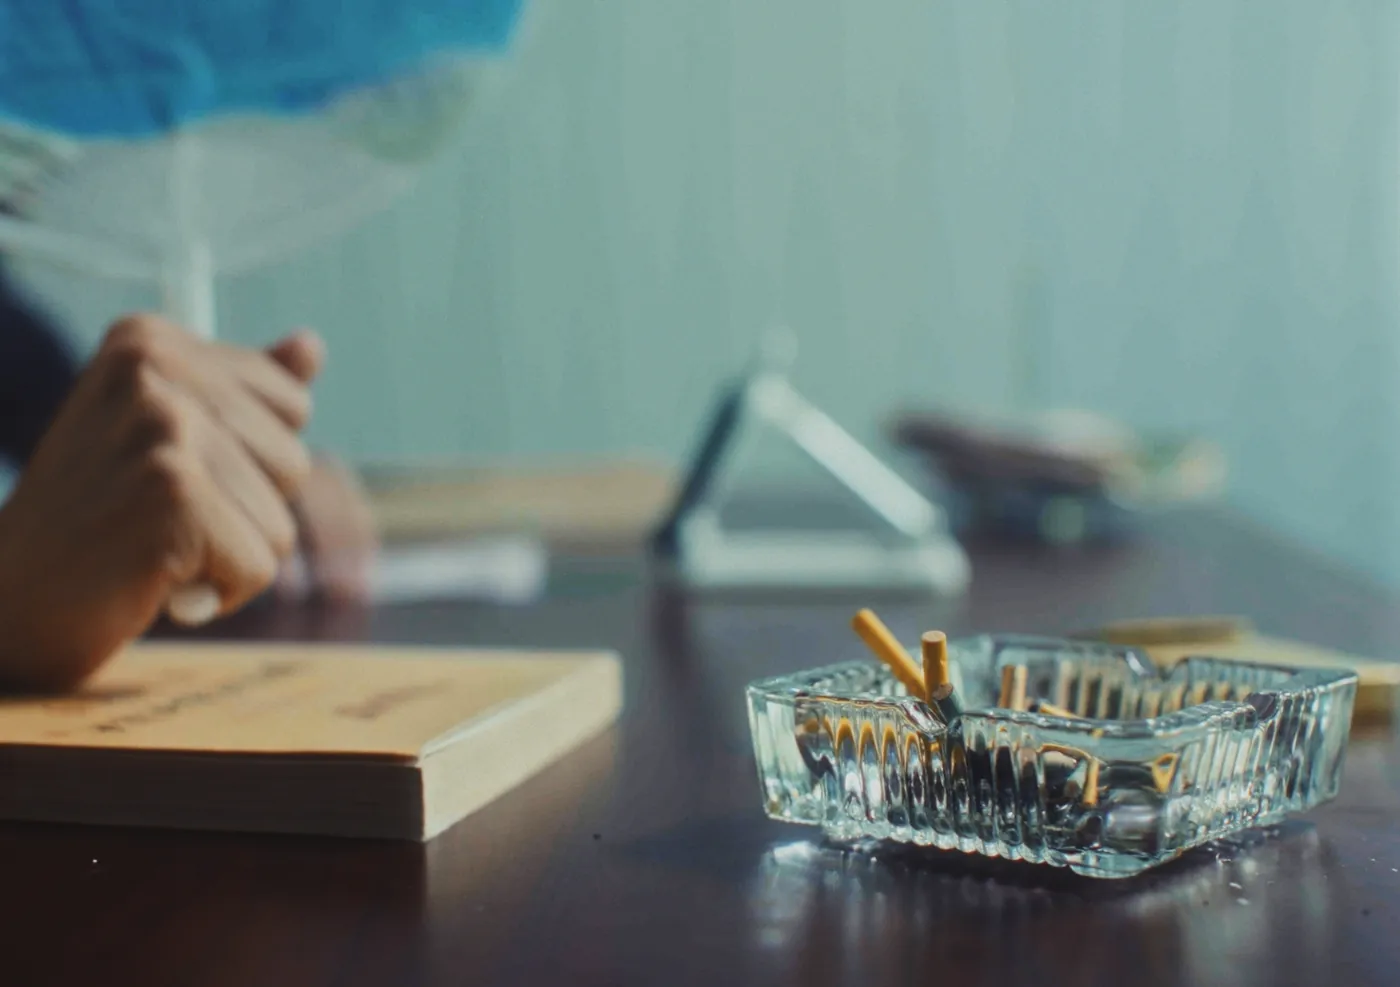
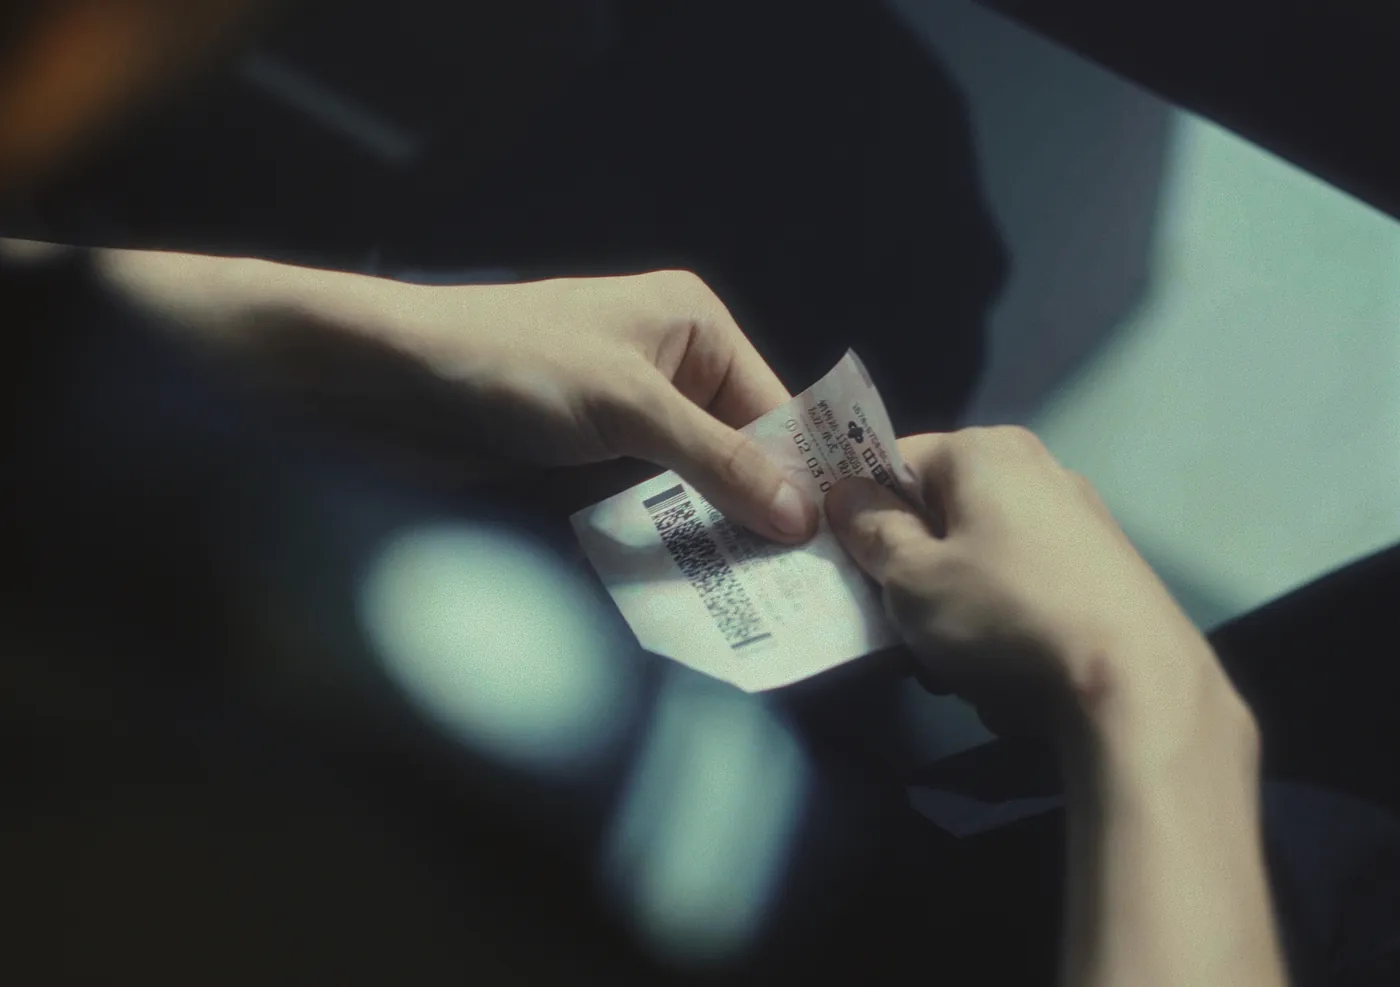
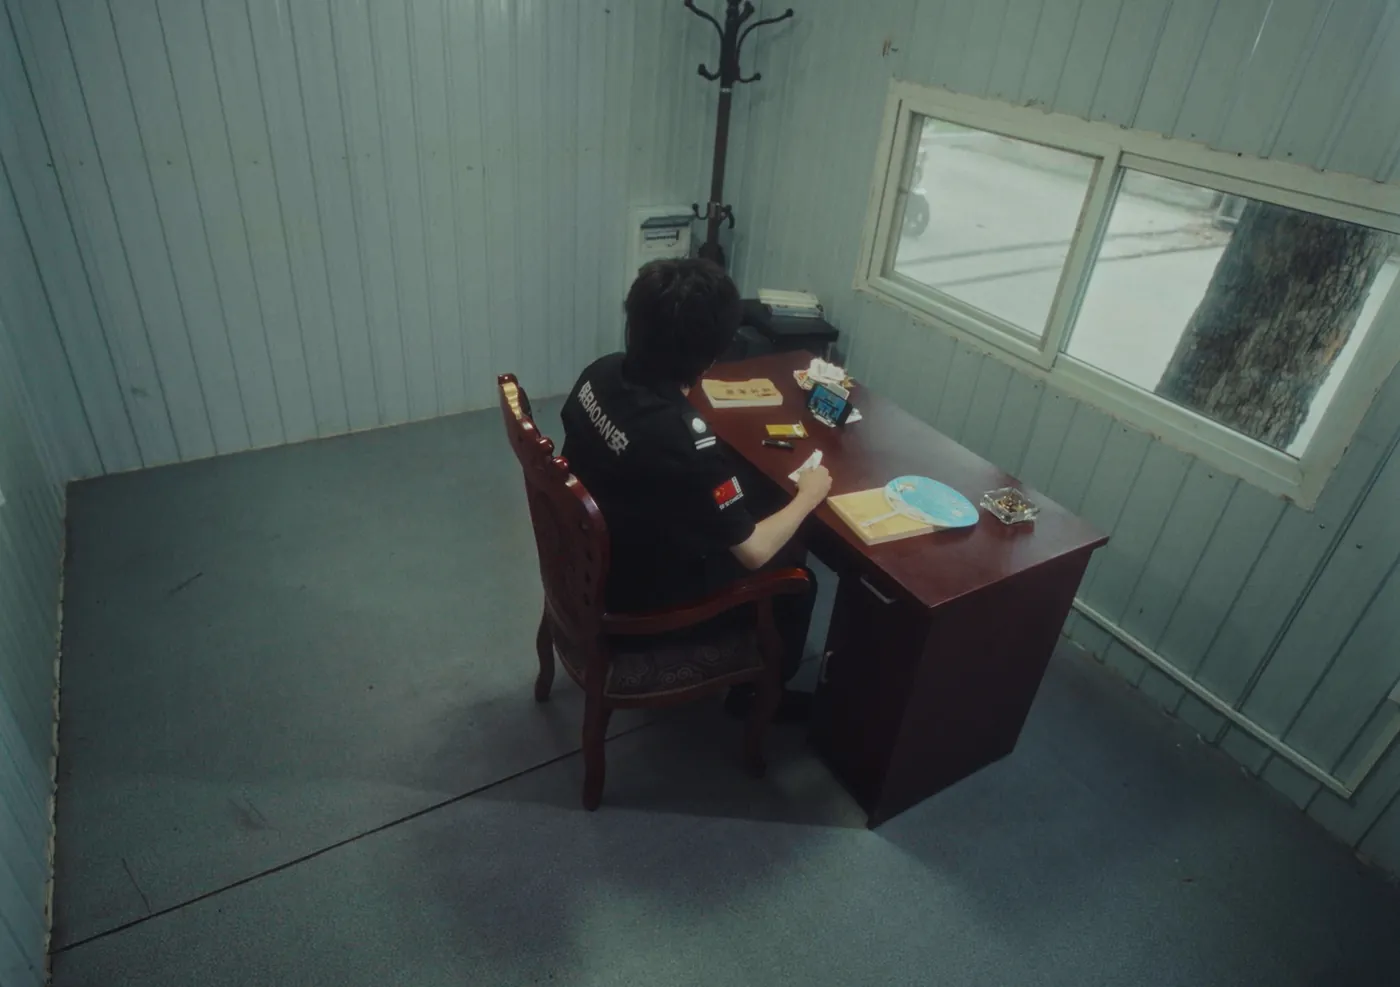

Peter Stark Project
- Type
- Color Grading
- Role
- Colorist
- Year
- To be added
- Software
- DaVinci Resolve Studio
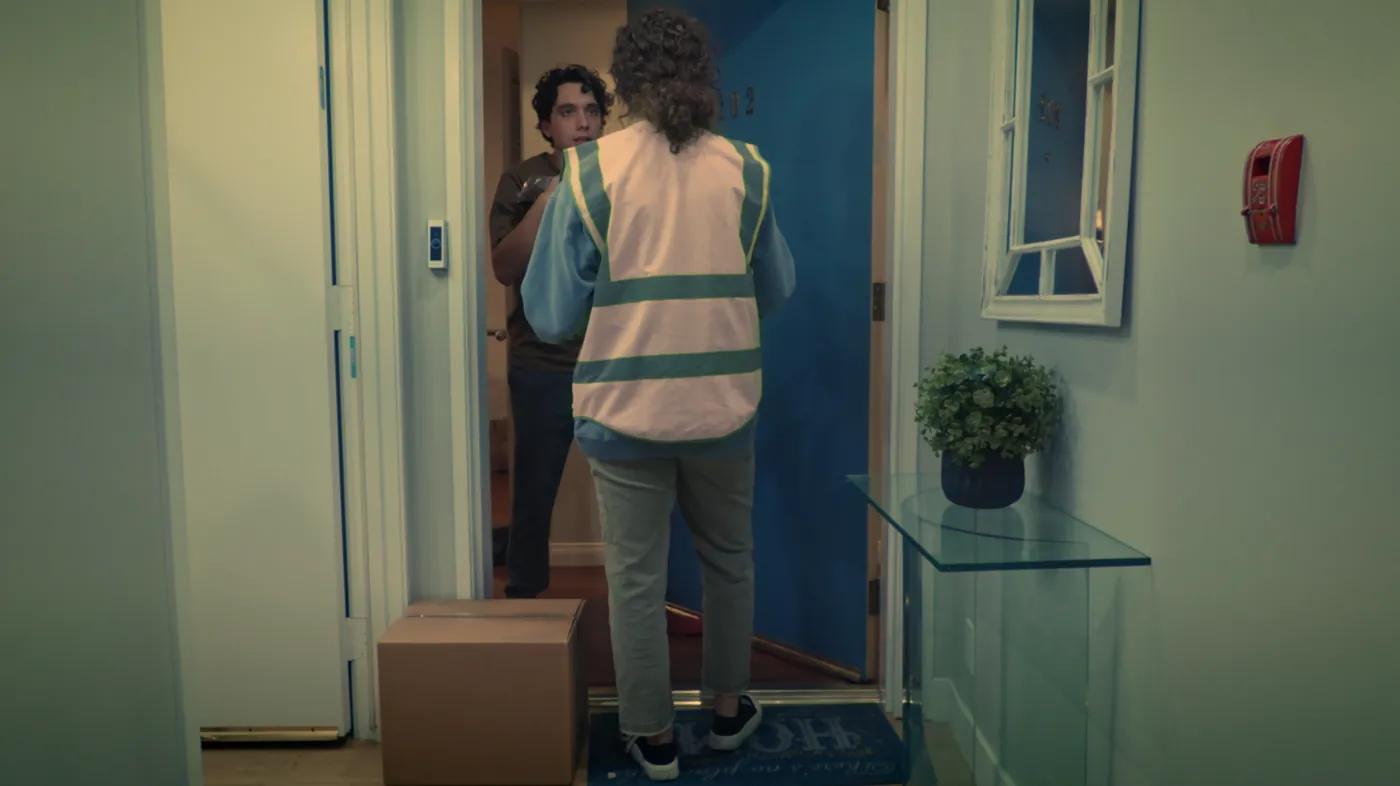
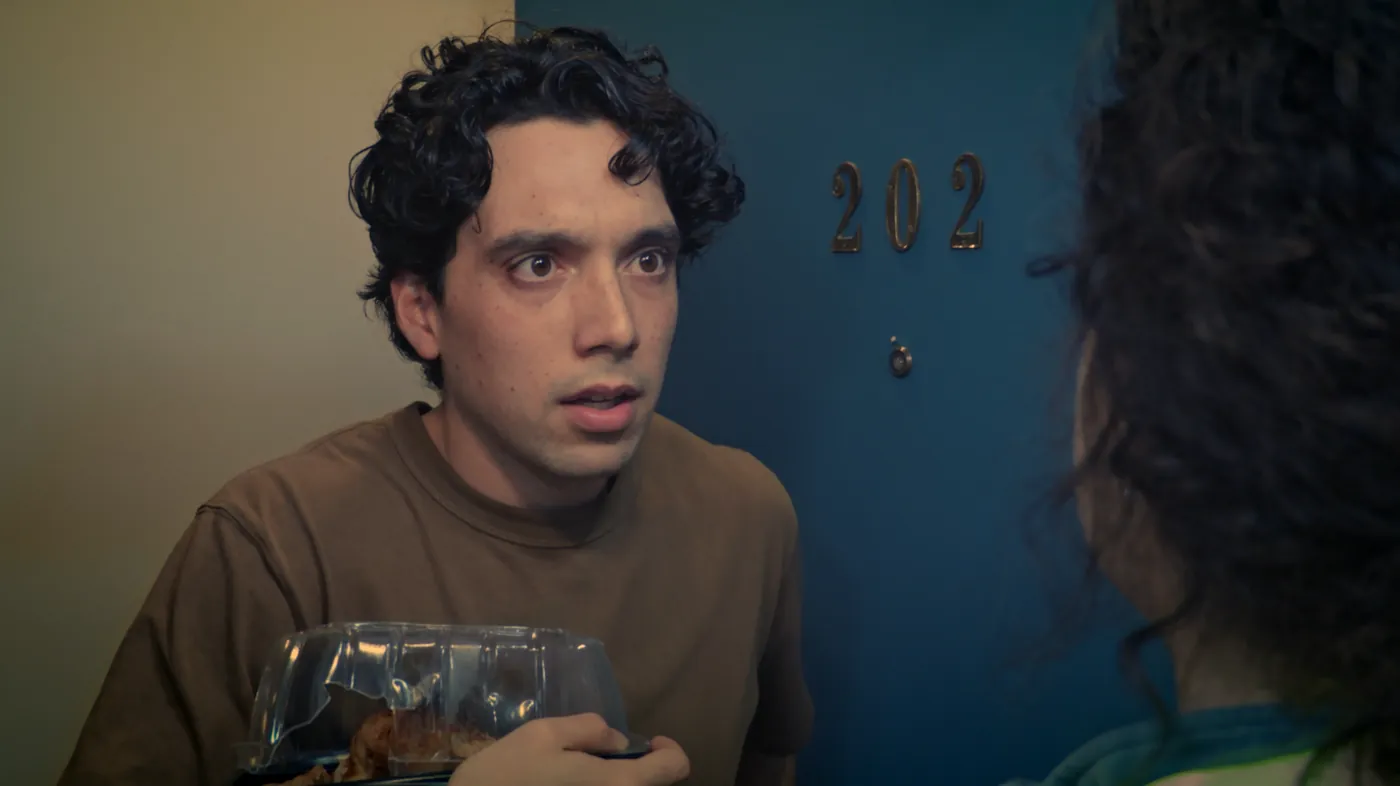
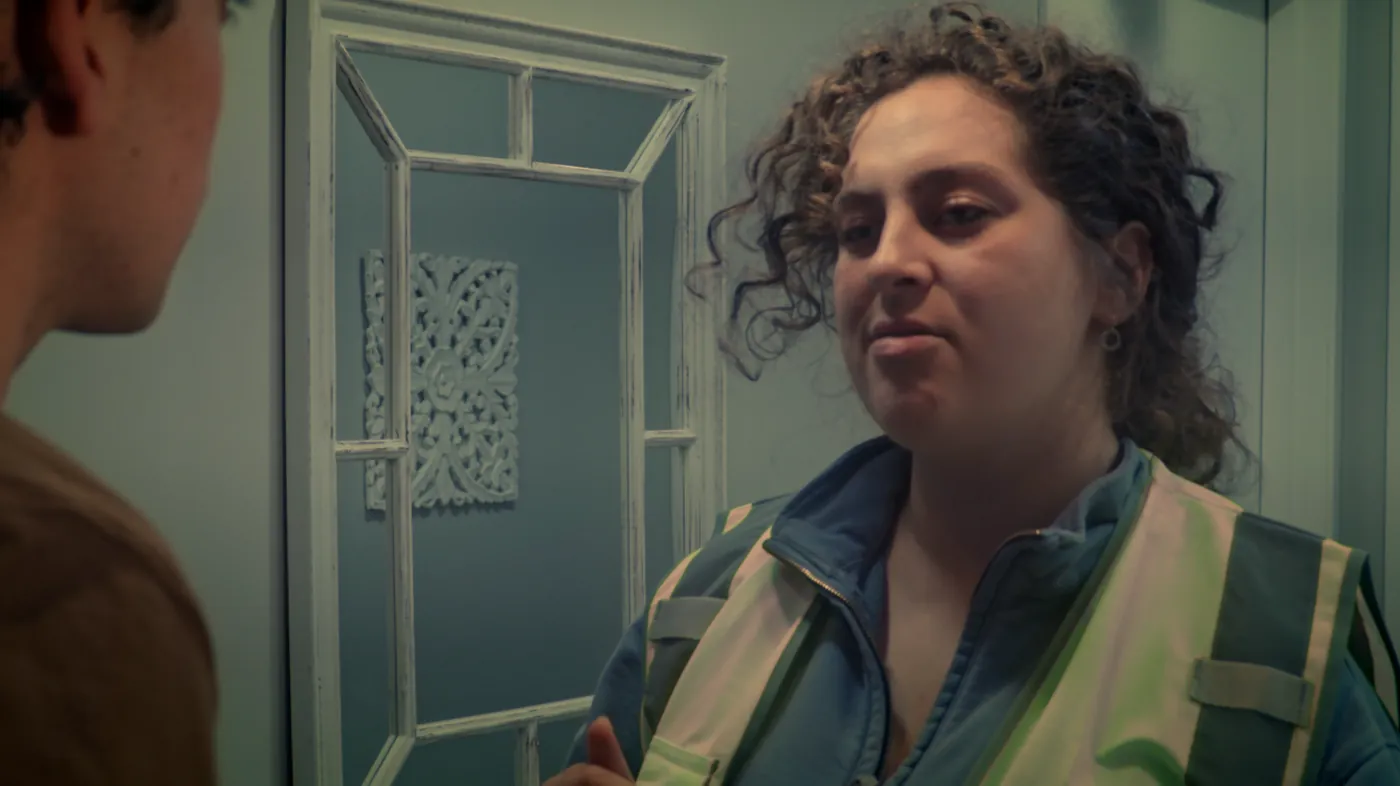
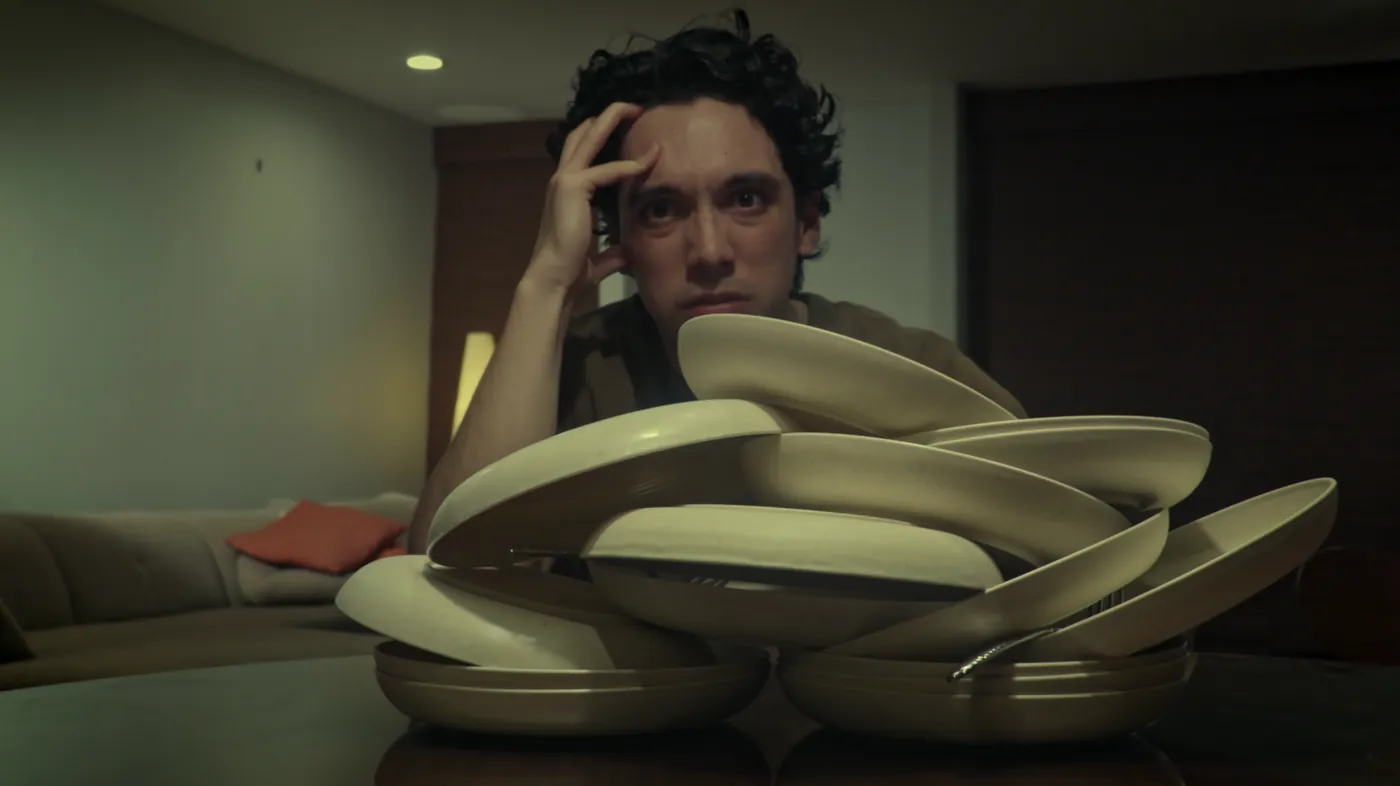
Overview
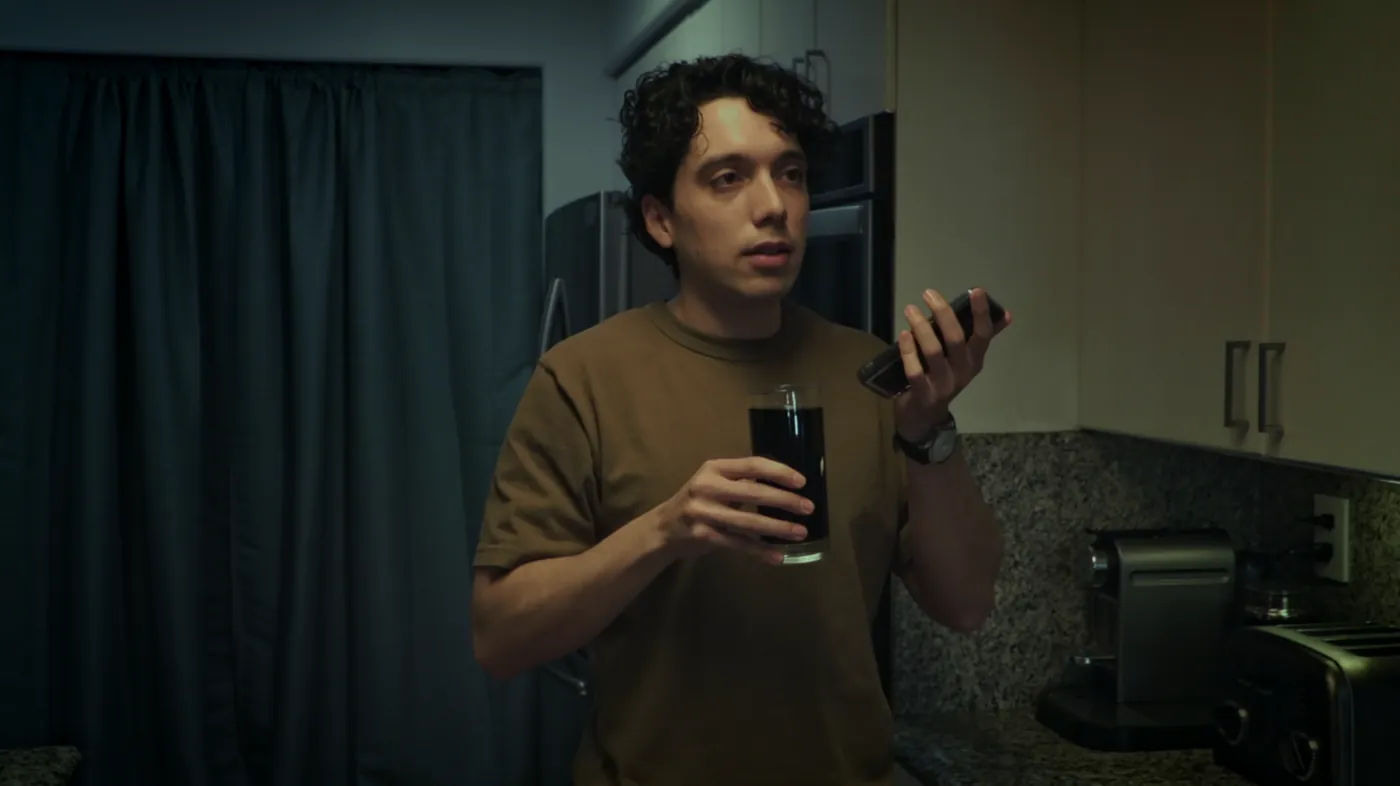
Color grading stills from the Peter Stark Project.
Querida
- Type
- Color Grading
- Role
- DP / Colorist
- Year
- To be added
- Software
- DaVinci Resolve Studio
Overview
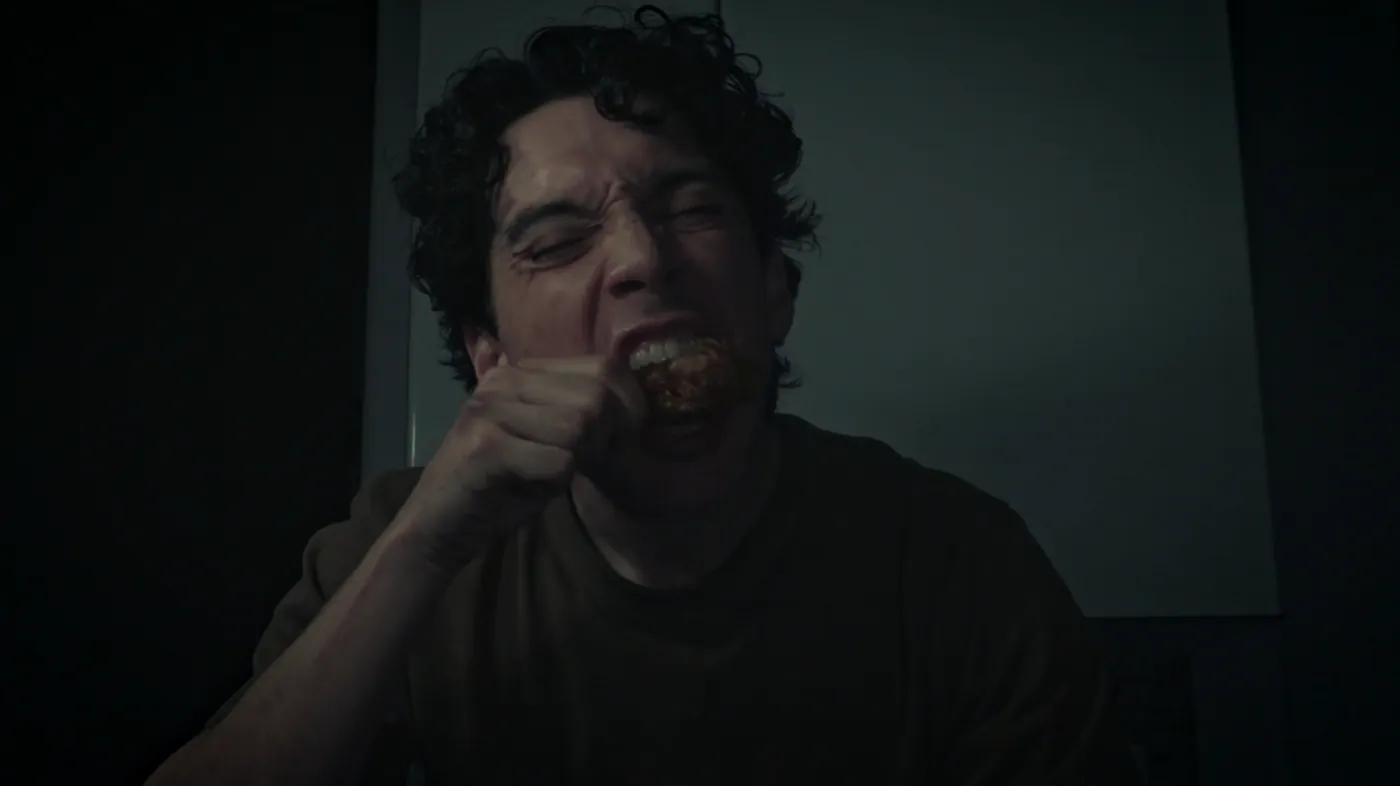
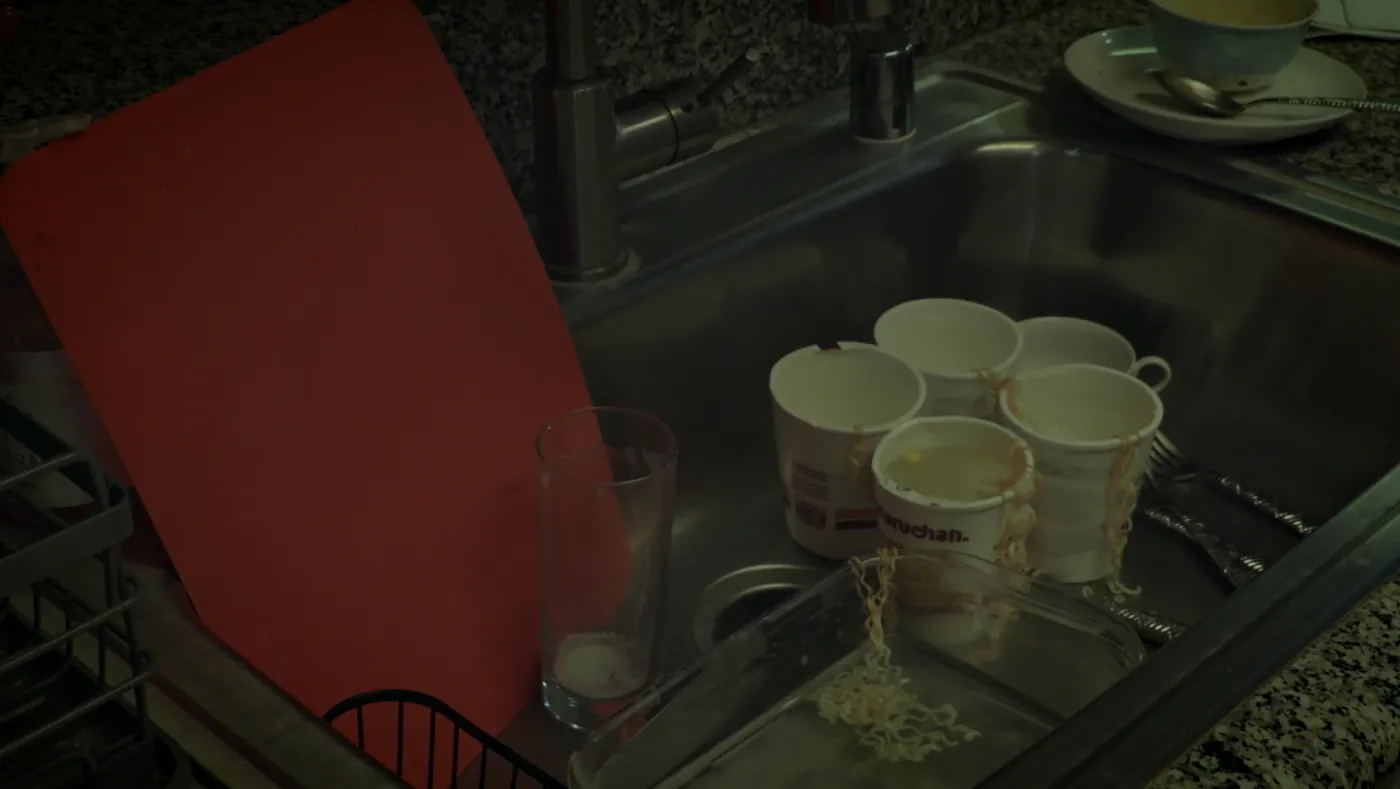
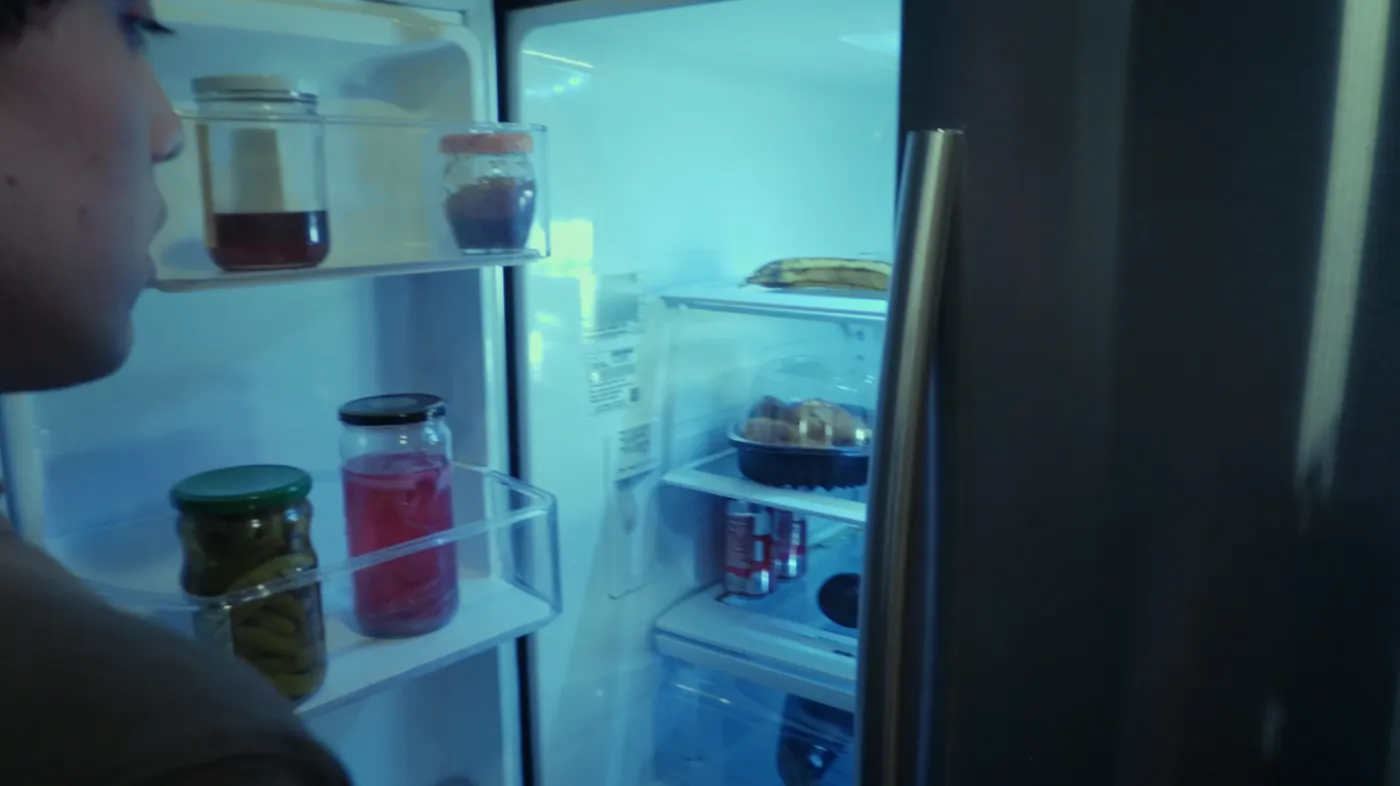
Color grading stills from Querida.

Don’t Tell Auntie Cici
- Type
- Color Grading
- Role
- Colorist
- Year
- To be added
- Software
- DaVinci Resolve Studio
Overview
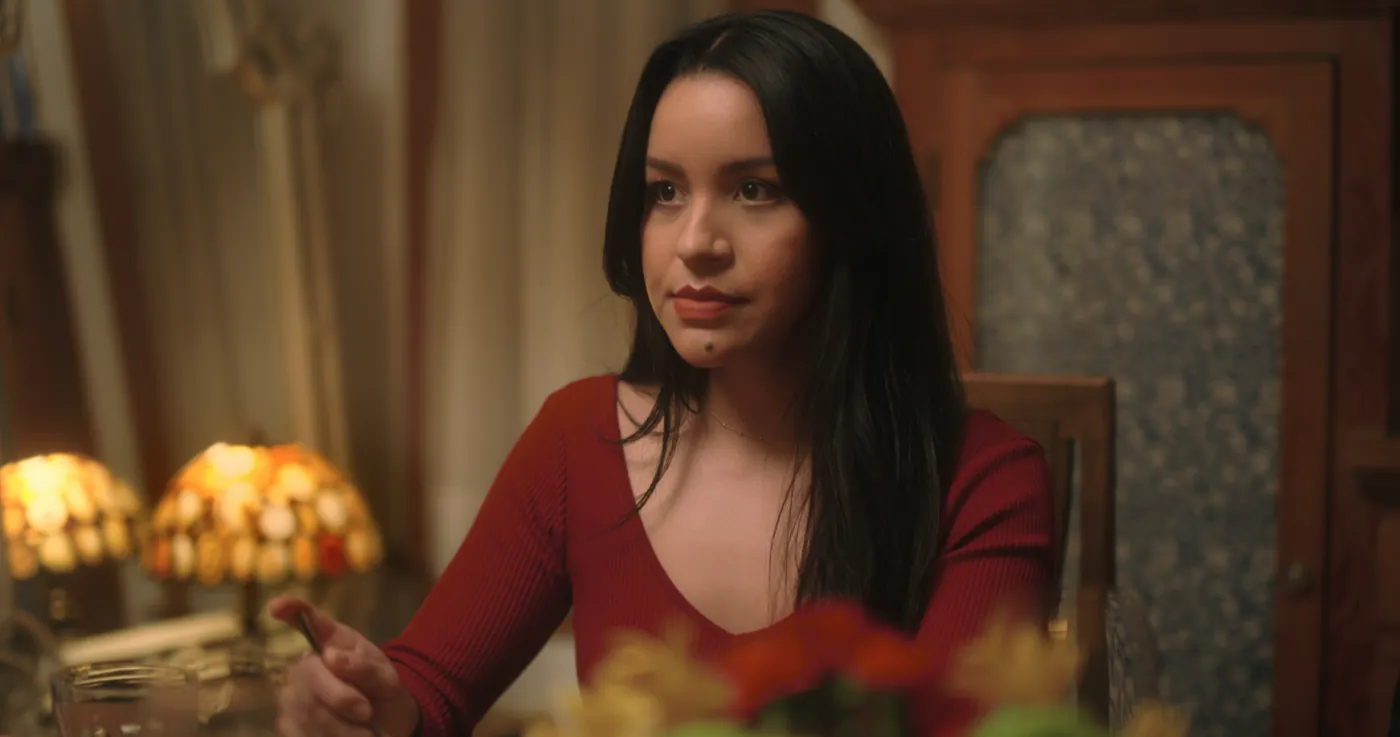
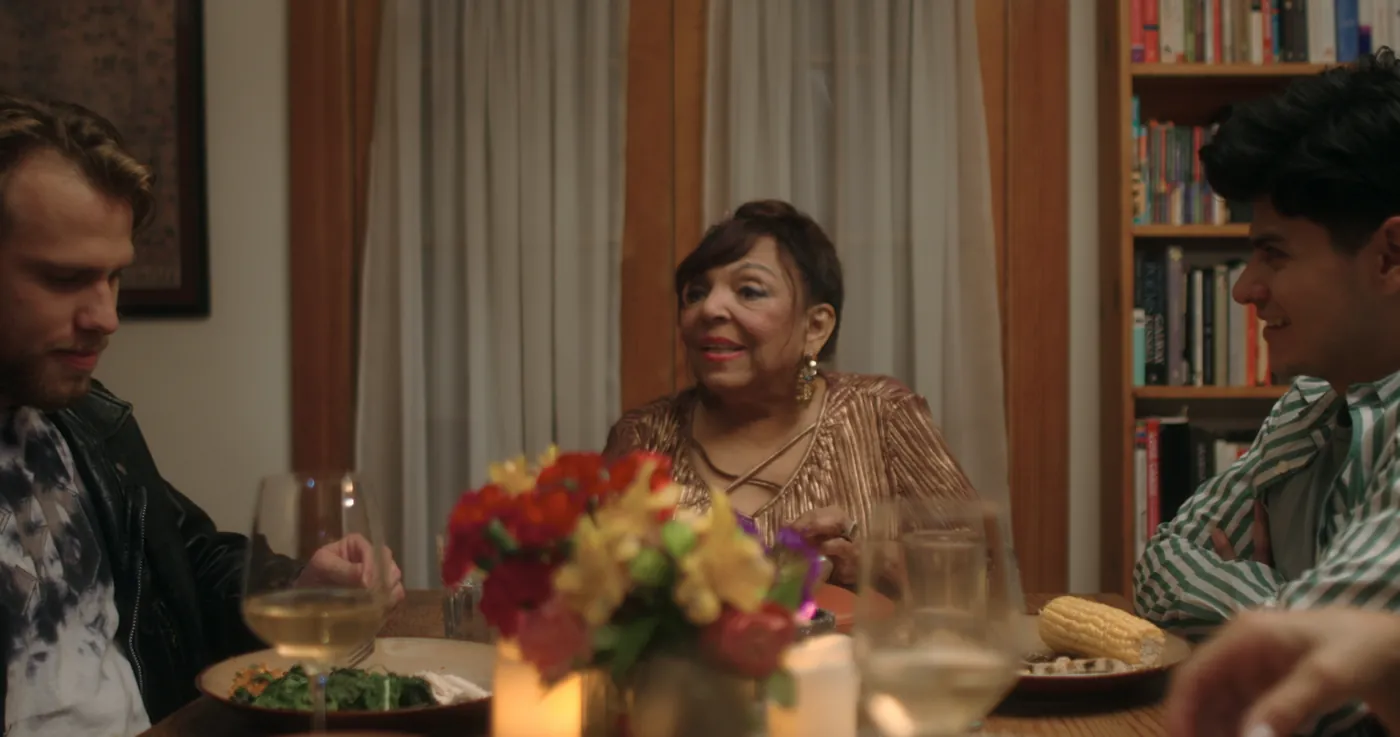
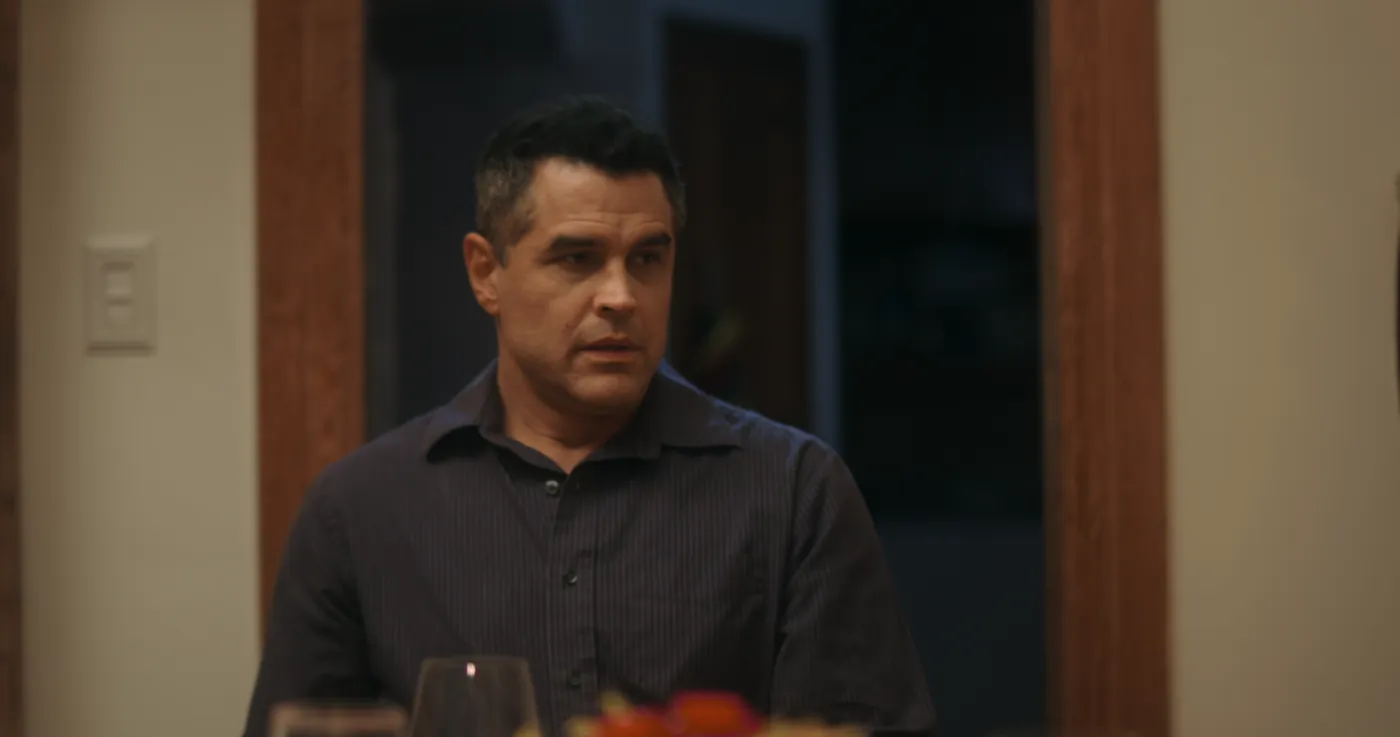
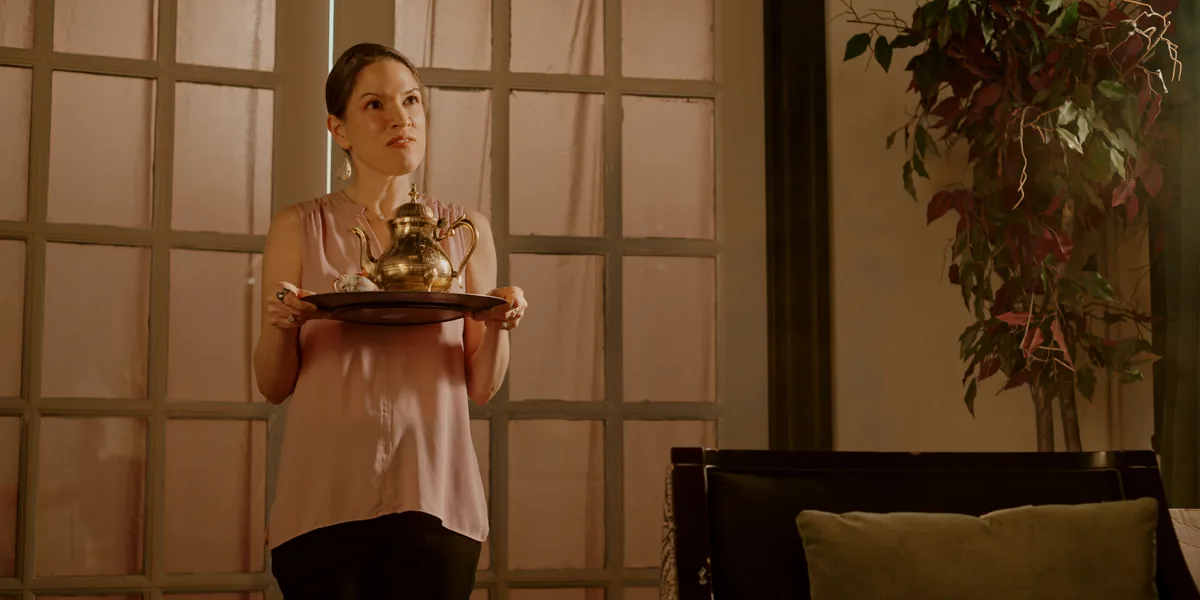
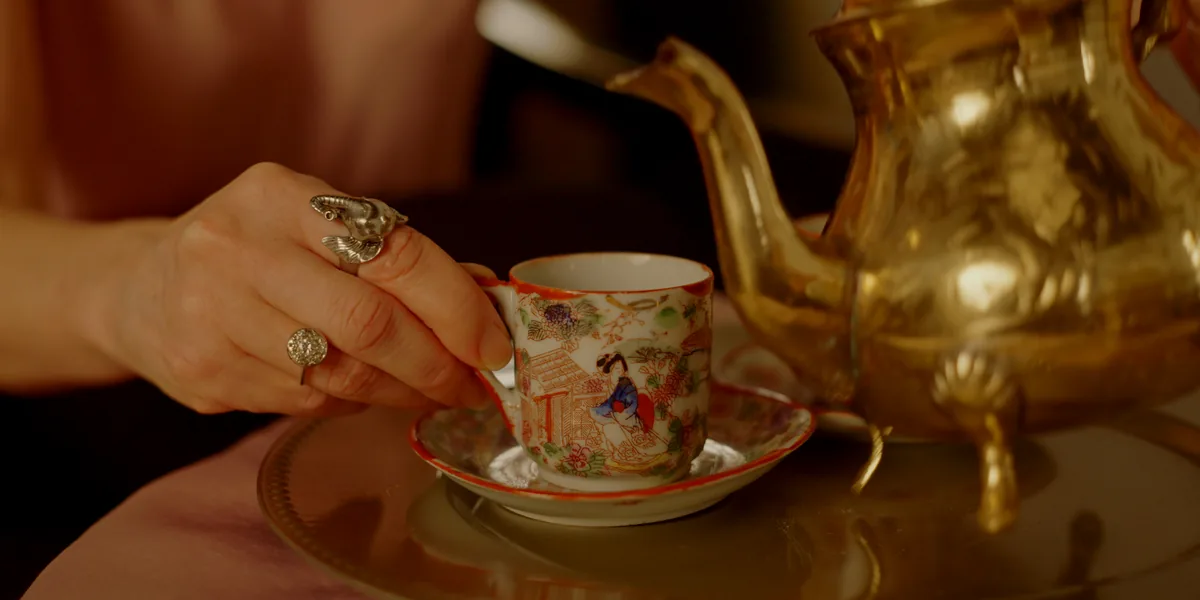
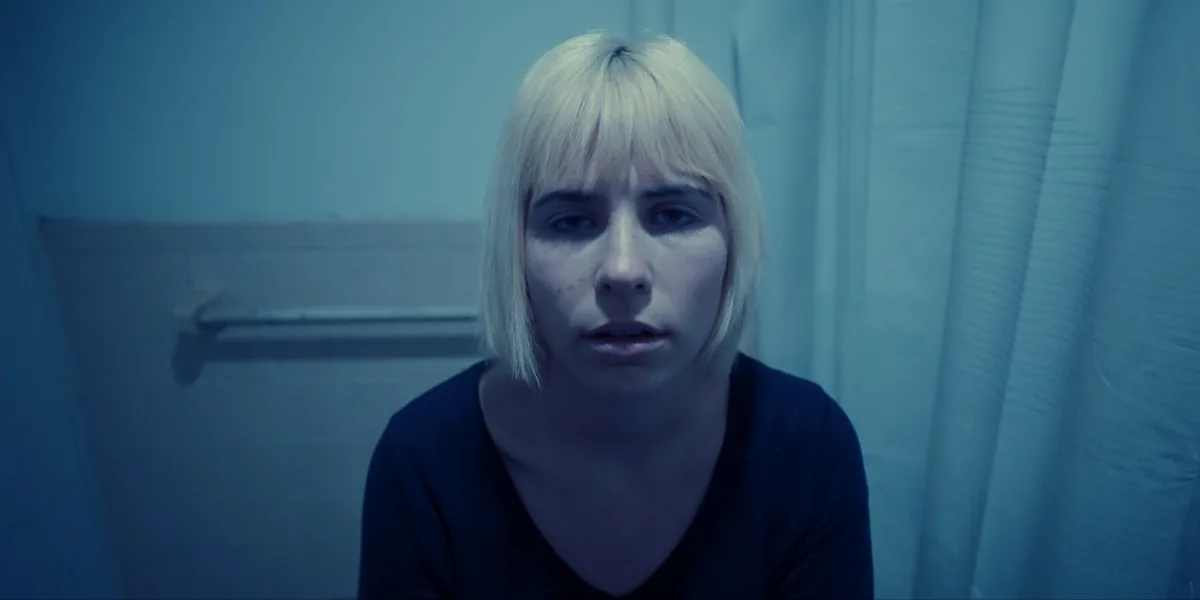
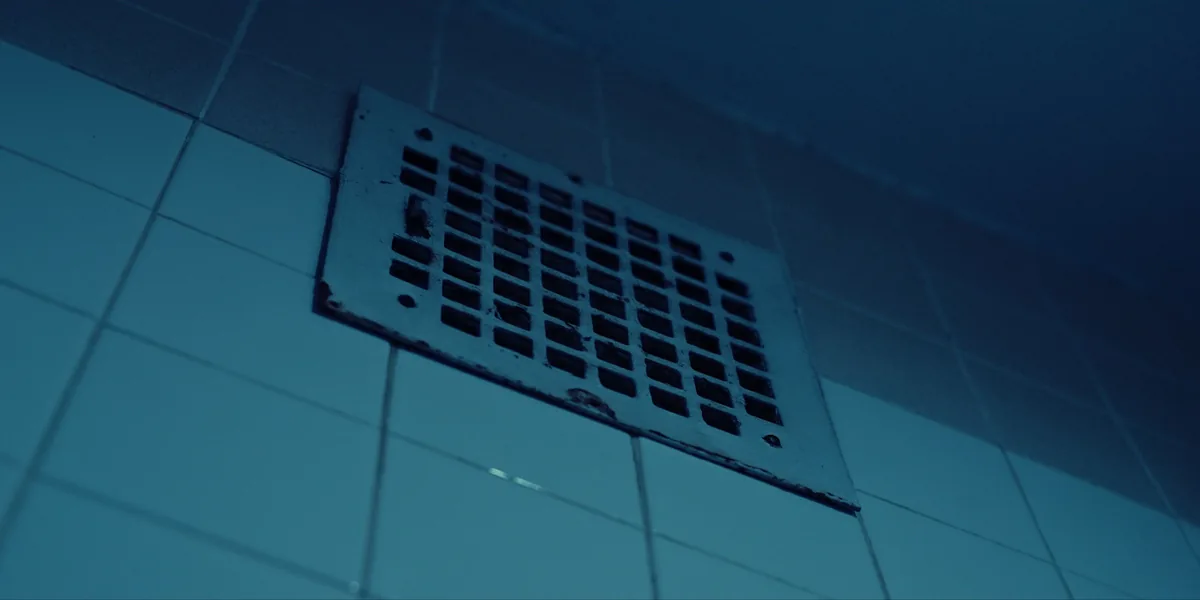
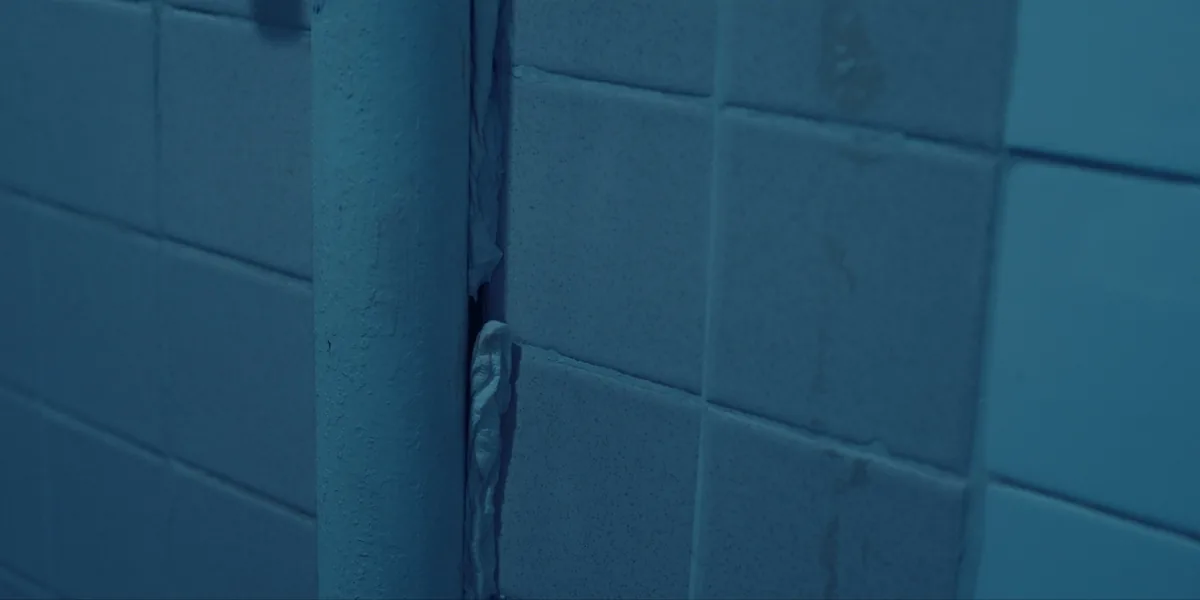
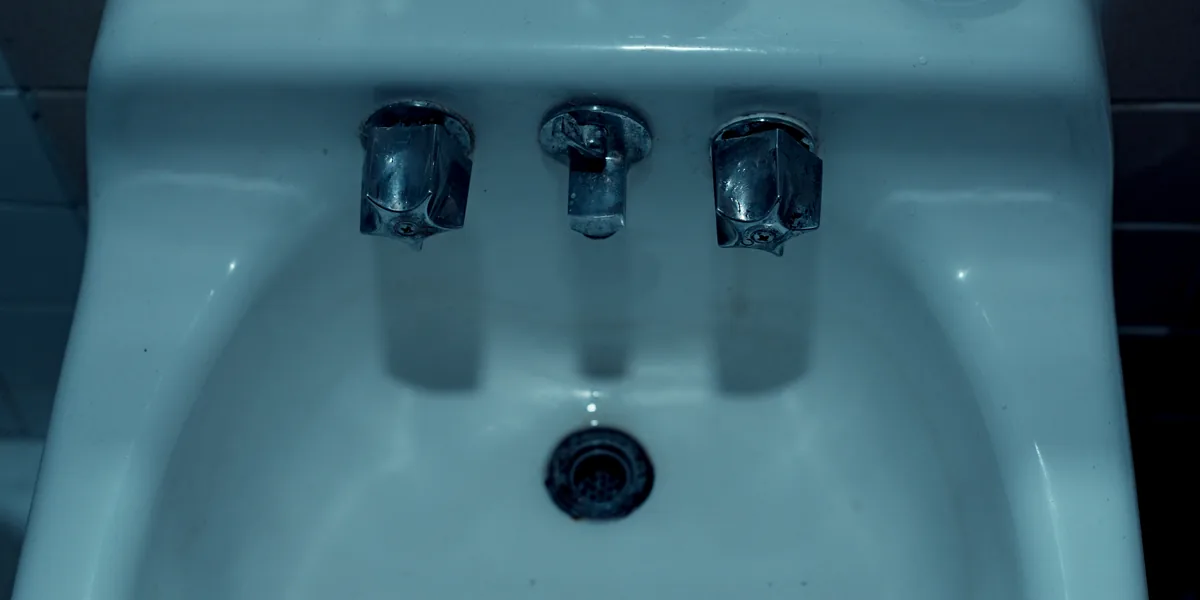
Color grading stills from Don’t Tell Auntie Cici.

Little Chapel
- Type
- Color Grading
- Role
- Colorist
- Year
- To be added
- Software
- DaVinci Resolve Studio
Overview
Color grading stills from Little Chapel.

Diamond Heist
- Type
- Color Grading
- Role
- Colorist
- Year
- To be added
- Software
- DaVinci Resolve Studio
Overview
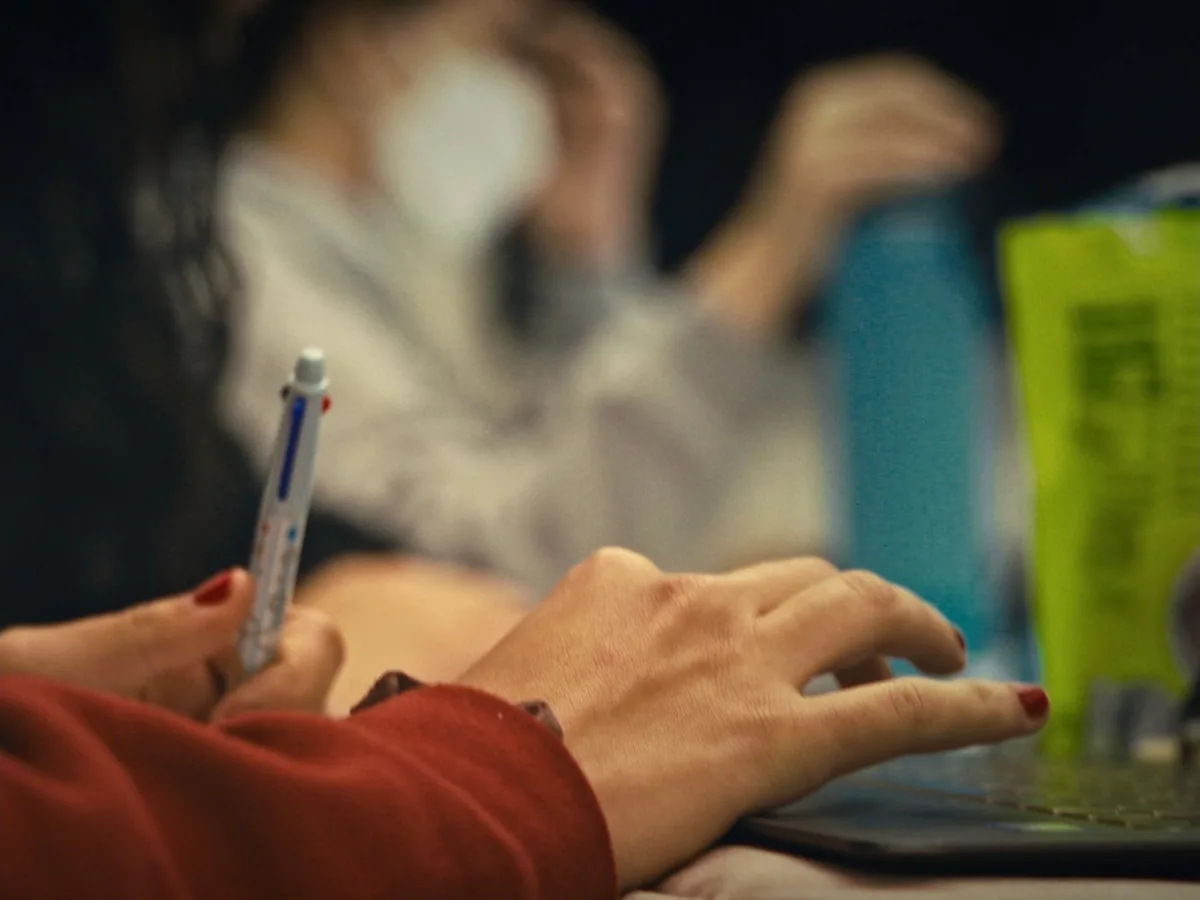
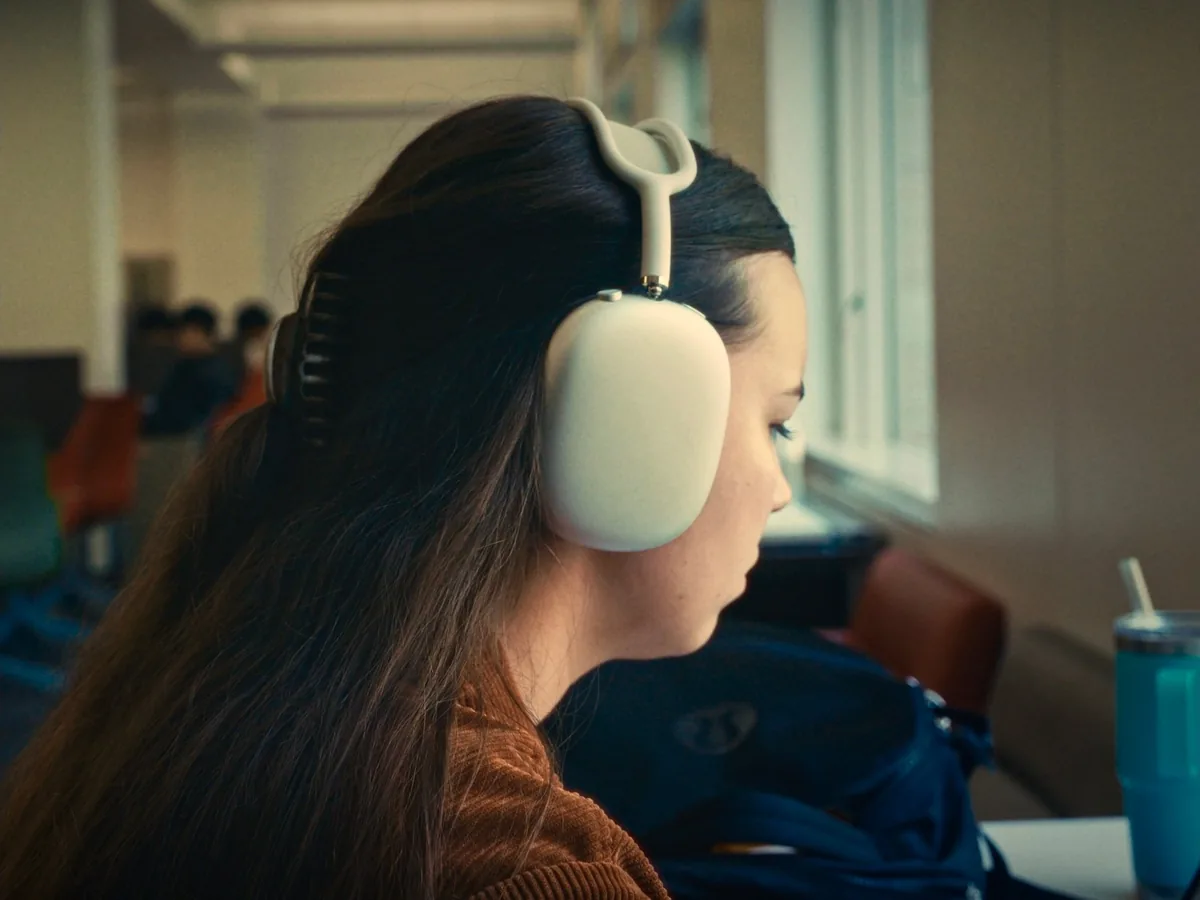
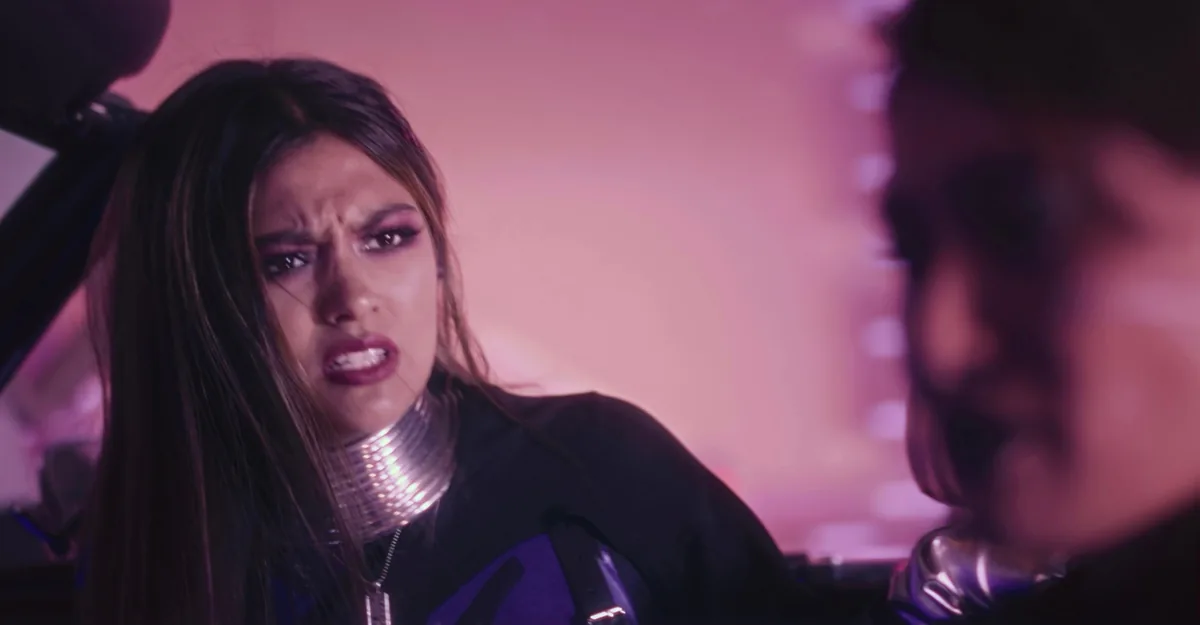
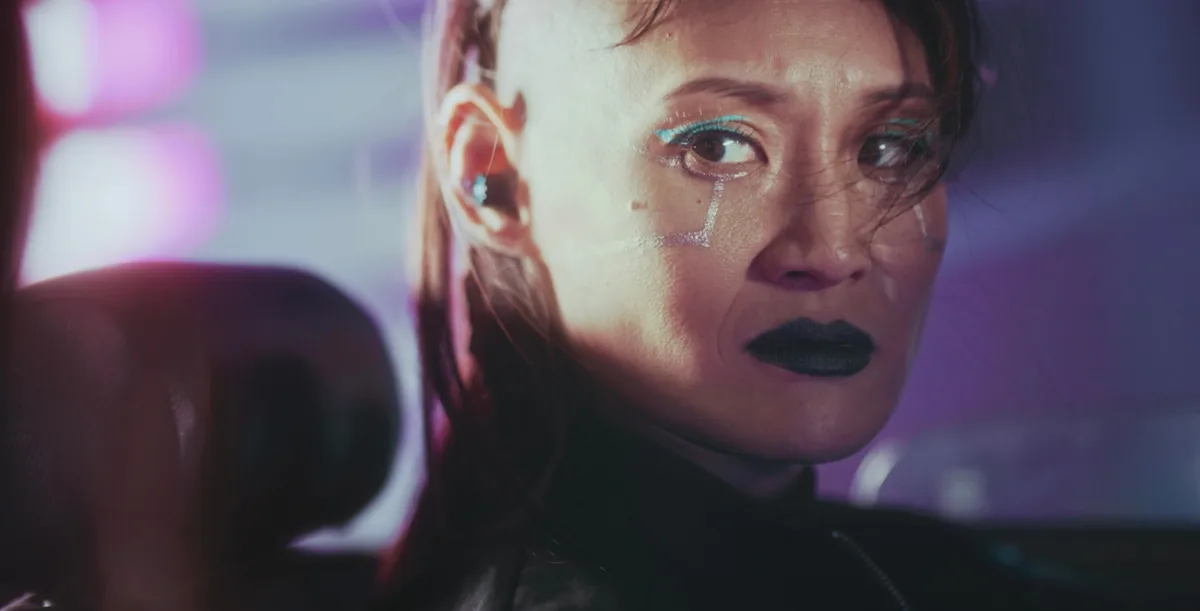
Color grading stills from Diamond Heist.
Sweet Begonias
- Type
- Color Grading
- Role
- Colorist
- Year
- To be added
- Software
- DaVinci Resolve Studio
Overview
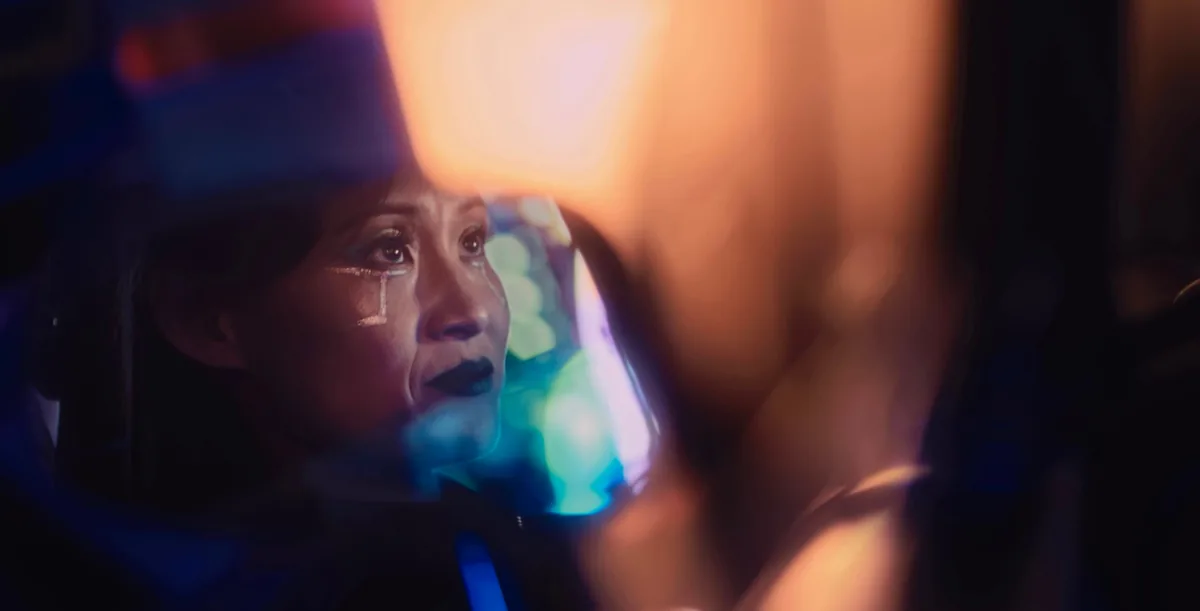
Color grading stills from Sweet Begonias.
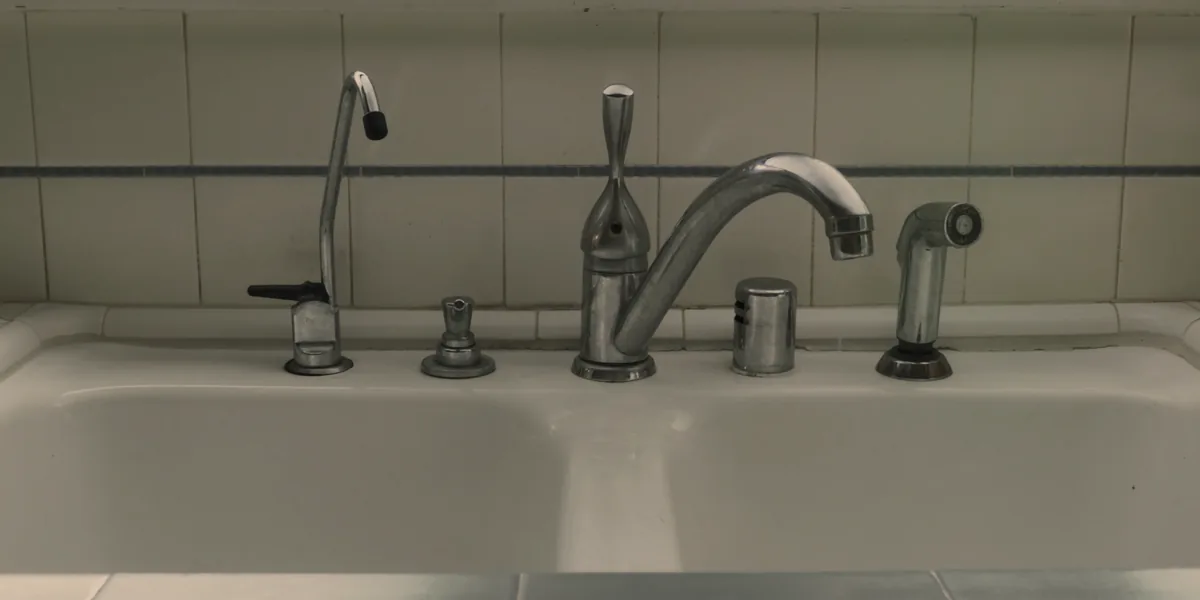
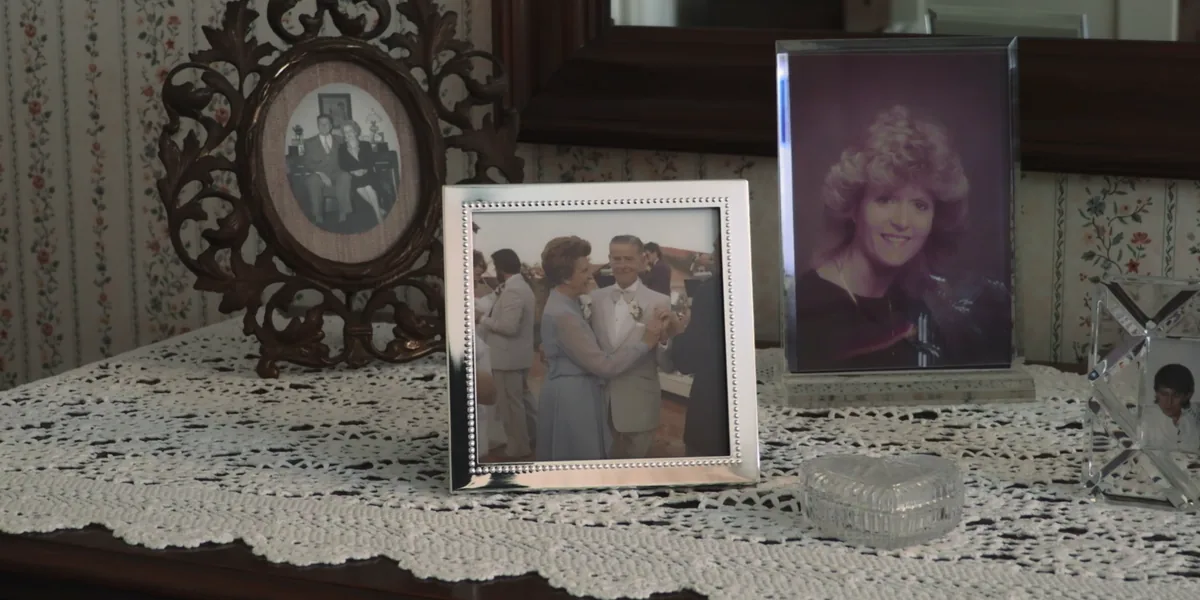
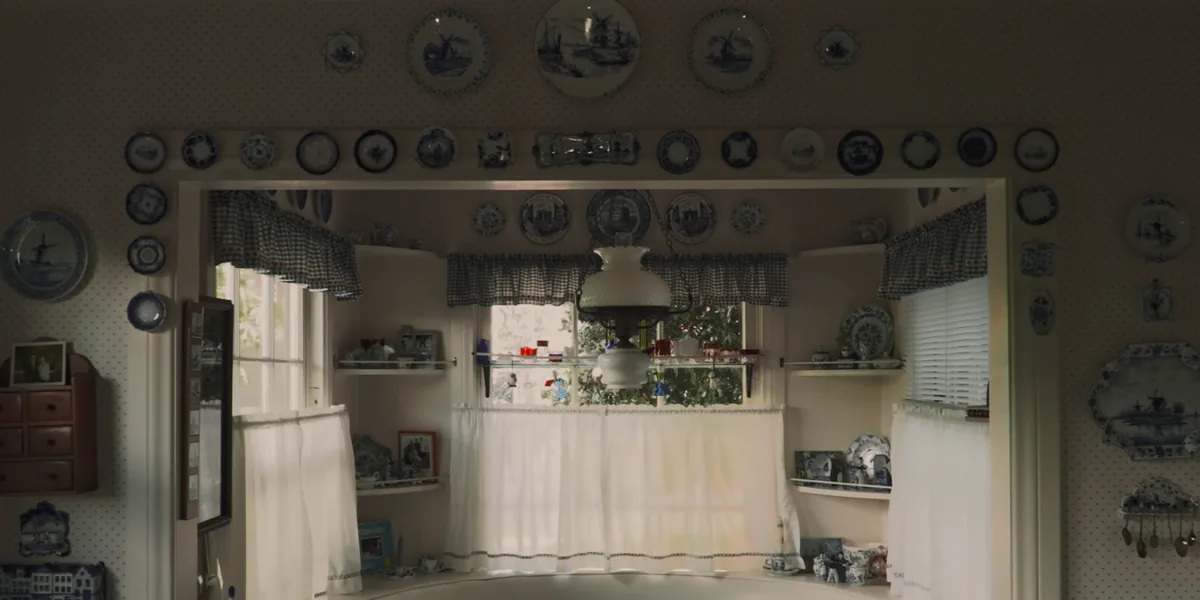
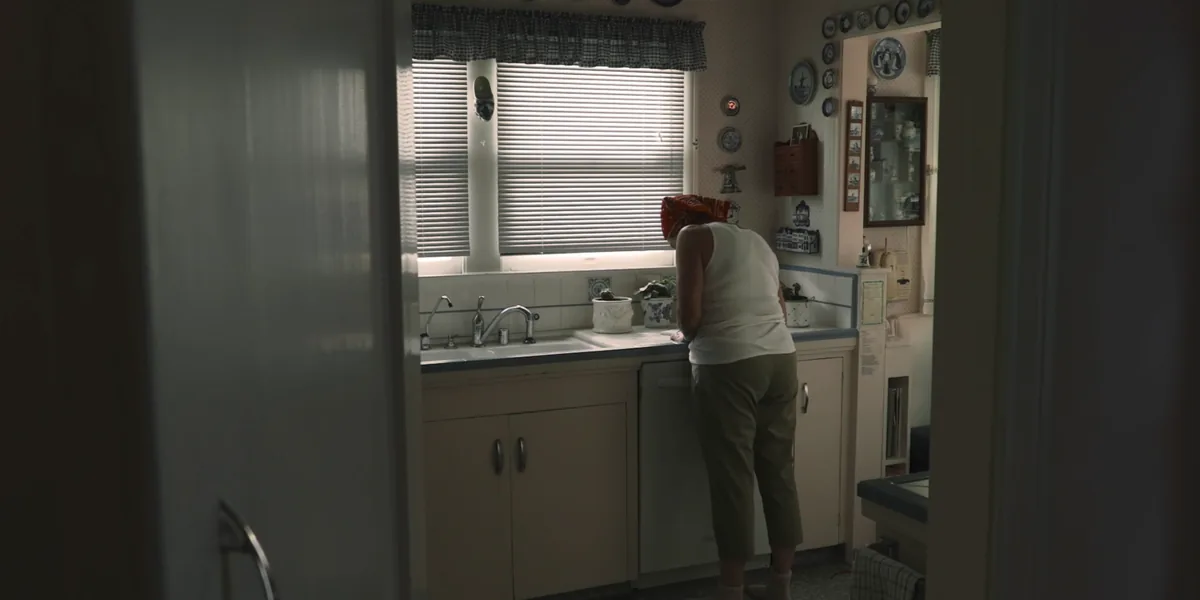
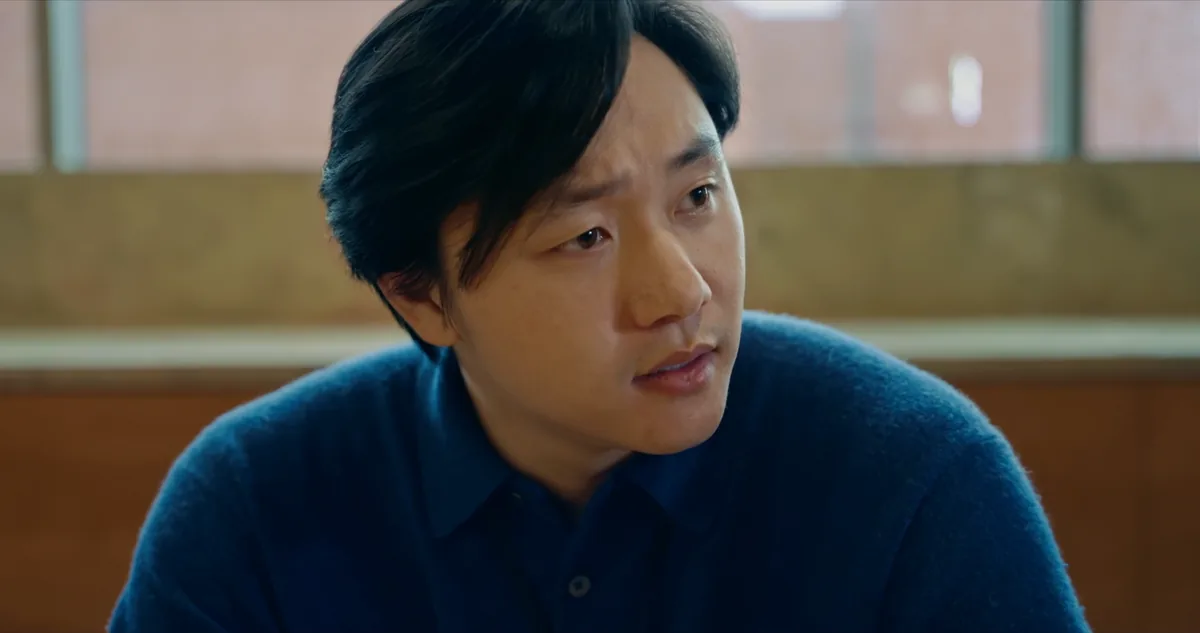
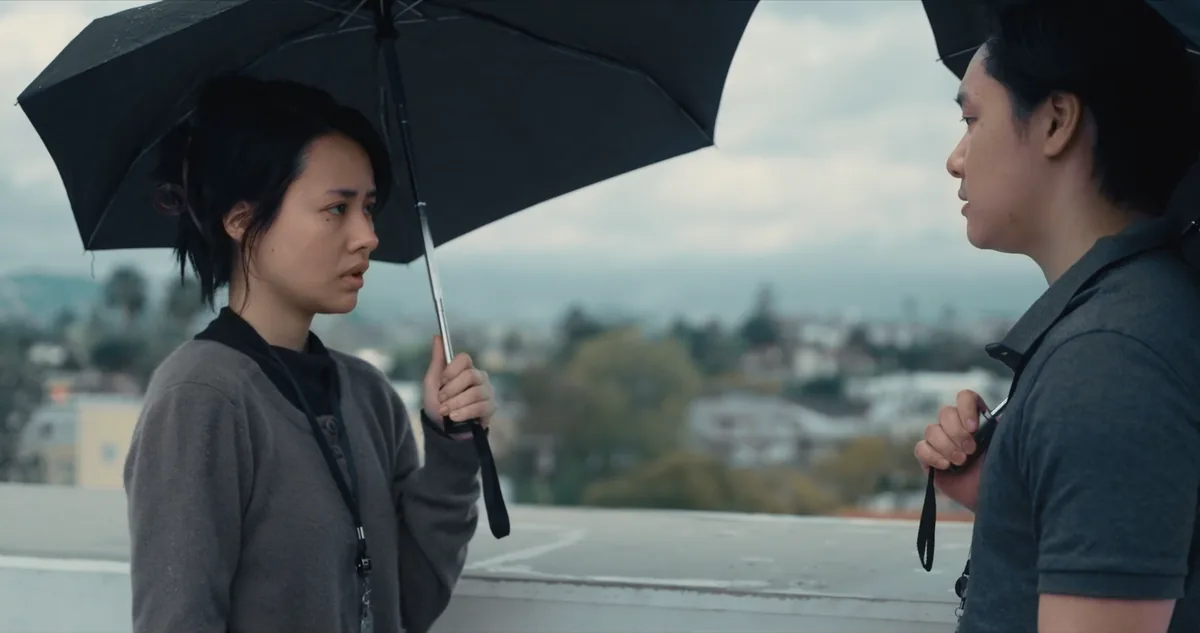
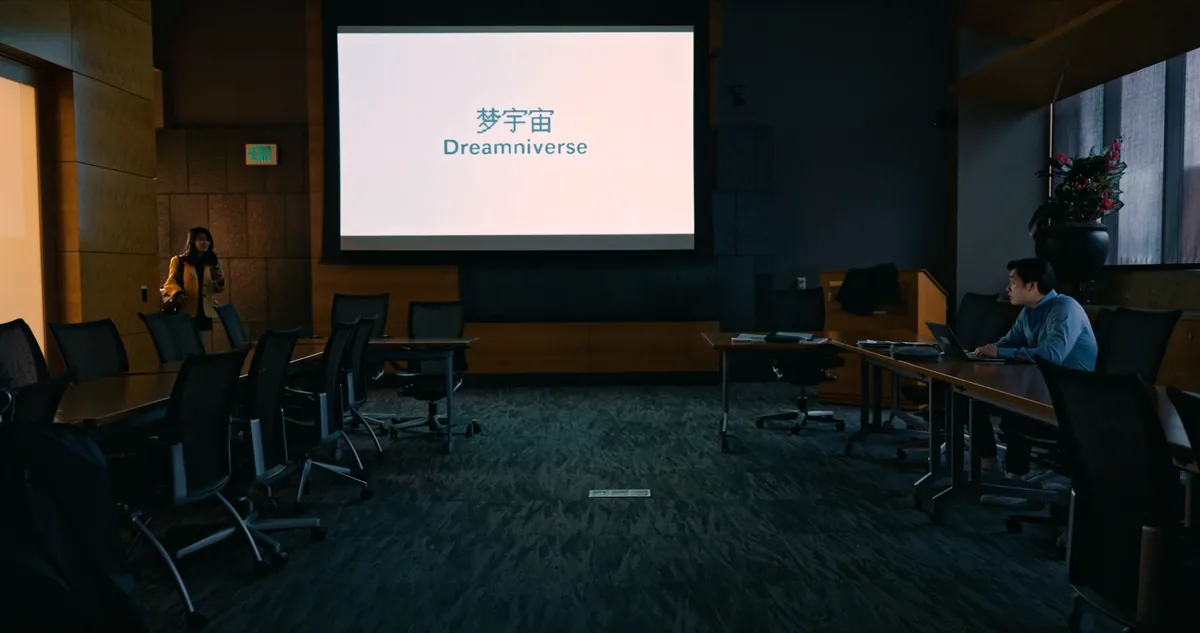
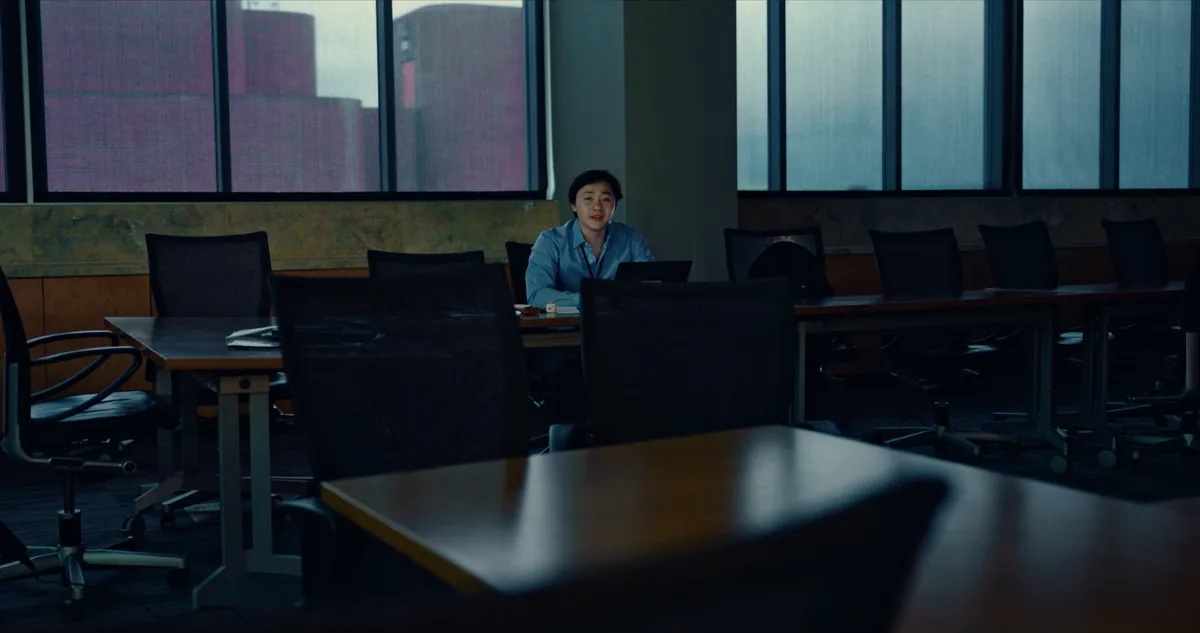
Overview
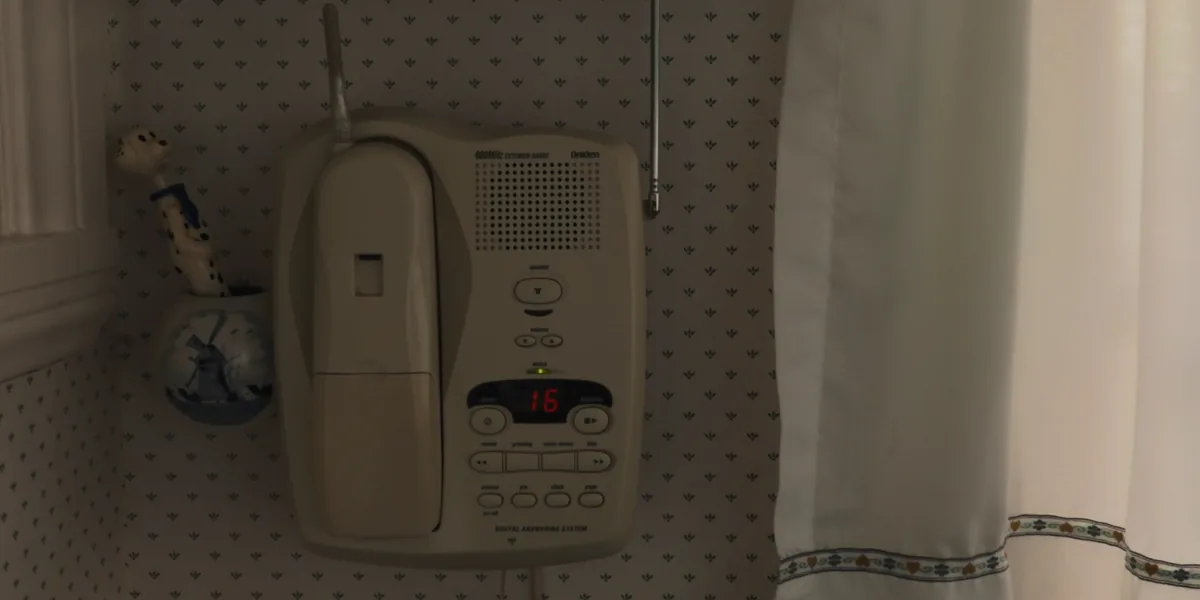
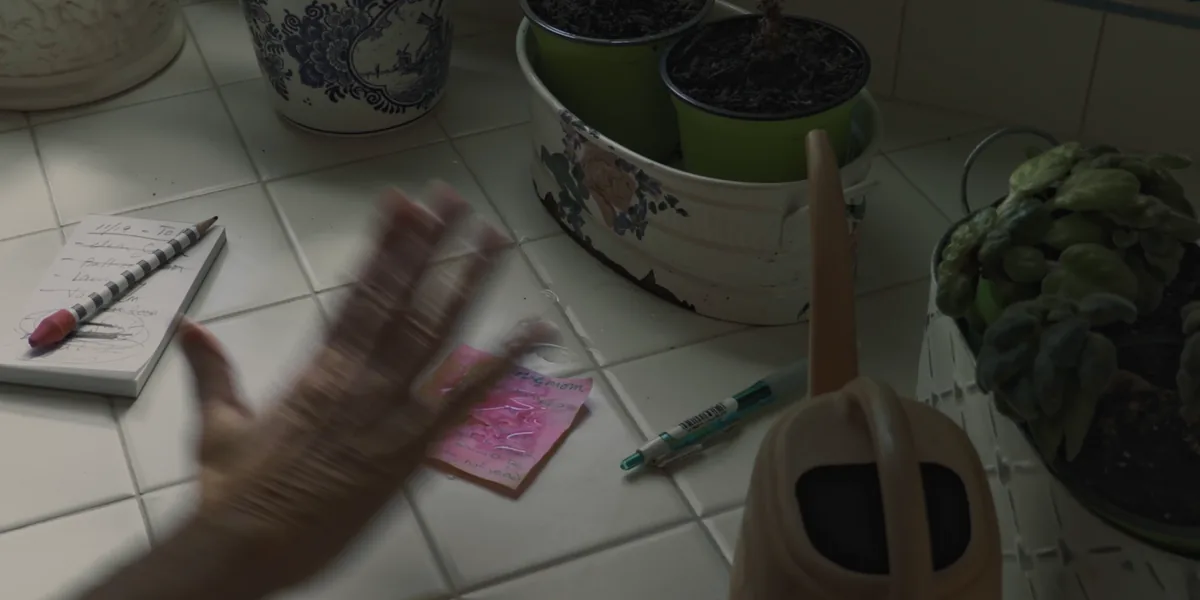
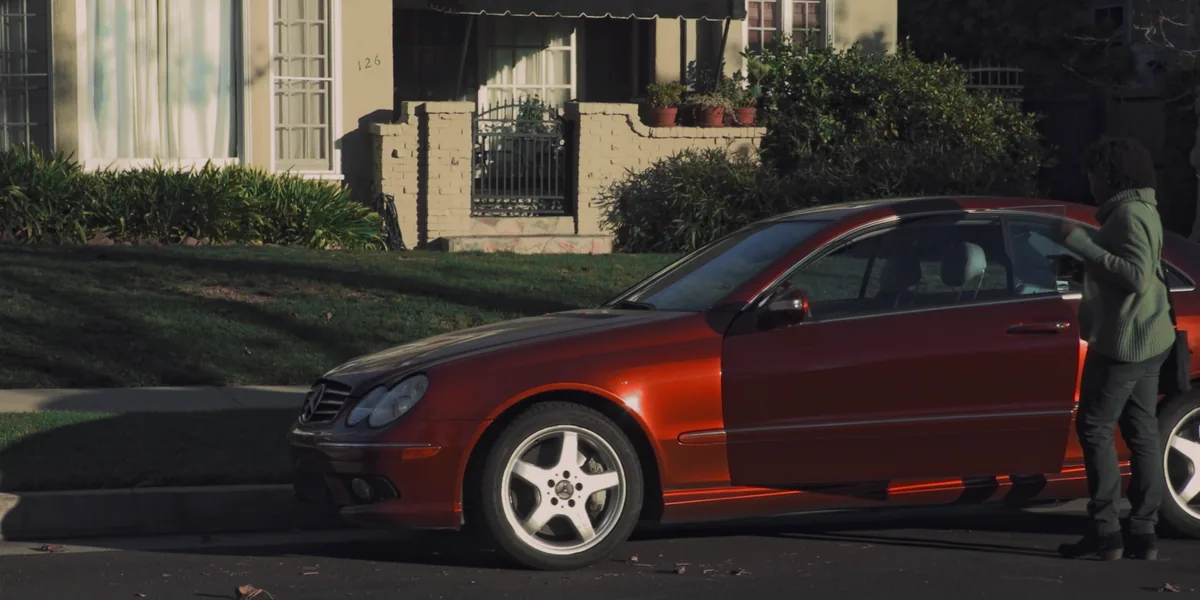
Color grading stills from Rooftop.

New York – Myko
- Type
- Color Grading
- Role
- Colorist
- Year
- To be added
- Software
- DaVinci Resolve Studio
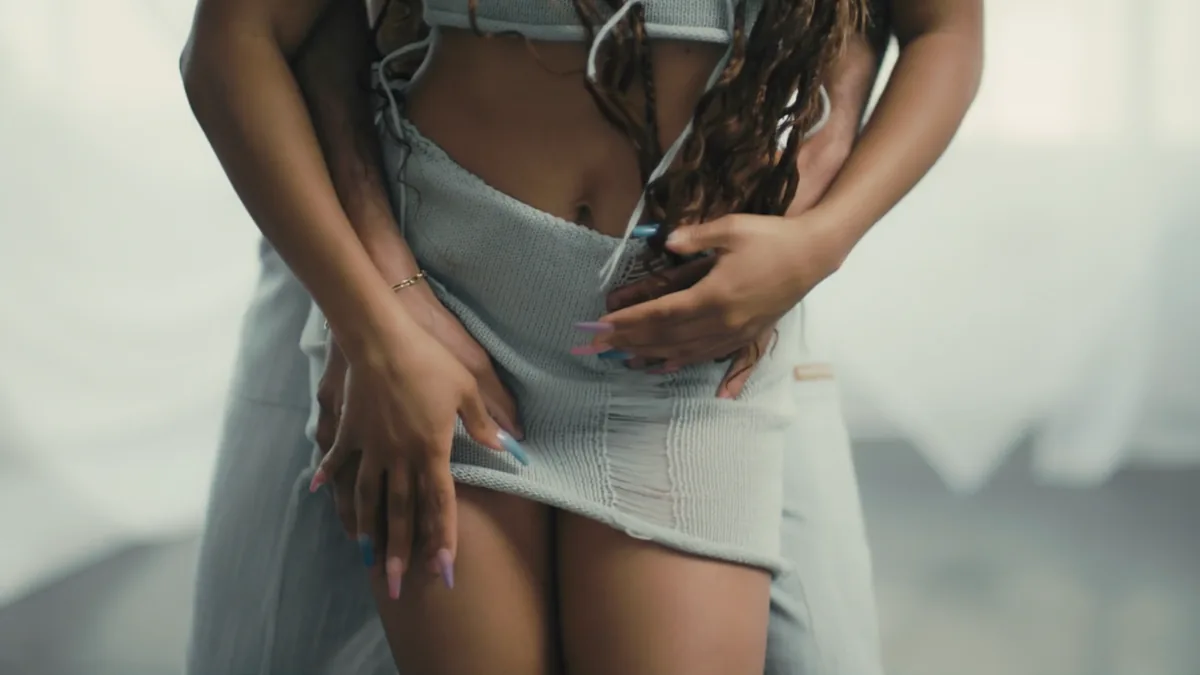
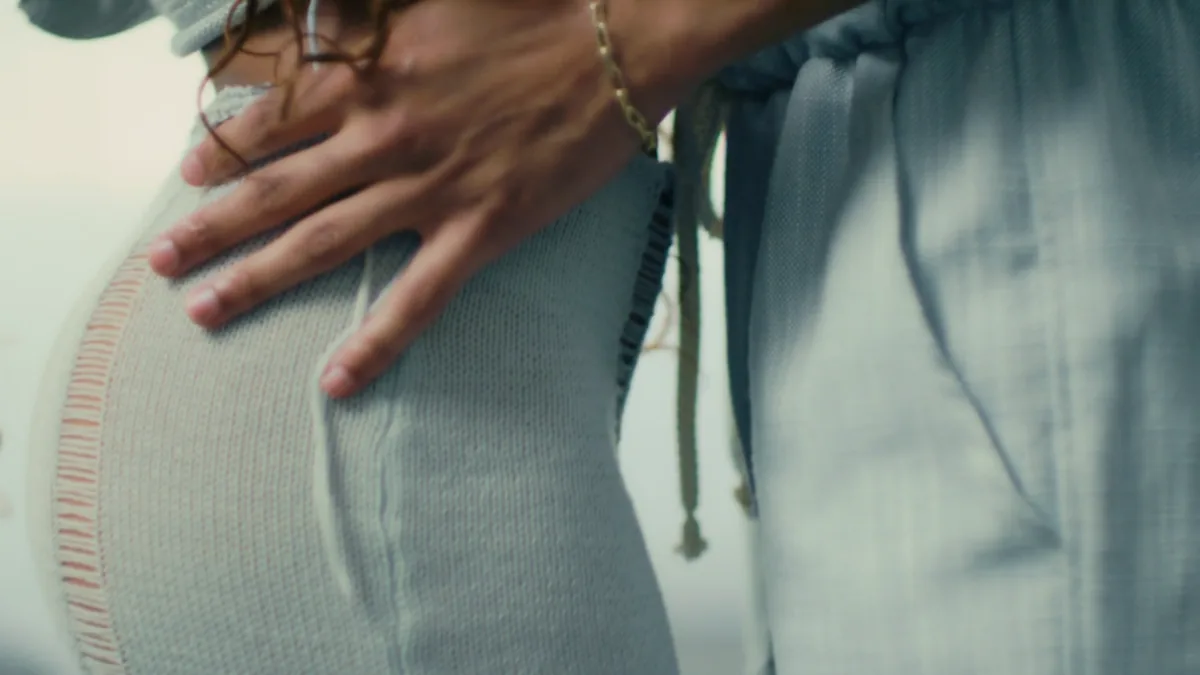
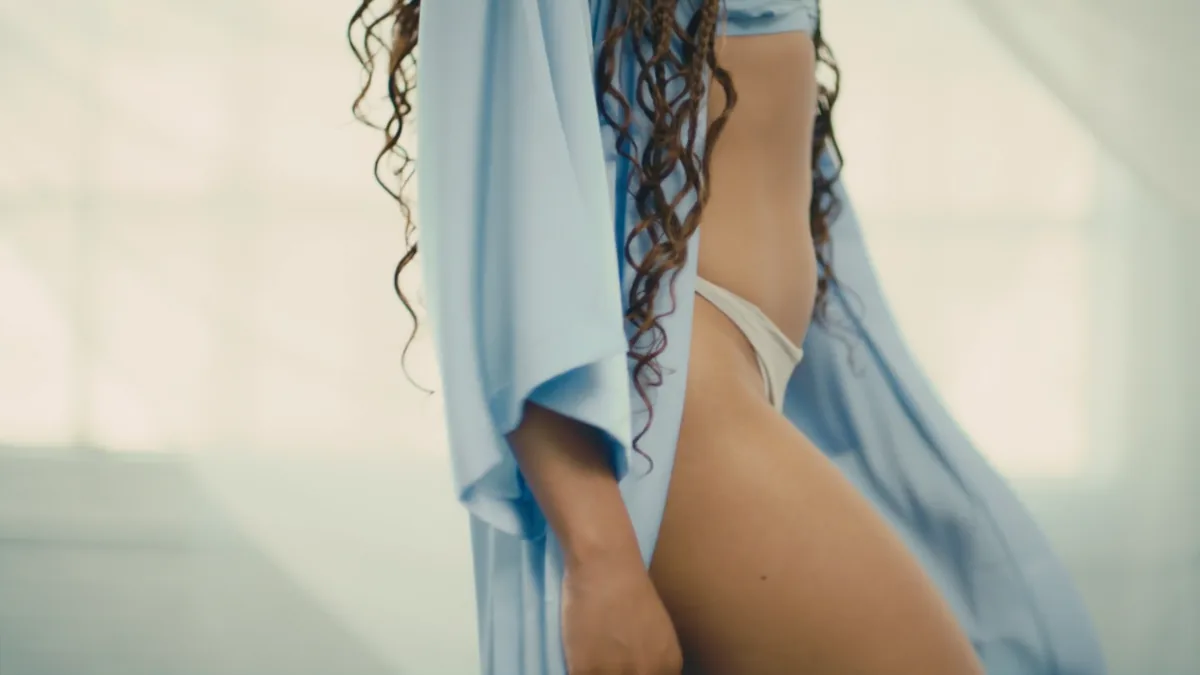
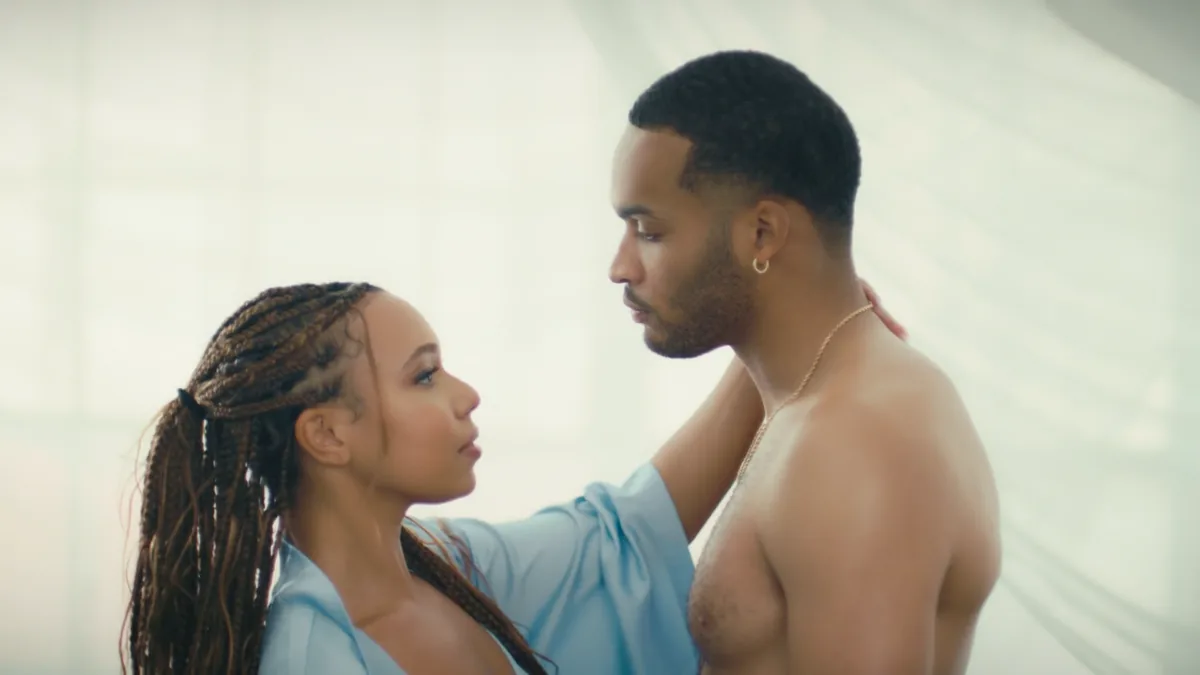
Overview
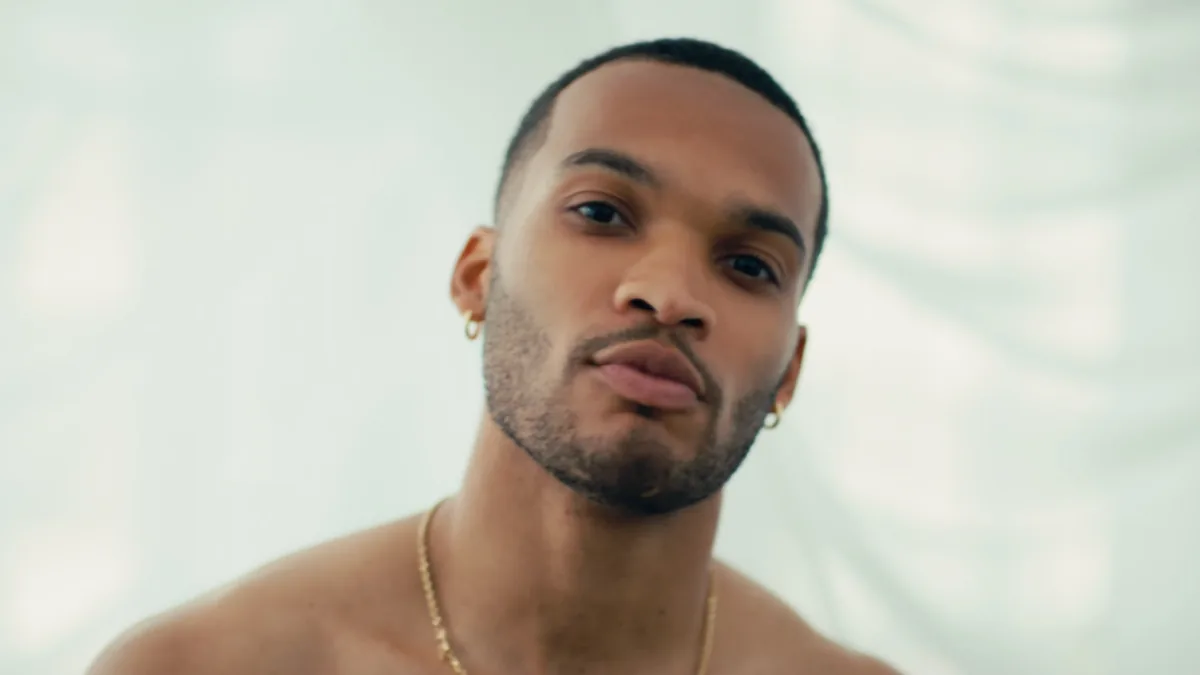
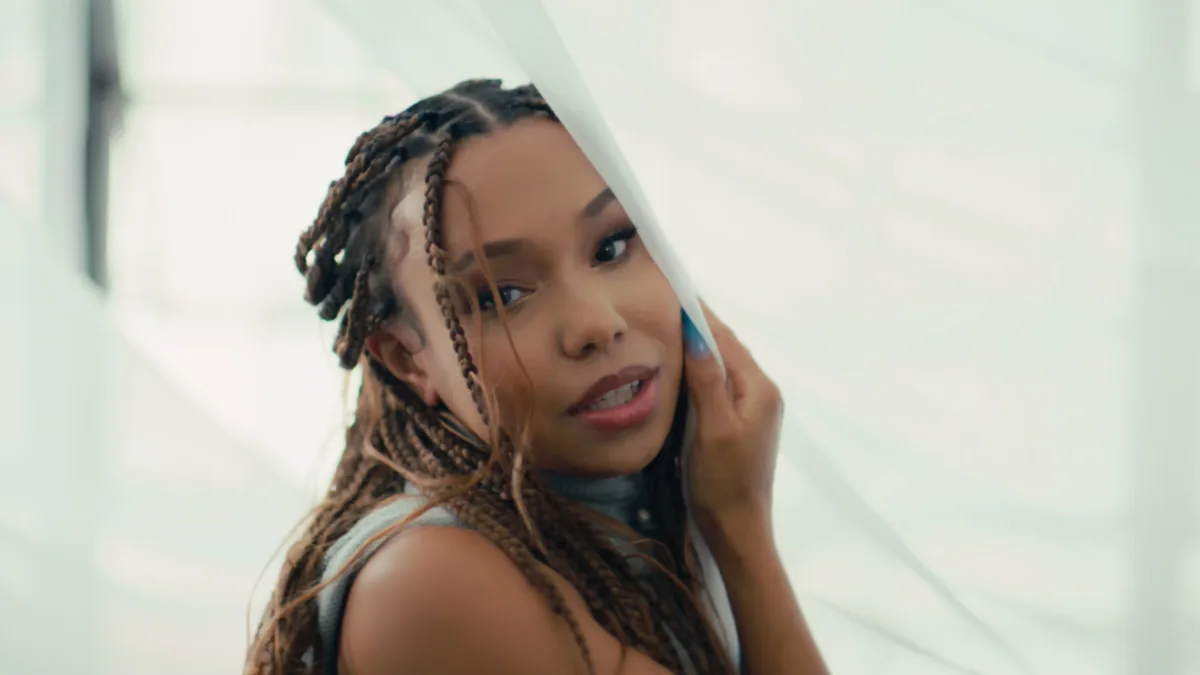
Color grading stills from New York – Myko.
My Little Grandma
- Type
- Color Grading
- Role
- Colorist
- Year
- To be added
- Software
- DaVinci Resolve Studio
Overview
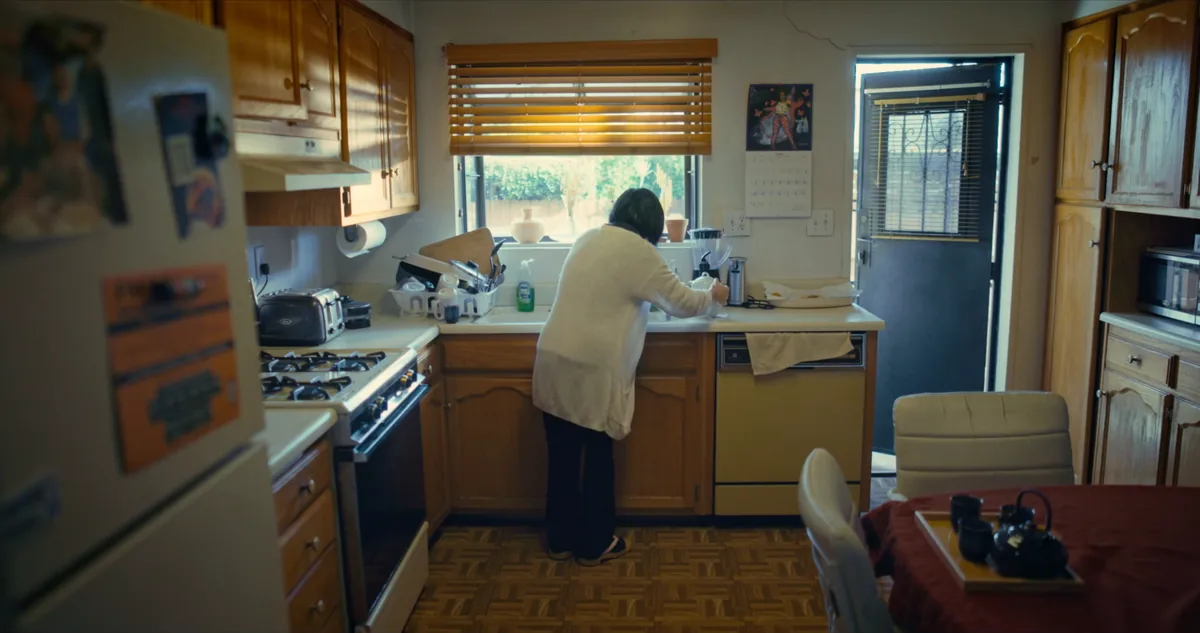
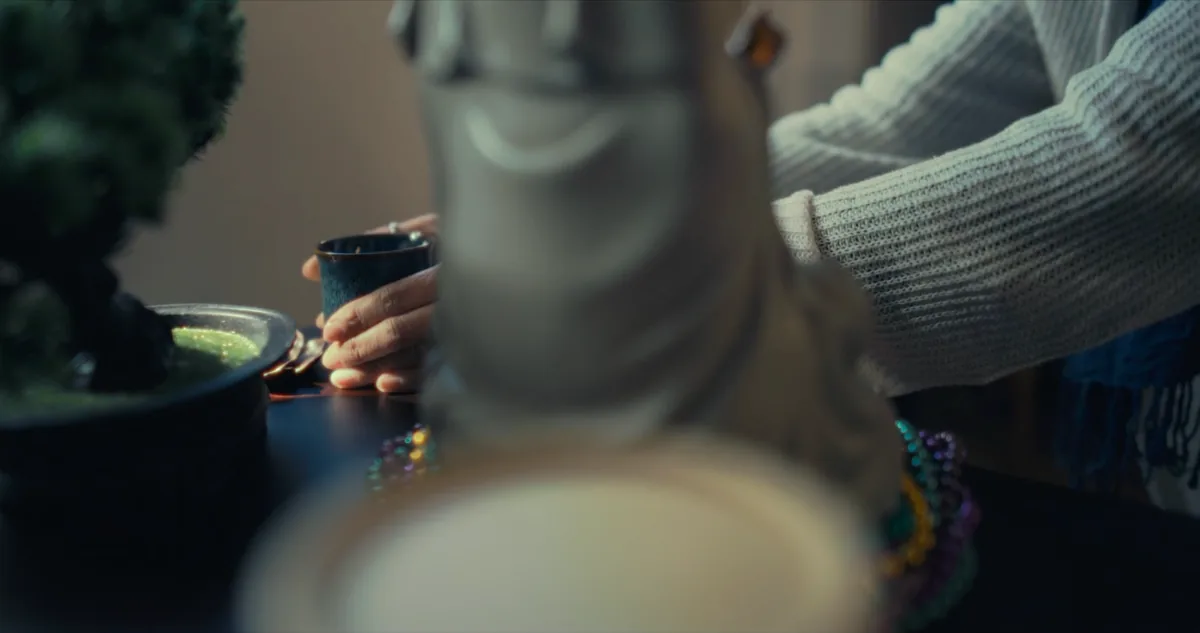
Color grading stills from My Little Grandma.
Missing at the Sea
- Type
- Color Grading
- Role
- Colorist
- Year
- To be added
- Software
- DaVinci Resolve Studio
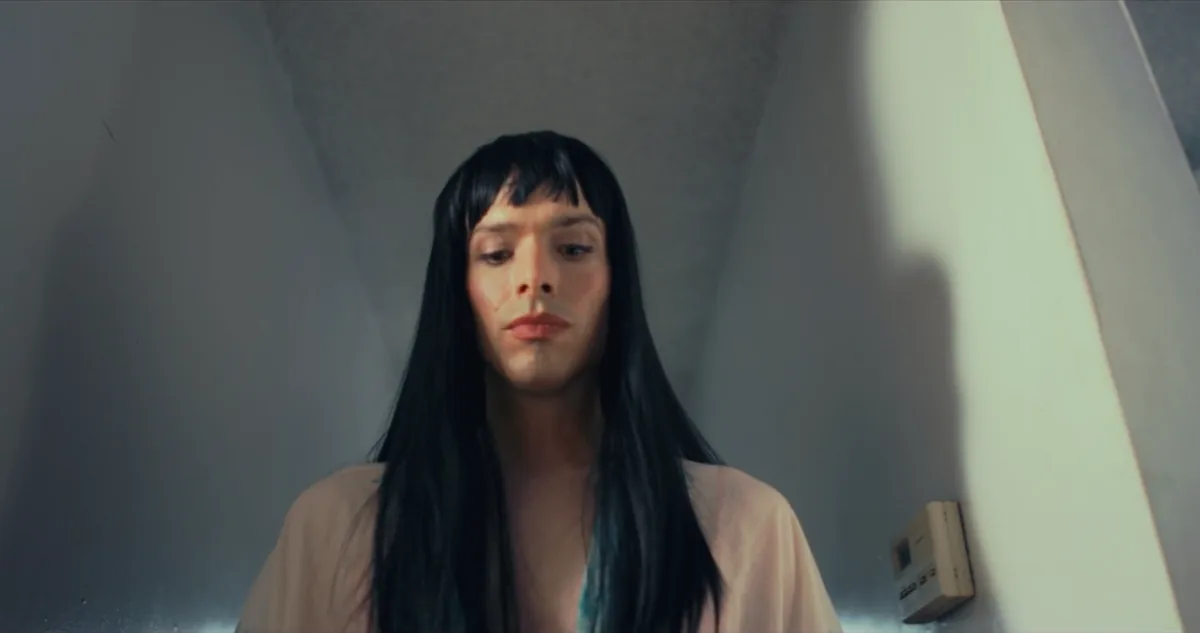
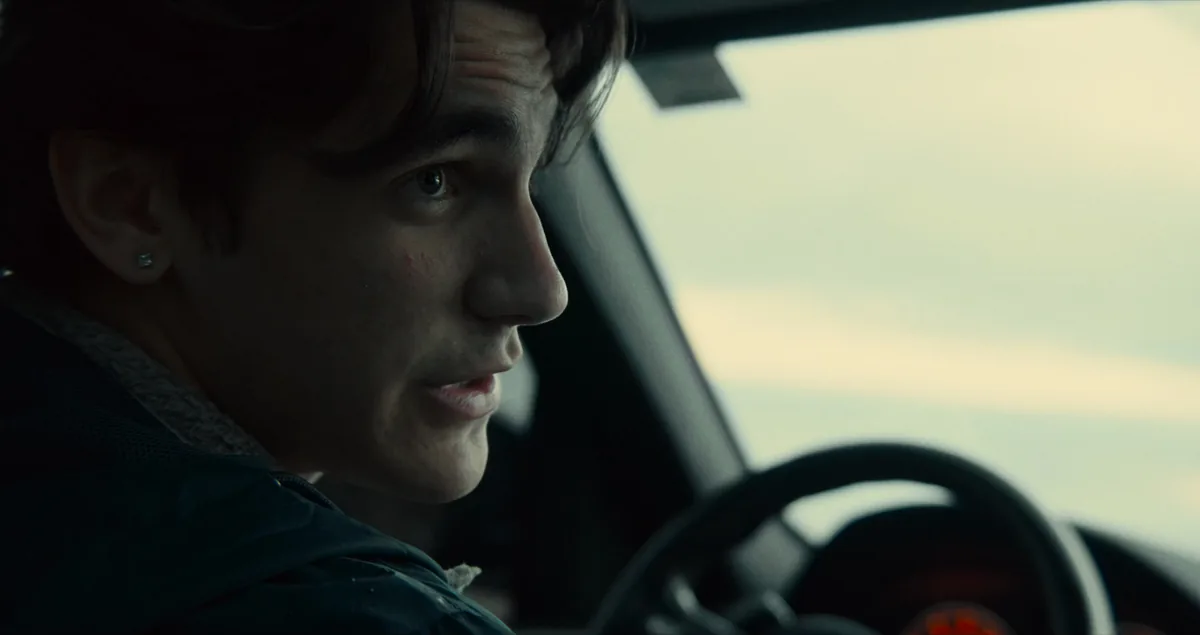
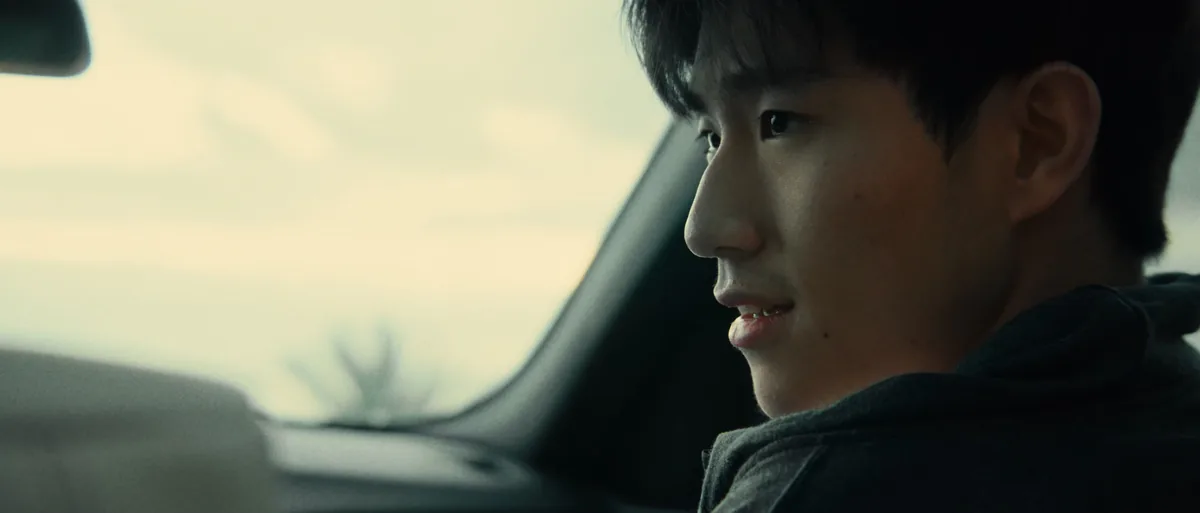
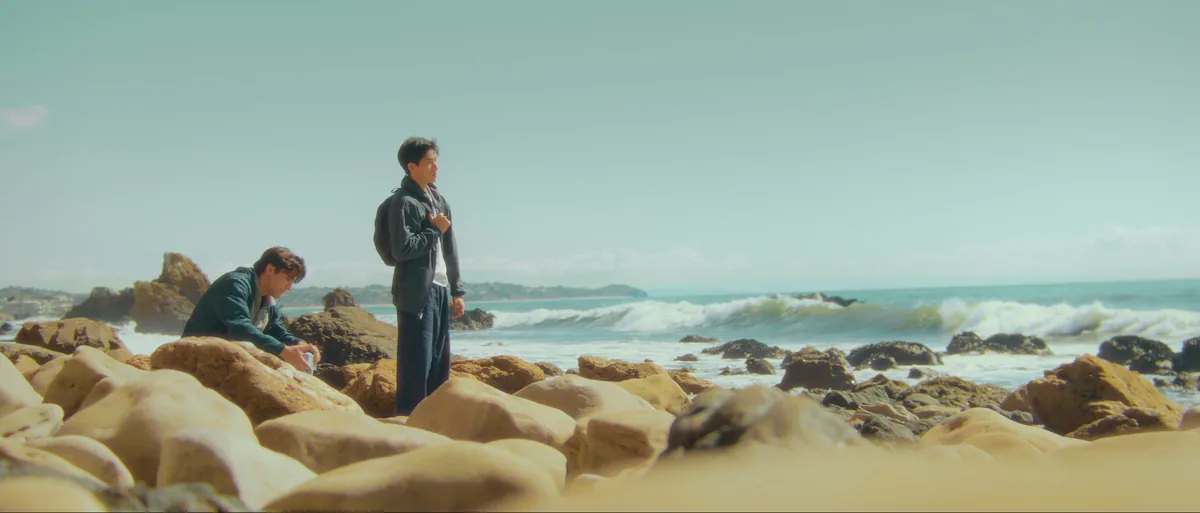
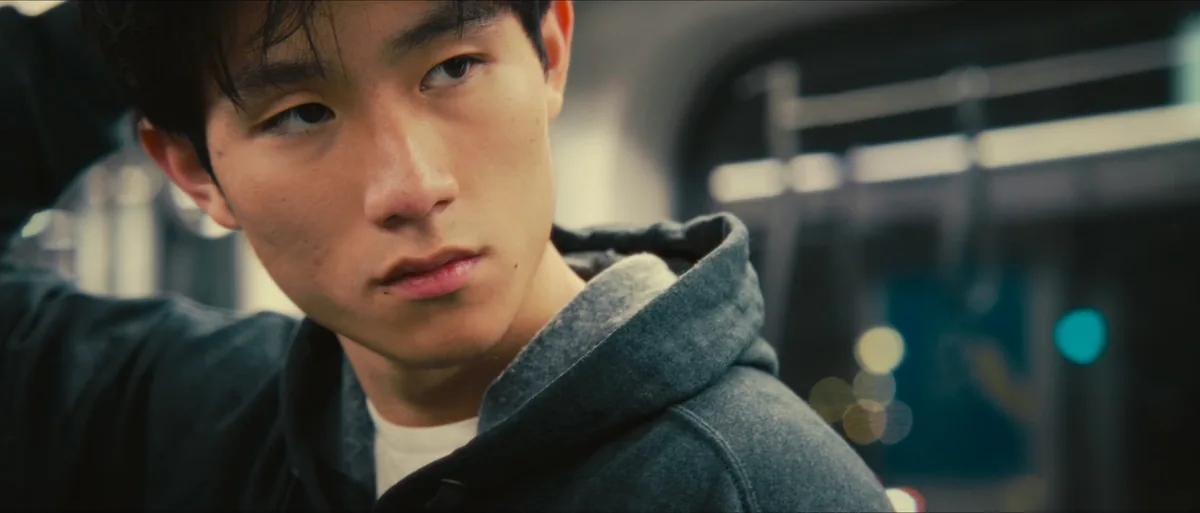
Overview
Color grading stills from Missing at the Sea.

I Heard a Fly Buzz
- Type
- Color Grading
- Role
- Colorist
- Year
- To be added
- Software
- DaVinci Resolve Studio
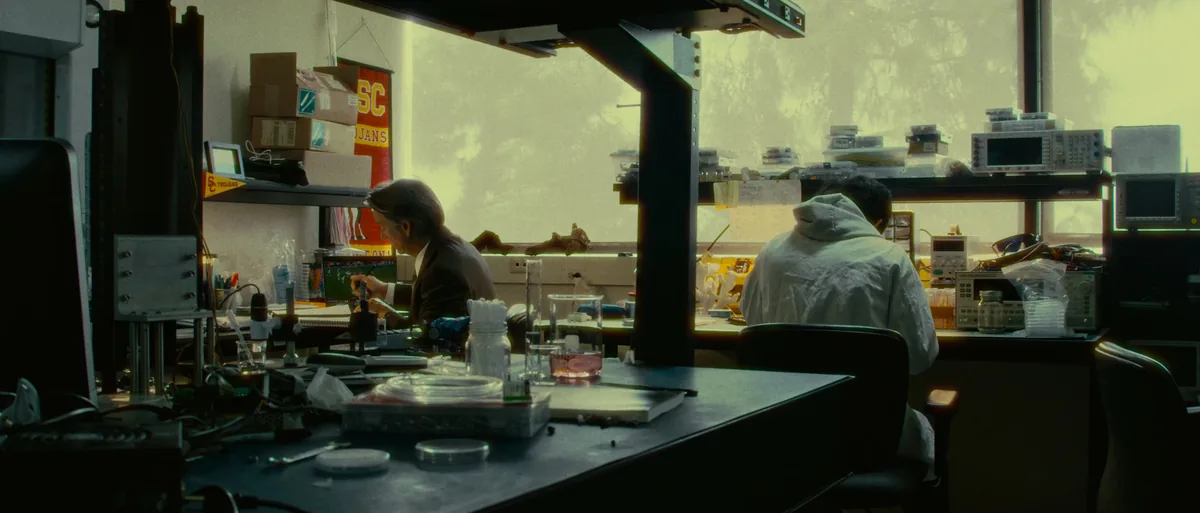
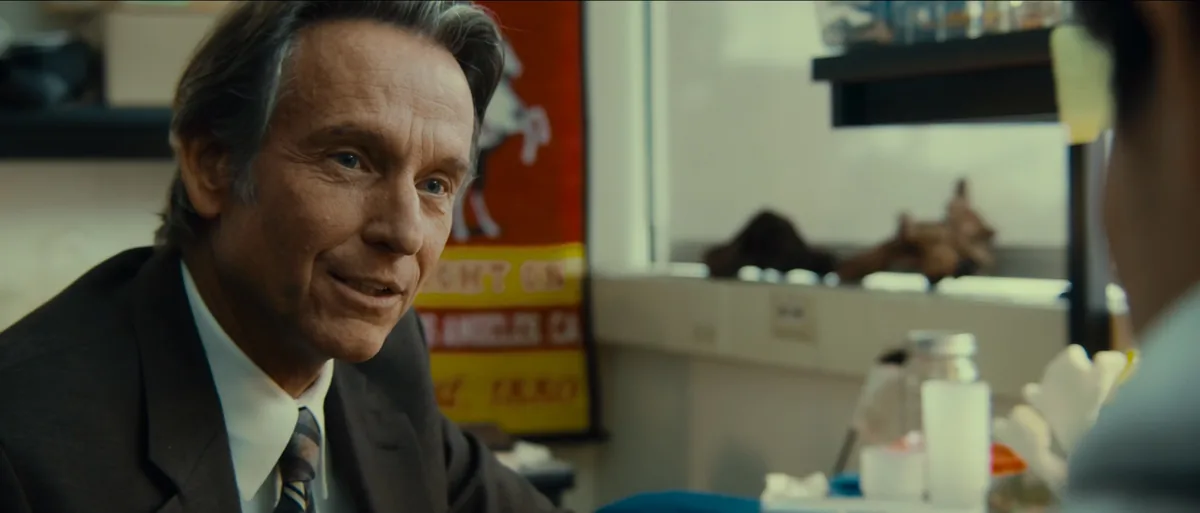
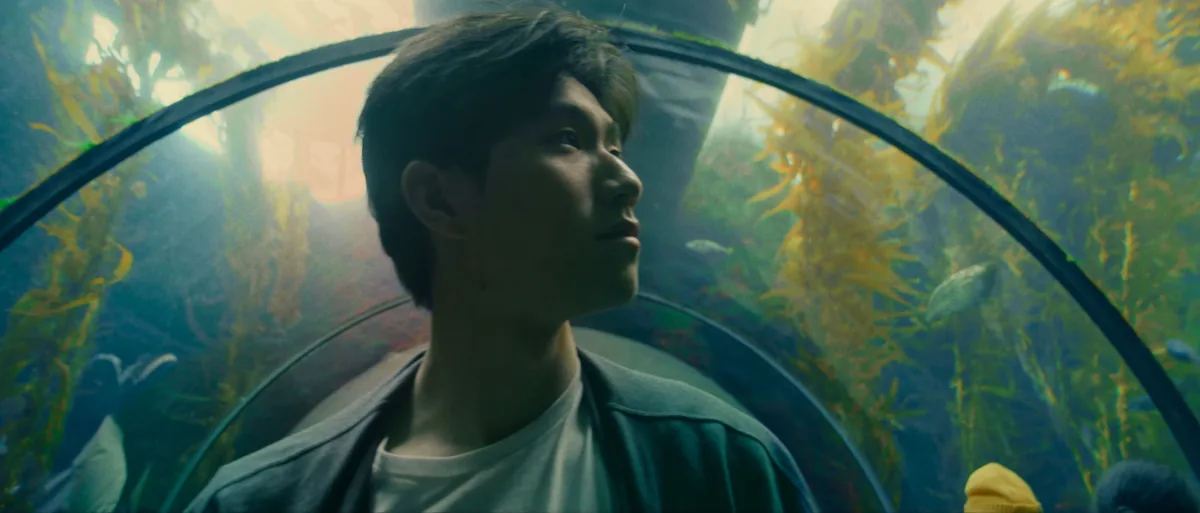
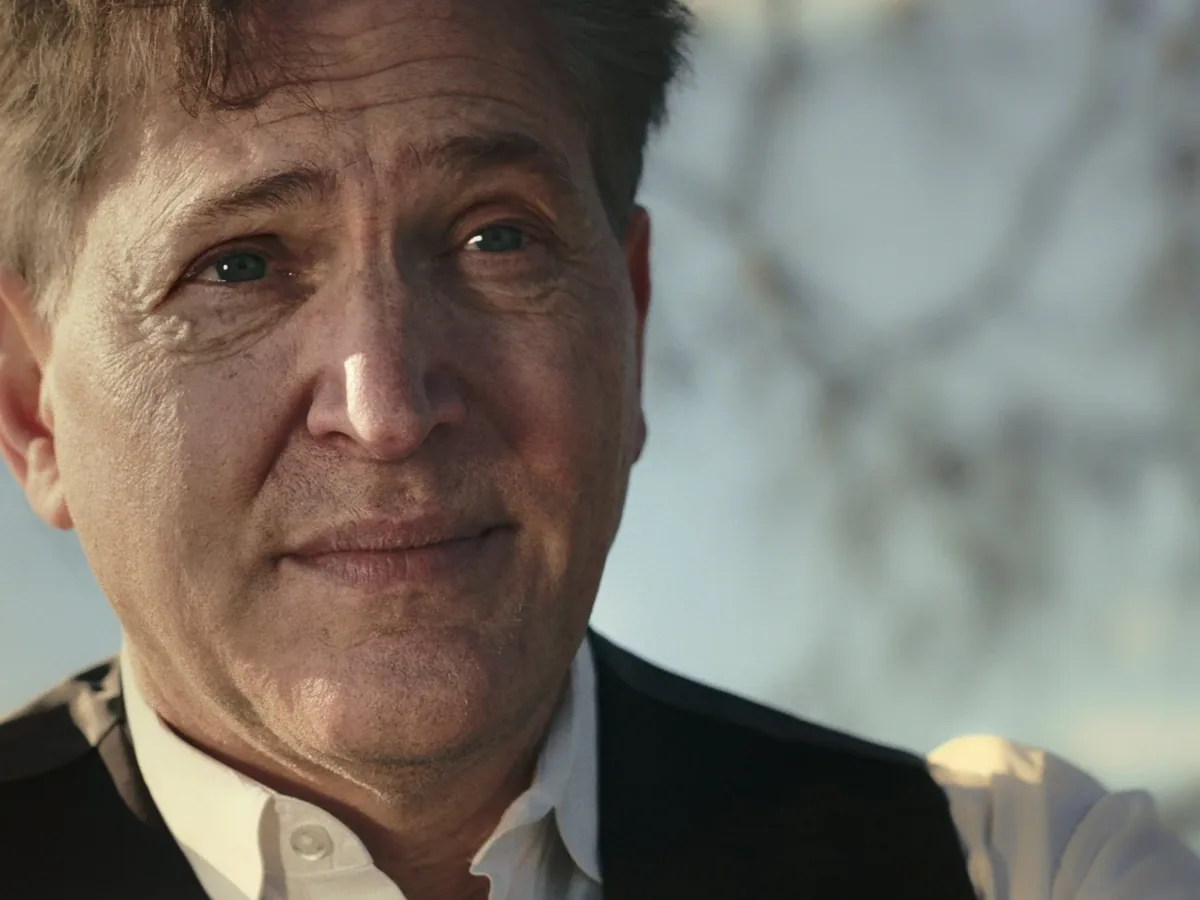
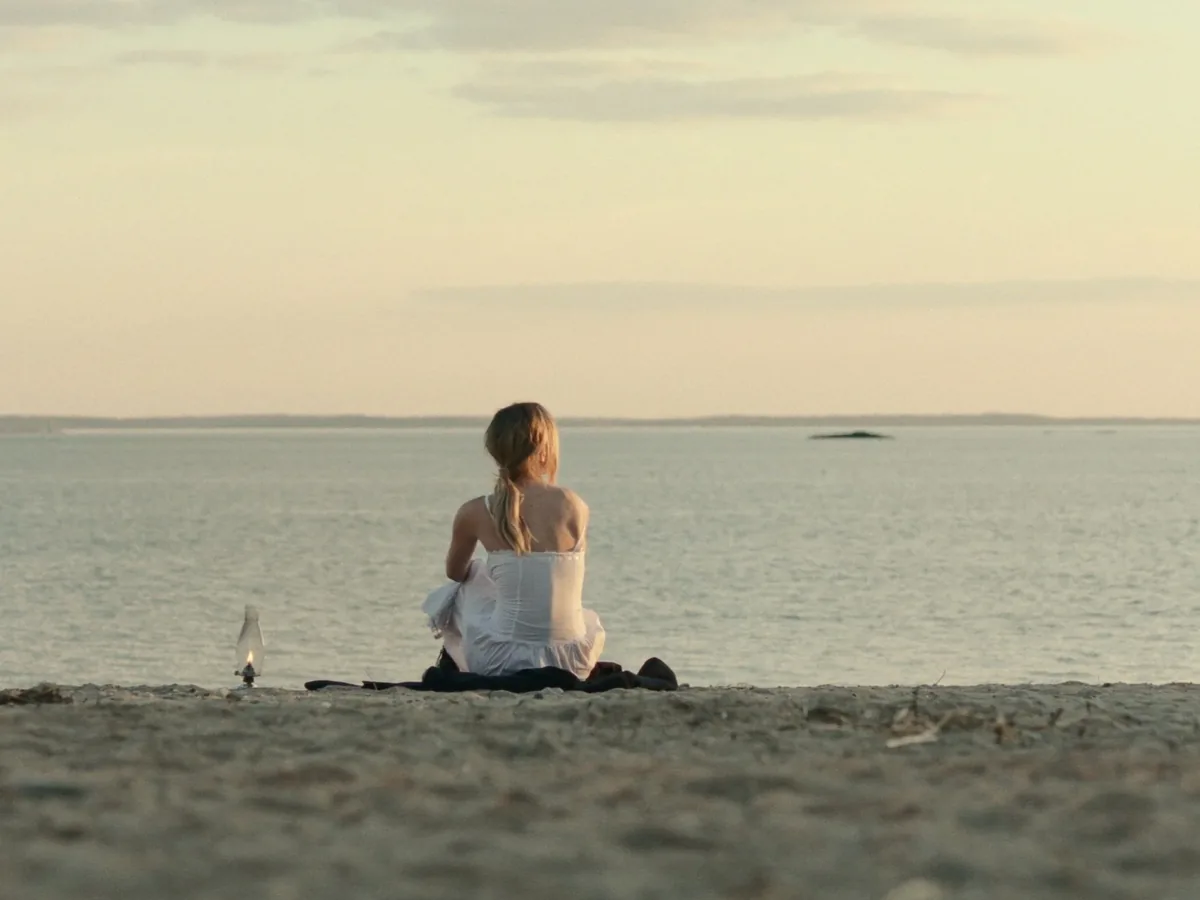
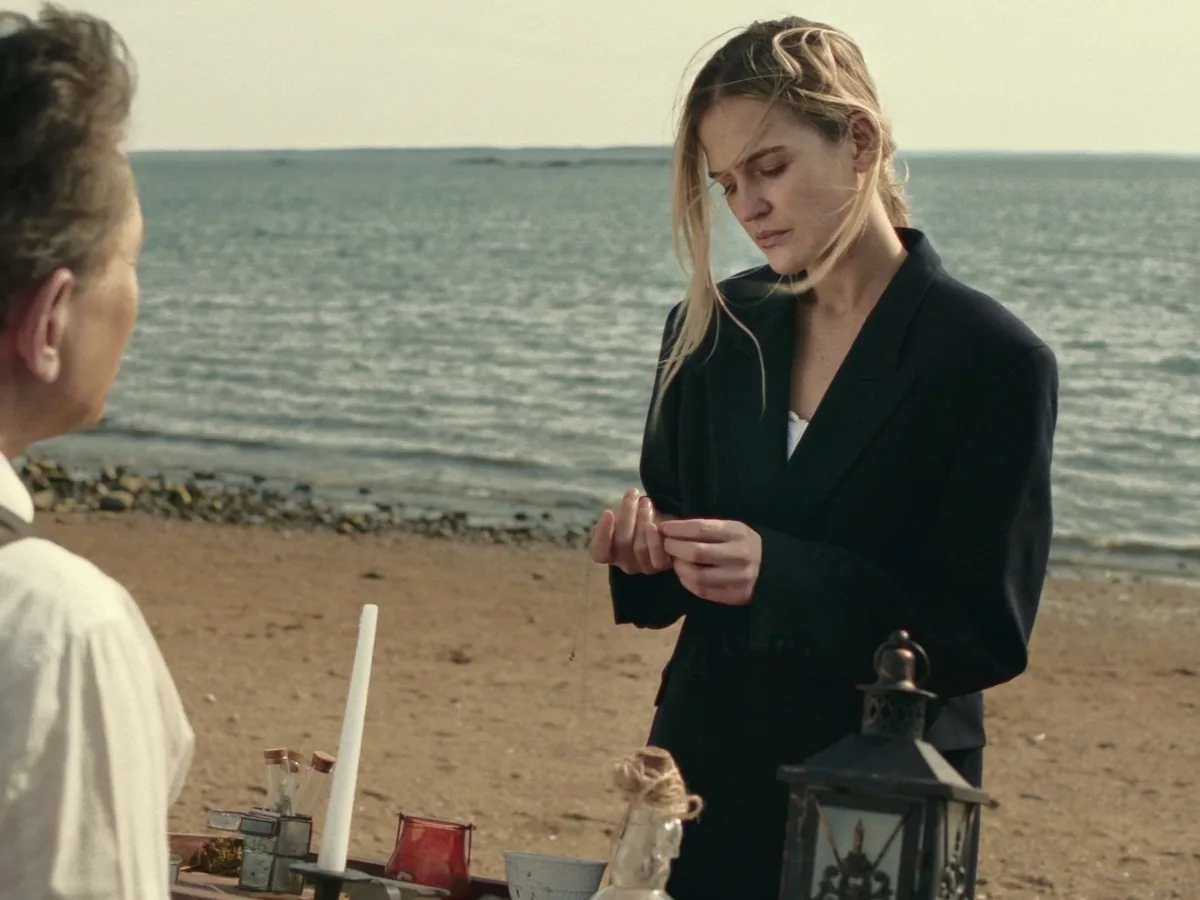
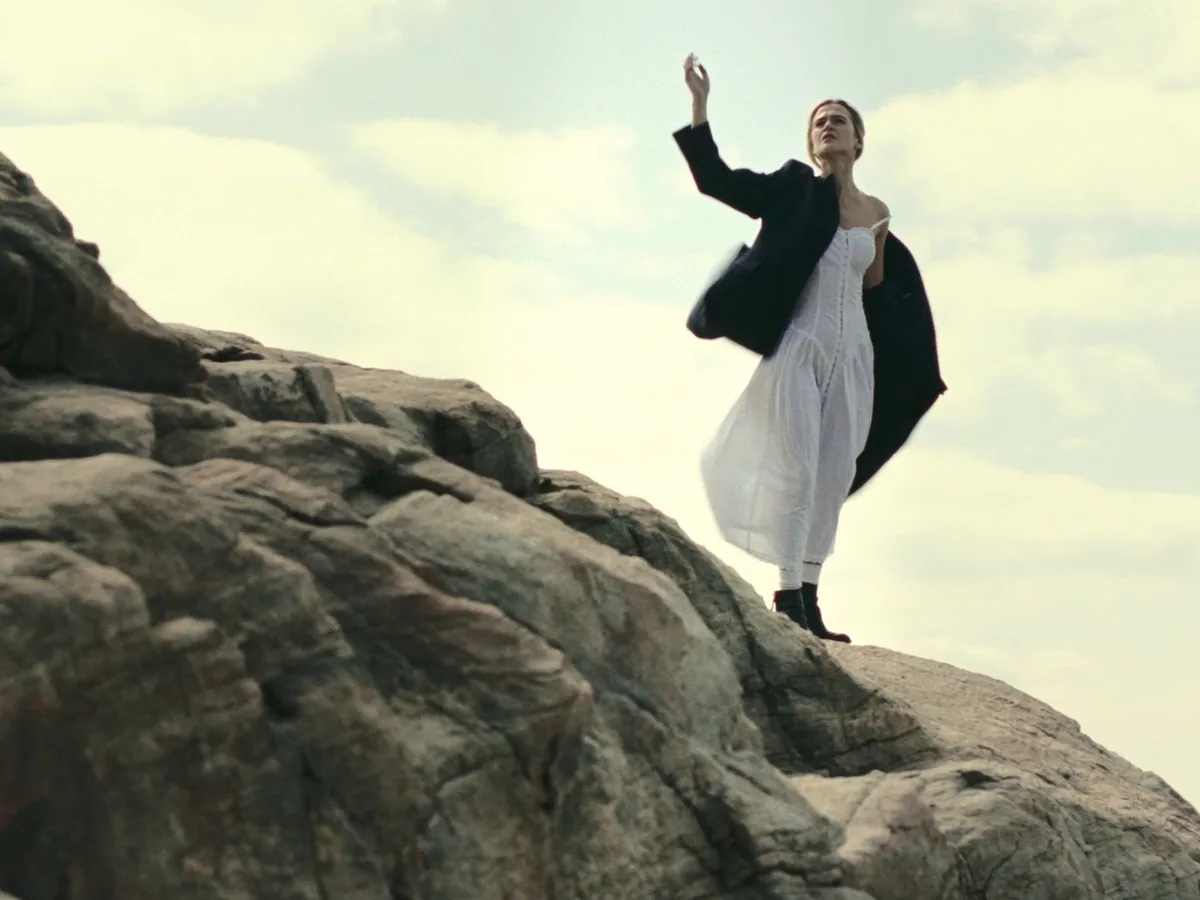
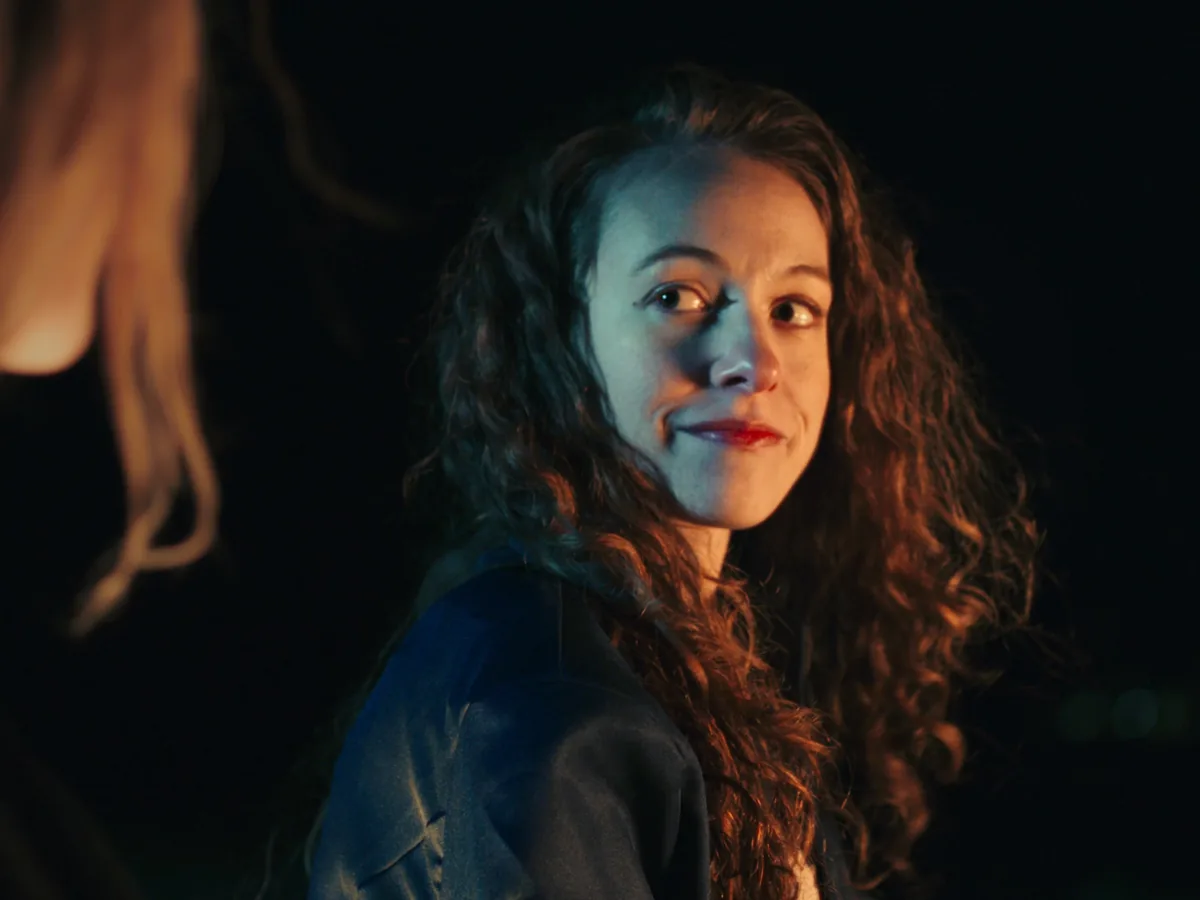
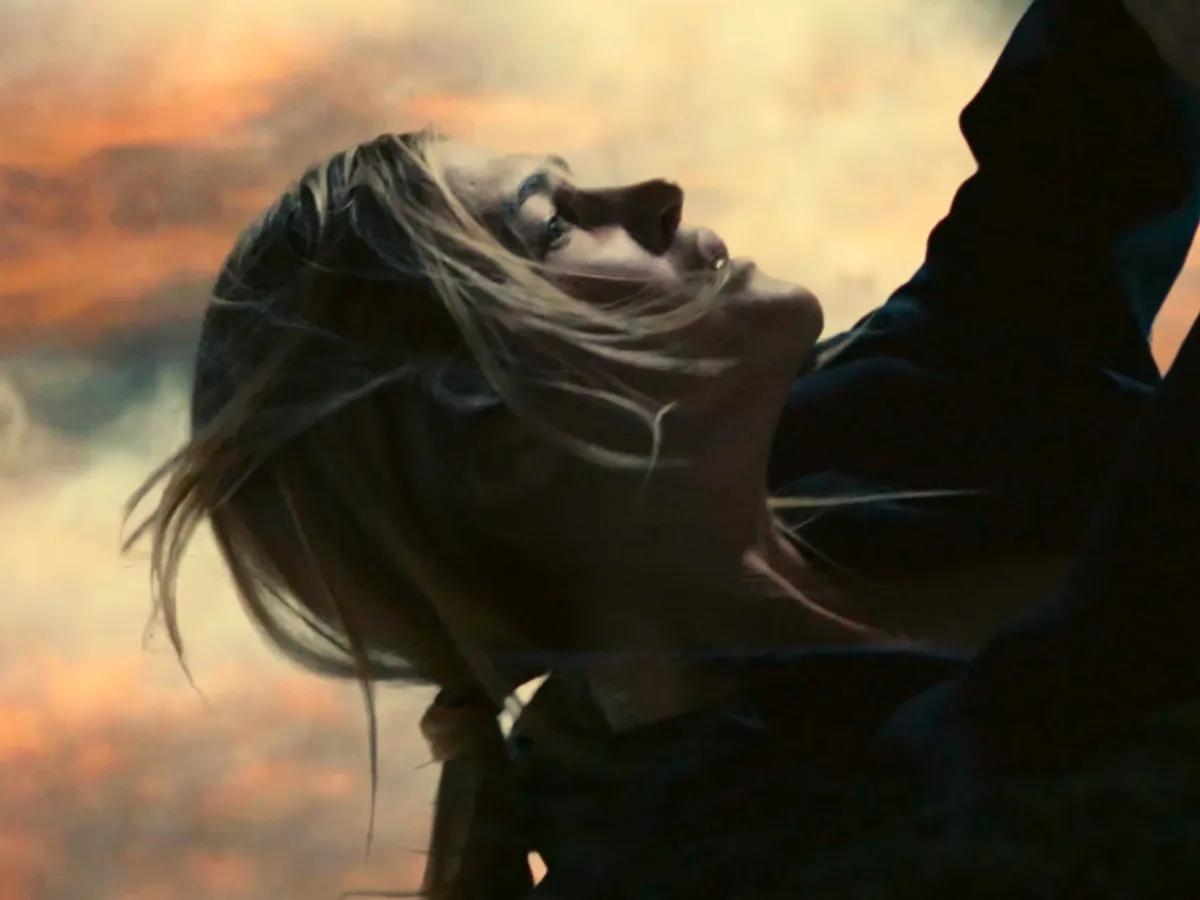
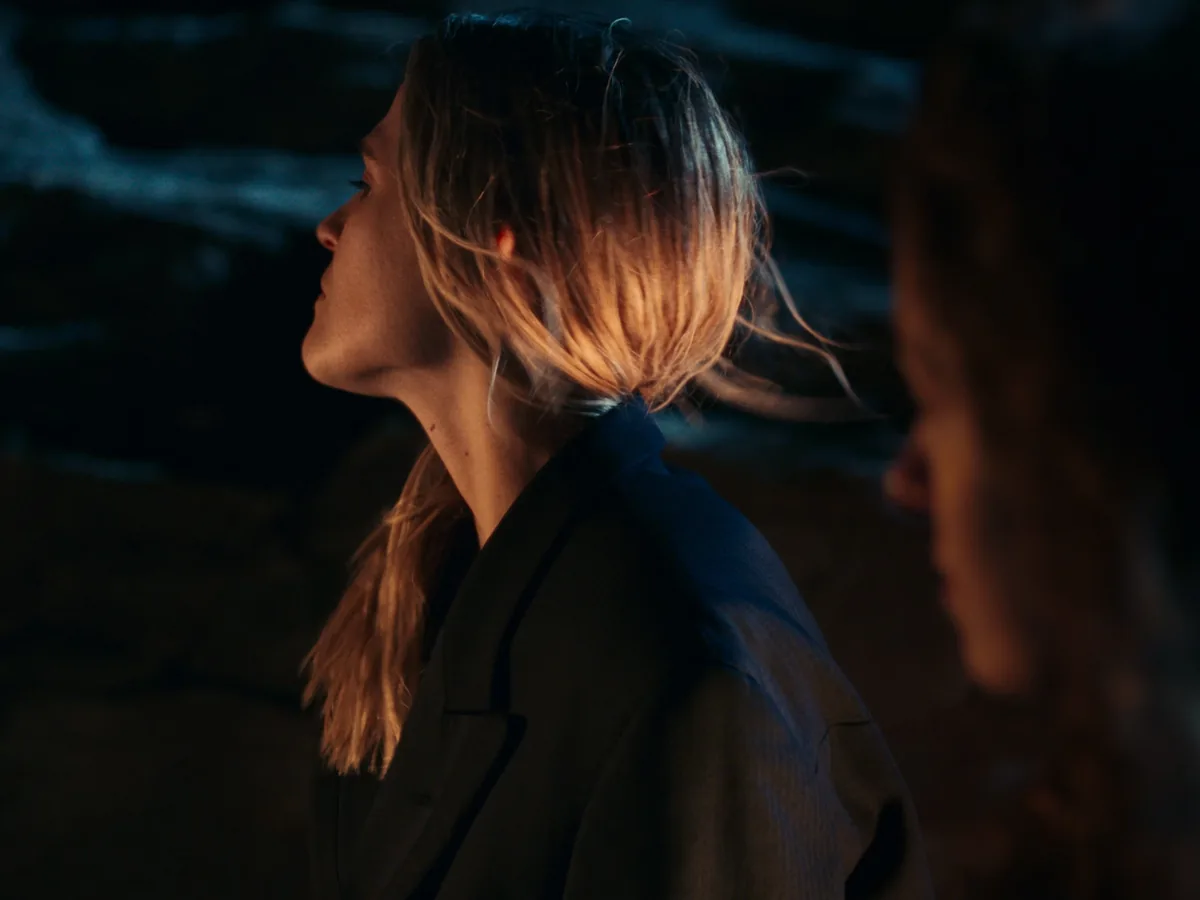
Overview
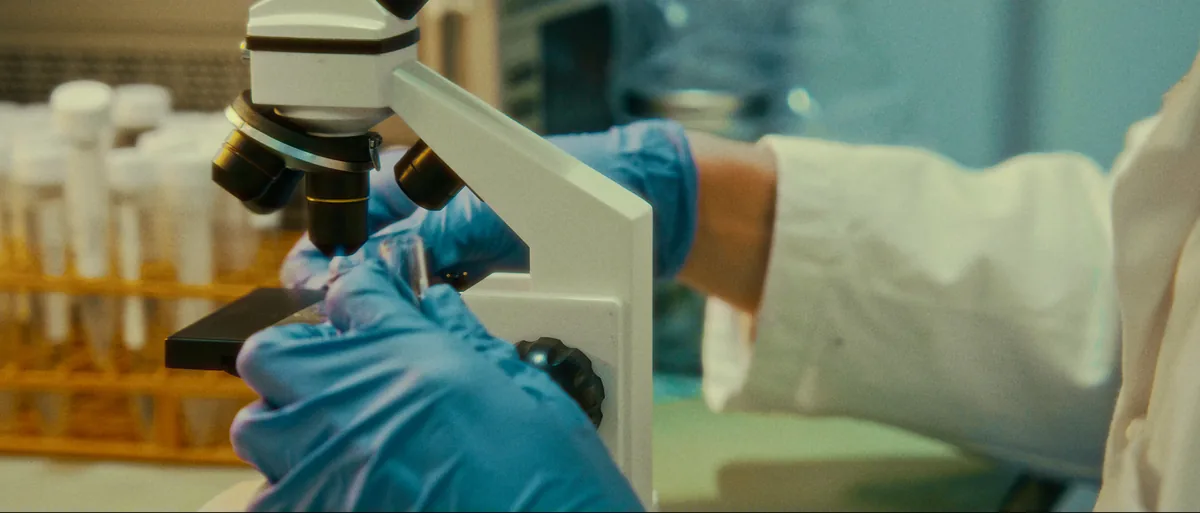
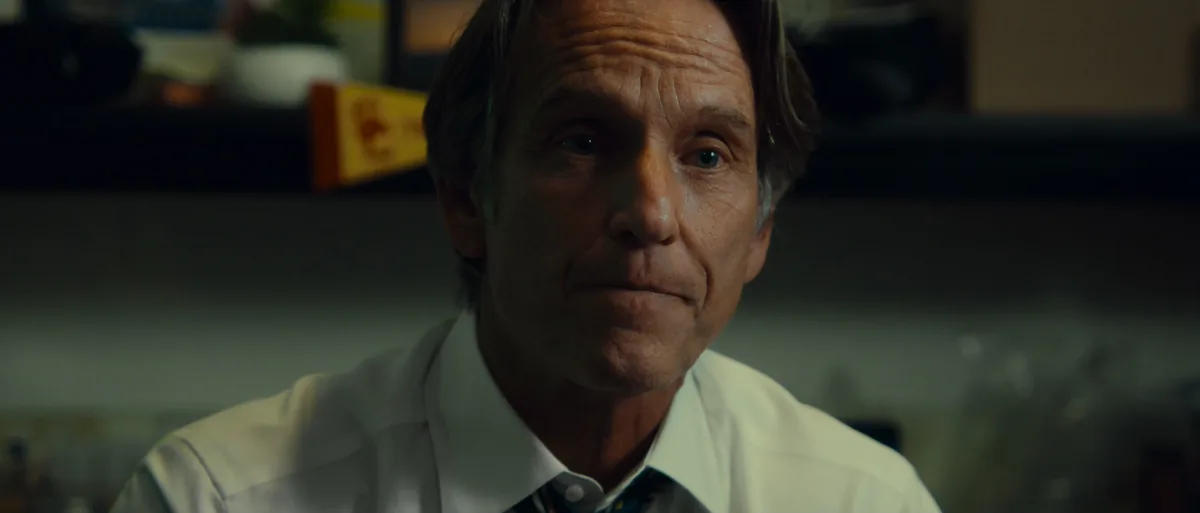
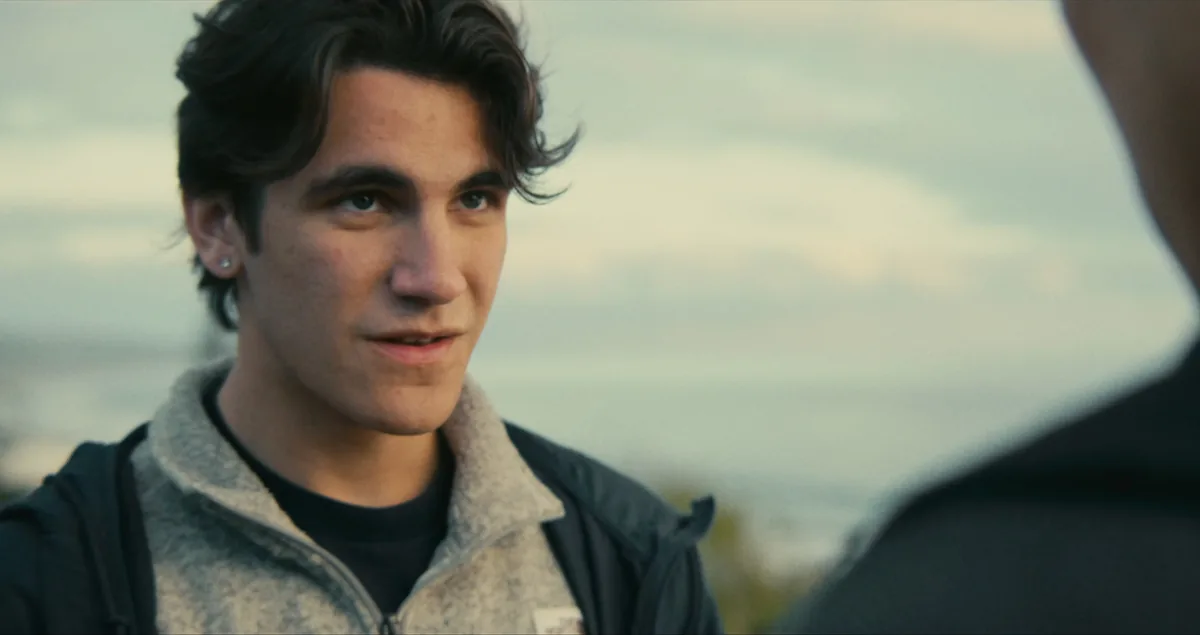
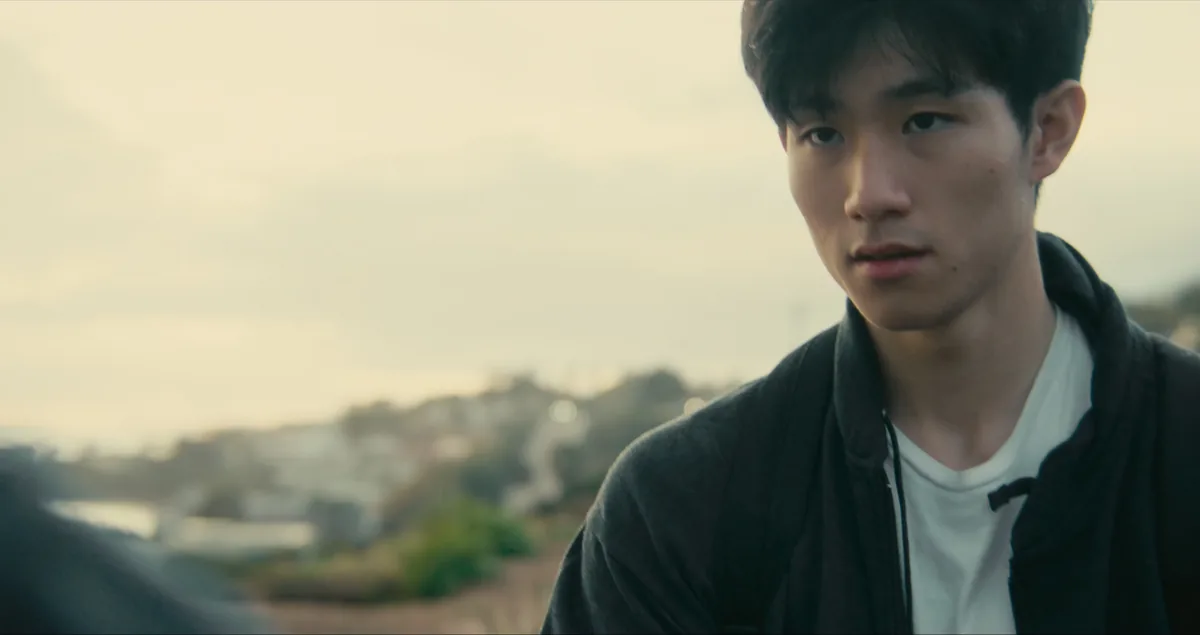
Color grading stills from I Heard a Fly Buzz.
About
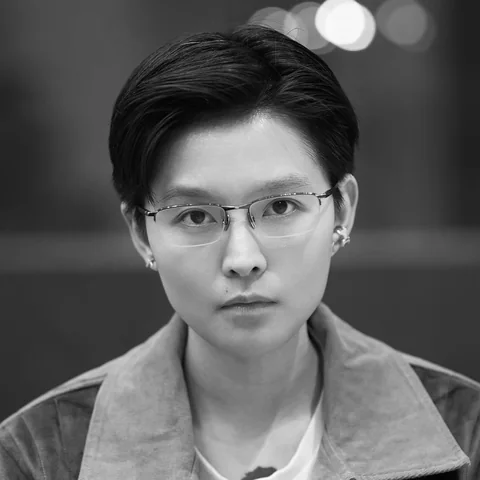
Ren Zheng is a versatile cinematic technician with a broad understanding of the film industry ecosystem and particular experience in color grading. Her work bridges live action and real-time CG filmmaking, focusing on CG environments and Virtual Art Department (VAD) work. She combines a cinematic eye with technical agility to translate creative vision into practical execution.
Education
 New York University Tisch School of the ArtsM.P.S. in Virtual Production In progress
 School of Visual ArtsB.F.A. in Film
Software
- Unreal Engine 5
- P4V
- 3ds Max
- Maya
- ZBrush
- Vectorworks
- World Creator
- Substance 3D Painter
- Substance 3D Designer
- Quixel Mixer
- RizomUV
- Adobe Photoshop
- Adobe Lightroom
- DaVinci Resolve
- Avid Media Composer














Contact
Cinematic language, in any medium.